Ola Rokita

Hi! I am Ola and I want to share with you my simple baking recipes that can change your life and how you feel.
[Read more >>>]

Carrot Cake

Ola Rokita23 September 2019Comments (0)

Carrot Cake

Carrot cake is one of my favorites to bake during the fall season. While pumpkin is the popular choice for most around this time, I prefer the delicate and sweet taste of carrot and cinnamon.

Simple ingredients means less work for you!

I almost always have two or three extra carrots laying around, so I don’t need to hunt for special ingredients to make this delicious dessert. Carrots are also less expensive and available all-year round in most grocery stores, so you don’t have to go to specialty stores for the ingredients or, wait for fall to make this treat.

Many ways to eat it and serve it.

The other reason carrot cake is one of my favorites is that it’s very simple to make. You can serve it with or without frosting. Personally I can skip the frosting and just enjoy this moist cake straight from the oven. Either way, carrot cake can be eaten in all kinds of fun ways. My kids love it as a snack, but it’s not just for kids.  Carrot cake goes wonderfully with tea or coffee.

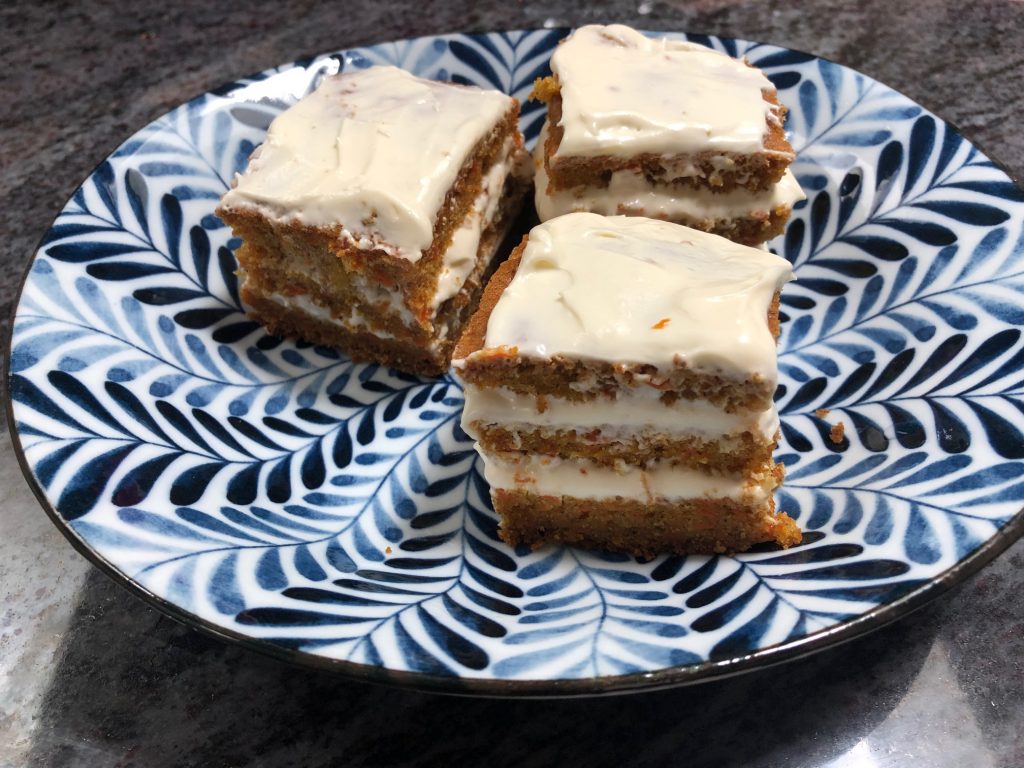
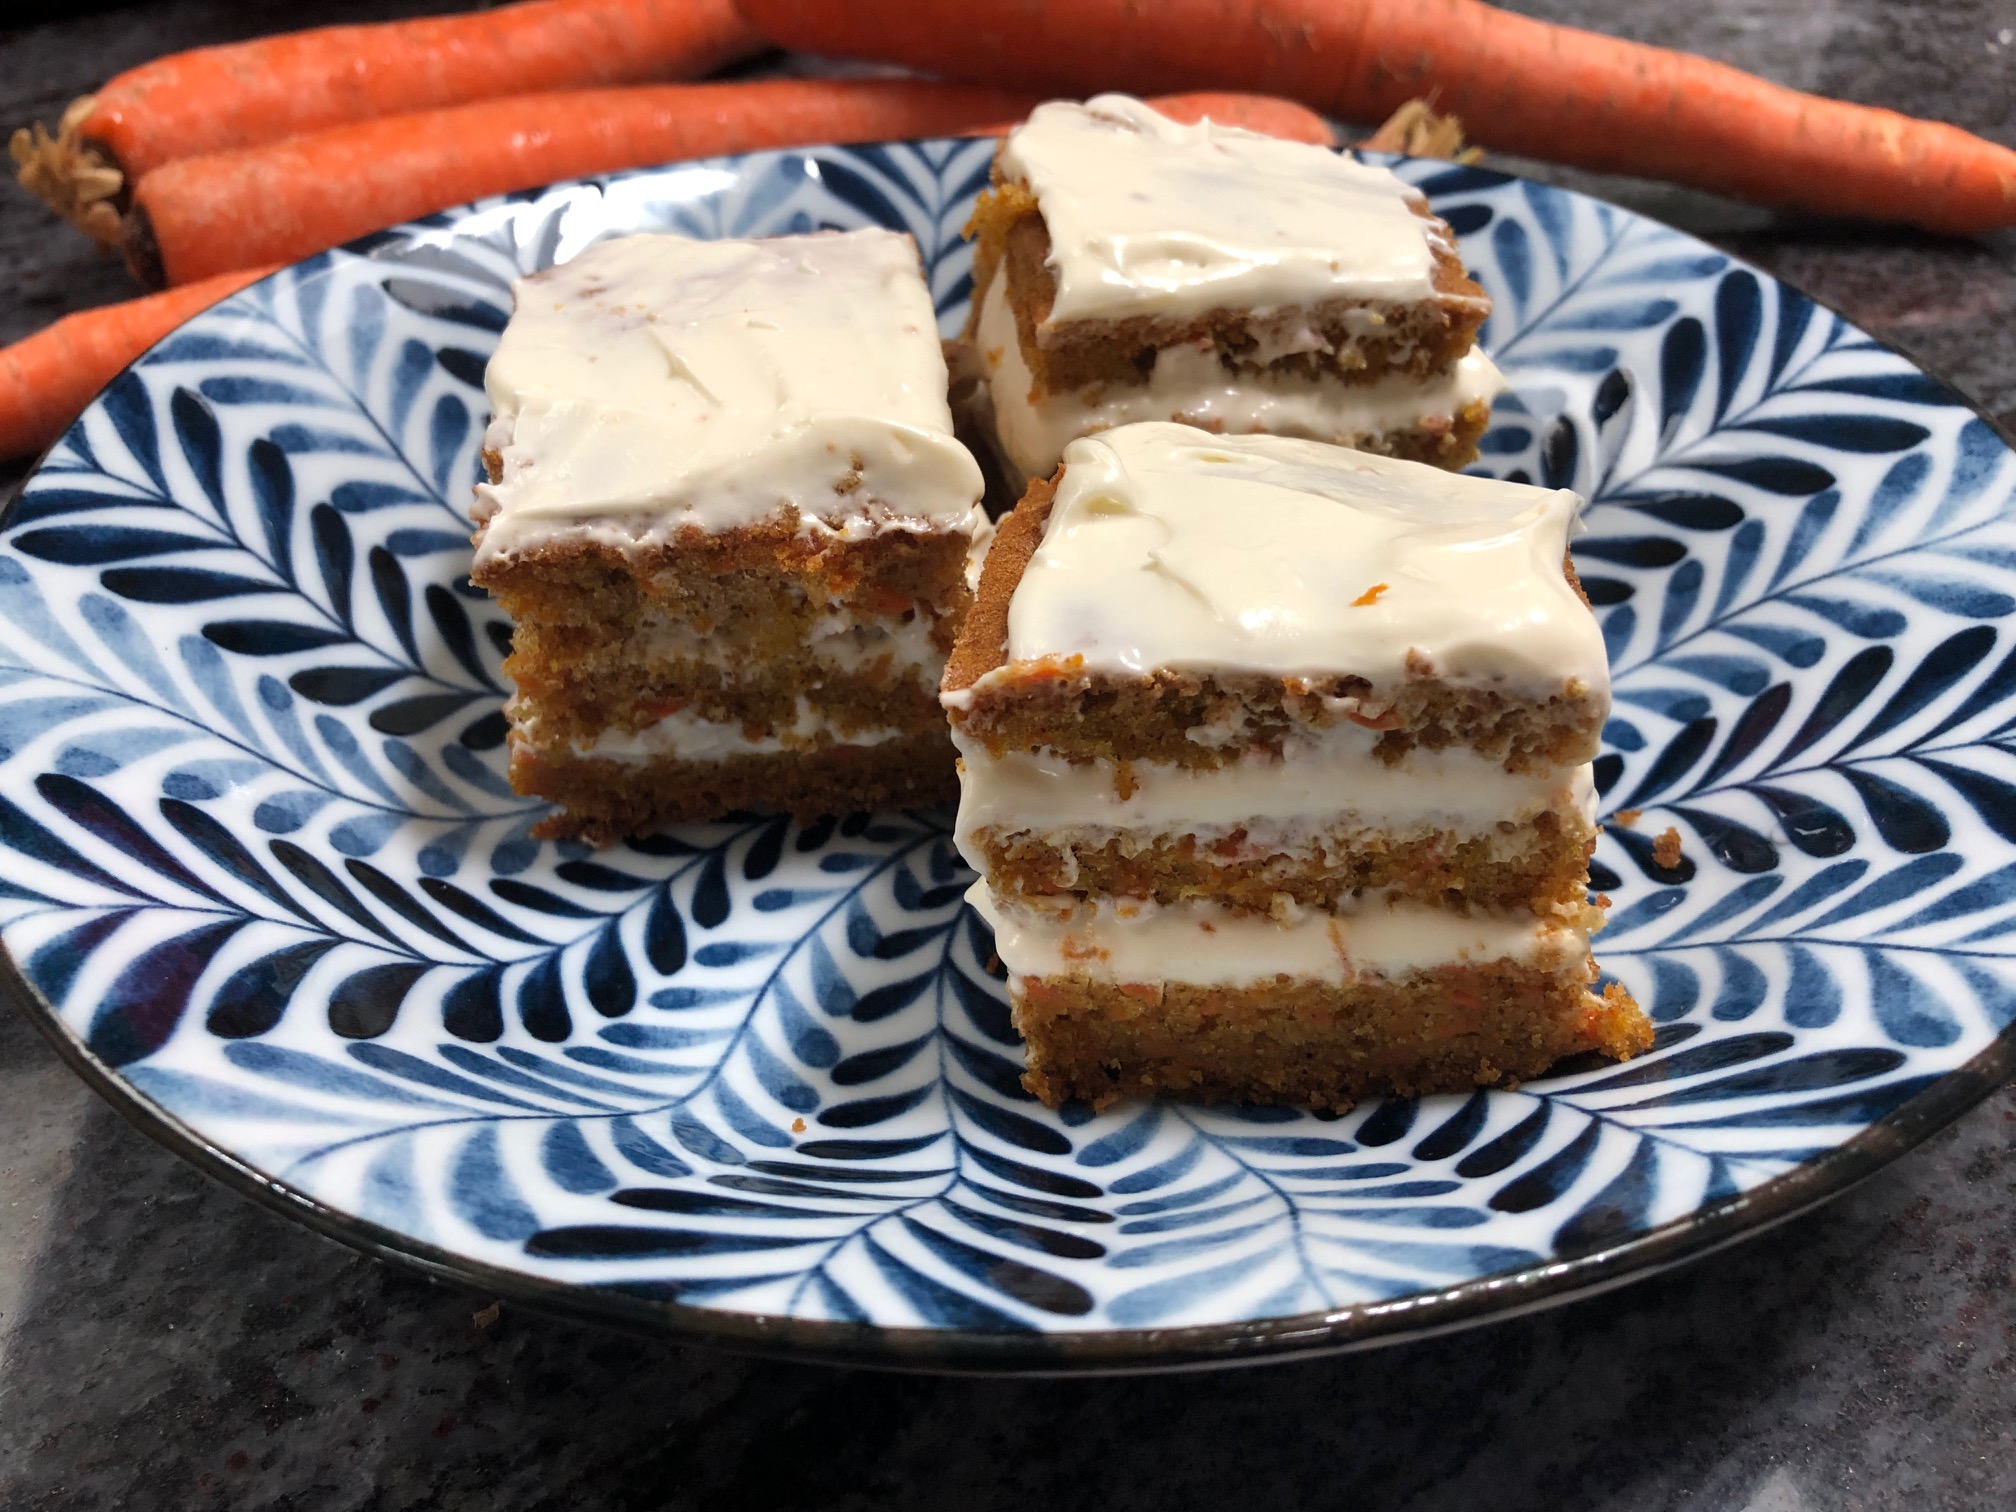
Layer it with cream cheese frosting for richer taste.

For special occasions, I make cream cheese frosting and layer it so that the cake is richer in flavor. With frosting and some decorative touches, it’s great for a birthday cake, and it’s a healthier option too.

Enhance the flavor with other ingredients.

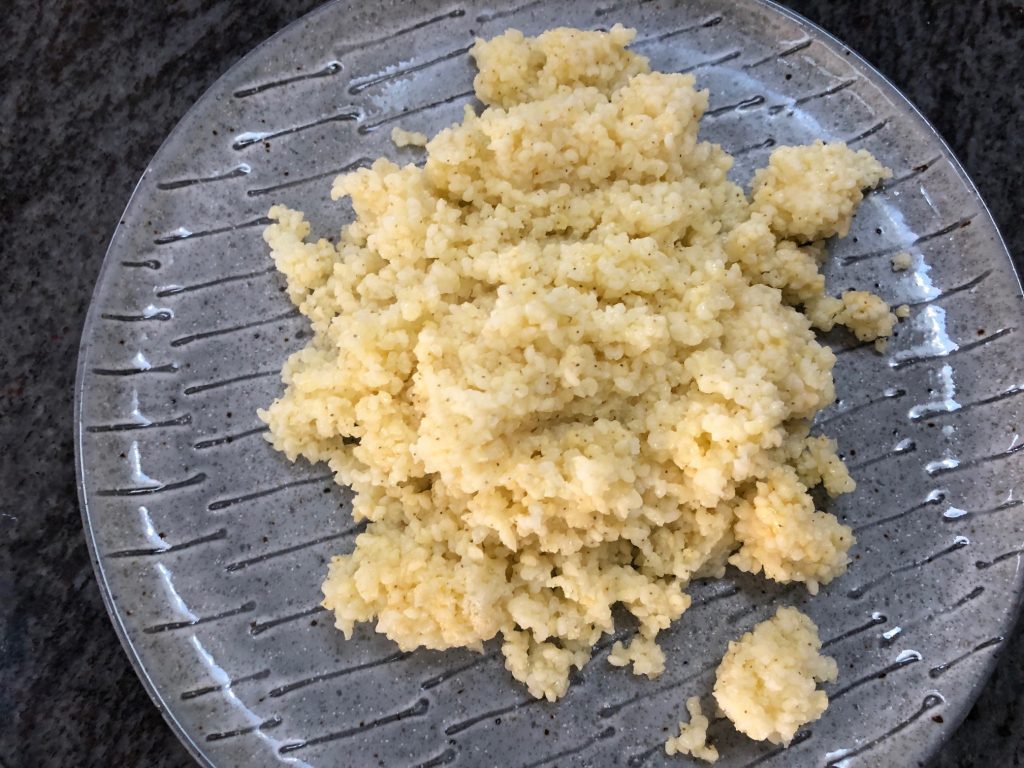
You can make your carrot cake even more flavorful by adding grated coconut, walnuts, or hazelnuts.

As always, I use the All-Purpose wheat flour from Poland for this recipe.

Carrot Cake

Ingredients

  • 2.5 cups flour
  • 4 whole eggs
  • 1 cup sunflower oil
  • 1 cup cane sugar
  • 2 tbsp brown sugar
  • 3-4 carrots (finely grated)
  • 1/2 cup grated coconut (optional)
  • 2 tsp cinnamon
  • 1 tsp vanilla
  • 1 tsp orange or lemon zest
  • 1/2 tsp salt
  • 1 tsp baking powder
  • 1 tsp baking soda
  • 1 tsp bread crumbs (to cover baking pan)
  • 1/2 tsp butter (to cover baking pan)

Cream Cheese Frosting

  • 1 cup cream cheese
  • 1 cup unsalted butter
  • 4 tbs cane sugar
  • 1 tsp vanilla

Instructions

  1. Preheat the oven to 350 degrees Fahrenheit or 180 drgrees Celsius

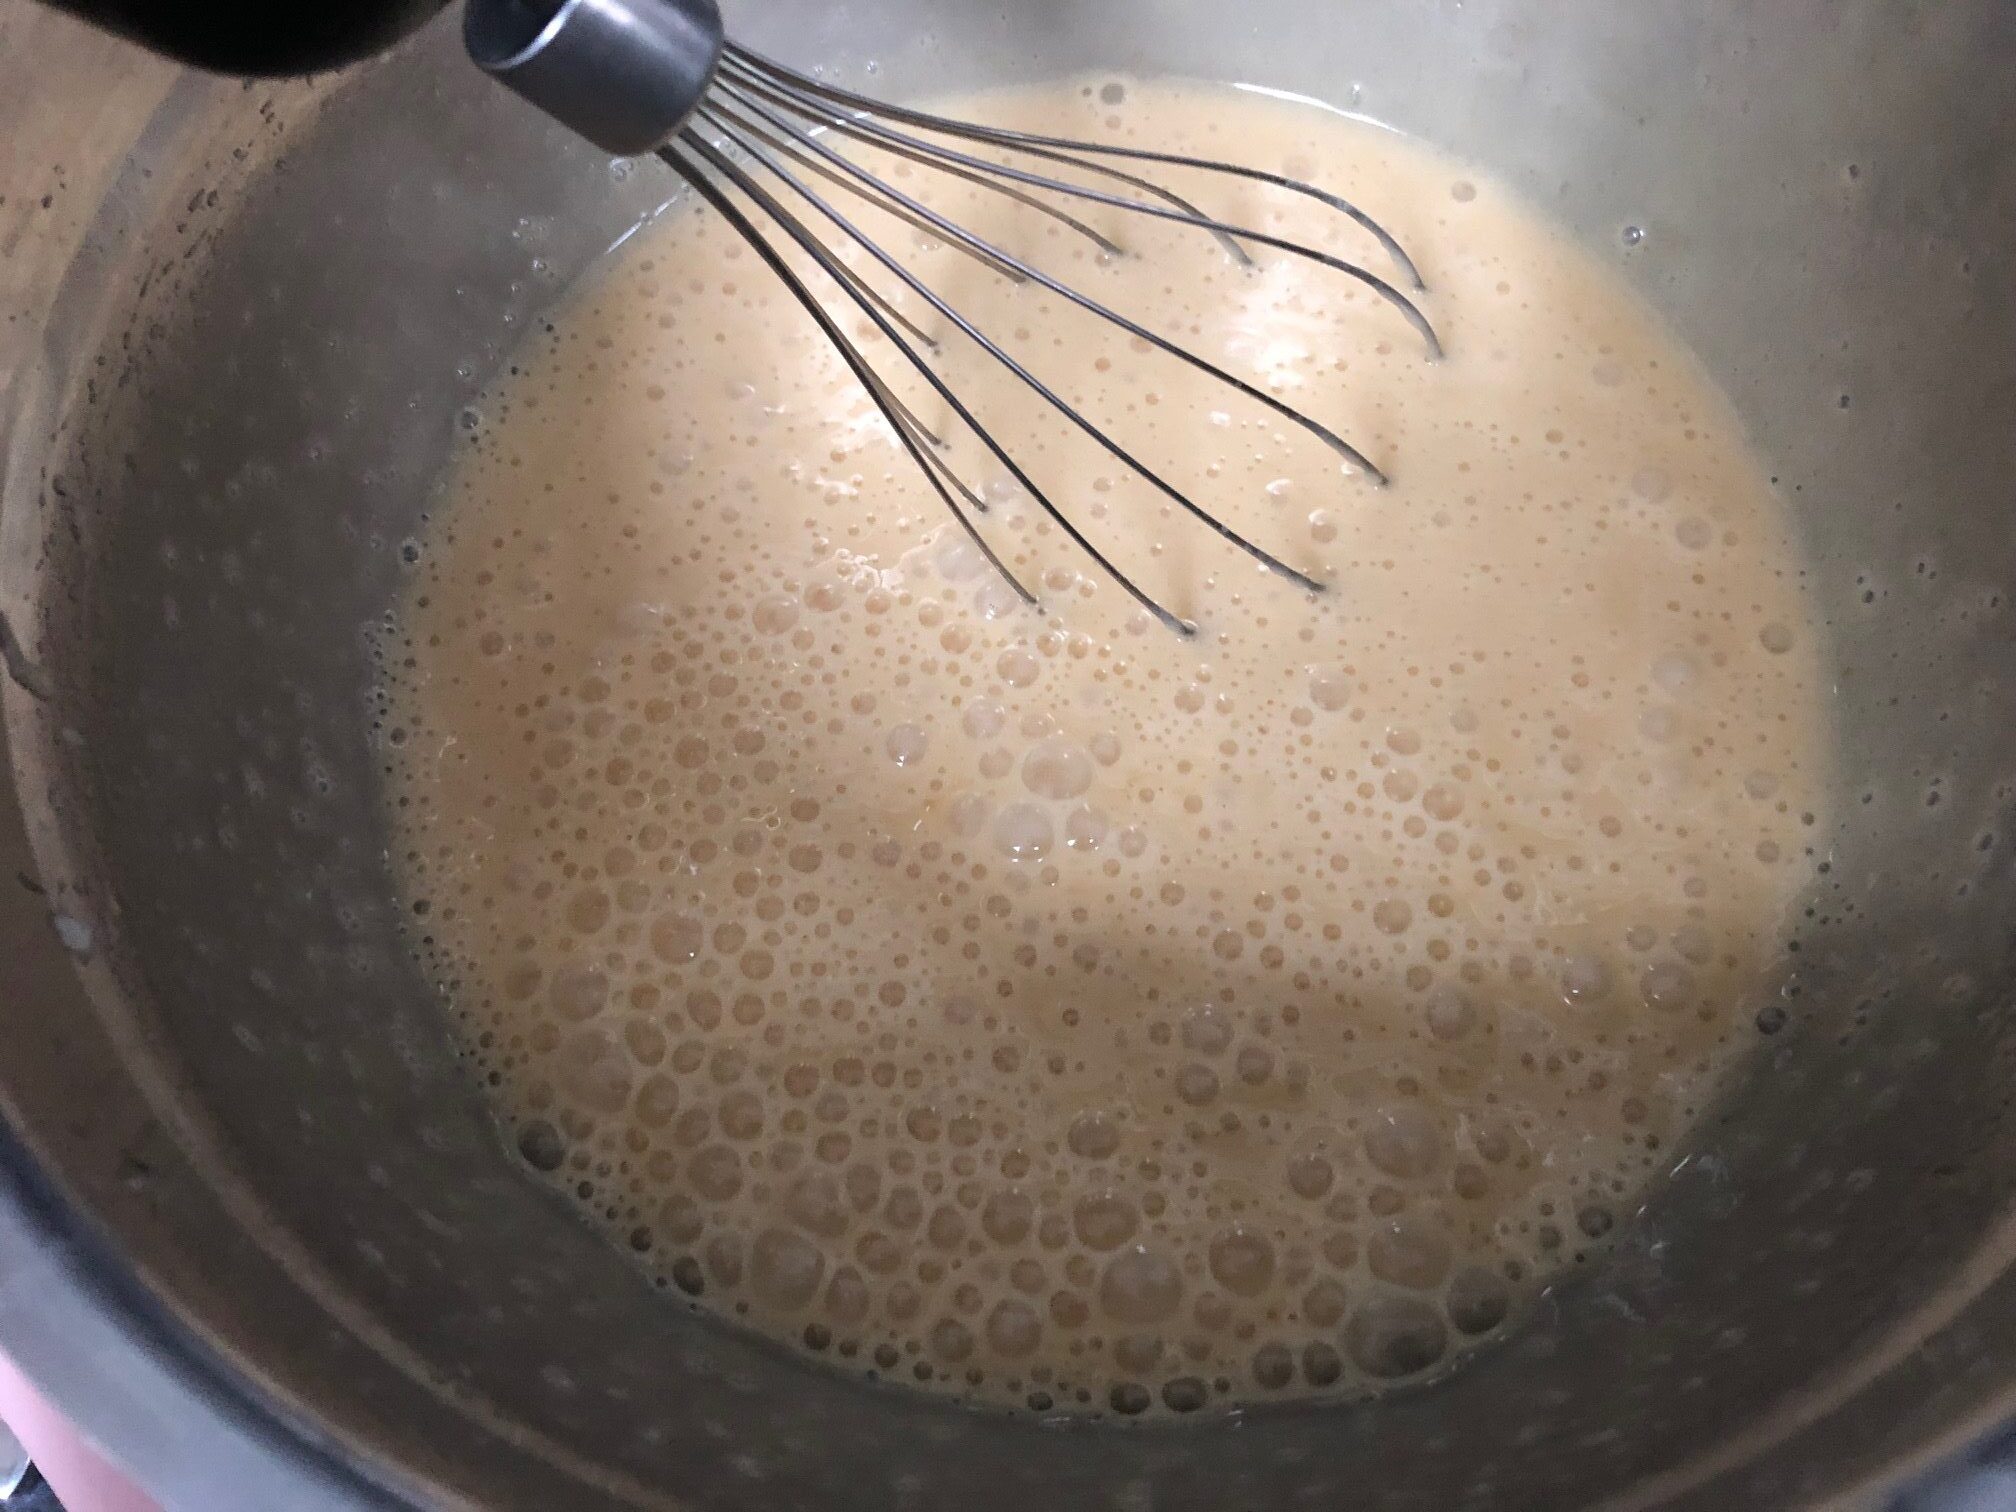
  2. In a medium mixing bowl, add sunflower seed oil.

    sunflower oil
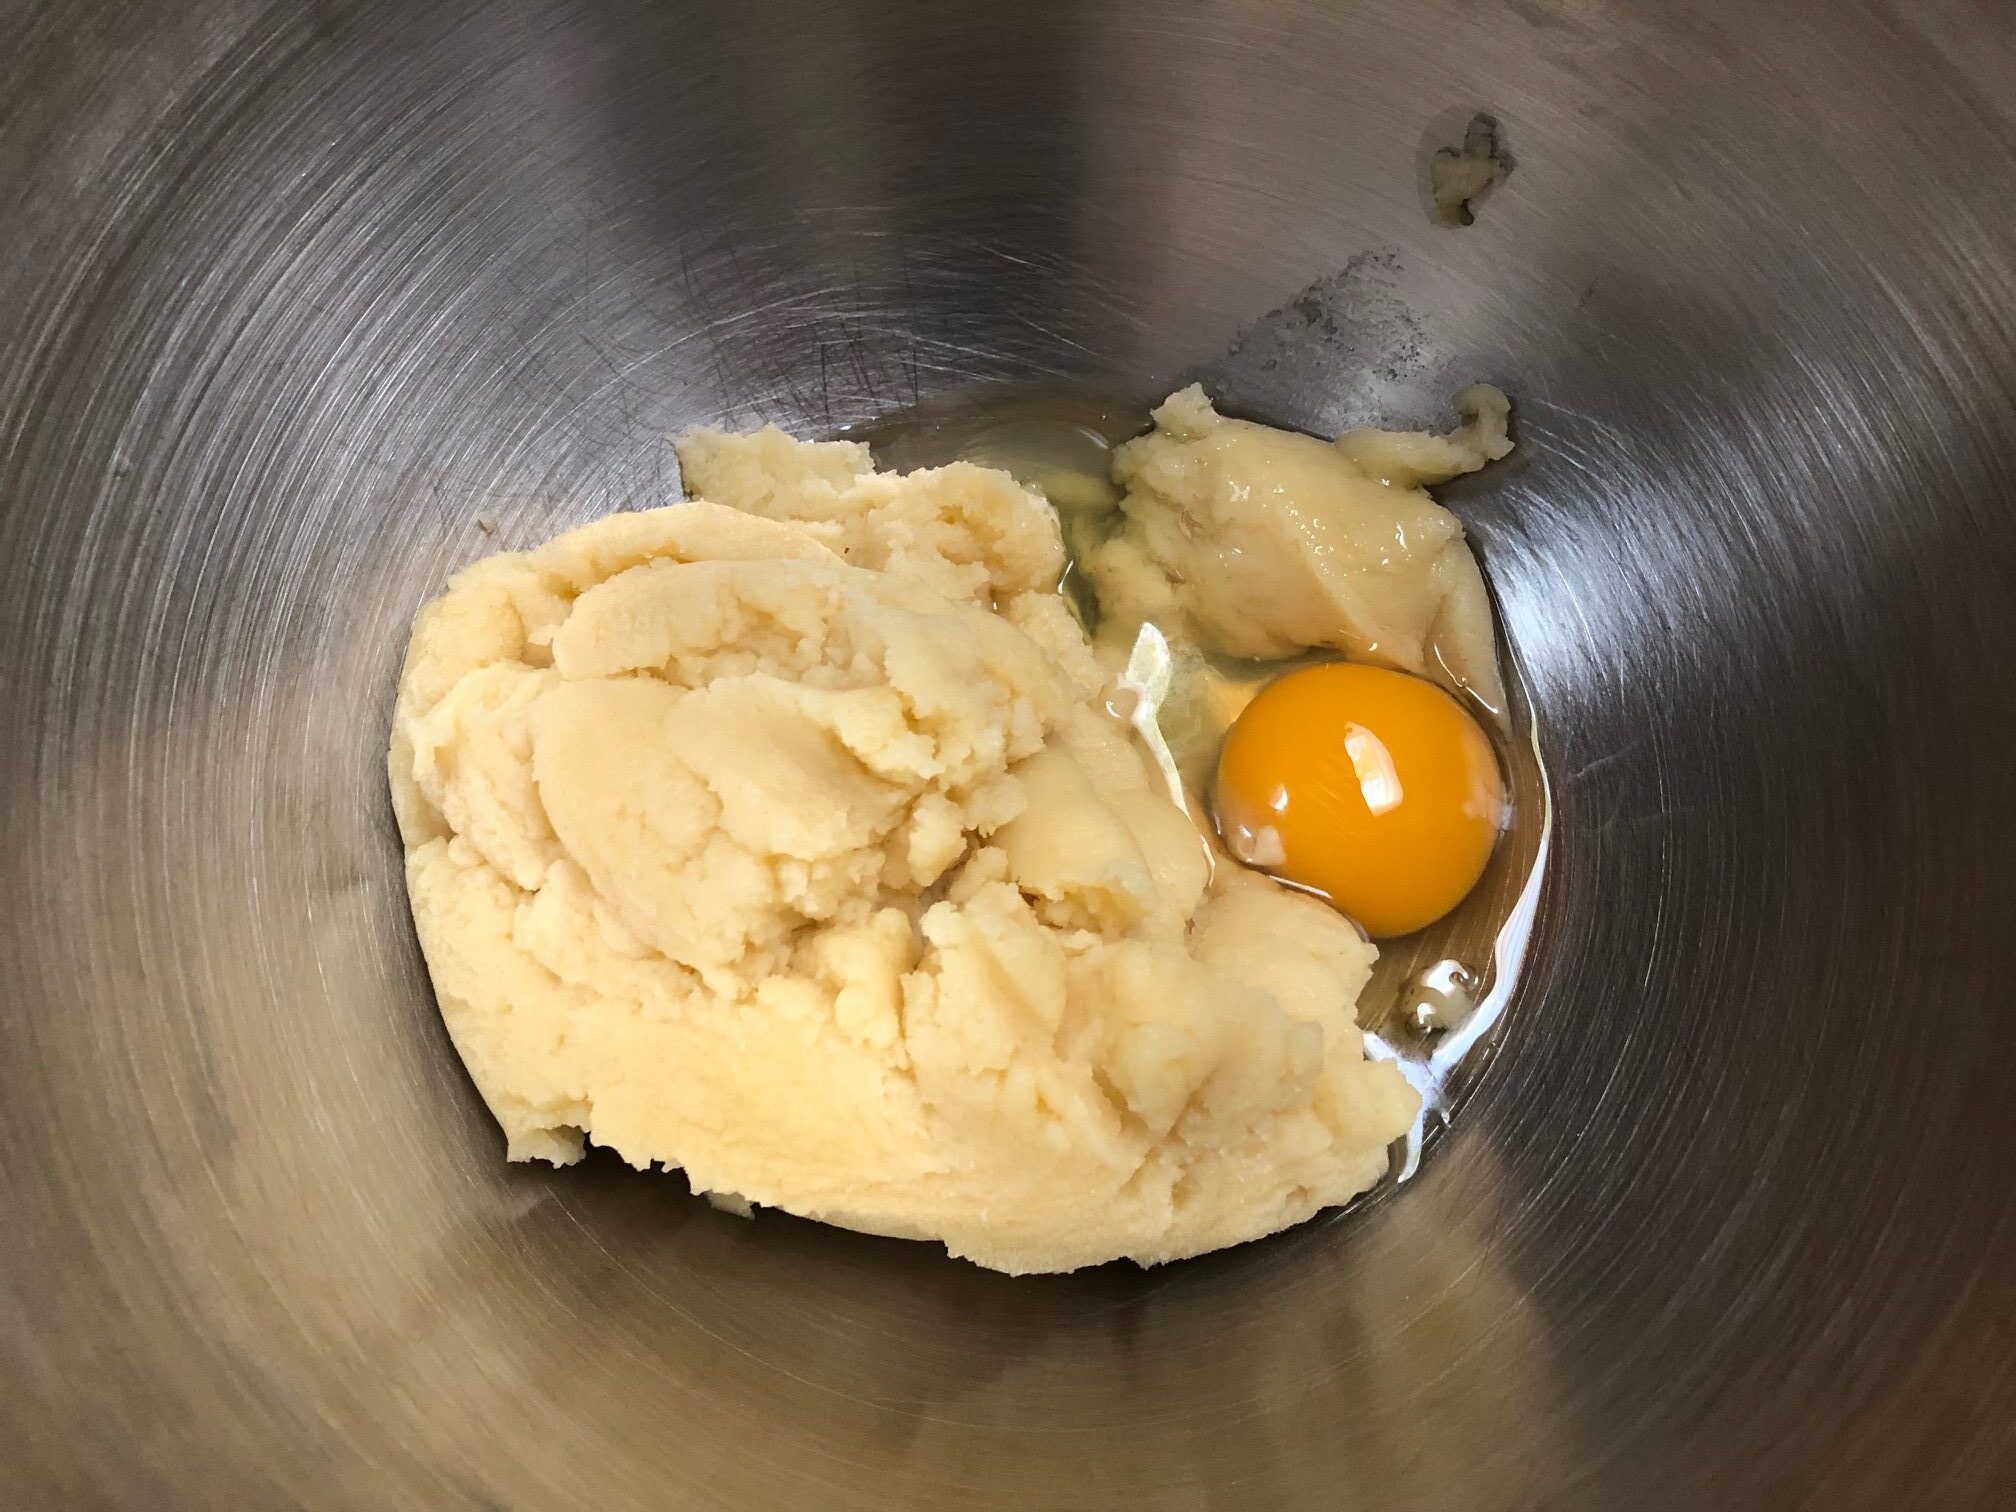
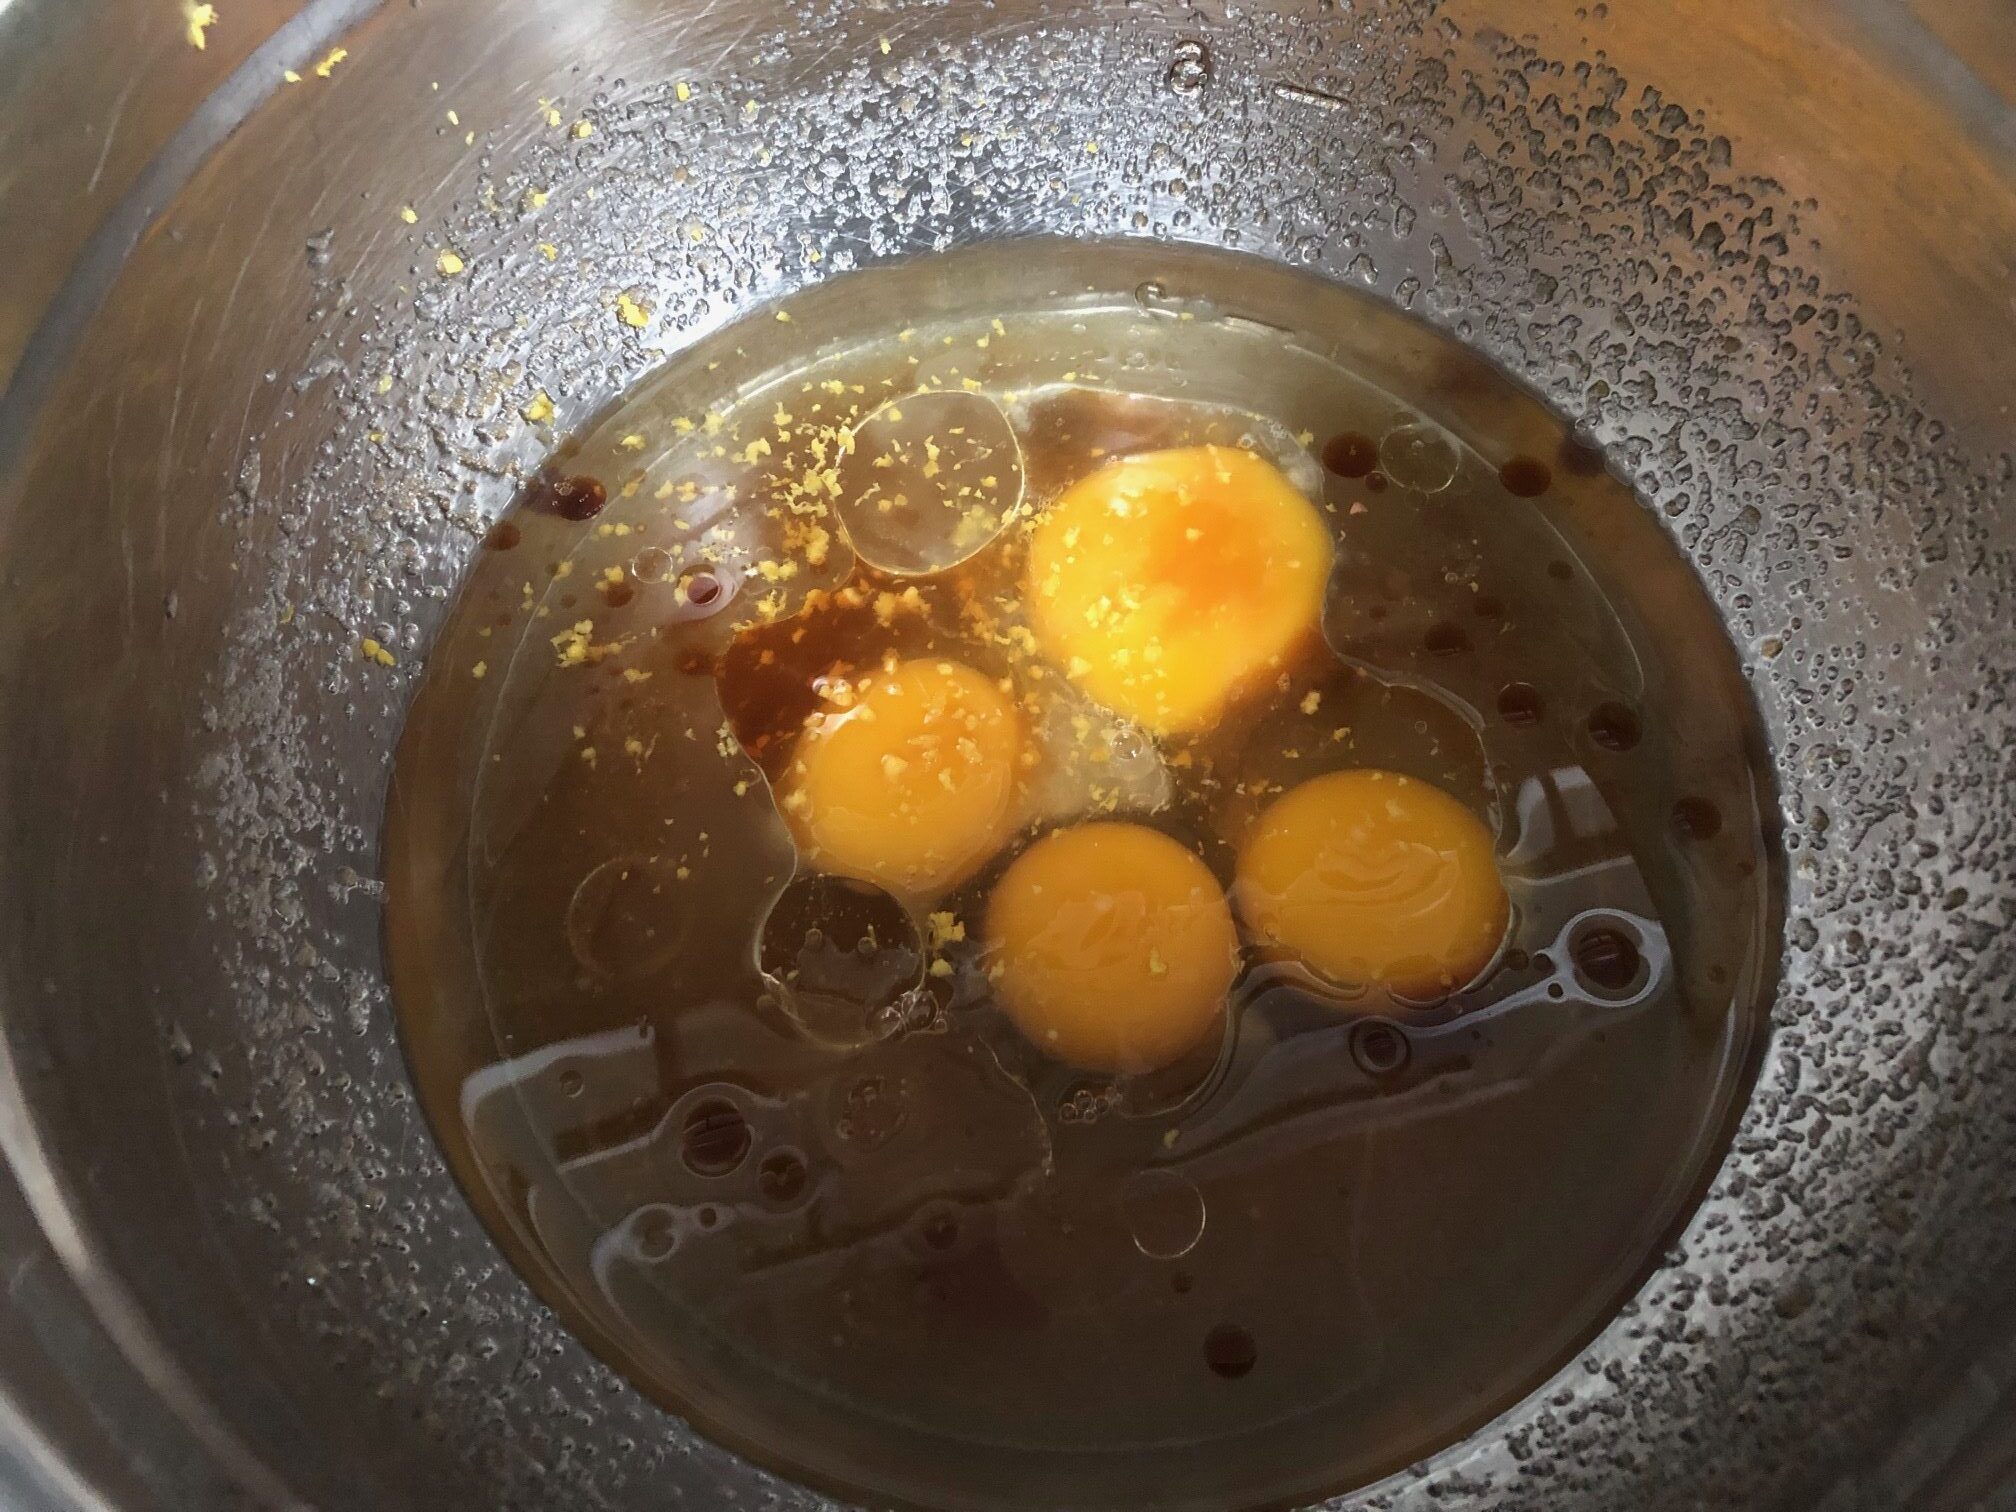
  3. Then add the sugar, eggs, vanilla, and lemon or orange zest

    eggs and oil
  4. Mix all the wet ingredients together using a hand blender or a whisk.

    mixture
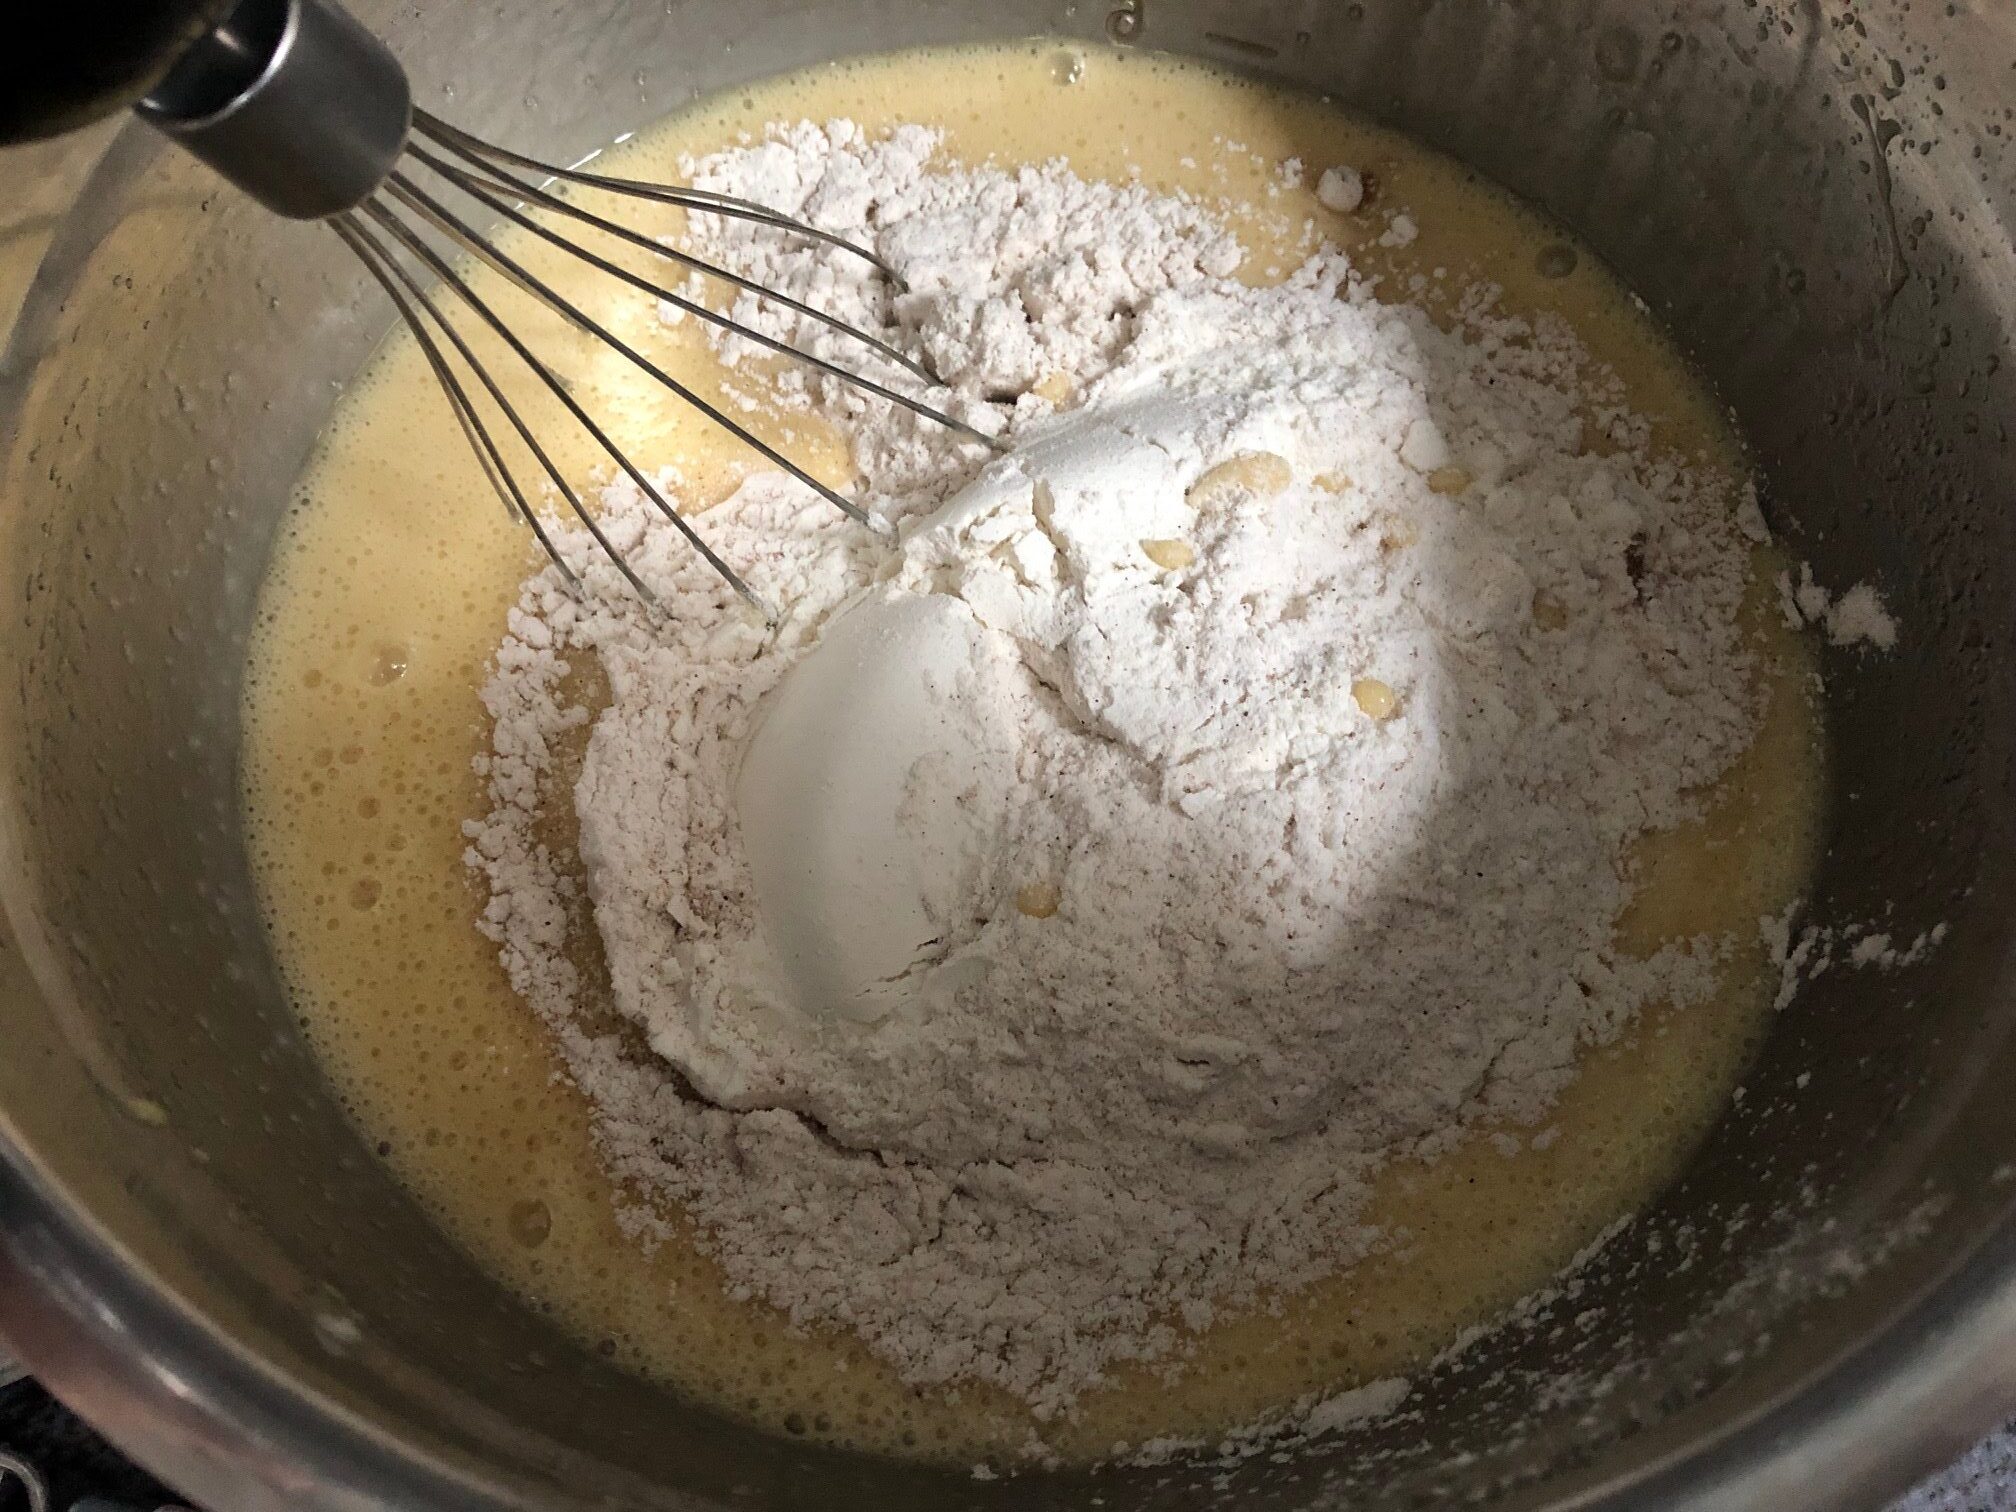
  5. In a large measuring cup, measure two and a half cups of flour, add baking powder, baking soda, salt, and cinnamon.

  6. Mix the dry ingredients thoroughly together and then combine the dry ingredients with the wet ones.

    adding flour
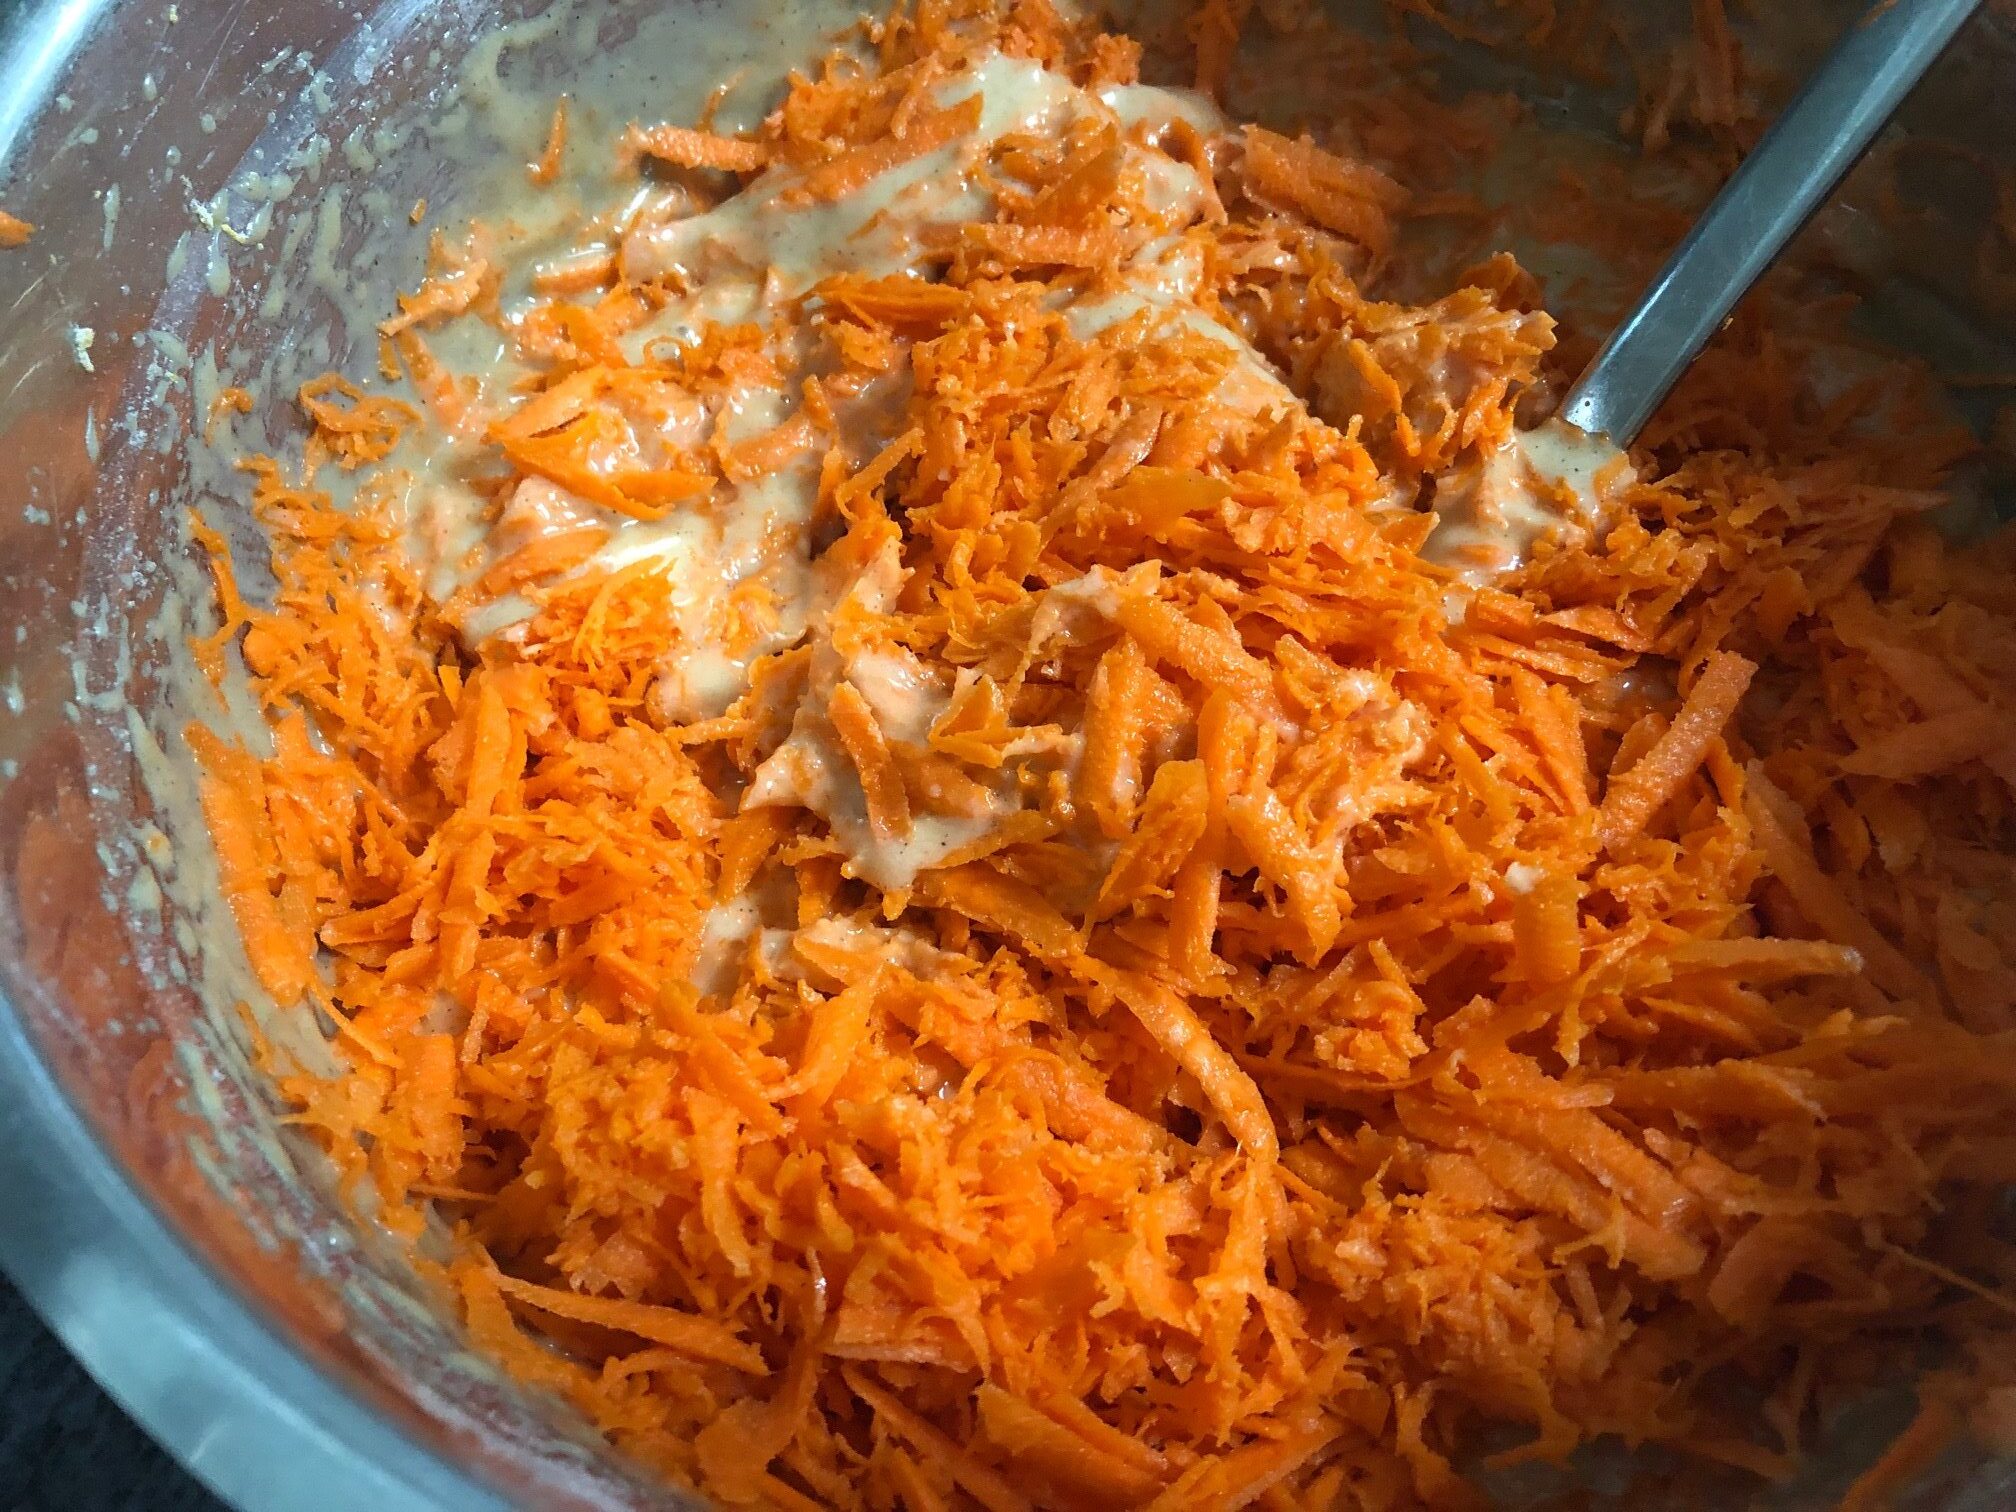
  7. Finally, add the grated carrot. Pour out the juice if there is too much. You can also add coconut if you wish for added flavor.

    carrot
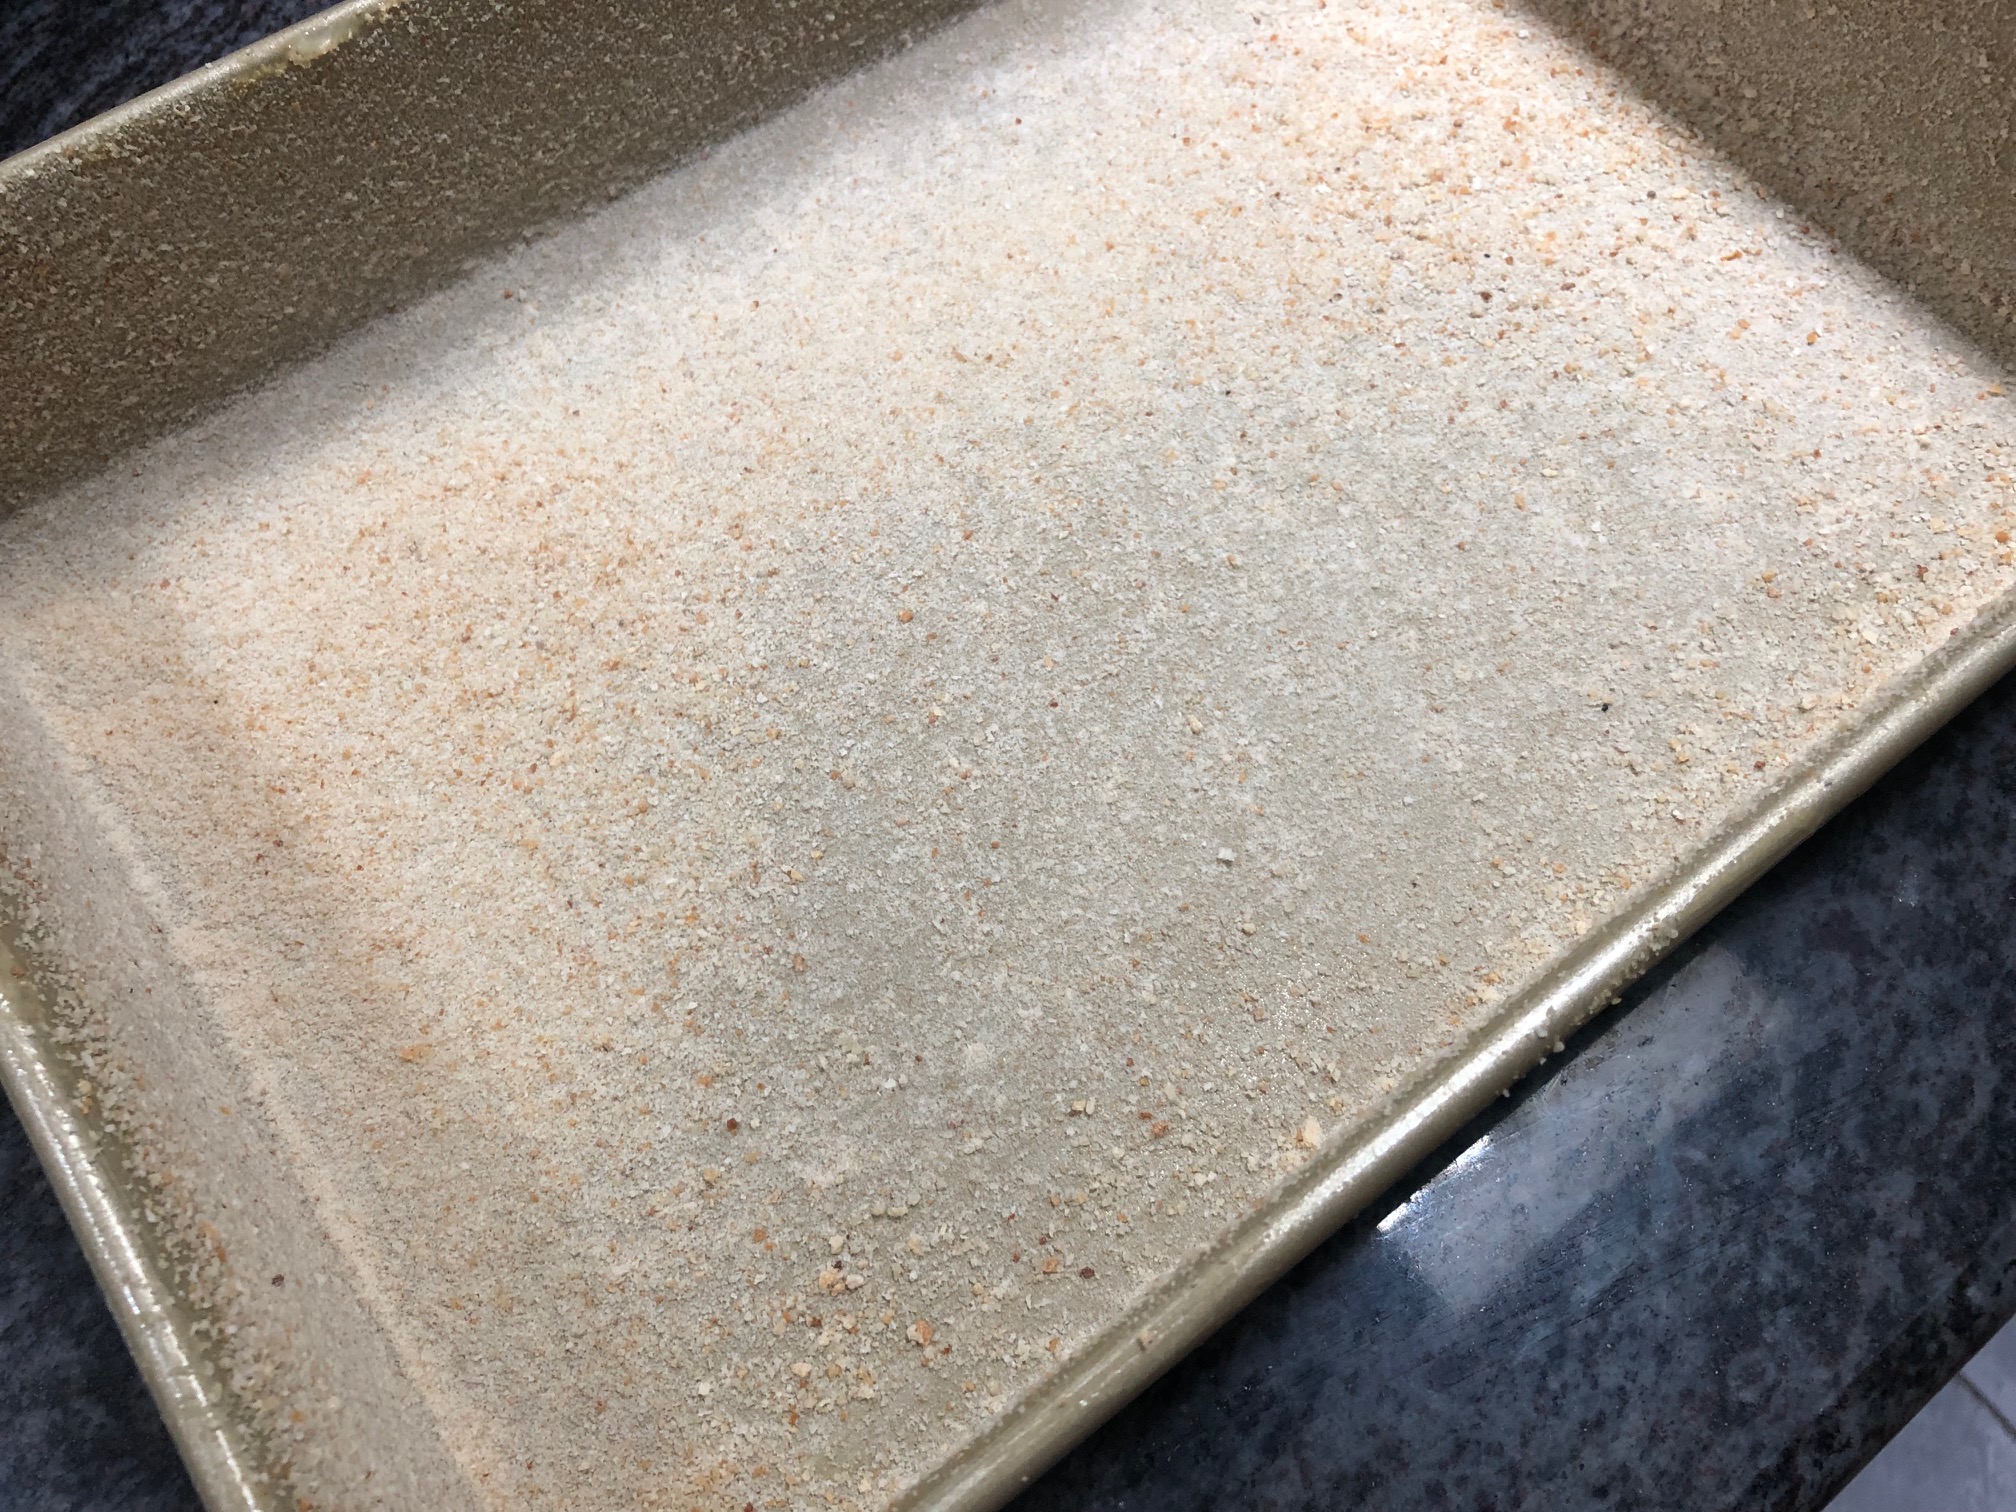
  8. Pour the mixture onto a greased pan covered with a layer of bread crumbs to prevent the cake sticking to the walls.

    baking pan
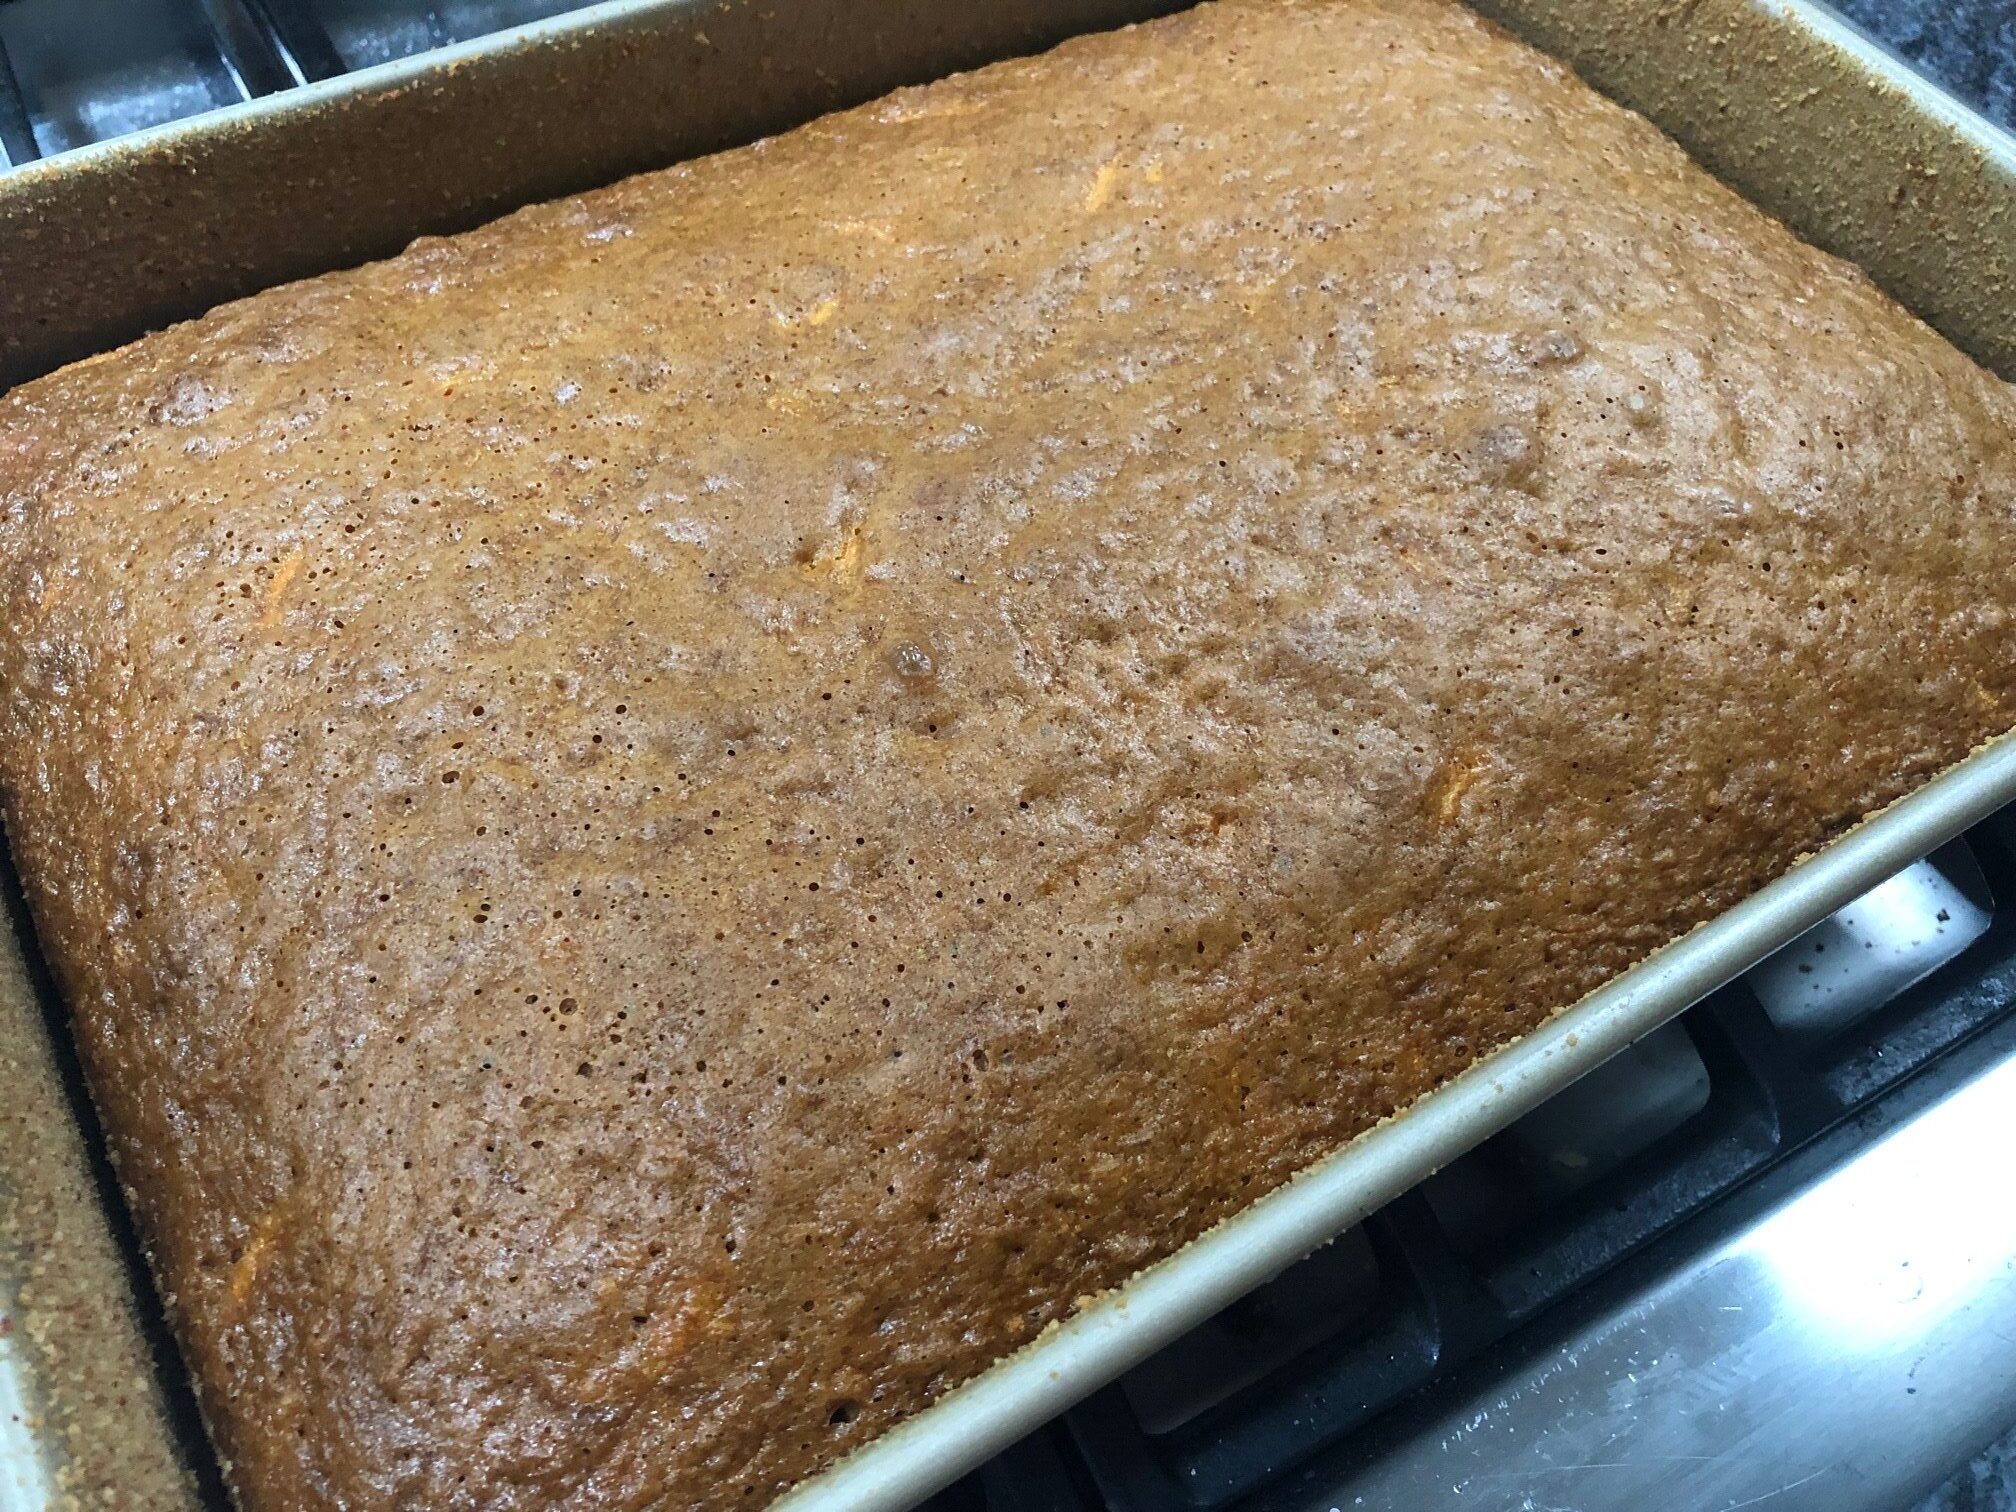
  9. Bake for 40 to 45 minutes.

    baking carrot cake

Cream Cheese Frosting

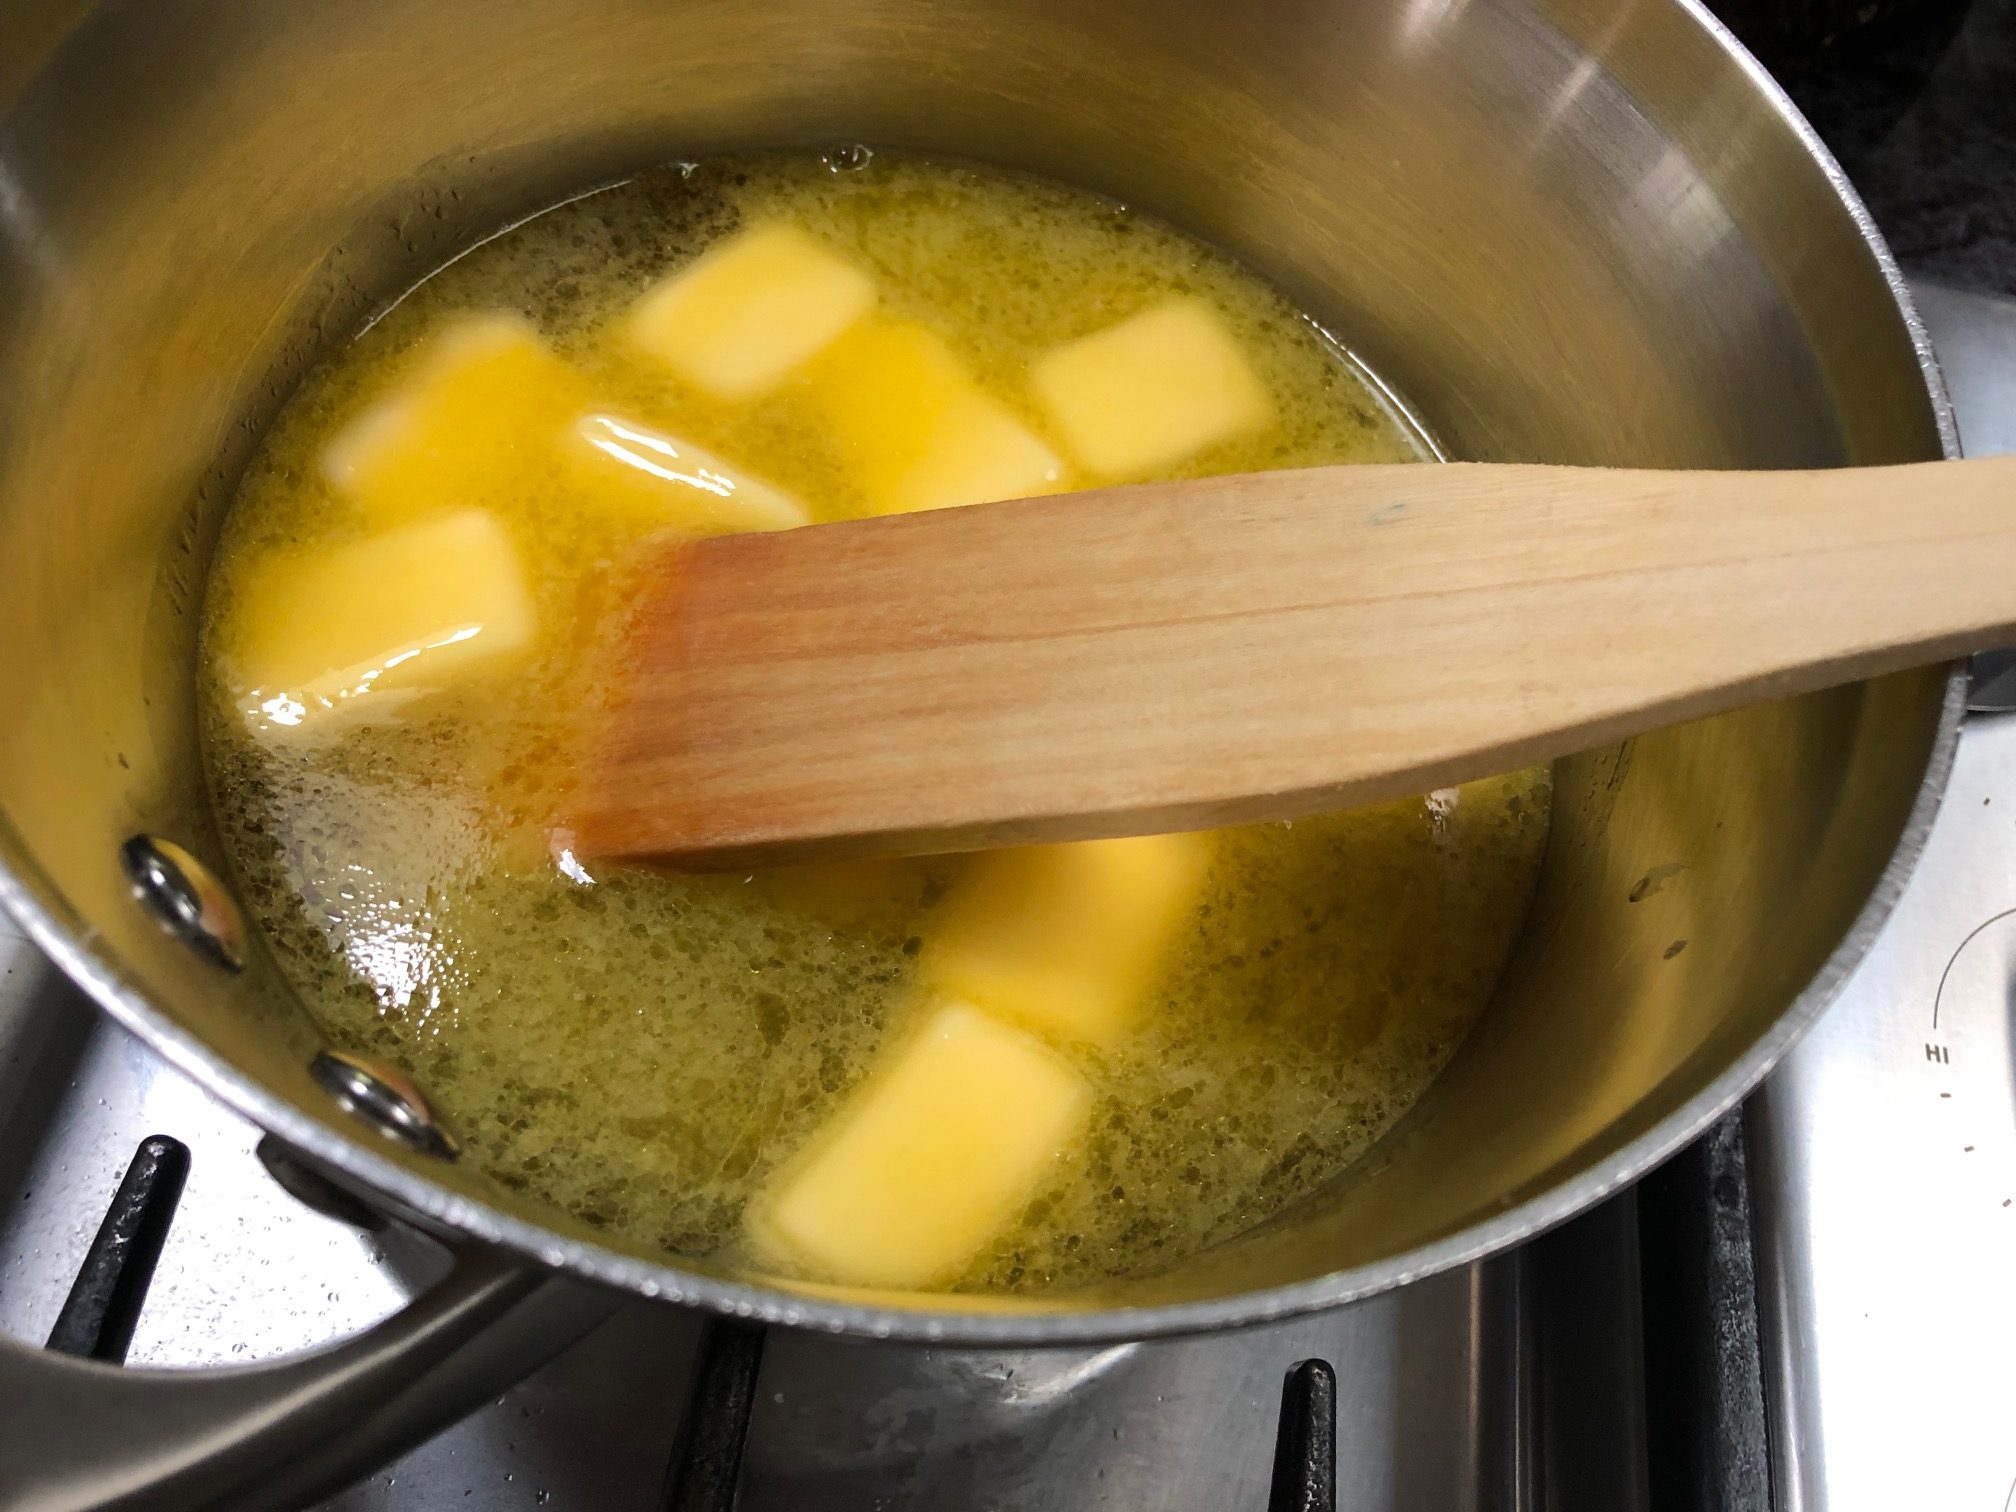
  1. In a small bowl add cream cheese, butter at room temperature, vanilla, and sugar together.

    cream cheese frosting
  2. Using a mixer, mix all the ingredients together until smooth and fluffy.

  3. Cut the carrot cake into three layers and layer the cream cheese frosting in between.

    cream cheese frosting cake
  4. Refrigirate the cake with frosting, or store the frosting for later in a refrigrator.


Not all wheat flour types
are the same

If I were to compare wheat flour types in Poland, the closest that comes to mind is wine and grape varieties. Just like wine, some complement fish dishes better, while others are ideal for sipping with filet mignon.

European vs. North American Flour

There are big differences between European flour and North American flour. Not only based on the type of wheat that readily grows on each continent, but also the environment in which it grows and how the wheat is cultivated.

Cake vs. Bread Flour

Depending on how the wheat is processed, some wheat flours are better for bread making, whereas others are better for cakes.

What’s the meaning of “type”
when classifying flours in Poland?

Although in North America most recipes call for All-Purpose flour, in Poland we distinguish flours for different uses based on “type”. Type relates to the amount of “ash” that remains after a flour sample is burned. The more ash, the richer the flour is in minerals important for our health. So, for example, if you burn a sample of a fairly processed flour like the 500 type, only about 0.50% of ash remains. In less processed flours like 1,850 or 2,000,  the ash content is about 1.85% or 2%.

Using All-Purpose flour
instead of specific flour type

Although the All-Purpose flour has many applications and it’s very similar to the 500 type and 550 type flour used in Poland, the settle differences between the flour used for yeast baking versus pastas, can impact your results. Especially if you’re trying to make your recipes as authentic as possible.

Below is a quick guide of wheat flour from Poland types, gluten, protein content, and their best applications:

***

Wheat Flour Type 450 “Tortowa”

Click to buy

Tortowa

Very delicate flour, contains about 18% of gluten, 9% to 10% of protein, and it’s very refined. It also means it has fewer minerals beneficial to health since only the core of the wheat grain is used. However, it will make your cakes tender and lighter.

Can also be used in recipes requiring pastry flour. The Tortowa flour is excellent for spongecakes, certain pie crusts, and cakes.


                                 ***

Wheat Flour Type 500, or “Wroclawska”

Wroclawska

Heavier flour than “Tortowa”, contains about 25% of gluten and 10% of protein. This flour is ideal for making crepes, waffles, or pancakes.

Can also be used in recipes calling for all-purpose flour.


                              ***

Wheat Flour Type 500, or “Poznanska”

Click to buy

poznanska

Ideal flour for making pierogi, dumplings, pastas, or pizzas. Contains about 11% of protein, slightly more than “Wroclawska”, and even though they are similar, I find that this flour has an edge over other flours for making pastas and pierogis.

If you’re making pizza and you don’t have access to Italian pizza flour type “00”, Poznanska flour is a good substitute. Of course, to make an authentic pizza dough, flour type “00” is the ideal pizza flour, but I find this one to be delicate enough to make excellent pizza.

***

Wheat Flour Type 500 “Krupczatka”

Krupczatka

Coarsely milled flour. Very similar to semolina in texture. Contains at least 25% gluten and 10% to 11% of protein.

This flour is my favorite to use for cookies, shortbread or pie crusts, especially apple crumble. It adds a nice crispiness to baked pastries and makes pie crusts crispier rather than chewy. You can use it in a combination with “Tortowa” Type 450 to bake excellent pies and cookies. It’s also a great substitute when making Italian-style pasta.


                             ***


Wheat Flour Type 550 “Luksusowa”

Lubella flour

Click to buy

Excellent flour for yeast-based baking or fried pastry, such as donuts, challah, pizza dough, or dinner rolls. It contains at least 25% of gluten and 12% of protein.

I also use it as a substitute for recipes that require all-purpose flour.


***

Wheat Flour Type 650 and above

Chlebowa Flour type 750

Anything over 650 is good for bread baking. It’s denser, but also has more nutrients and fiber.

Personally, for baking bread at home I like to use the 750 type. It has wonderfully wheat-like flavor and makes the bread light and airy.


***

Whole Wheat Flour Type 2,000 

type 2,000 flour

Click to Buy Wholegrain Type 2,000 

Excellent flour for making wholemeal bread. This type of flour is wholegrain, which means that the husk is not removed during the processing and the flour is richer in many beneficial nutrients, ranging from fiber, folic acid, iron, to vitamin B6.

Using this type of flour makes the bread denser and darker. You can use it instead of regular all-purpose flour to make your next bread, or at least replace half the portion of the flour in your recipe.

This wholewheat flour contains at least 15% of protein.


Cream Puffs

Ola Rokita18 May 2019Comments (3)

Cream Puffs

I love making Cream puffs! They are light and not too sweet. Have many applications too, and they are quick and easy to make.

Light, delicate, and wonderful for sweet and savory treats

The lightly scalded dough that’s the basis of this recipe, can be served as sweet dessert or prepared as a savory dish.

The puffs can be filled with cream, chocolate spread, or other sweet fillings. You can make eclairs, add to soups in small bits, or serve with scrambled eggs for breakfast. Toast them even, and fill your puff pastry with ham and cheese. The possibilities are endless.

Classic dessert that’s sure to please

My favorite way to serve puff pastry is with whipped cream because I can eat two, and not feel like a brick is sitting in my stomach. In Poland, cream puffs are known as “Ptysie” or “Ptys”(singular).

When growing up, cream puffs or “ptysie” were my favorite treat. On Sundays, my grandma and I had the tradition of going to a local cafe where they sold the fluffiest cream puffs, strawberry smoothies made with kefir, and the creamiest ice cream in town. Needless to say that after our visit to this exquisite cafe, my appetite for dinner was totally ruined.

Today puff pastry is still a popular dessert. It’s also fun to make it with your kids. They can be creative and prepare their puffs in a variety of ways. Even mould the pastry into different shapes. It’s a good idea to use a piping bag to form the shapes

The best flour for cream puffs

As always, I make this recipe with wheat flour from Poland. The ideal flour is “Poznanska” type 500, but you can also use “Wroclwska” type 500.  If you don’t have access to flour from Poland, all-purpose will also do, but if you want your puffs extra fluffy, try using Italian 00 flour.

Cream Puffs

Ingredients

  • 1 cup flour
  • 1 cup water
  • 4 whole eggs
  • 9 tbs unsalted butter (125 grams)

Whipped Cream

  • 2 cups whipping cream about 16 oz or 500 ml
  • 2-3 tbs powdered sugar
  • 1 tbs powdered milk

Instructions

  1. In a medium saucepan heat up the water and add the butter over a medium heat.

    Puff pastry start
  2. Using a spatula, stir the water while the butter melts and bring it to boil.

    Water and butter
  3. Once the water boils, reduce the heat, and keep mixing while adding the flour. Mix vigorously so that the dough does not burn.

    puff pastry mixing
  4. Keep mixing until the dough becomes uniform and peels off the pan walls easily.

    Puff dough
  5. Cool the dough off for about 20-30 minutes.

  6. Add the eggs, one at a time, and keep mixing until the mixture is smooth.

    Puff pastry
  7. Once fully mixed, put it into cream pastry bag and dispense about a fistful onto a silicone baking sheet.

  8. Bake for about 25-30 minutes at 375 degrees Fahrenheit (200 degrees Celcius).

    puff pastry

Cream Filling

  1. Take 500 ml of heavy whipping cream, add 2-3 table spoons of sugar and a table spoon of powdered milk. Beat it on high with a hand mixer until firm.

    cream puff
  2. Cut the puff in half, and fill it with about two tablespoons of cream.

  3. Sprinkle with some powdered sugar on top, and serve. Bon apetit!


Crispy Cookies with Plum Butter Filling

Hamantaschen cookies with plum butter filling are a traditional Purim treat and one of my favorite cookies. They are buttery, crispy, not too sweet, have a slight tangy taste, and can even be enjoyed with a cup of tea or coffee. Personally, I can’t only eat one. Three are the minimum for me.

My grandmother would bake Hamantaschen cookies in early spring, even before Purim. I would help her make them as we chatted about the neighborhood kids or tell family stories.

Use Strawberry Preserves if you don’t have Plum Butter

She would also use different fillings if she didn’t have plum butter on hand. Such as strawberry preserves or poppy seeds. When I make them with my kids, we also fill our cookies with chocolate hazelnut spread. But, I still think plum butter ones are the best.

Use room-temperature ingredients to make Hamantaschen cookies

Before making your Hamantaschen cookies with plum butter filling, I highly recommend using room temperature ingredients, especially butter and eggs. About an hour before baking, take the eggs and butter out of the fridge and leave them on your kitchen counter.

Also, for the plum butter, if you don’t have fresh plums, you can use ready-made plum butter or plum preserves from your grocery store. I sometimes even use plum jam if I can’t find plum butter.

Quick and Simple Plum Butter Recipe

To make plum butter, I wash and dry about two pounds of plums. Take out the pits, cut the pitted plums into quarters, add 4 table spoons of water and 4 table spoons of sugar, and cook them in a medium sauce pan, with the cover on, over a low heat for about 45 minutes. Then for about 15-20 minutes I let the cooked plums rest under the cover. Once softened, I use an immersion mixer to puree the plums into a smooth butter.

Use light European Flour for superb taste and texture

As in my other recipes, for this one I only use wheat flour from Poland. Preferably a mix of wheat flour from Poland type 500 “Krupczatka” — a coarsely milled flour–and type 500 “Poznanska” flour so it’s easier to mold the dough without it being too crumbly. You can also use All-Purpose flour if that’s easier.

Hamantaschen Cookies

Ingredients

  • 2.5 cups wheat flour (Polish Type 500) (Alternatively All-Purpose flour)
  • 8 tbsp butter (110 grams)
  • 0.5 cup powdered sugar
  • 2 egg yolks
  • 1 tbsp sour cream
  • 1 tbsp plain yogurt or kefir
  • 1 tsp vanilla extract
  • 0.5 tsp lemon zest
  • 1 tsp lemon juice
  • 1 tsp baking powder
  • 1 tsp baking soda

Filling:

  • 8 oz Plum Butter about 225 grams

Instructions

  1. Mix butter and powdered sugar together into a creamy texture.

  2. Add egg yolks, sour cream and yogurt, or kefir, and mix everything well together.

  3. Add lemon zest, lemon juice, and vanilla, and continue mixing.
  4. Thoroughly combine the flour with the baking powder and baking soda and add the mixed dry ingredients to the rest of the ingredients. Using your hands, knead the ingredients together until you obtain a uniform dough.

  5. Cover the kneaded dough with foil and put it in the fridge for a minimum of 30 minutes. You can leave your dough in the fridge overnight or 24 hours if you like.

  6. Once cooled, take half a portion of the dough and roll it flat with a rolling pin. About 1/4 of an inch (0.5 cm) thick. You can use plastic wrap to avoid sticking.

  7. Using the rim of a round glass or circular cookie cutter, cut out circles from your dough.

  8. Place a teaspoon of plum butter onto each circle. 

  9. Fold it on three sides into a shape of a triangle.

  10. Place your shaped cookie onto a cookie sheet.

  11. Bake at 350 degrees Fahrenheit or 180 degrees Celsius for 25-30 minutes. 


Millet Grouts – Super Food

Ola Rokita25 February 2019Comments (0)

I am a huge fan of Millet Grouts. Millet Grouts along with Buckwheat, Barley, and Cream of Wheat are an essential part of Polish diet. Most Polish people like to refer to these grains as “kasza” or “kasha”.

The reason I love kasha in general is because of the amazing health benefits it offers. Yet, most kasha is inexpensive, easy to prepare, and there are many fun ways to add it to your meals.

But, in many ways Millet is my favorite type of kasha. Aside from the fact that it’s naturally gluten free. Millet is also very rich in iron, calcium, vitamin B-6, magnesium, potassium, fibre, and protein. It’s considered so healthy, that when I got sick as a child, my grandmother would prepare for me a bowl of warm Millet Grouts, topped with a bit of honey or with a few teaspoons of elderberry sauce. This was a sure cure for colds, and it soothed my tummy.

In addition to all the vitamins, Millet has beauty benefits too! Because this grain contains high levels of silica and vitamin E, it’s very beneficial for hair, nails, and skin.

Millet is an ancient grain, and it’s still very popular in the middle east and India. Unfortunately in the United States it’s main use is for bird seed. Although, recently I’ve seen a few health and organic food stores sell it for human consumption as well. Hopefully with time, this super-nutritious food becomes more popular in the U.S. as more and more Americans look for alternative ways to enrich their diets and work on improving their health.

Preparing Millet Grouts is simple. You just need water, a pinch of salt, and a table spoon of olive oil. For now, I’ll share with you my basic way of cooking Millet Grouts. And over time, I’ll feature some more elaborate recipes here that you can experiment with to help you add this grain into your diet.

***

  • Click here to learn why I only bake with Polish flour type 520-550.

Cooking Millet Grouts

Ingredients

  • 200 grams Millet Grouts (about a cup)
  • 2.5 cups water
  • 1 tbsp olive oil
  • 1 tsp salt

Instructions

  1. Pour Millet Grouts into a medium sauce pan.

  2. Under cold water, while using your hand, wash the grouts 2-3 times to get rid of the bitter taste.

  3. Add about two and a half cups of clean cool water to the washed grouts and place it over medium heat.  

  4. Add salt and olive oil, and gently stir it once.

  5. Once the water comes to a boil, reduce the heat to low. Cover the sauce pan and let it boil for another 10-15 minutes.

  6. Turn off the heat, and let the Millet Grouts rest for about 10 minutes.

  7. Add 4-6 tablespoons of cooked Millet Grouts to your salad or favorite vegetables. Enjoy!

Millet Grouts Base Salad