Pizza is one of my favorite foods. I can eat it everyday. Making pizza dough is very simple to make and requires very few ingredients. For this recipe I use wheat flour from Poland, type 550.
Watch my video on how to make this delicious recipe.
Cheese Pizza
Pizza Dough
-
5
cups
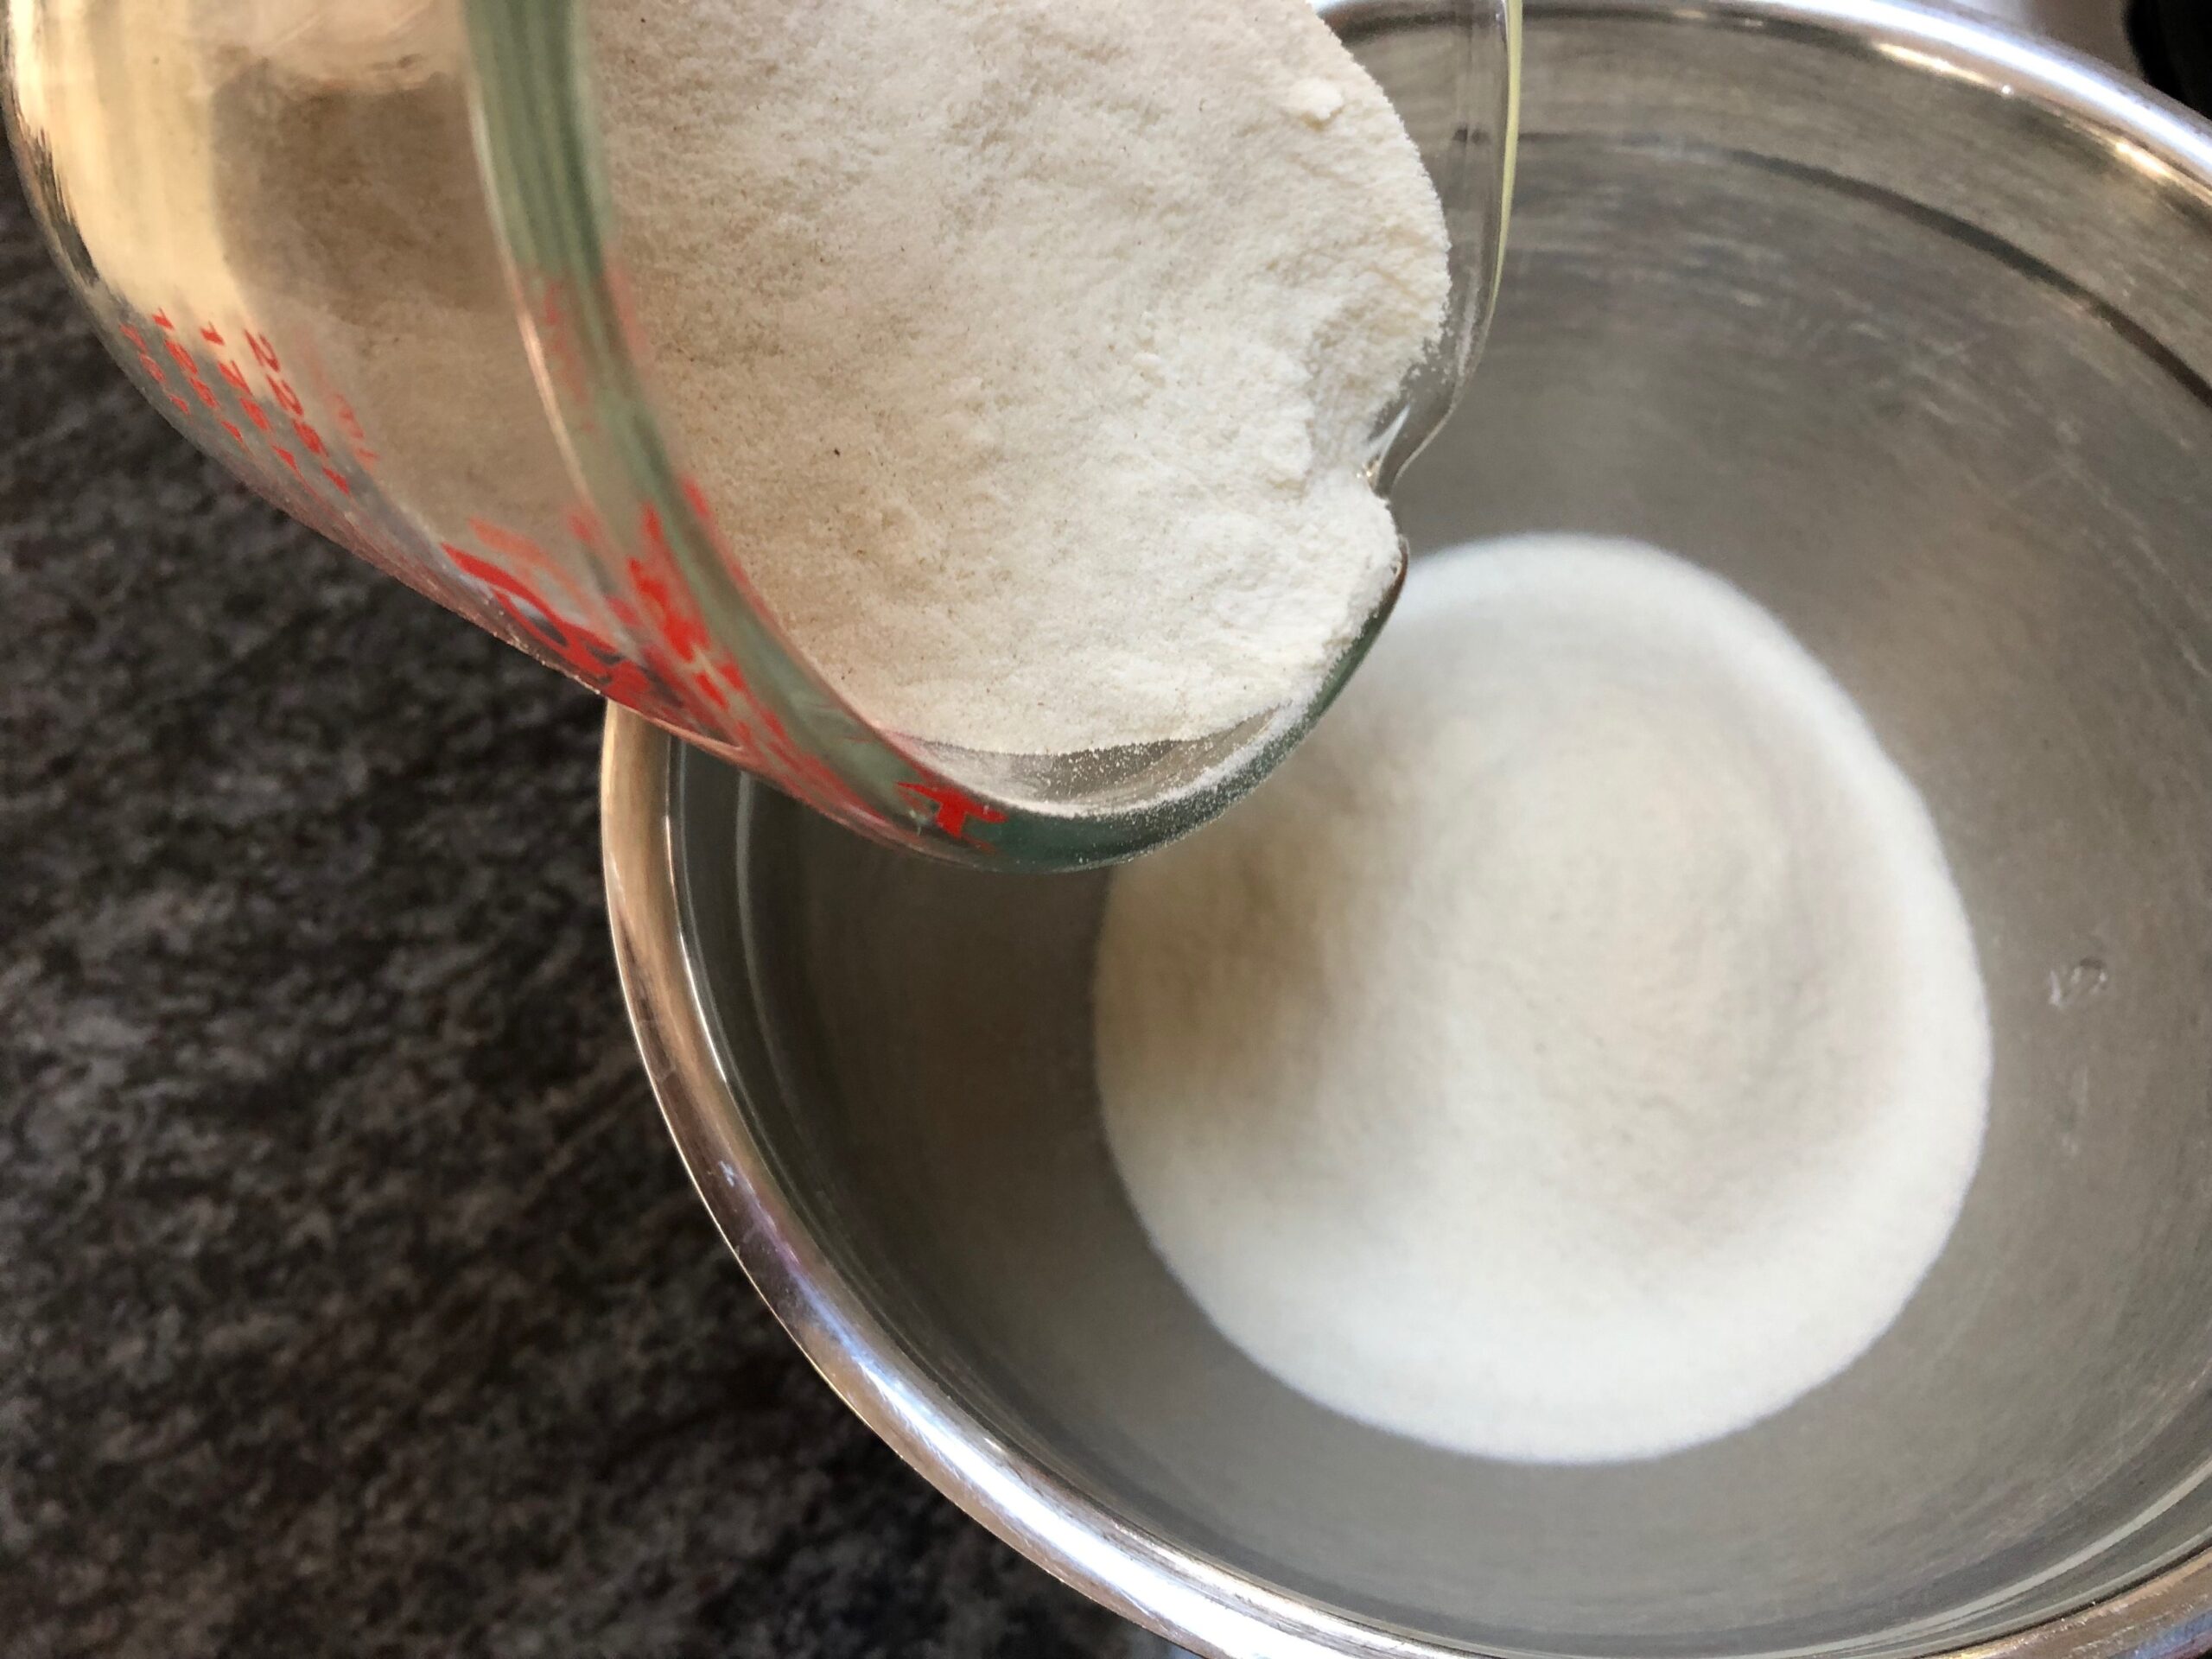
flour
-
2
cups
lukewarm water
-
1
tbsp
sugar
-
2
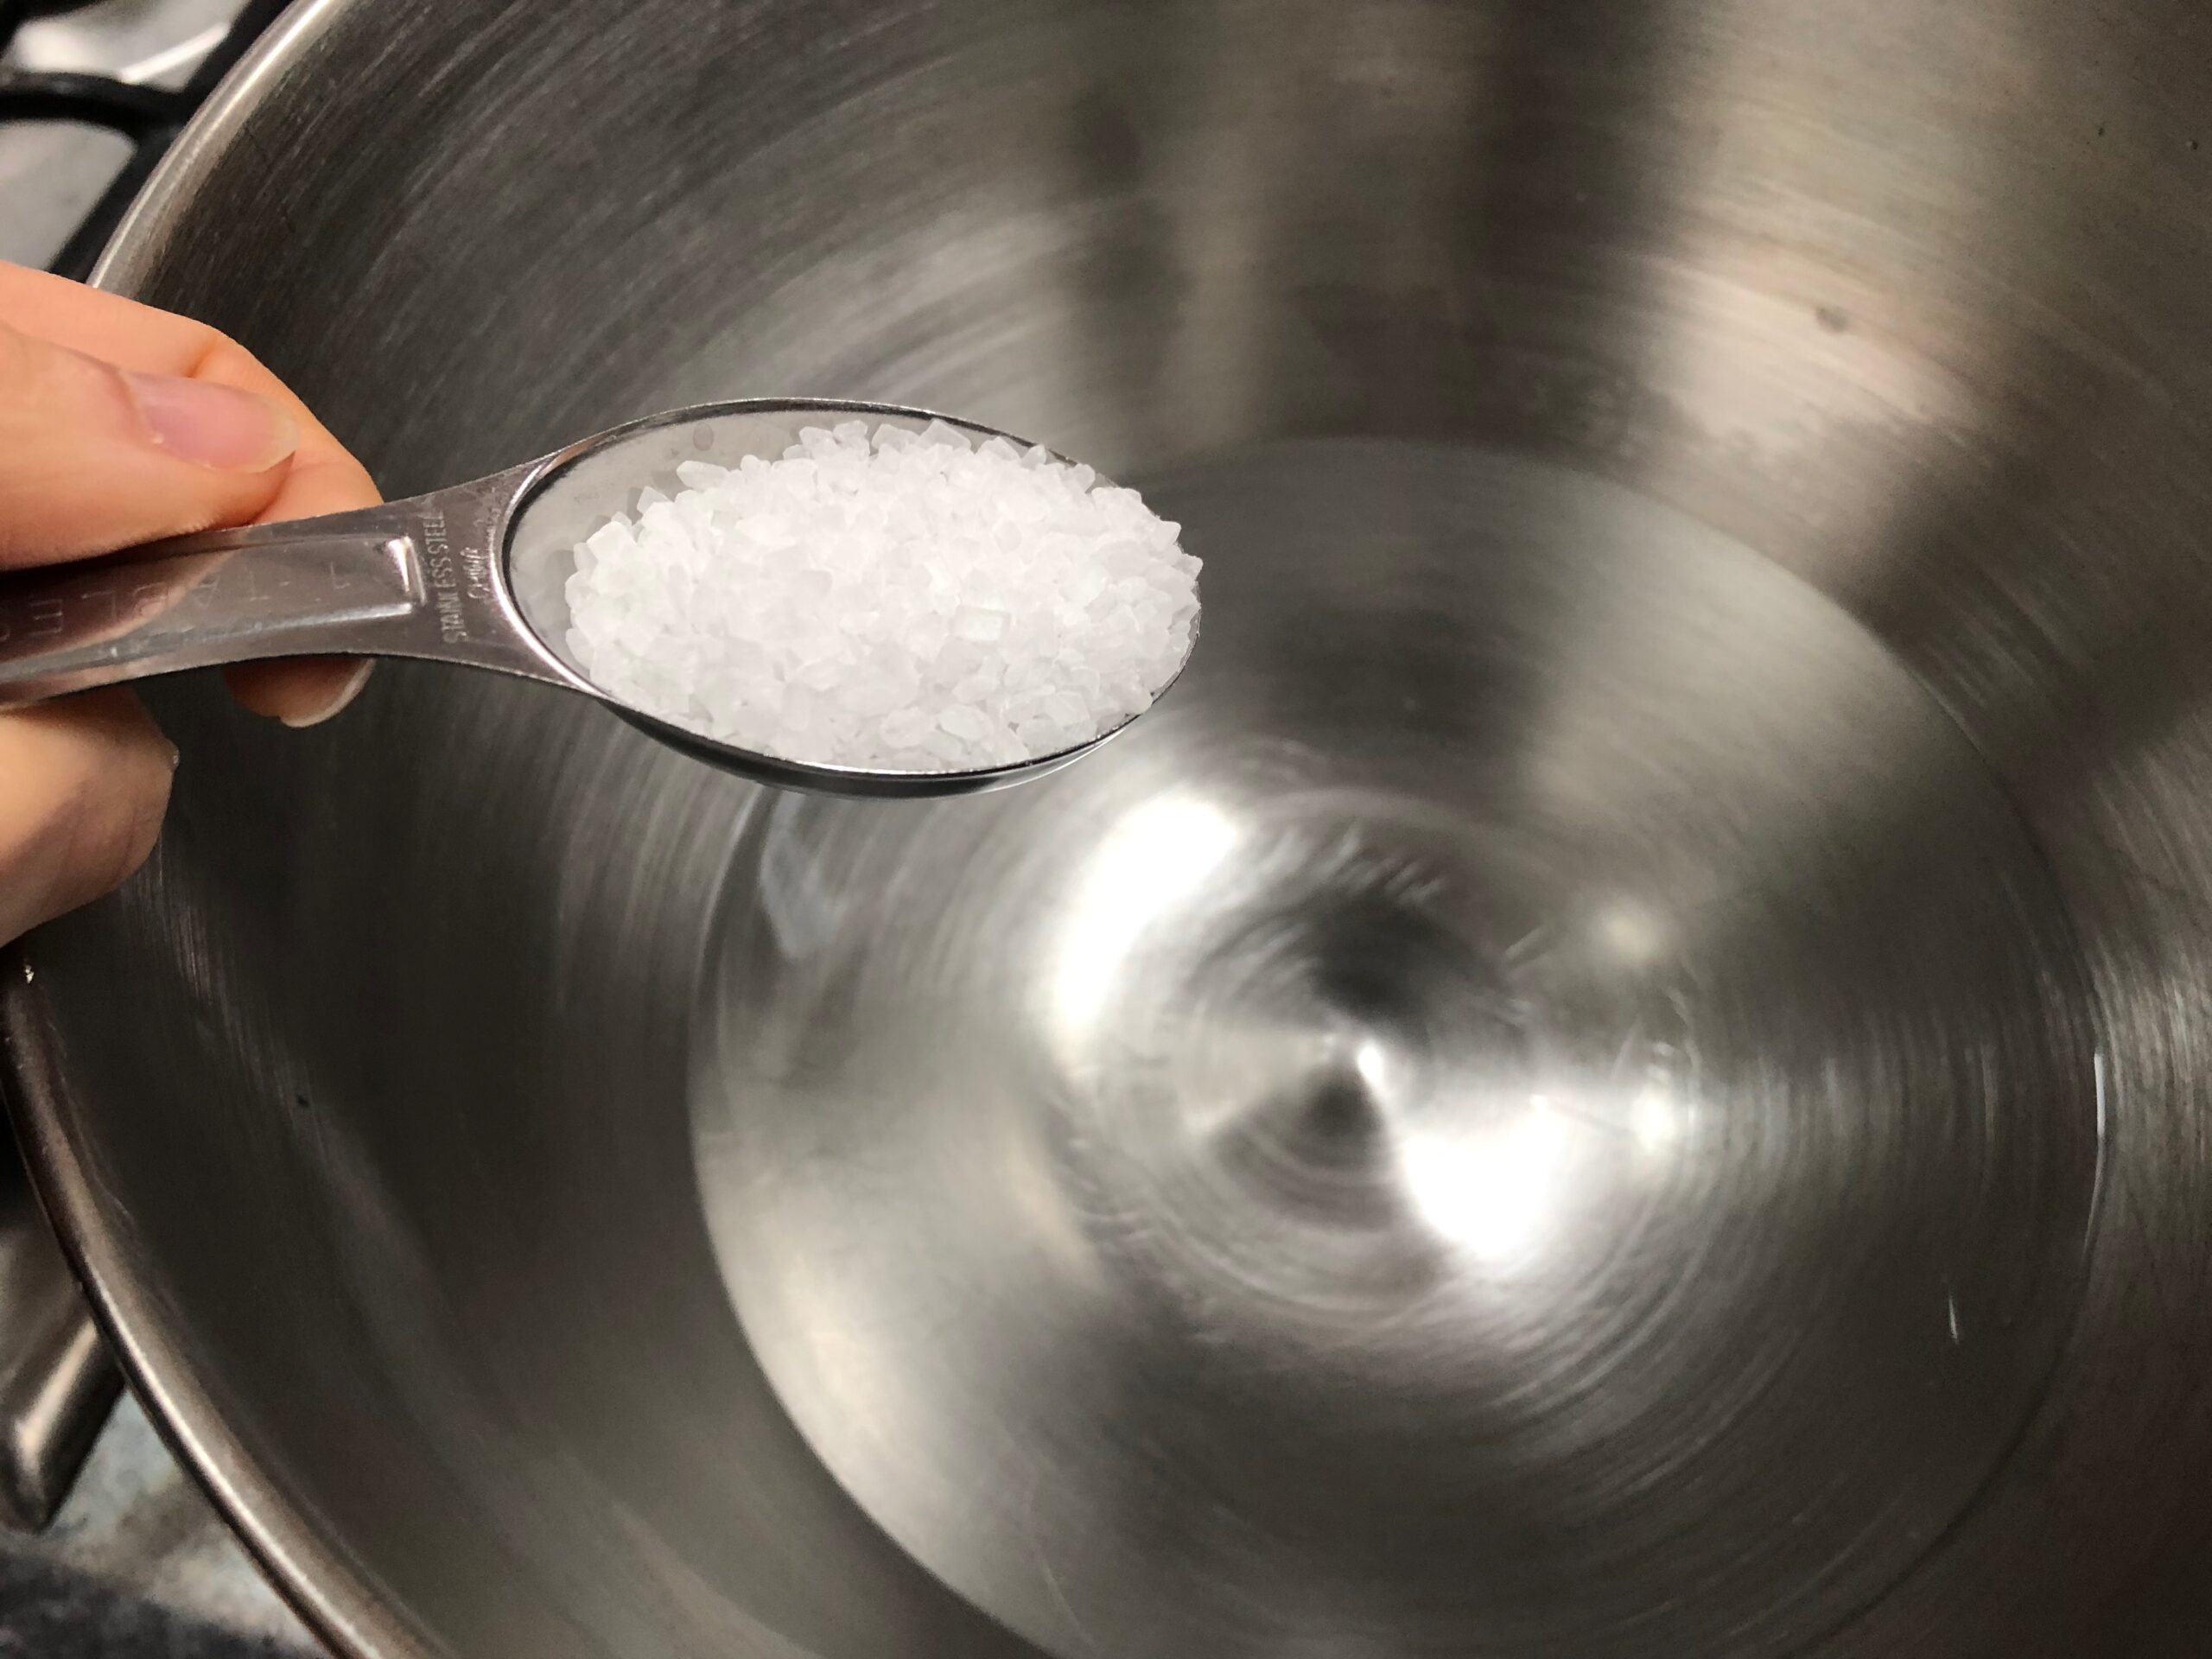
tsp
sea salt
-
1
packet
active dry yeast
(7 grams)
For this recipe you'll also need pizza peel and oven pizza stone.
Toppings
-
1
cup
pizza sauce
-
3/4
cups
shredded fresh mozzarella cheese
-
Using a stand mixer bowl, add two cups of lukewarm water.
-
Add sugar and two tbsp of flour and mix it all together.
-
Add a packet of dry active yeast
-
Wait 5 minutes until the yeast starts working and add two cups of flour.
-
Mix it with a spoon and add salt, and continue mixing.
-
Add 2-3 cups of flour and gently mix it
-
Place the bowl back to the mixer and using a hook mix the dough for 8-10 minutes.
-
-
Continue mixing for another 5-10 minutes.
-
Remove the bowl with the dough from the mixer and place it on the counter to rest covered with a clean dish cloth.
-
Wait approximately 1 hour for the dough to rise.
-
Preheat the oven to 225 degrees Celsius (435 F - 450 F).
-
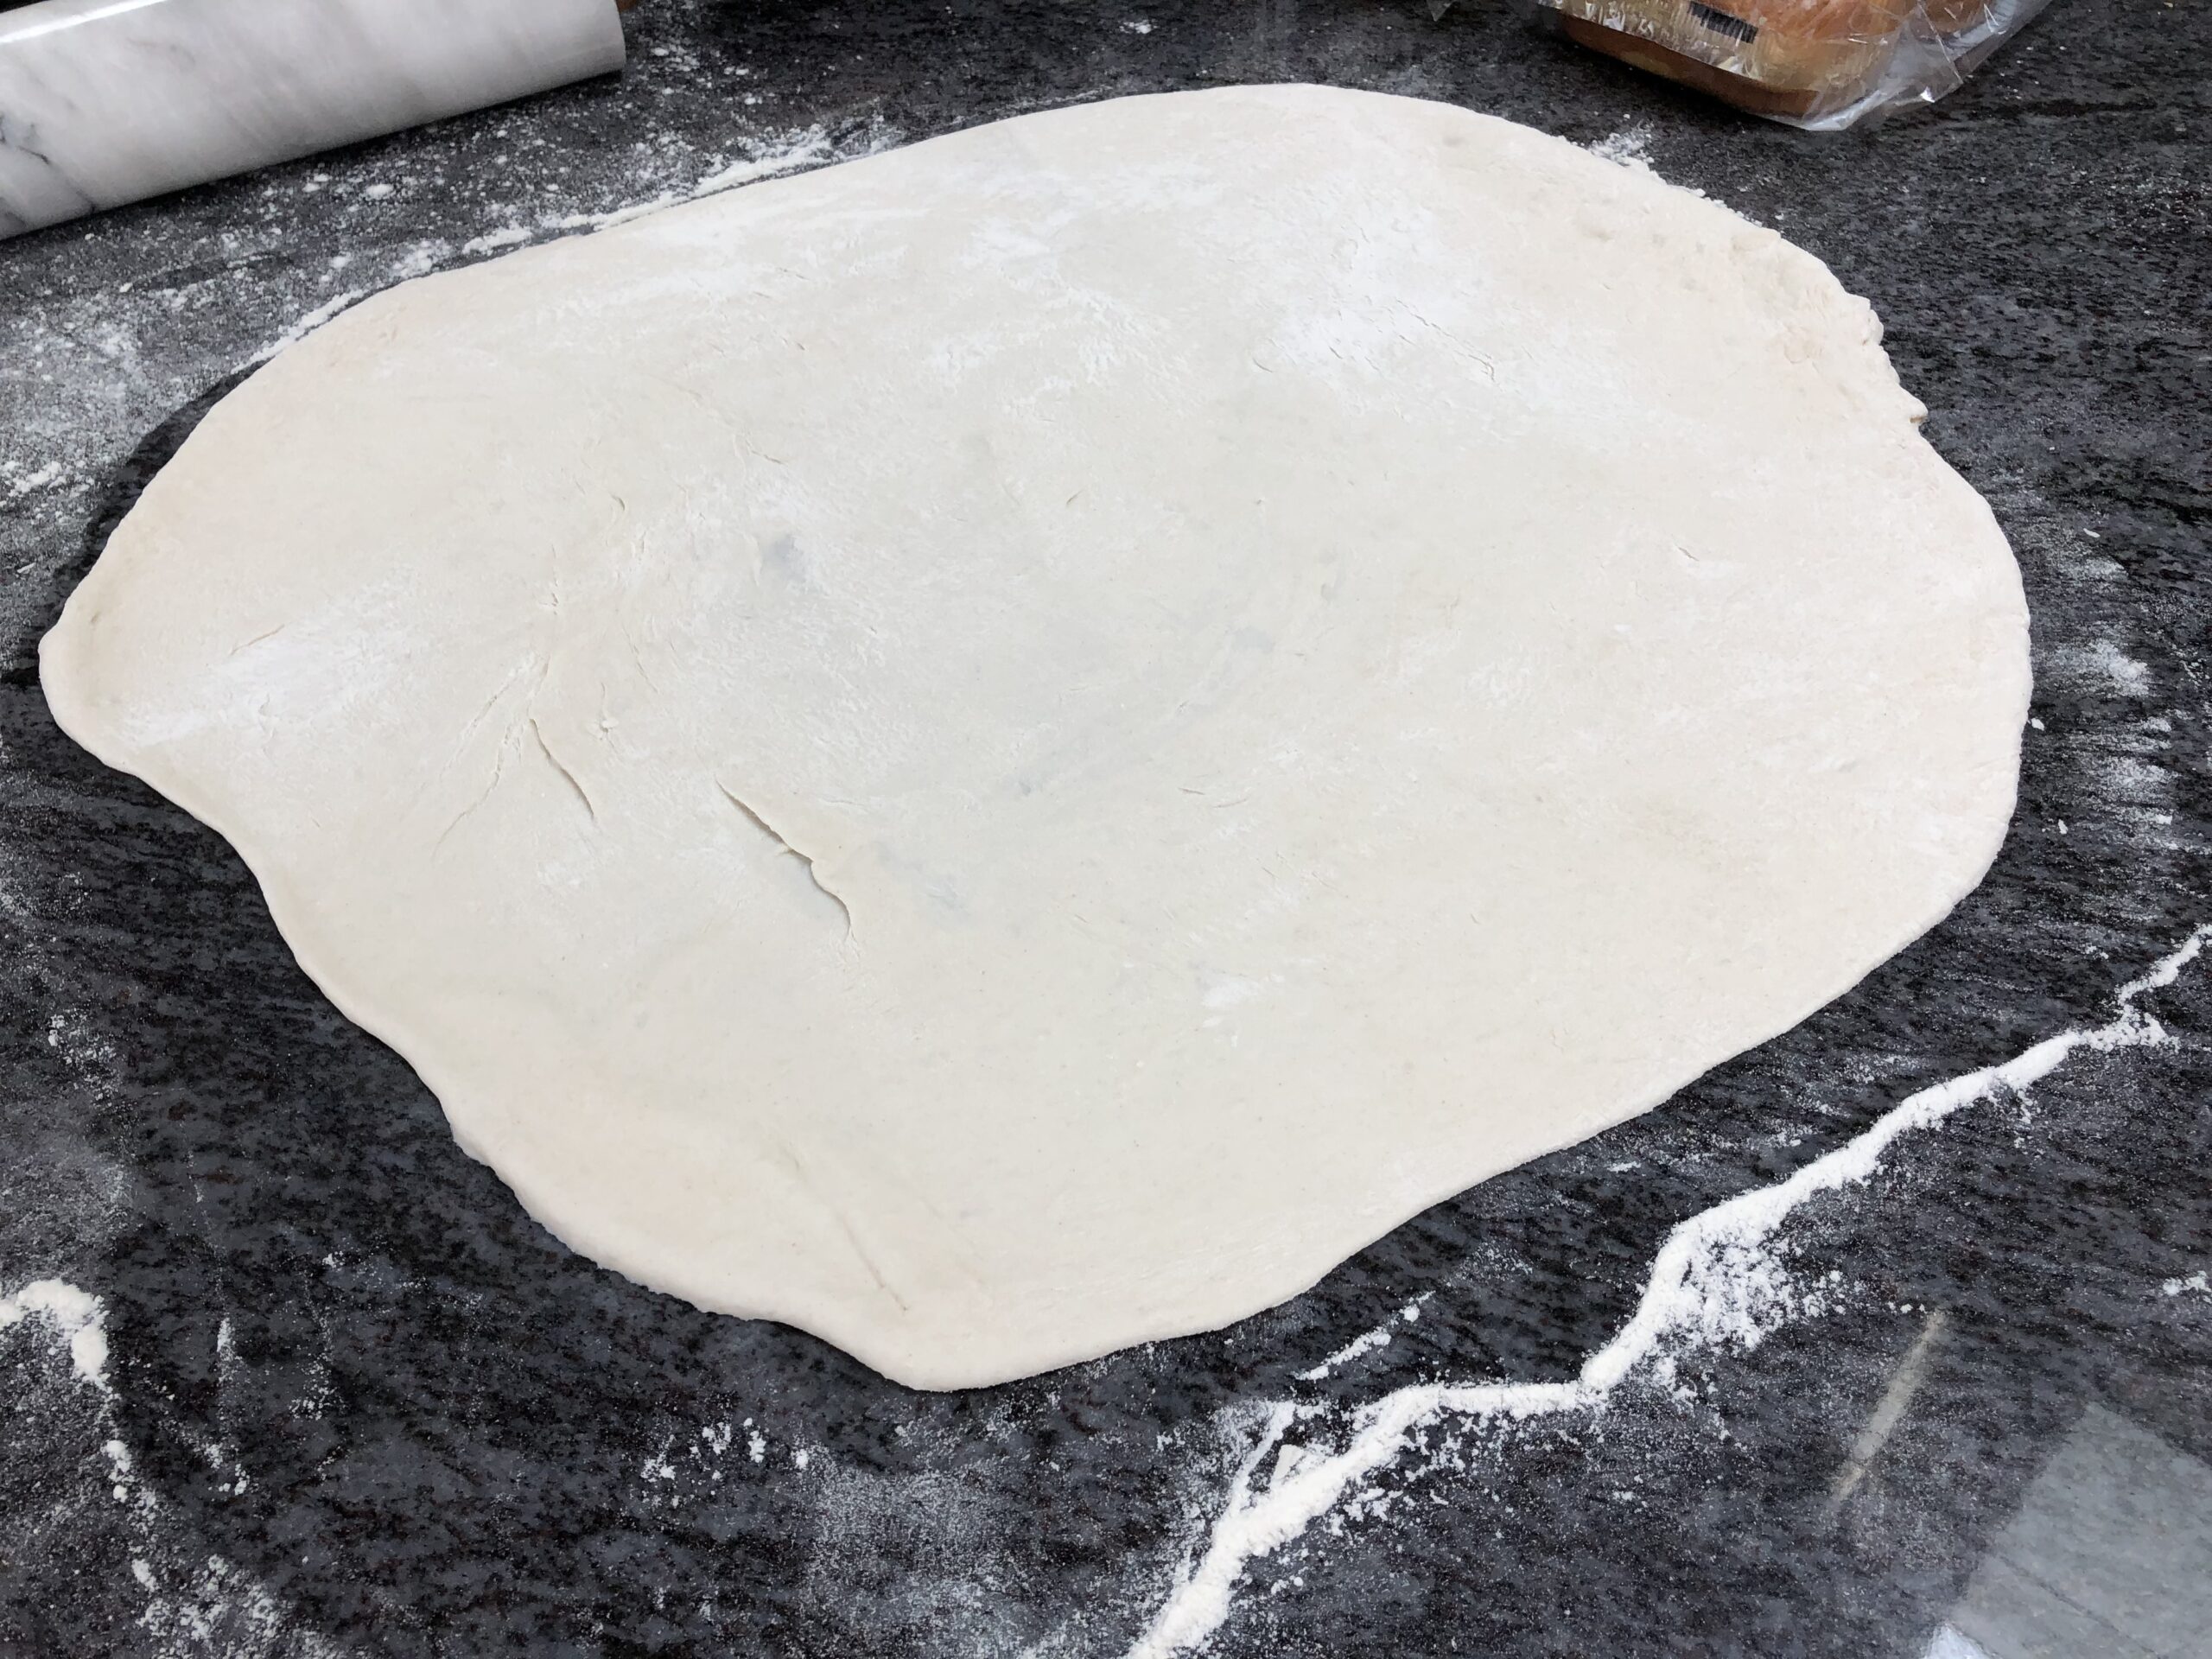
Take about 250 grams (9 oz) of dough and flatten with your hands.
-
Using a rolling pin, flatten the dough into a large circle.
-
Take some parchment paper and transfer the pizza dough onto it.
-
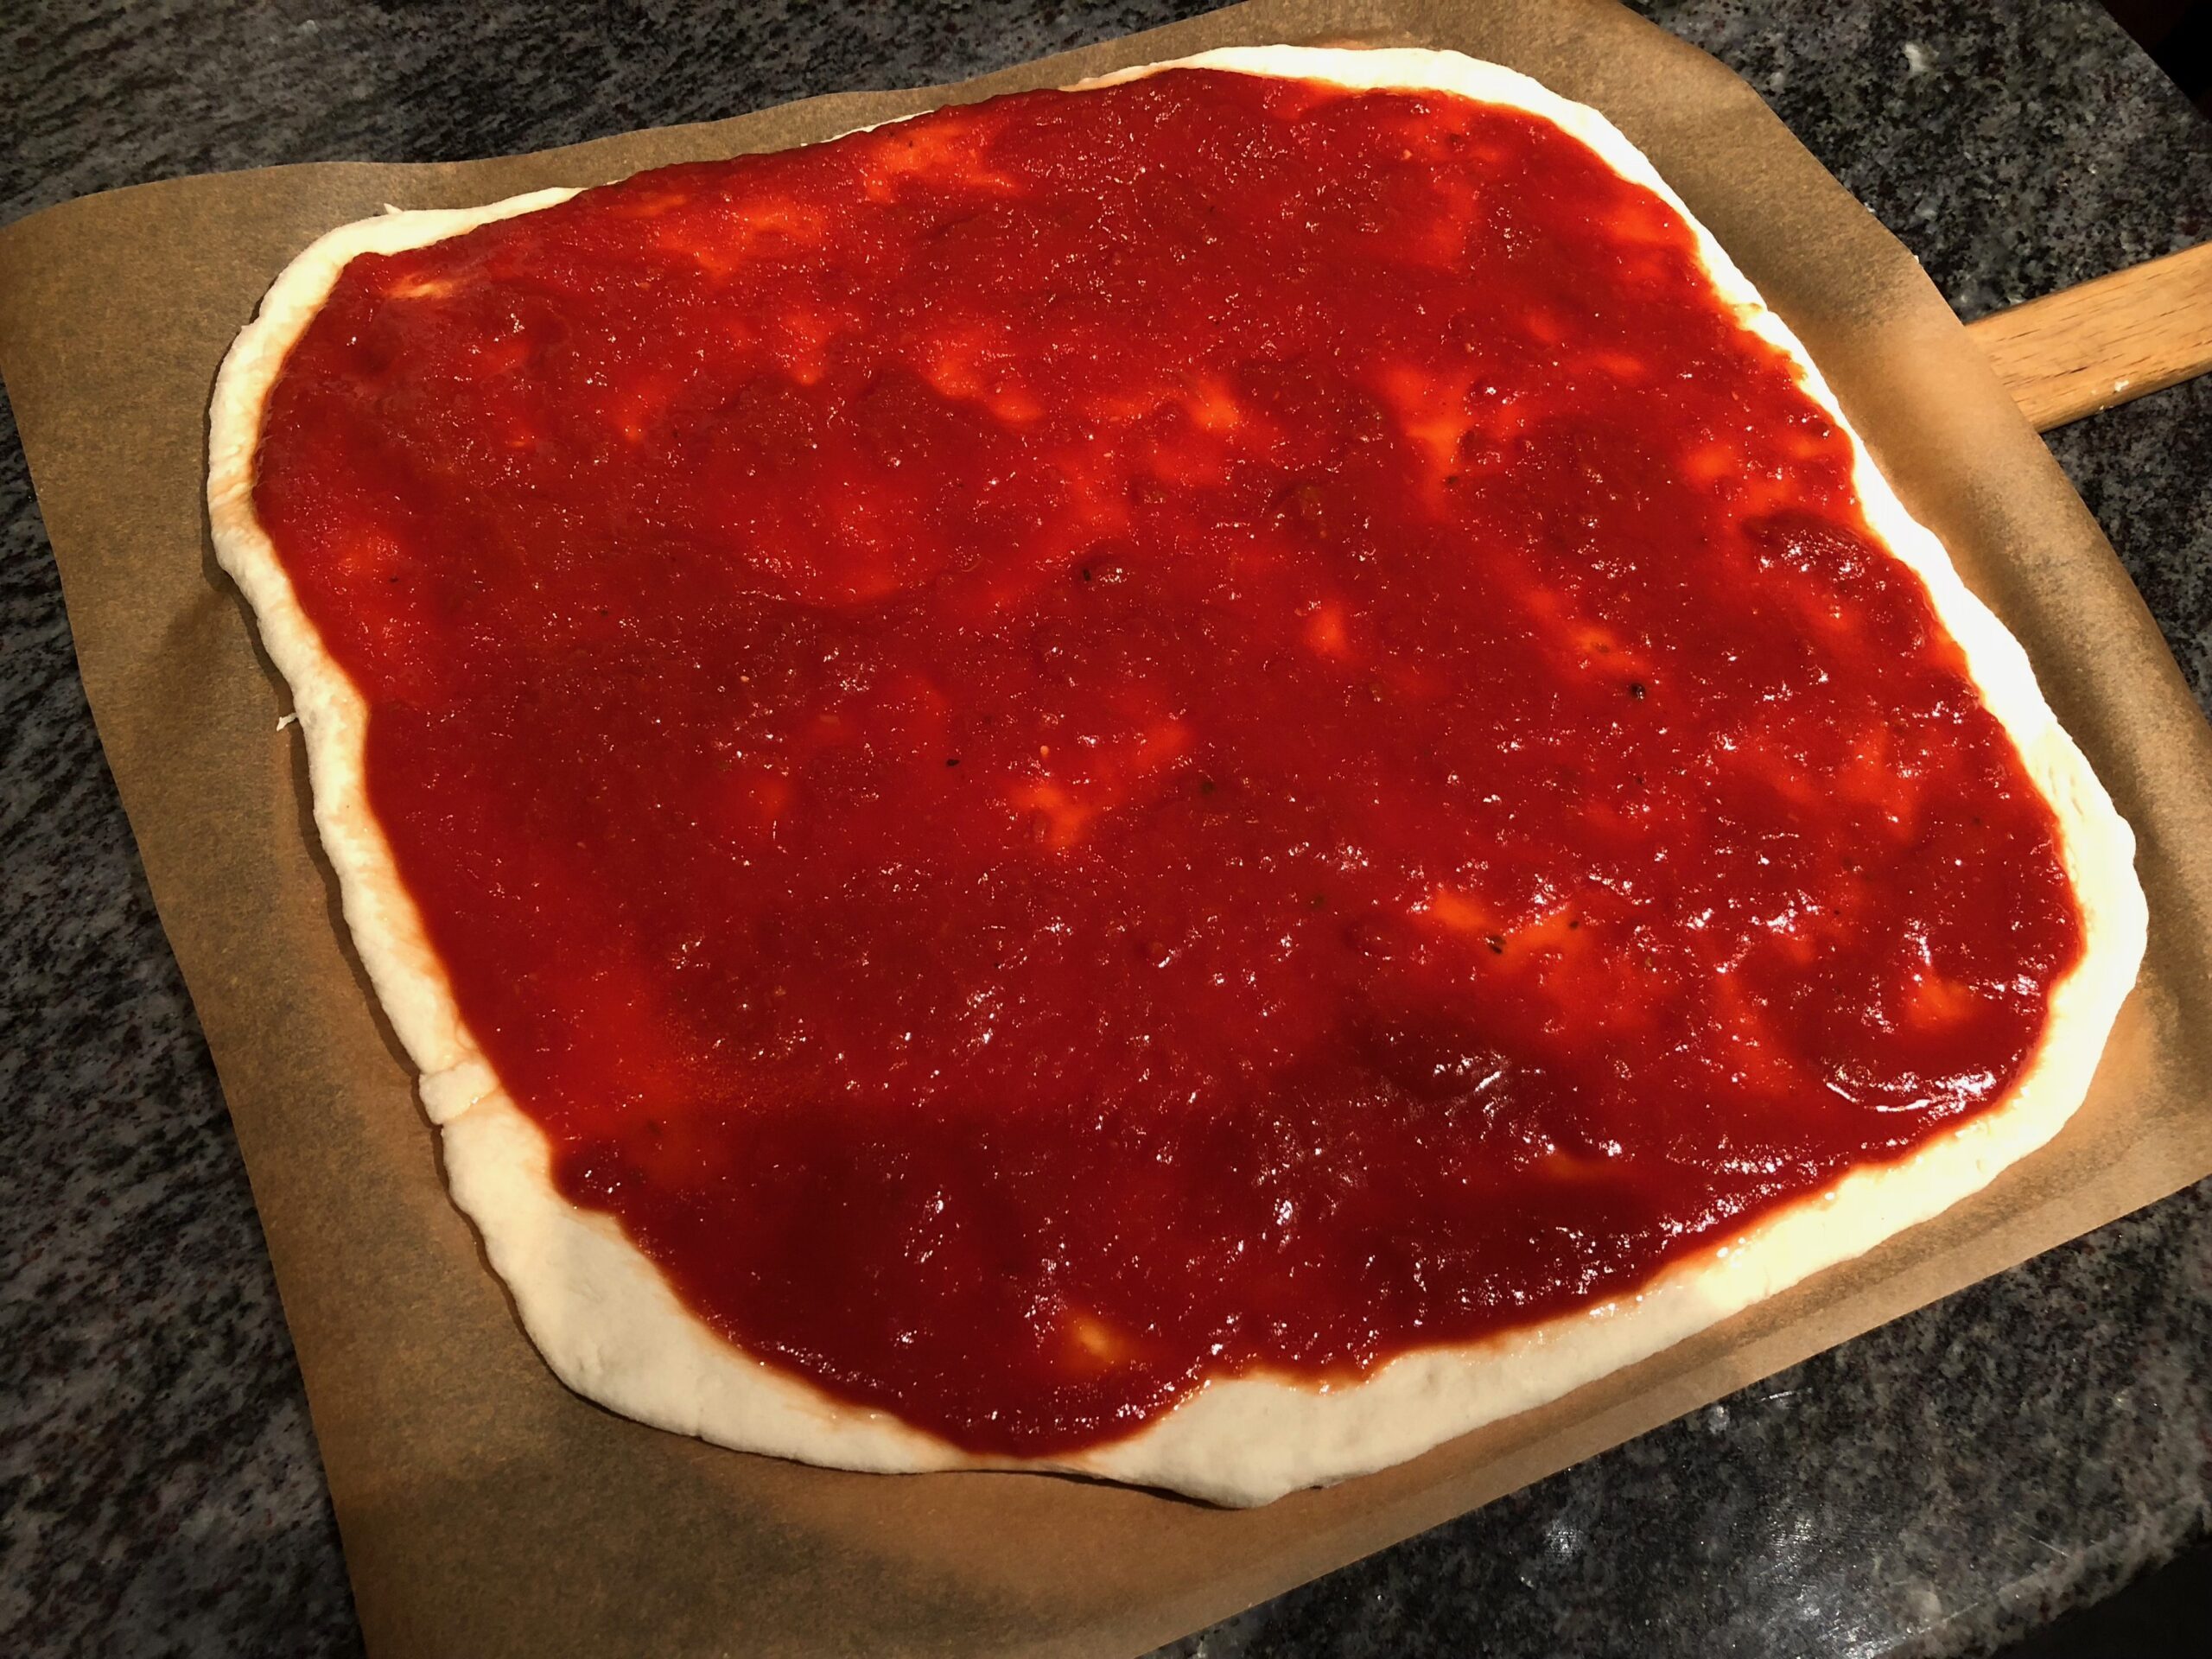
Pour same pizza sauce and spread it evenly with circular motions.
-
Using a wooden pizza peel, lift it and place it onto a pizza stone inside your oven. If you don't have one, place your pizza onto a large round pizza pan.
-
-
Remove your pizza and sprinkle some fresh mozzarella o top.
-
Bake for another 5 minutes.
-
Remove from the oven and cool for 3-5 minutes.
-

Many people often ask me how can you eat bread and still stay fit. My answer is simple, it’s the ingredients and quantity. I know lots of people who have tried different diets, and after a few months either went back to their old habits or gave up because the diet was too strict to follow.
There’s many different diets out there, and it can be overwhelming to pick one that’s right just for you and your lifestyle. Some have a strict list of foods you can eat, while others make you count every calorie or point you eat. Overtime I found both approaches challenging to stick with.
In the longterm the best diets are the ones that work for you and your lifestyle and are simple to follow
Personally, I can’t live without bread, so a low carb diet would not work for me. Instead of removing bread out of my diet, I make sure that the bread I do eat is nutritious and made right.
Basically, I avoid eating foods made out of enriched flour and use flour from Poland to bake my own bread, pastries, or pasta at home. I also stick to recipes that are simple to make so I don’t need a culinary degree to bake from scratch.
Baking bread doesn’t have to be complicated
Some of the most delicious breads are made out of three simple ingredients: water, flour, and starter. I encourage others to bake breads at home because it’s not only healthier, but also very gratifying.
Incorporating bread baking into your life can make a bigger impact then you think. In addition, few good habits can help you keep your weight under control.
Ten Simple Tips to Stay Fit
Here’s a list of ten points I personally follow to help me stay fit and feeling good about my weight, despite eating bread.
- Eat breakfast. But, avoid eating too much sugar for your first meal of the day. My favorite is oatmeal, but some eggs with toasted challah is wonderful too. Essentially, I start my day with the biggest meal, then a medium one for lunch, and end my day with a small plate.
- Move. Stay active so if you indulge in some extra bread, you help your body metabolize the carbs faster.
- Eat an apple or fruit before a meal. This helps you feel a little fuller so you eat smaller portions.
- Add a salad to your lunch. It keeps you less sleepy during the day and can deliver lots of good nutrients and vitamins. Avoid heavy salad dressings or ones with many artificial ingredients. Some salad dressings can pile on loads of useless calories. Keep the dressing simple. You’ll be surprised how some olive oil and lemon juice can add great flavor to your salad and reduce the calories.
- Dump the soda, and try drinking Kambucha instead. Most sodas are full of processed sugar and just fill you up with empty calories that offer very few nutrients. Kambucha has active enzymes that help your gut, it’s fizzy so it feels like soda, and comes in many flavors.
- For dinner, avoid heavy carbs. Stick to veggies. As much as I love bread, I try to avoid eating it past 6:00 pm. In fact I try to eat very light in the evening by sticking to fruit, veggies, and small portion of lean meats, preferably fish.
- Choose healthier grains. Instead of rice or potatoes for dinner, try more nutritious sides, like millet grouts, buckwheat, or quinoa.
- Avoid eating after 8:00 pm. If you must, eat fruit or an apple late at night.
- Brush your teeth after dinner. This changes the flavor in your mouth and you’re less likely to snack late at night.
- Drink lots of water, at least 8-10 glasses a day. This helps you feel fuller and helps your body stay healthy.

I enjoy making these festive cookies for any celebration. They present themselves well and appeal to variety of tastes. Both kids and adults love them too.
My favorite filling is chocolate hazelnut spread. But you can try out other flavors too, such as strawberry jelly, plum butter, peanut butter, or regular chocolate.
For this recipe I use the slightly granular flour from Poland (krupczatka) because it helps make the cookies extra crispy. But you can also use all-purpose flour.
Cookies with Chocolate Filling
-
2
cups
wheat flour
-
1/2
cup
powdered sugar
-
2
tbsp
potato flour
-
227
grams
unsalted butter
(about 8 oz) room temperature
-
1
whole
egg
-
1
tsp
vanilla extract
-
1
tsp
orange juice
-
1
tsp
orange zest
-
1/2
cup
chocolate hazelnut spread or Nutella
-
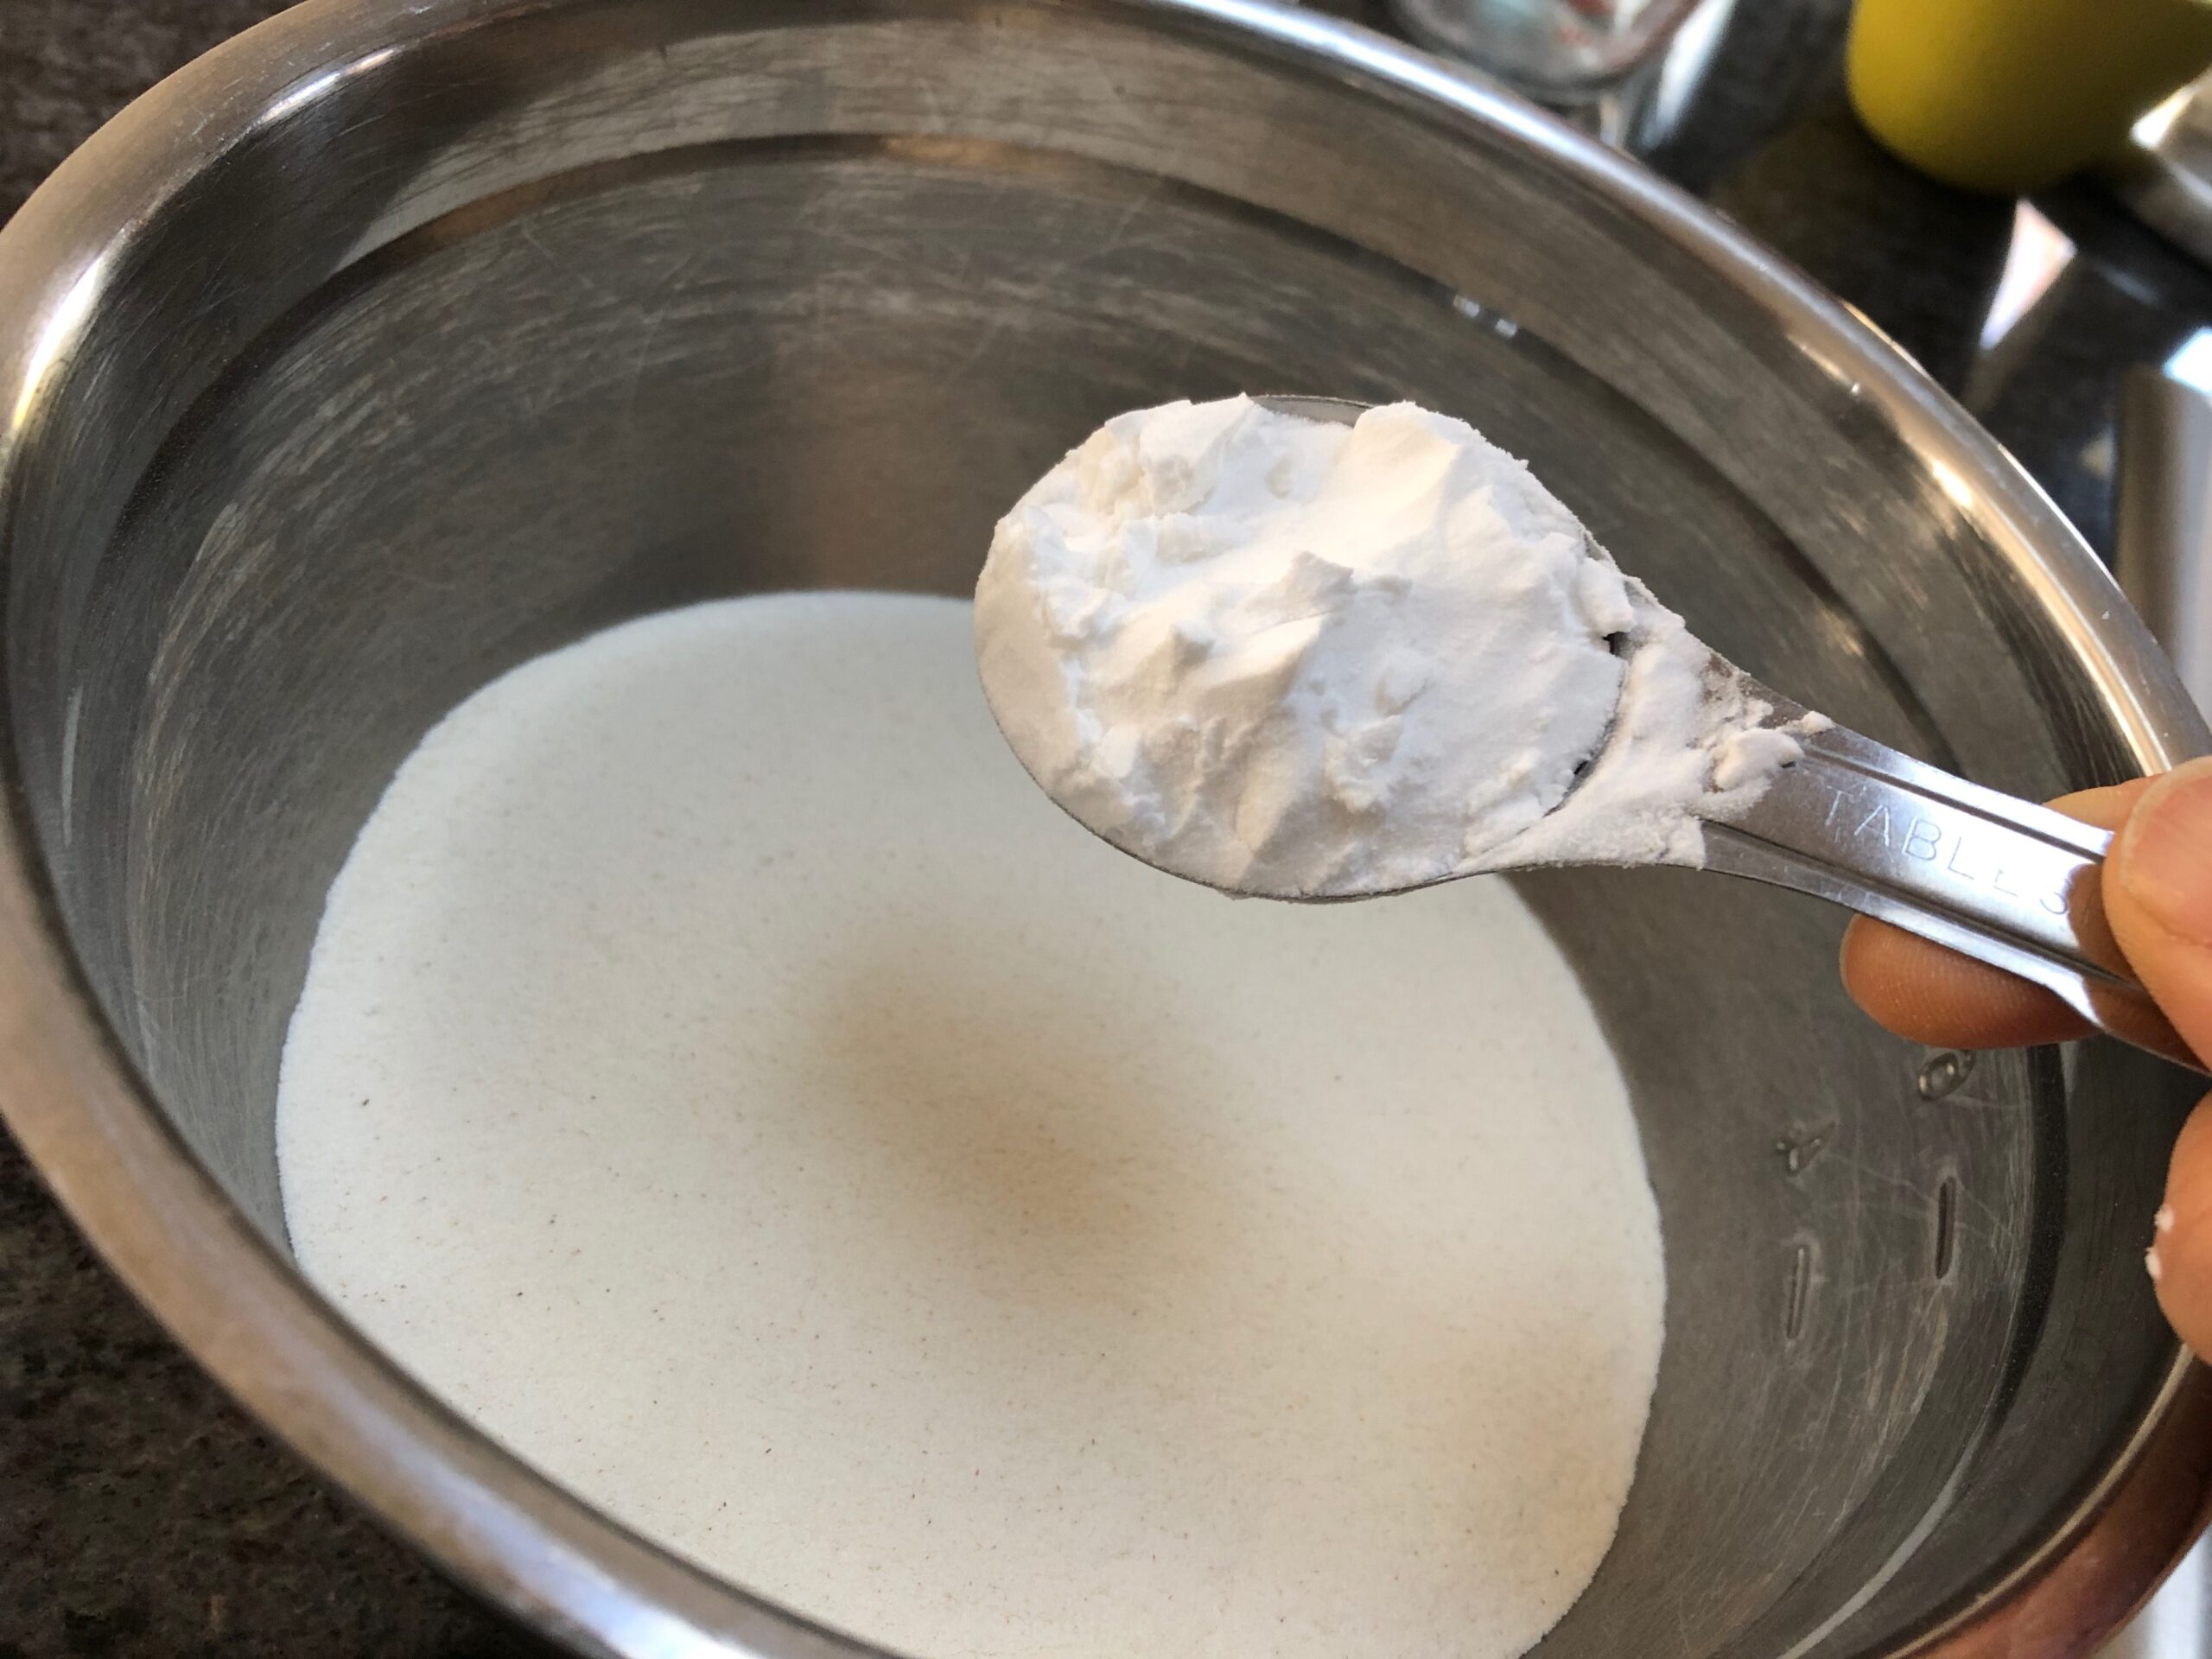
Start with dry ingredients first. Pour flour into a large mixing bowl.
-
Add potato flour and powdered sugar.
-
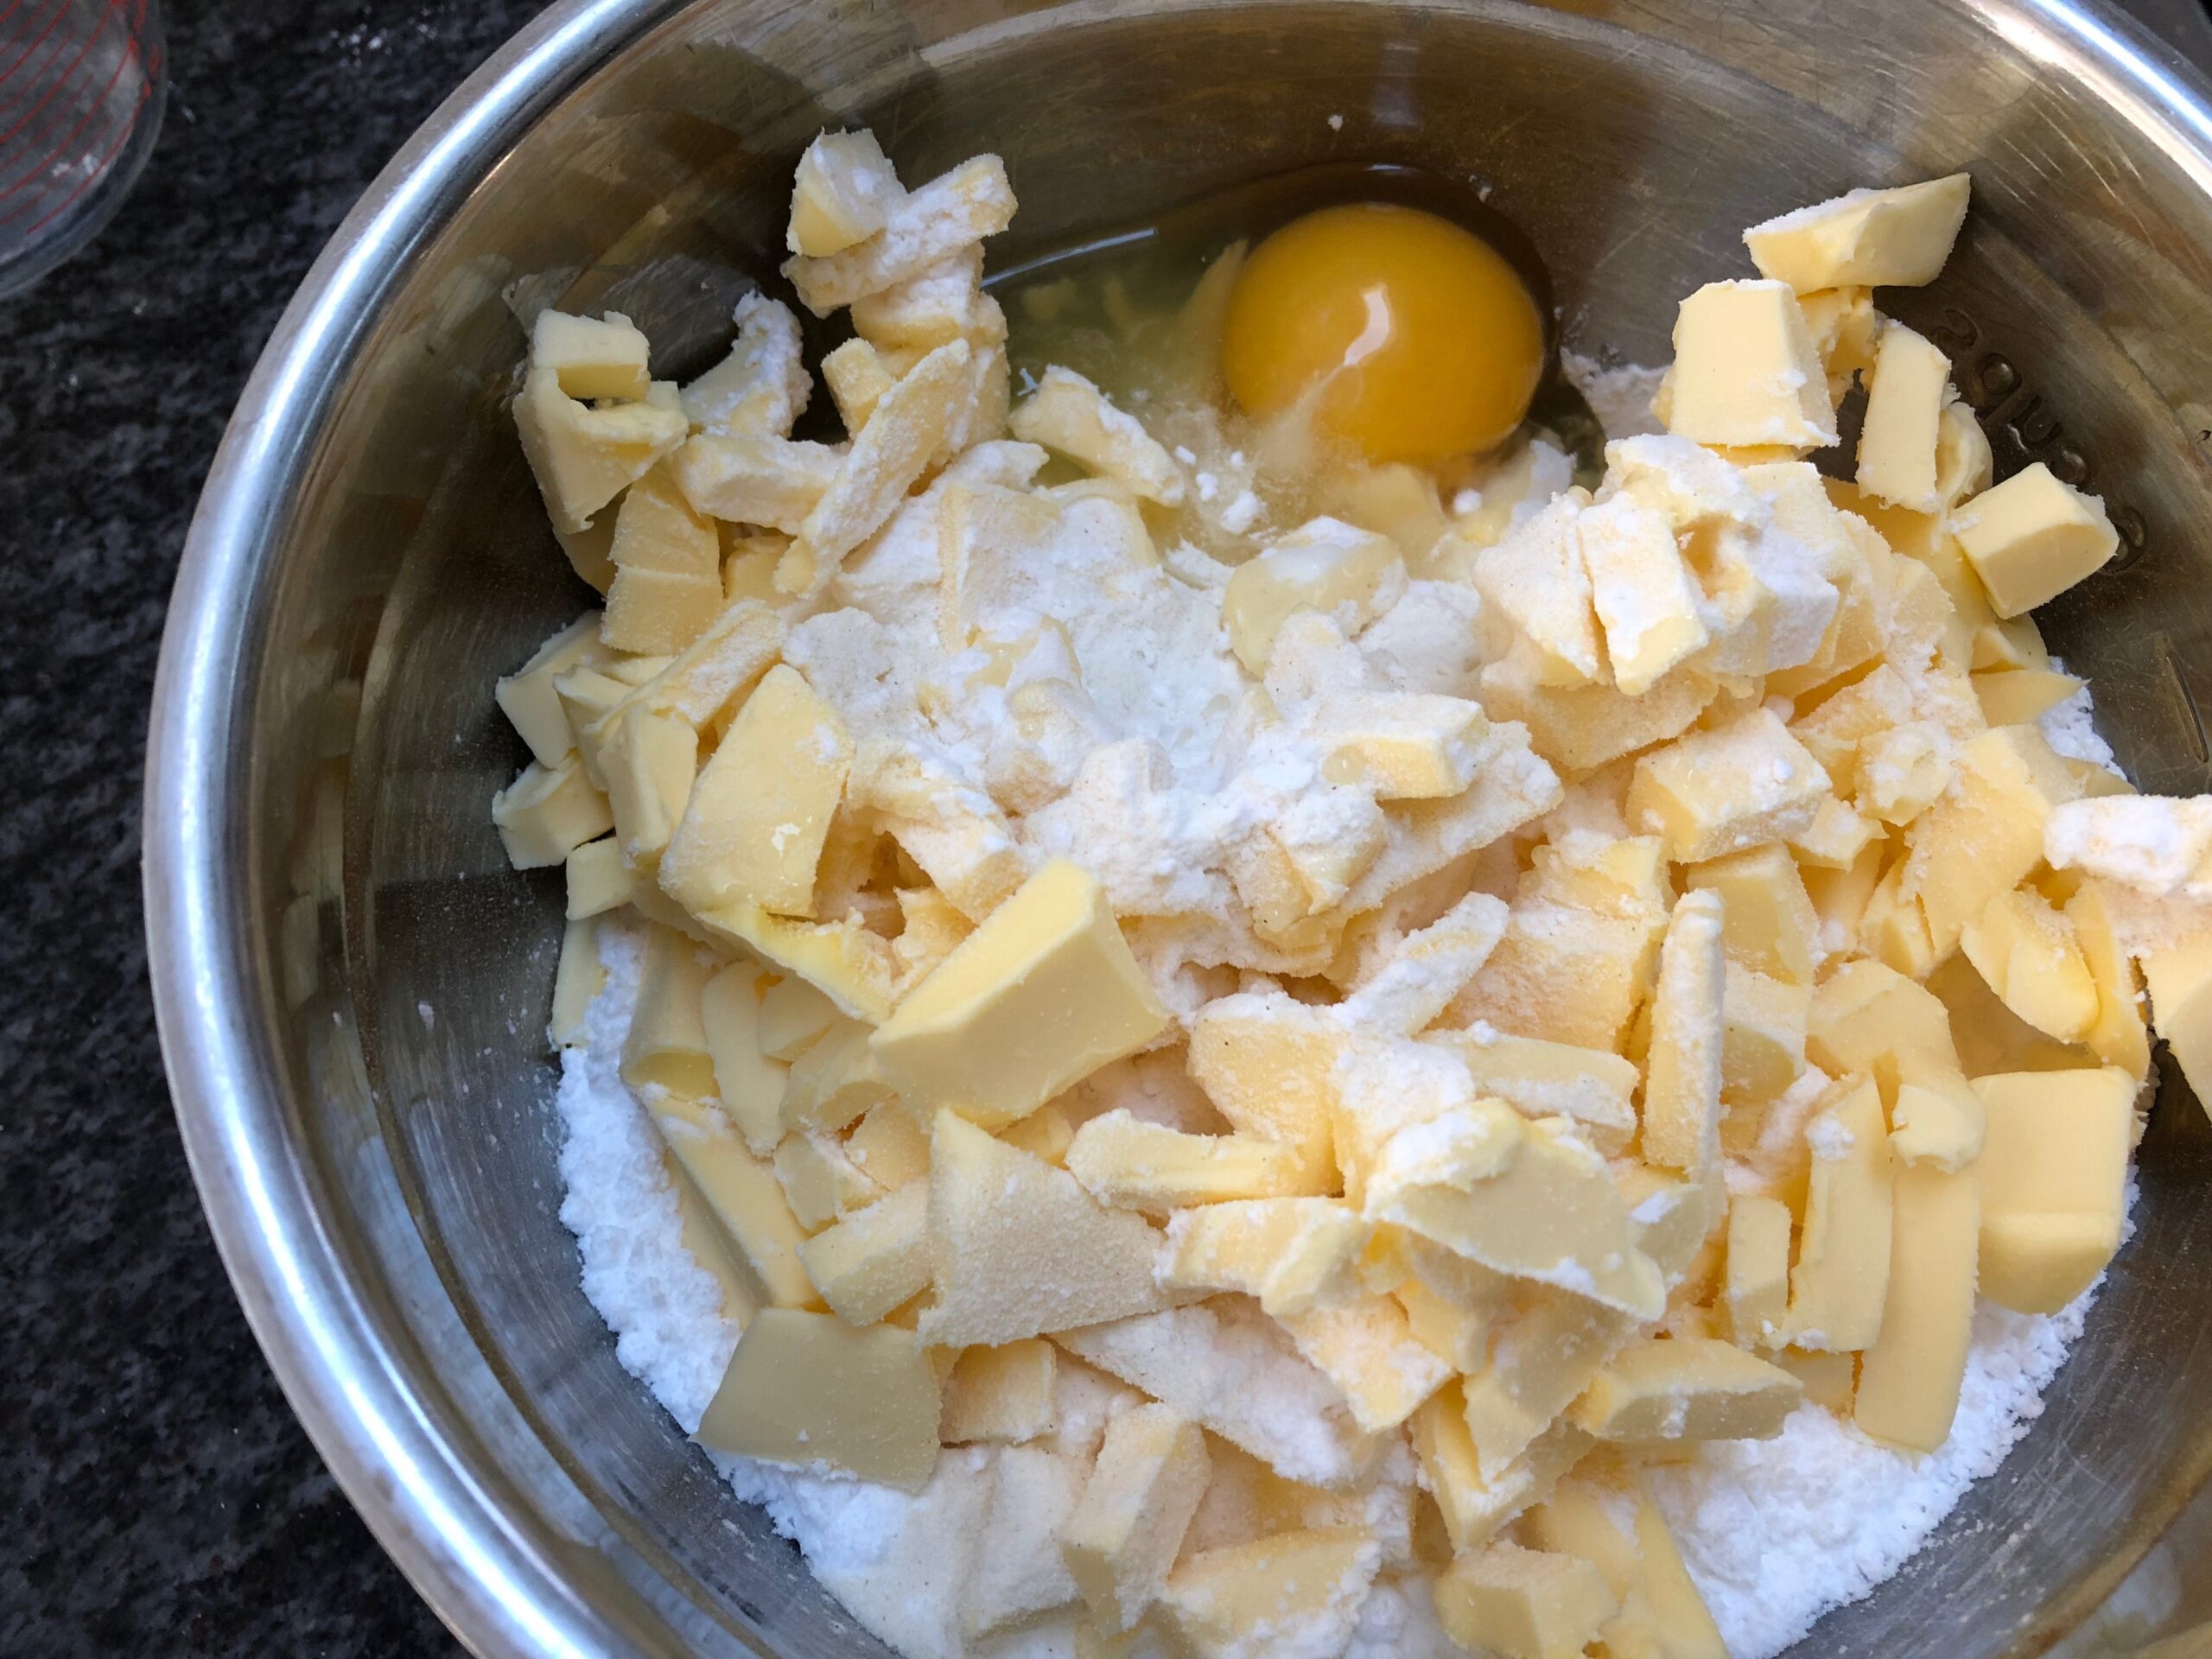
Chop butter and add it to the mixed dry ingredients.
-
Add egg, vanilla extract, orange juice, and orange zest.
-
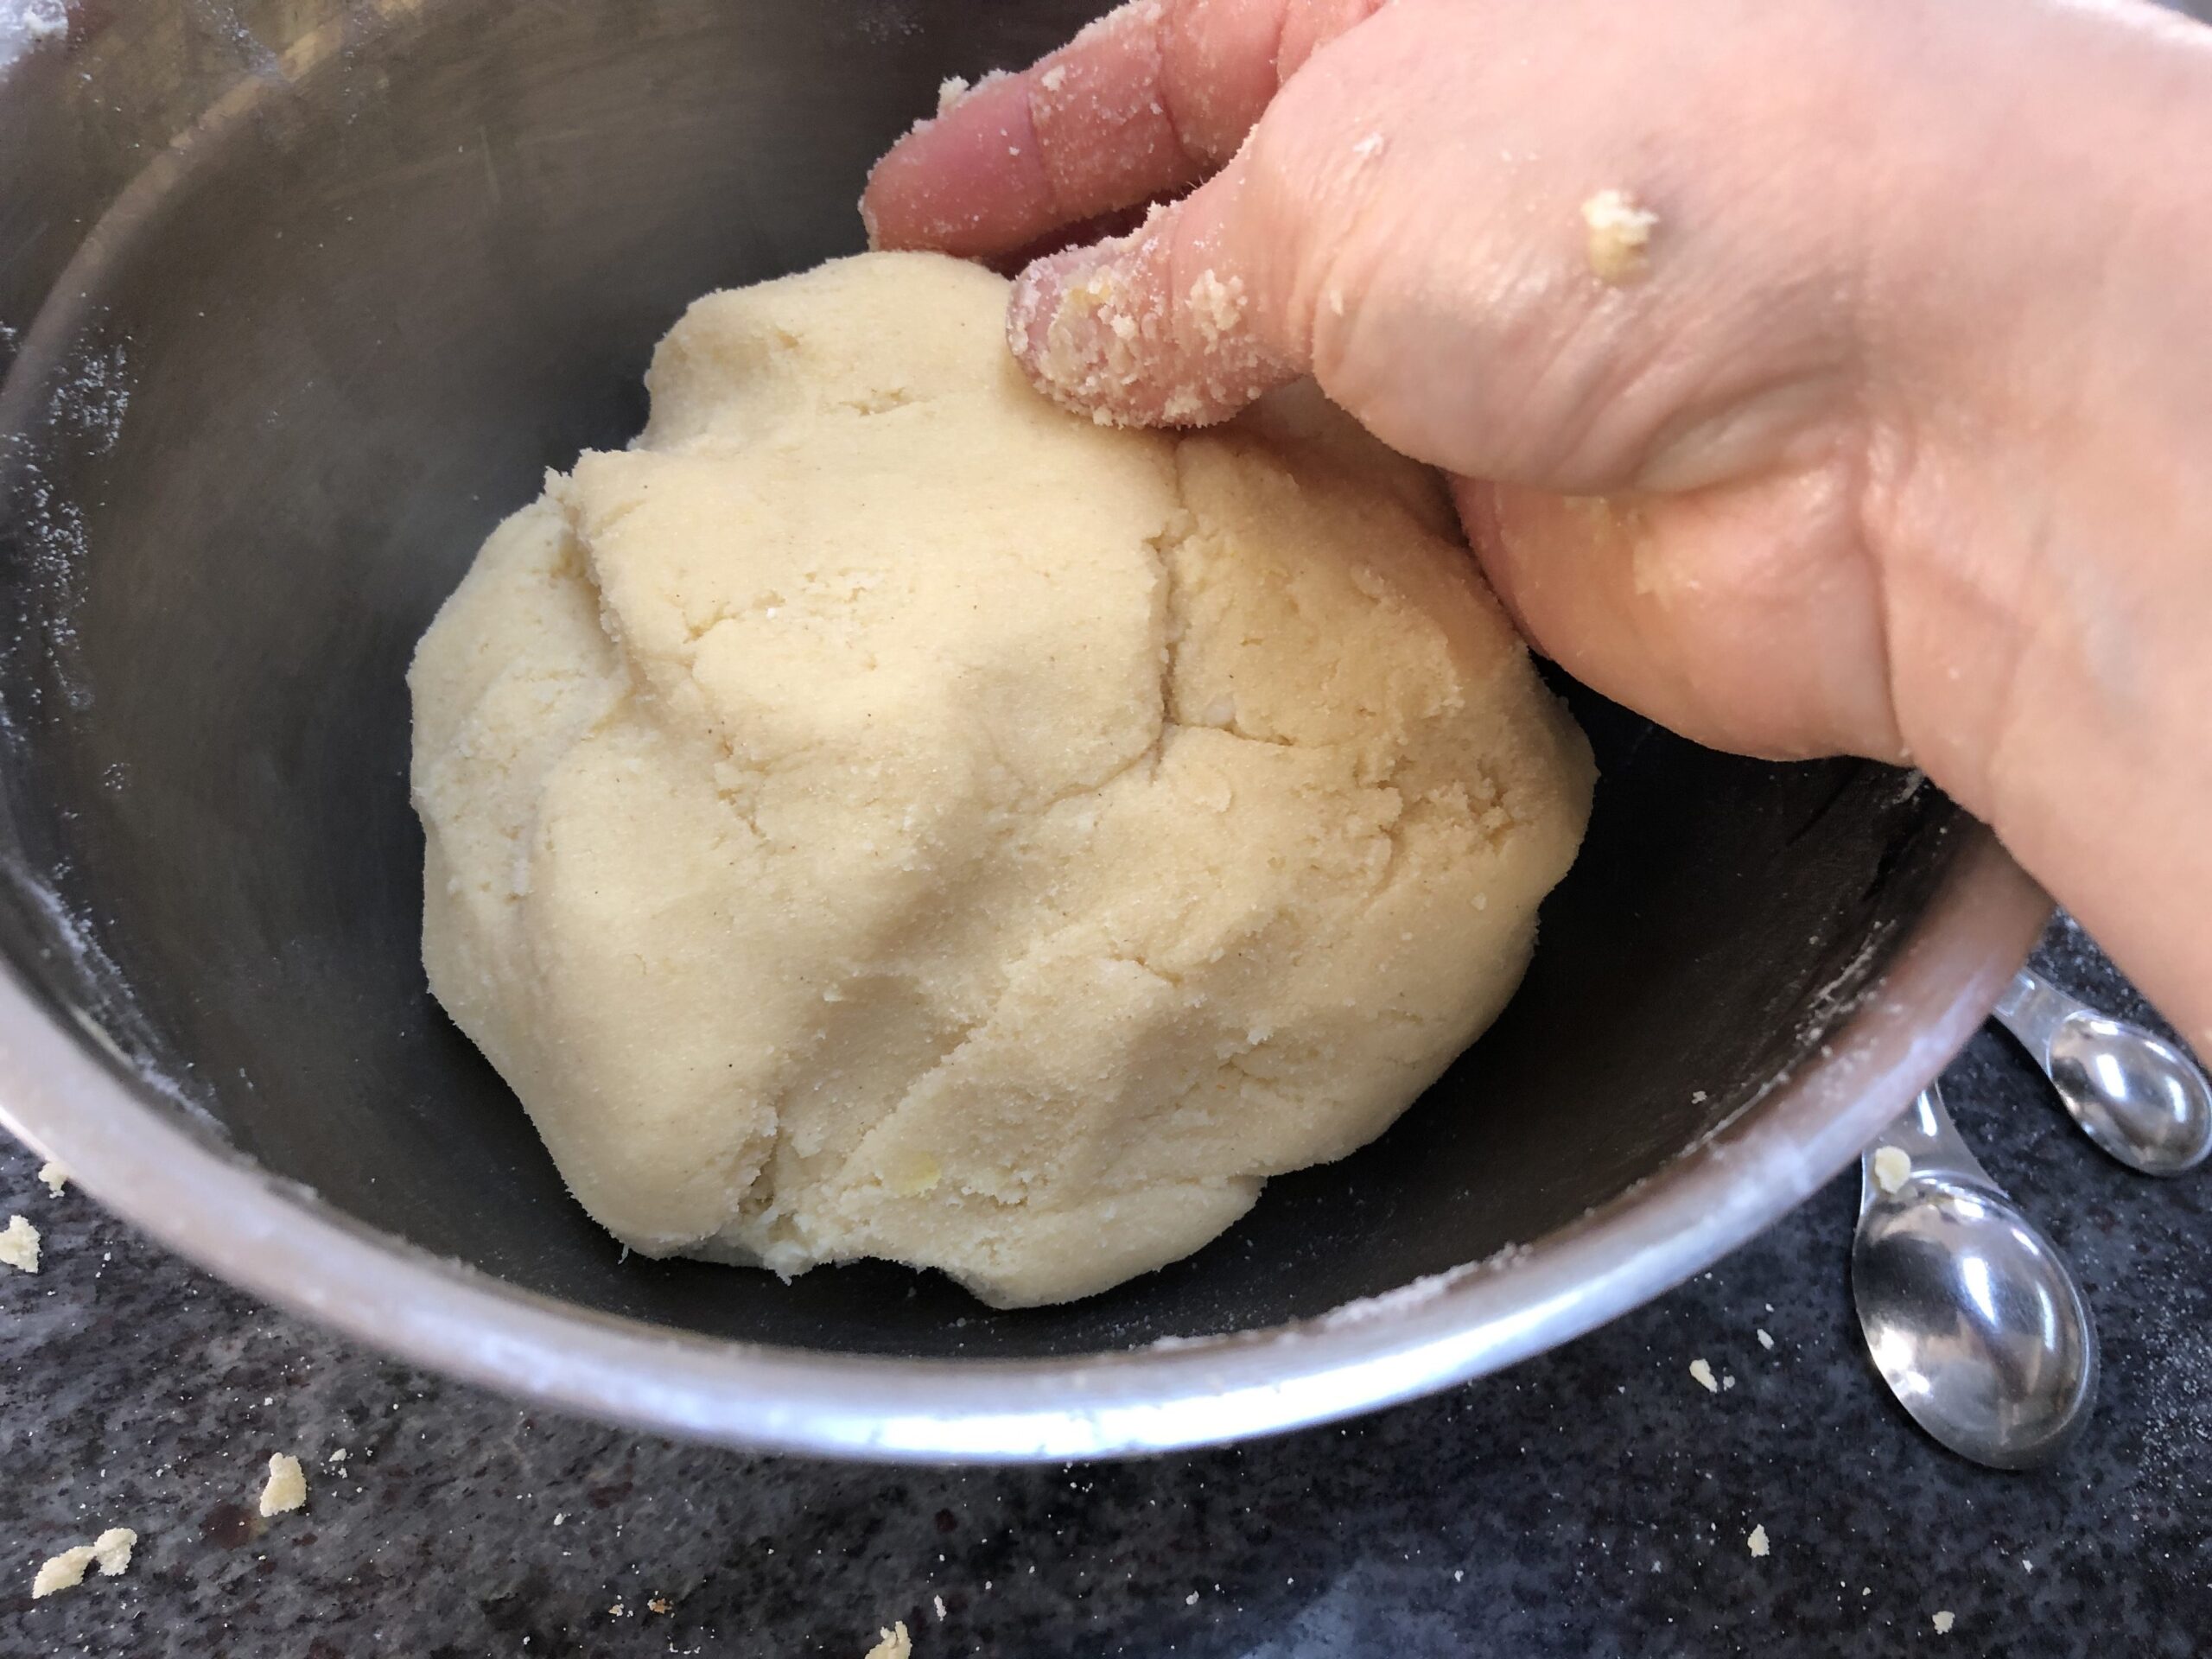
Using your hands, mix and knead all the ingredients together.
-
Knead until well combined.
-
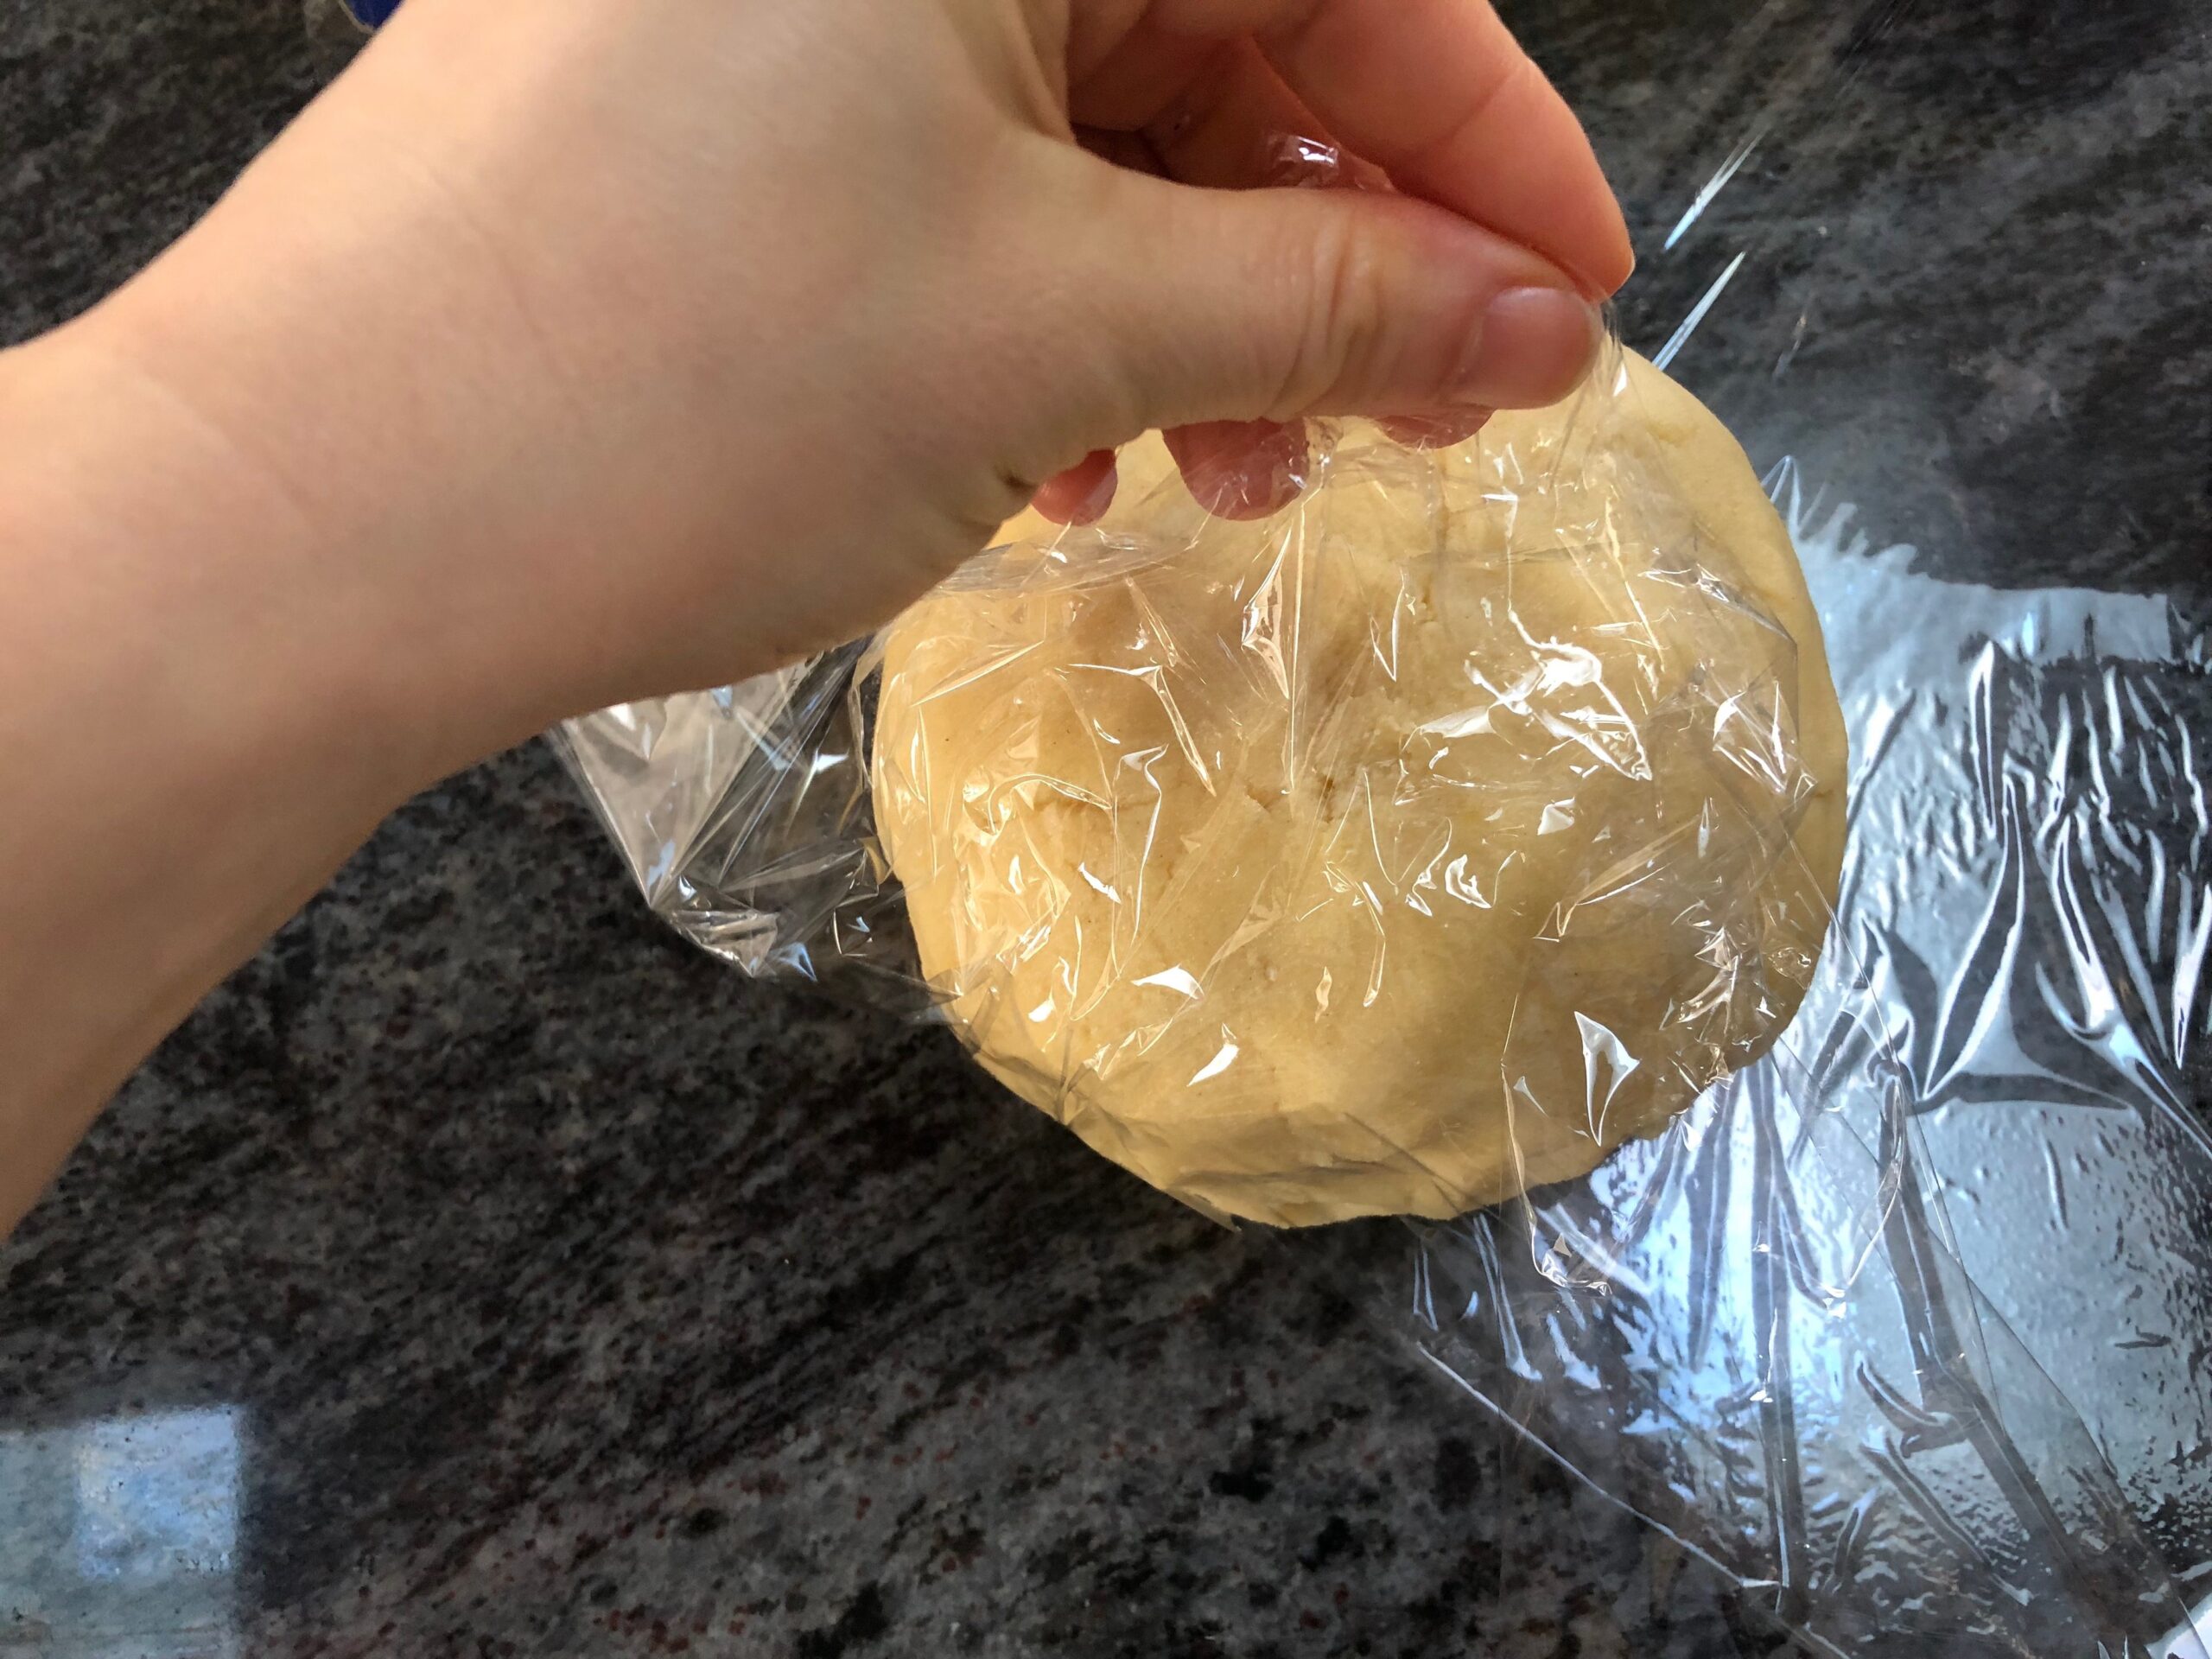
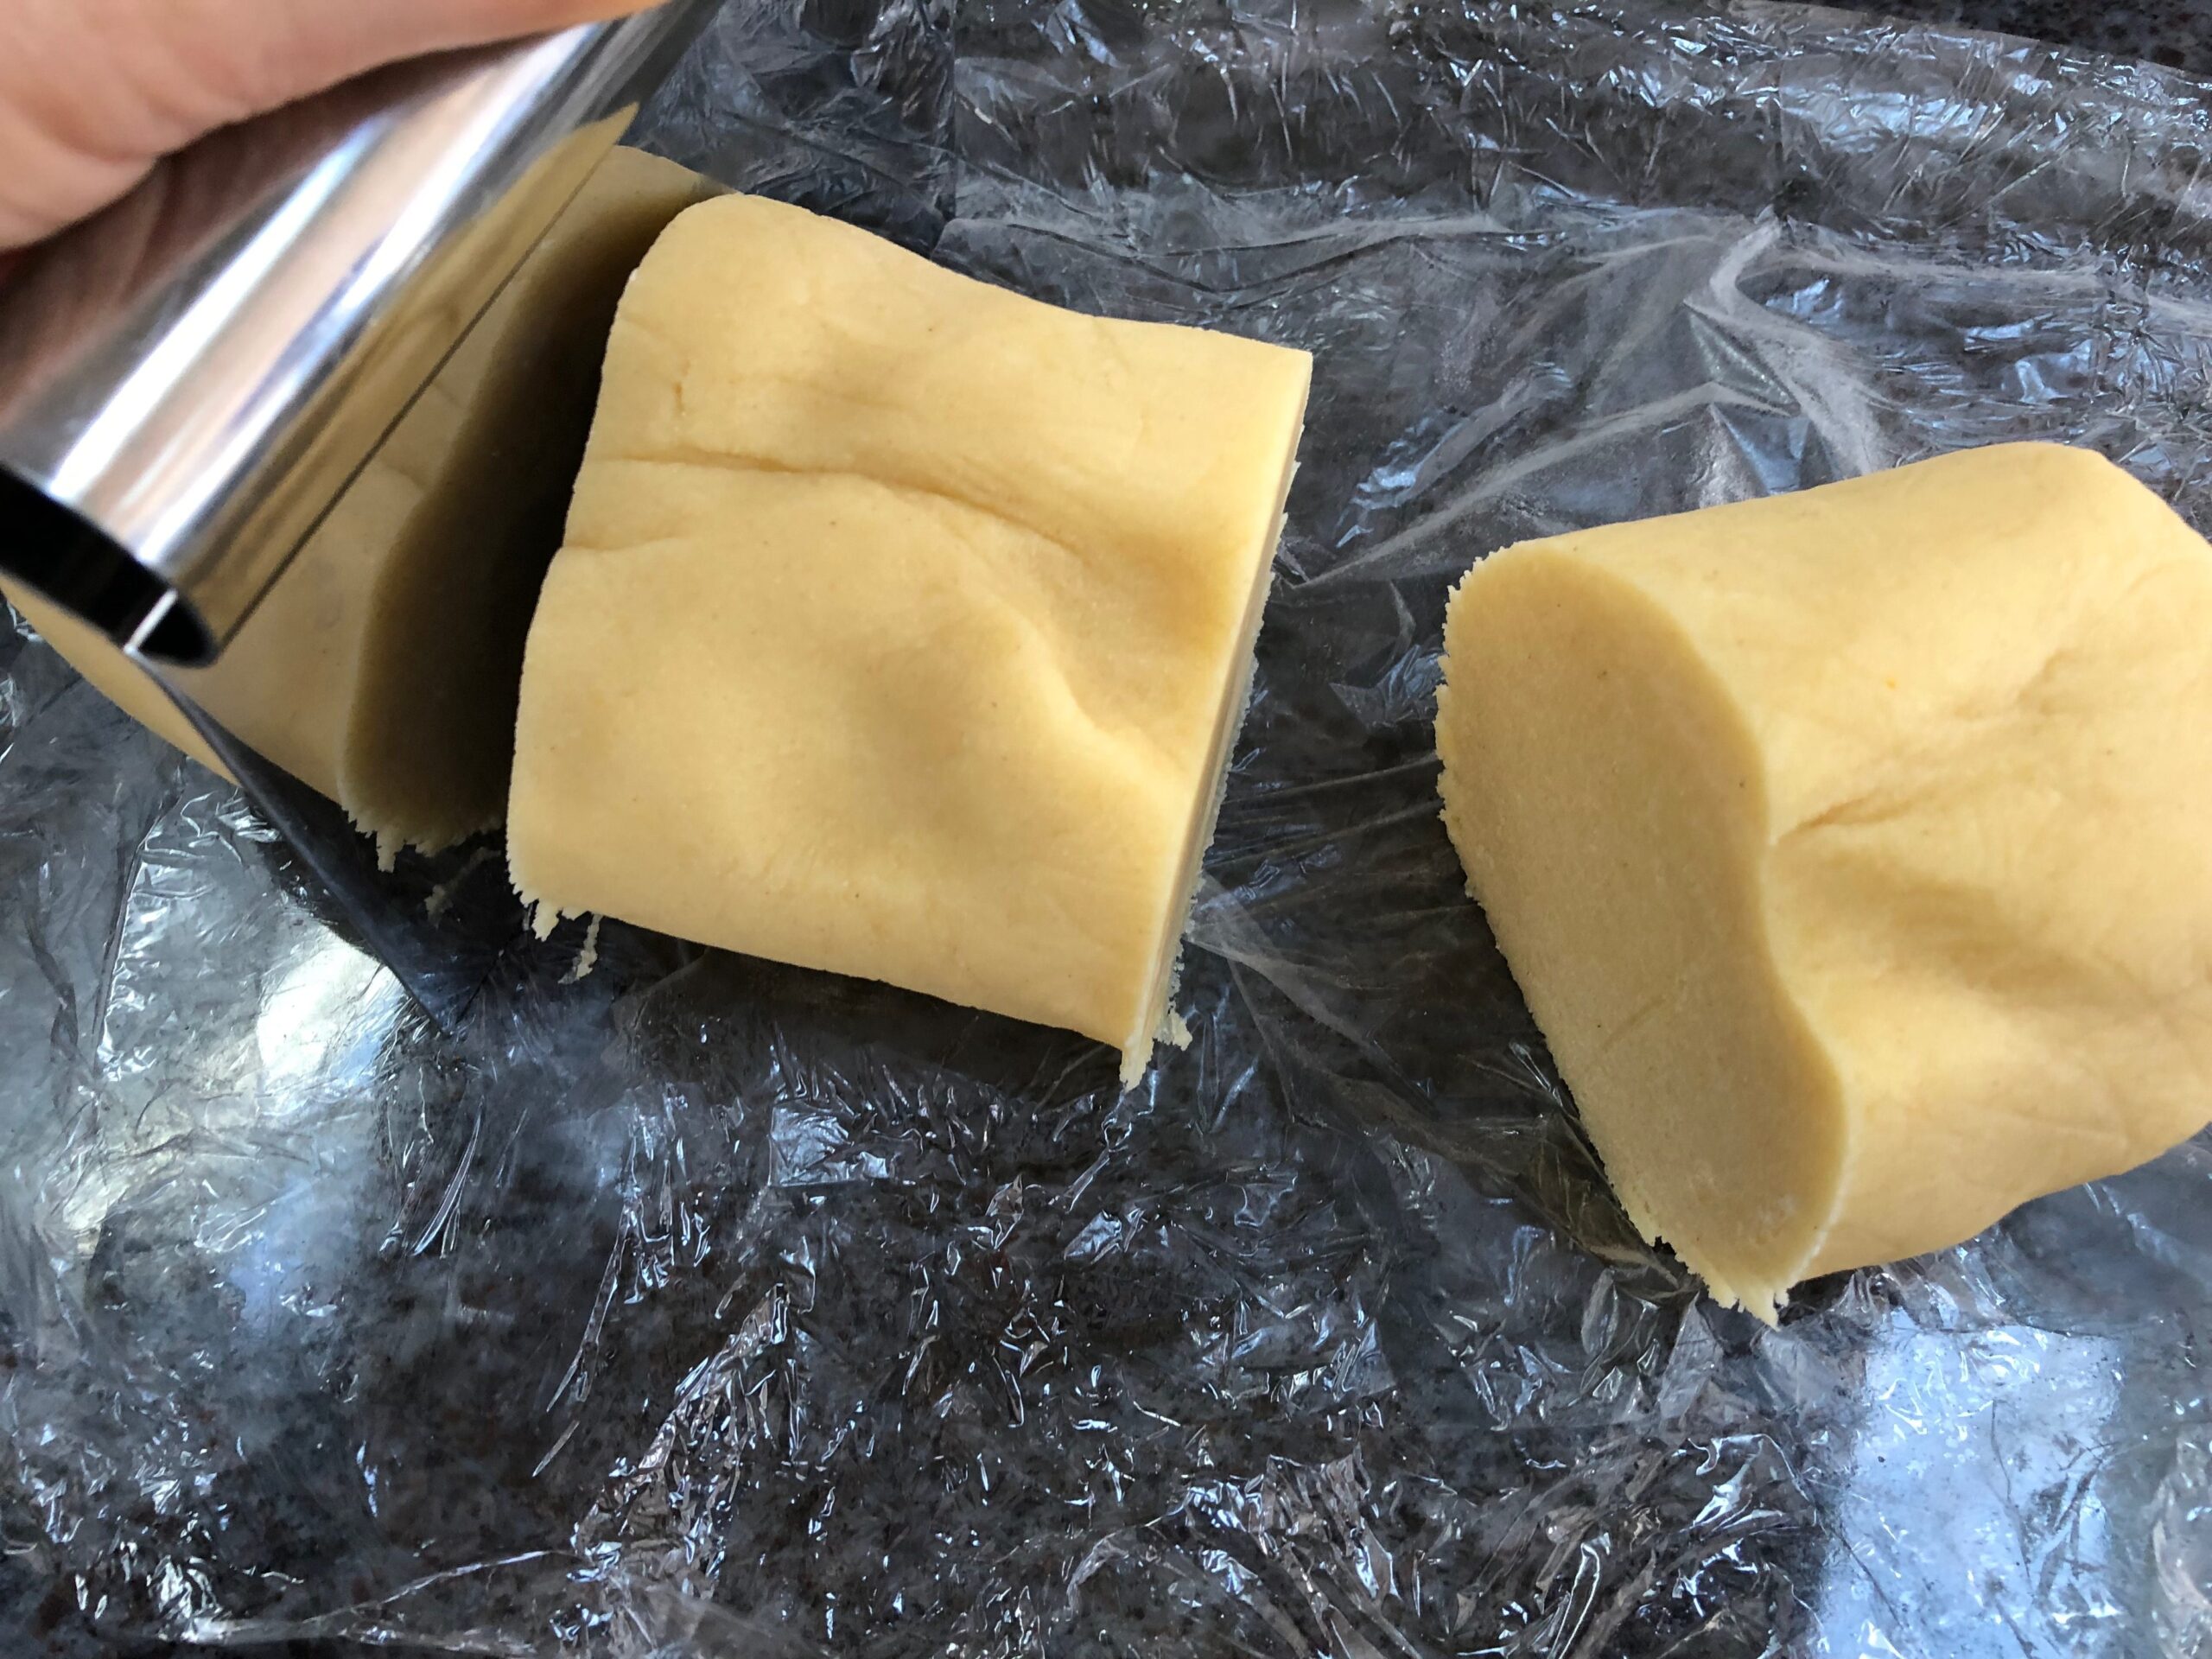
Wrap the dough in celophane and put it in the refrigerator for an hour. You can also leave the dough in the refrigerator overnight.
-
Preheat the oven to 350 Degrees Fahreheint or 180 Degrees Celcius.
-
Remove the cooled dough from the refrigirator. Seperate in half.
-
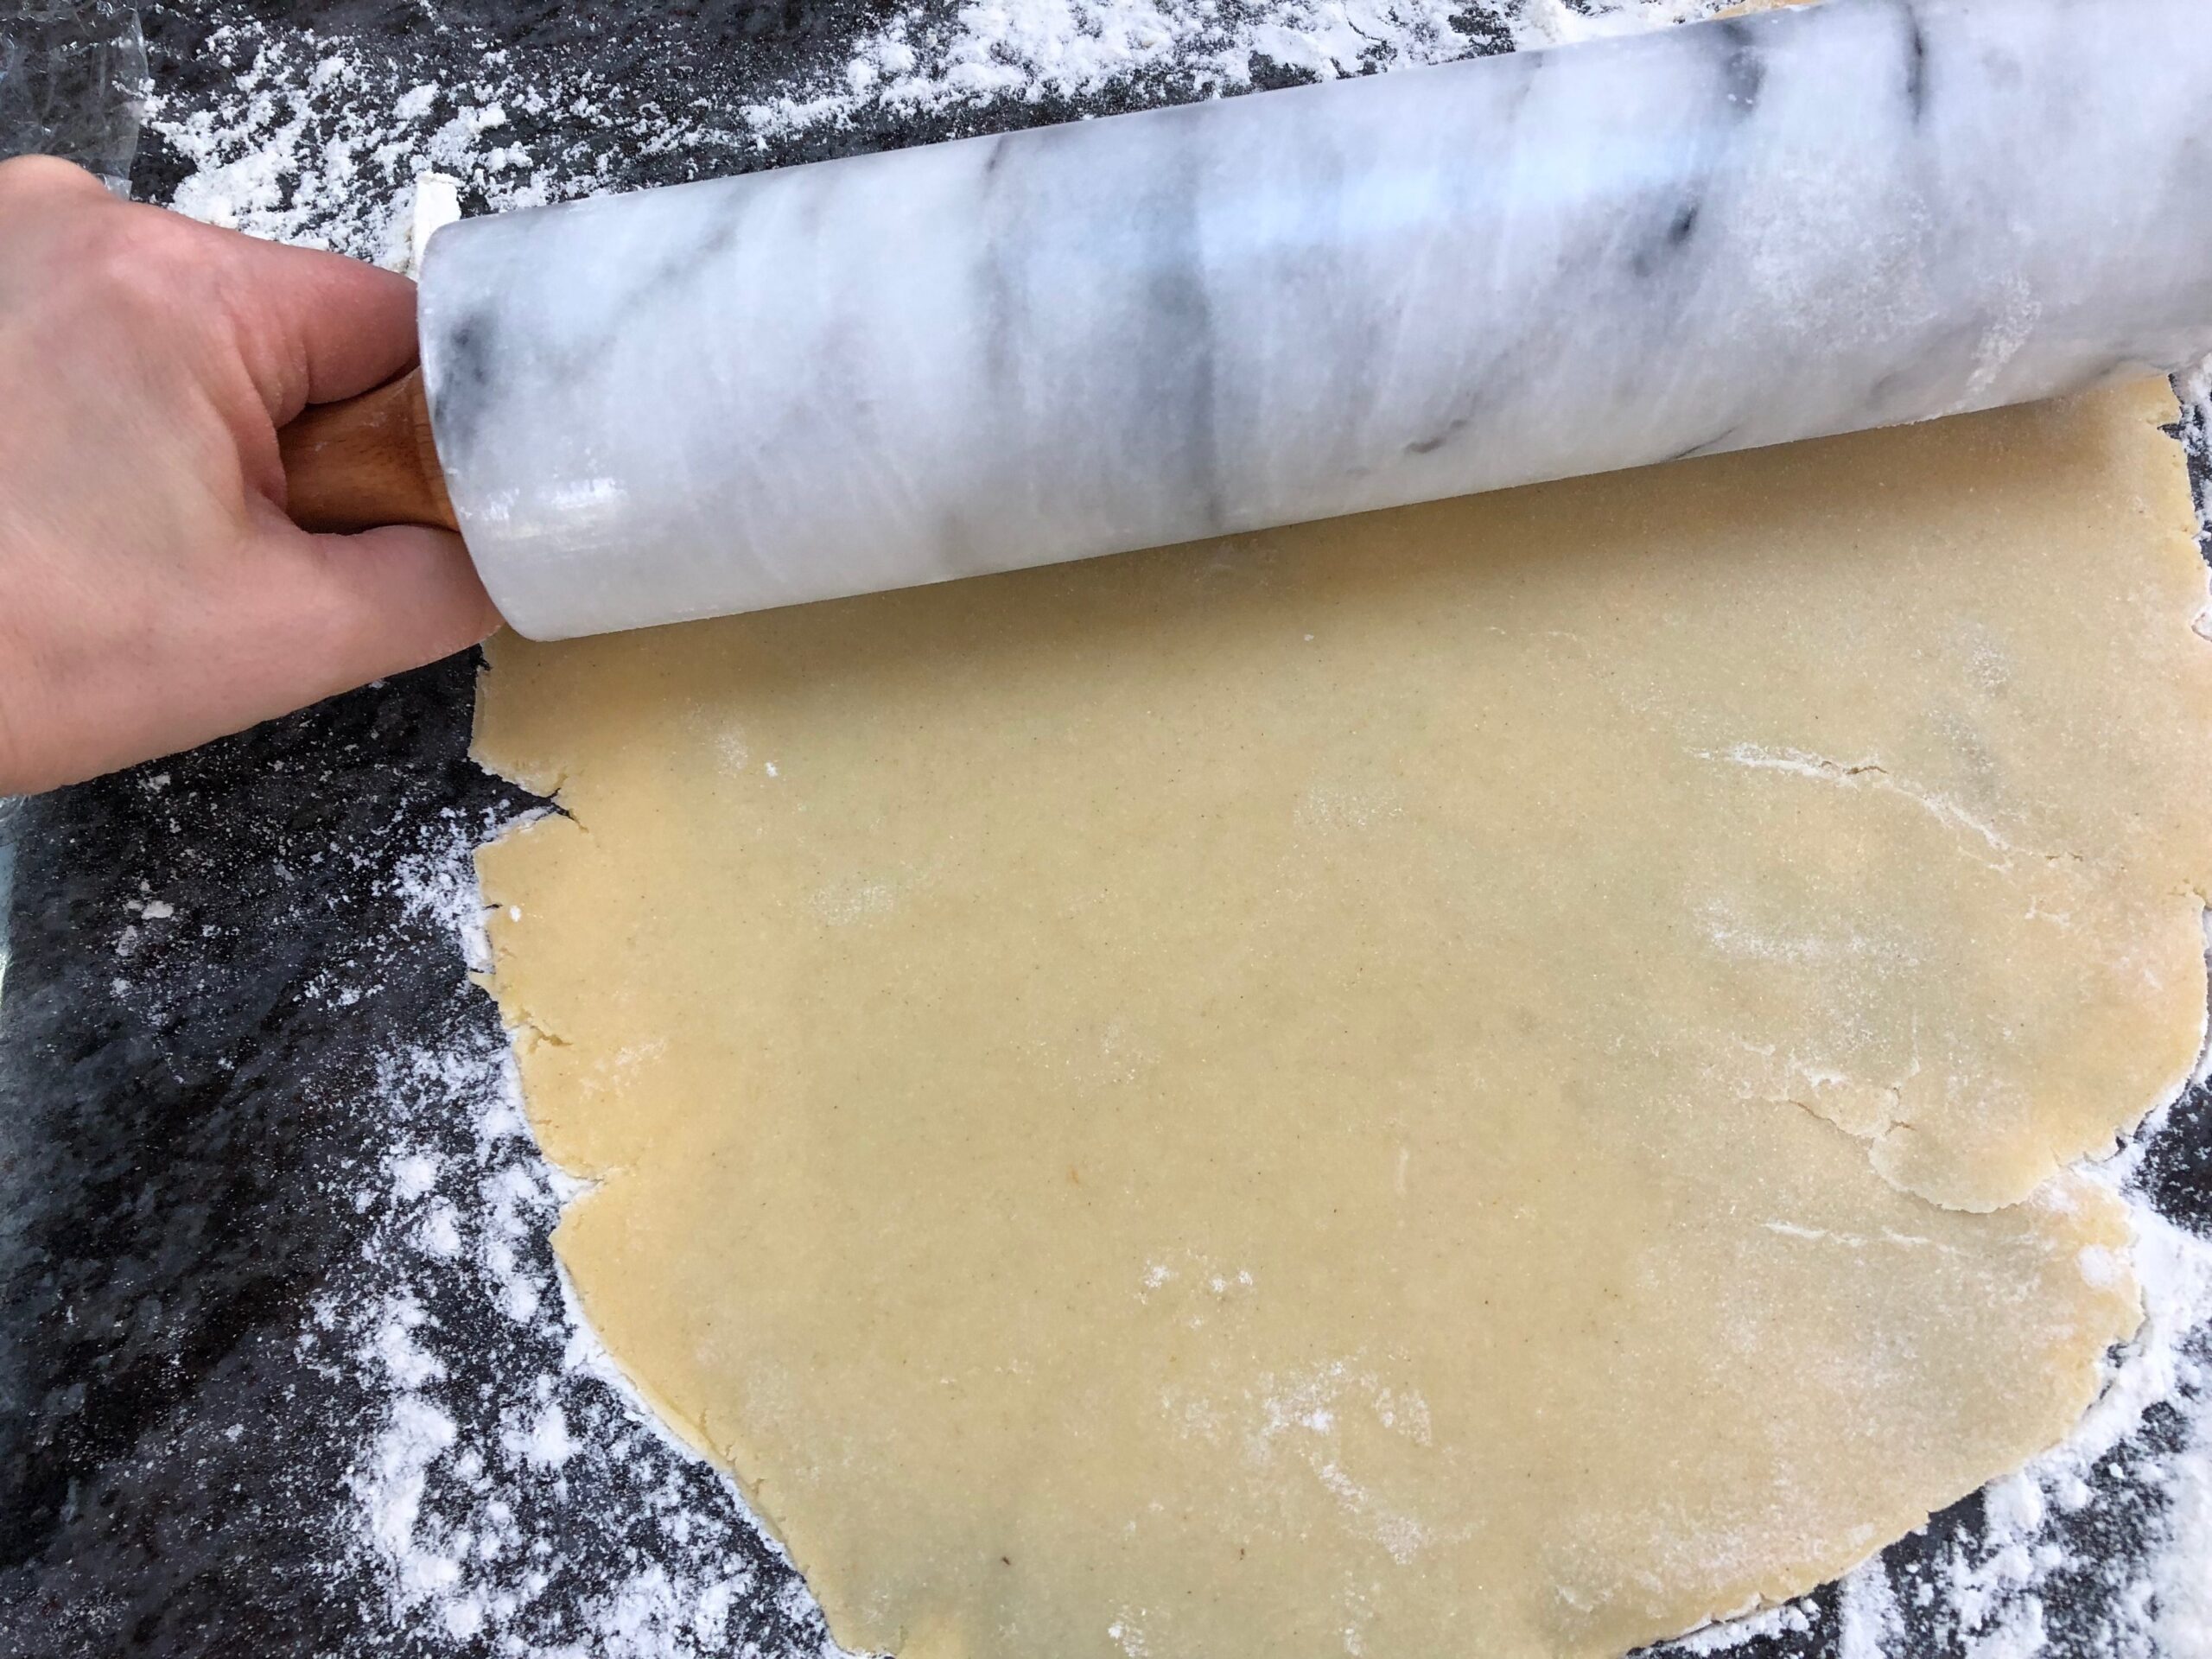
Using a roller pin, roll the dough into two large flat circles. Approximately 0.5 cm or 1/5 inch thick.
-
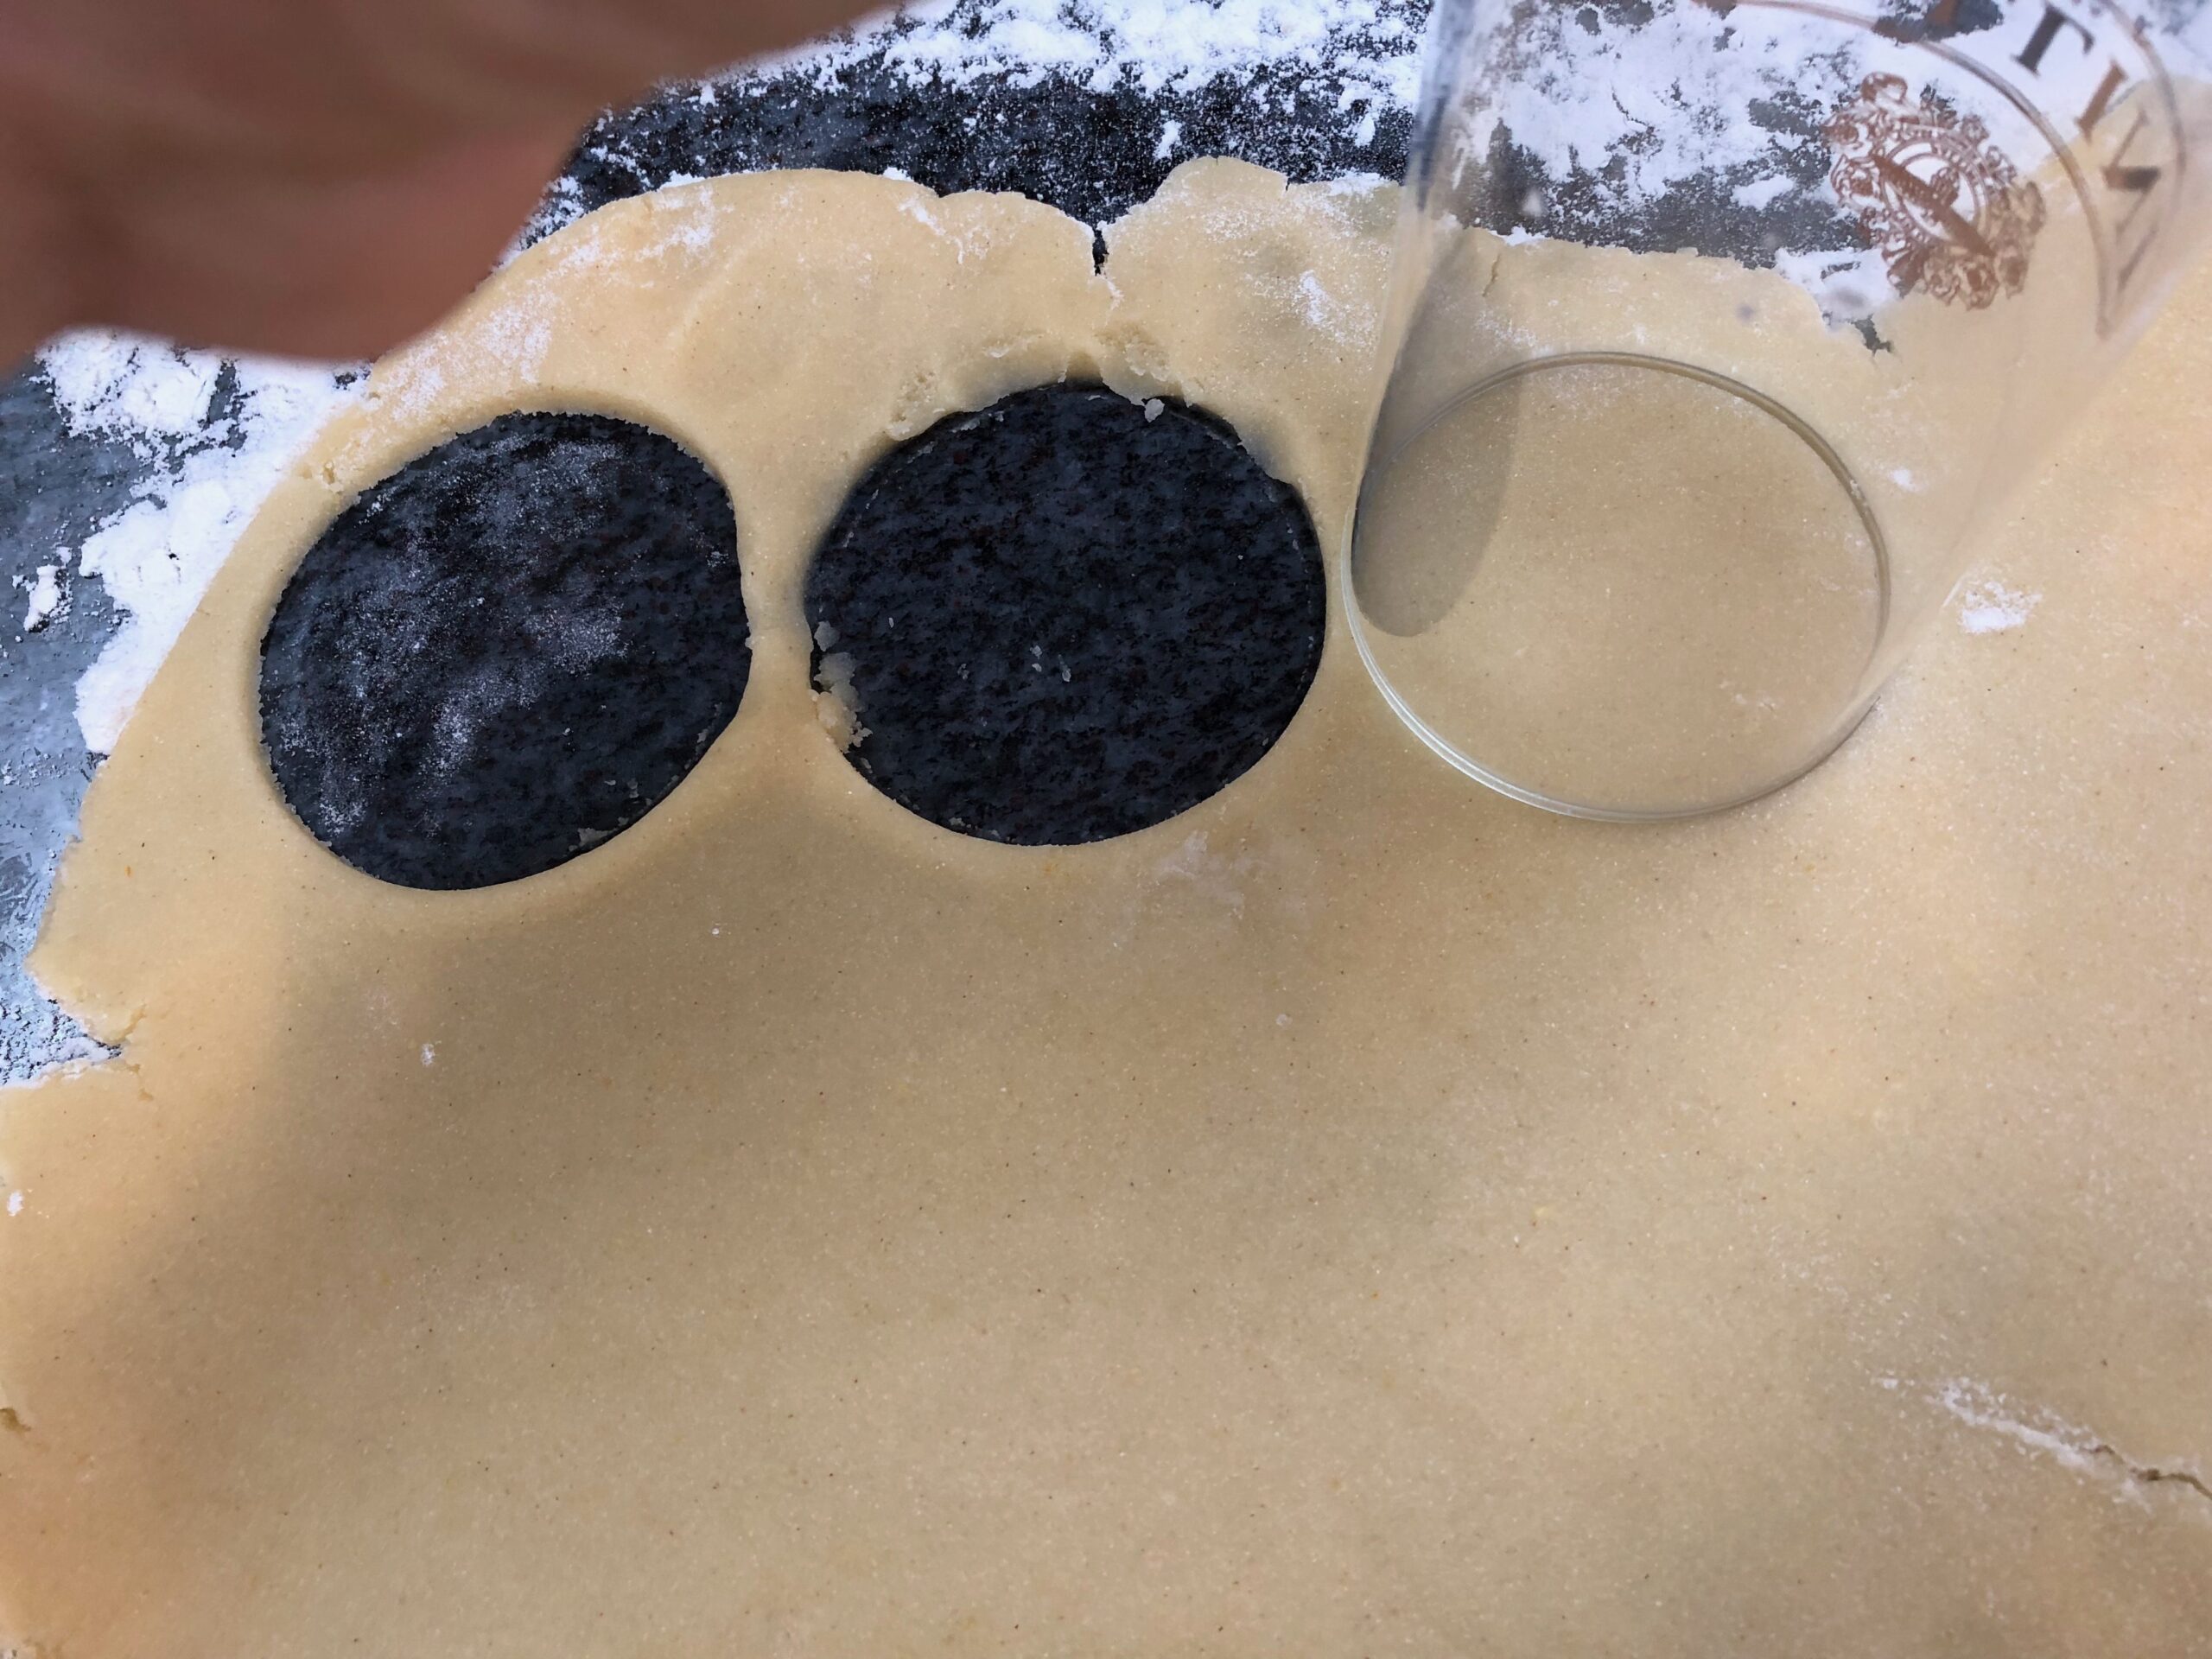
Using a glass or a cup with a round rim of about 4 cm or 1.6 inch in diameter, start cutting out circles.
-
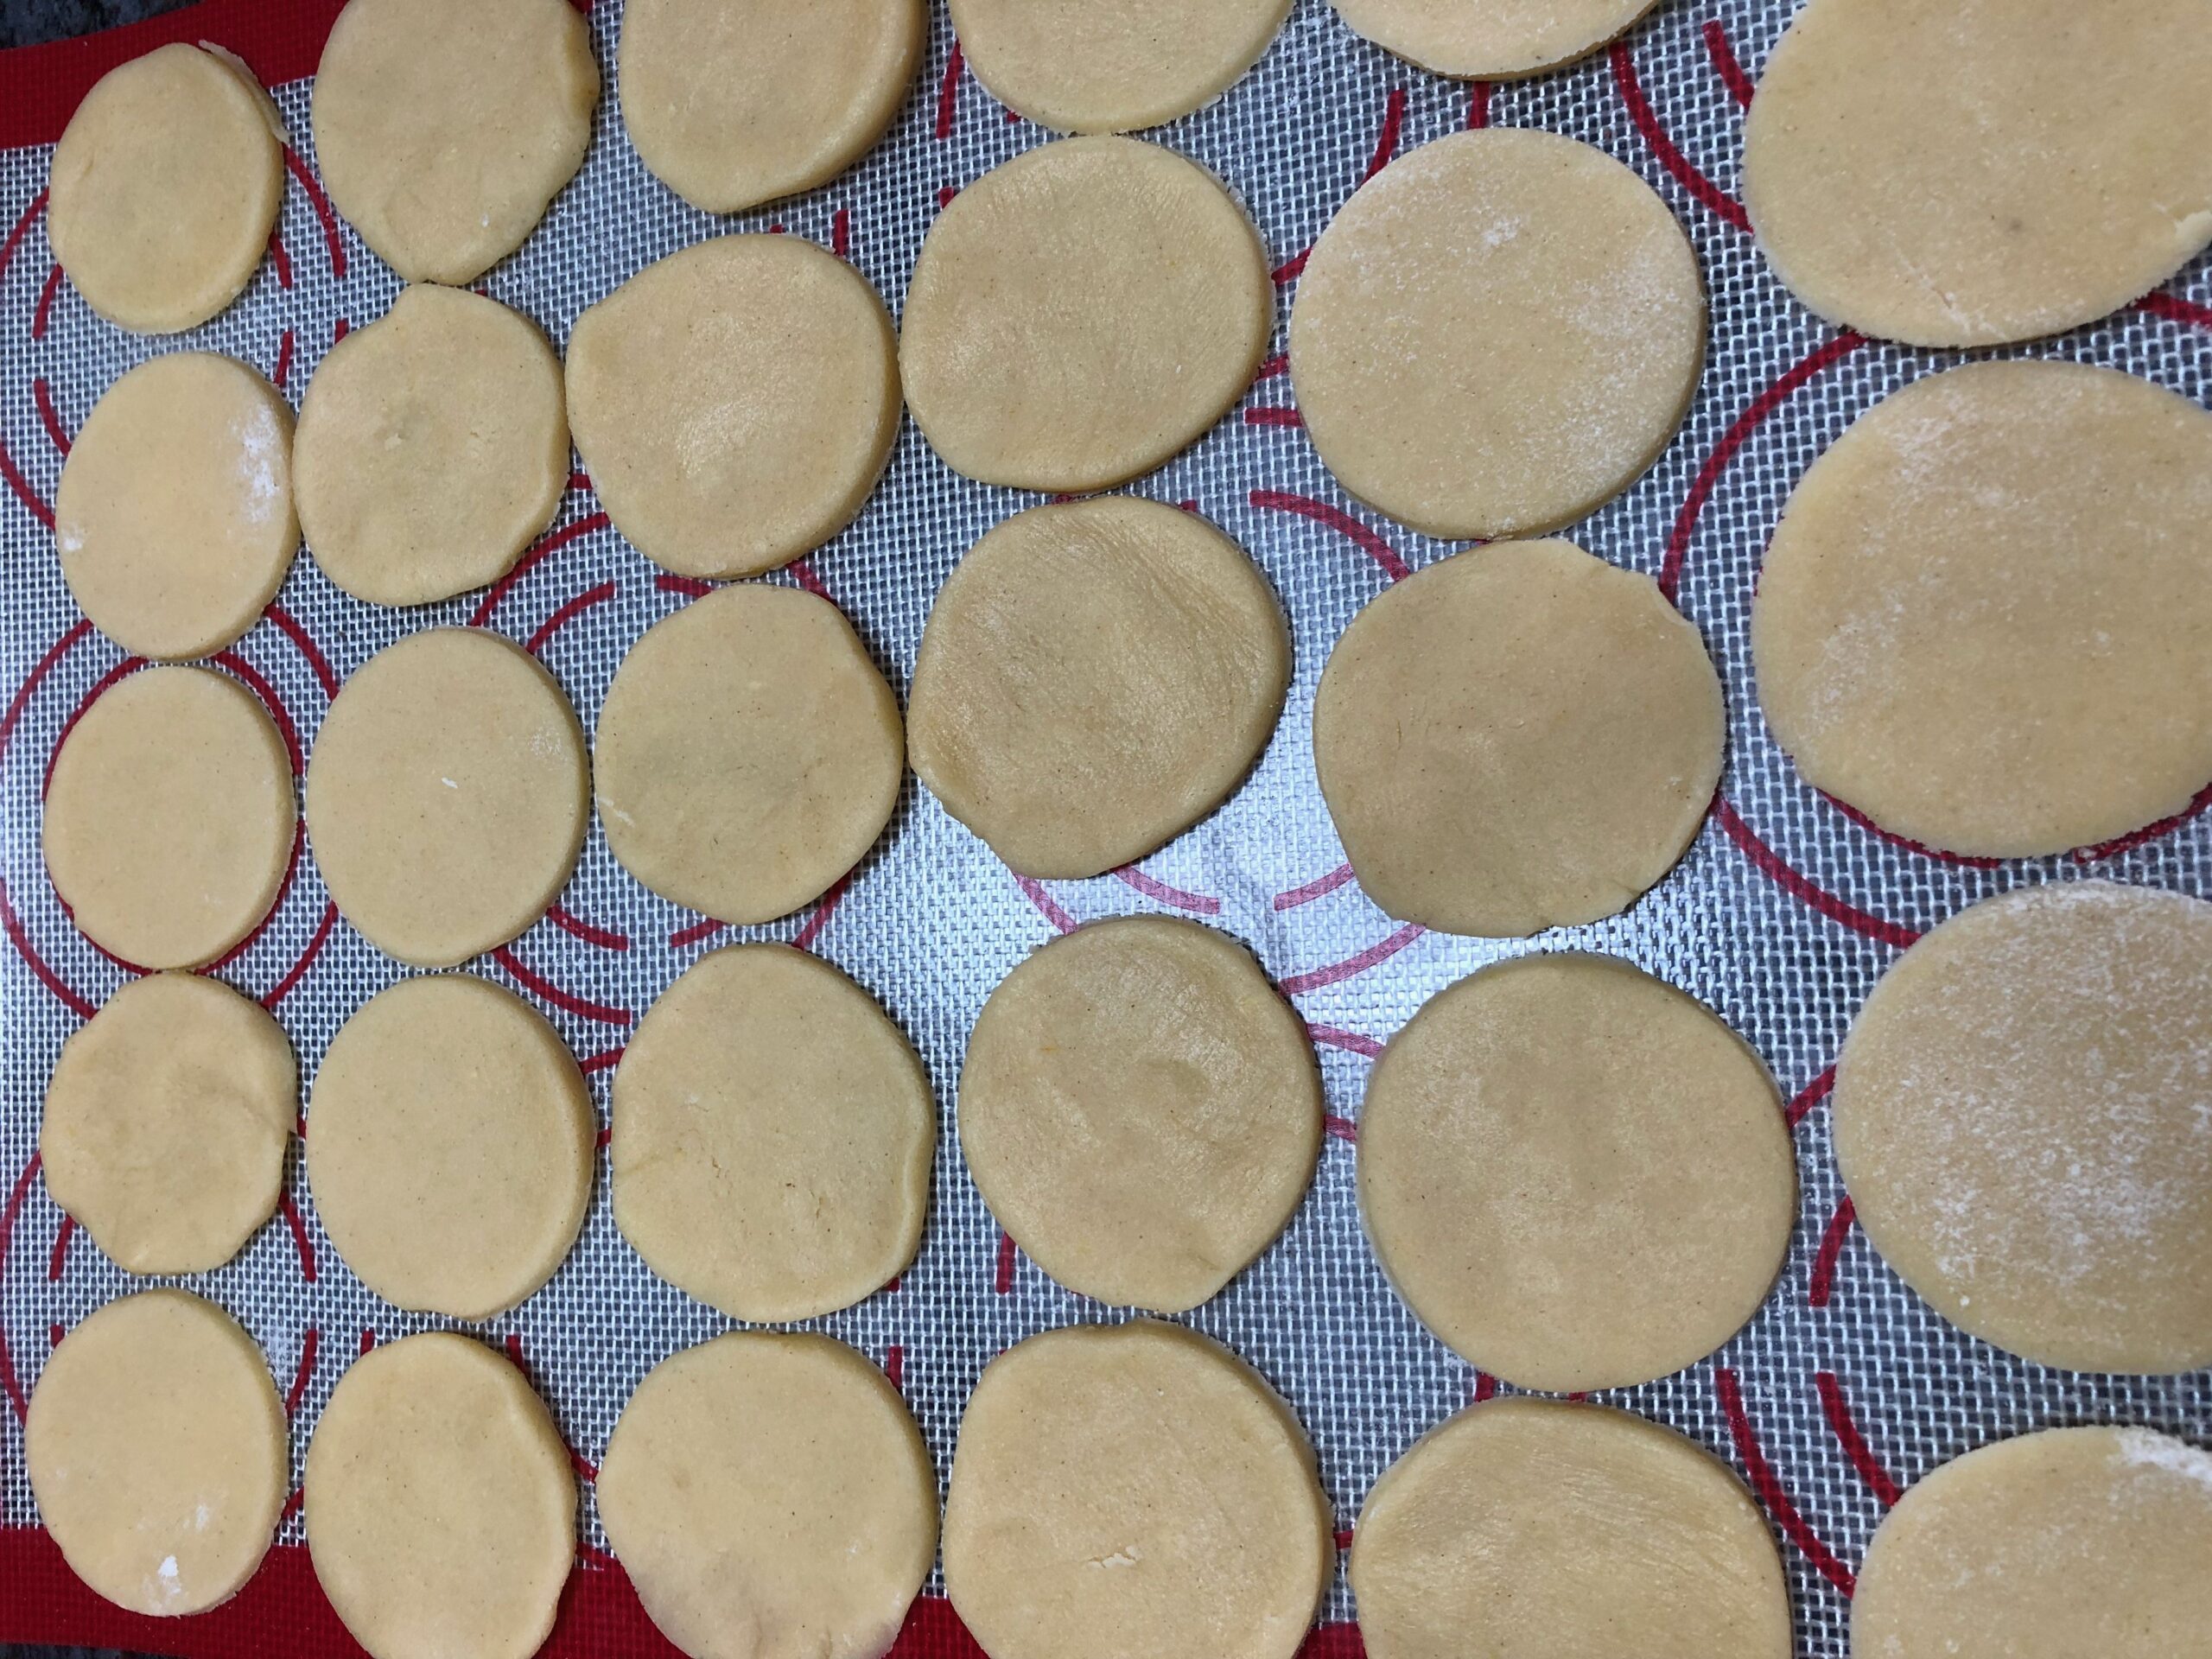
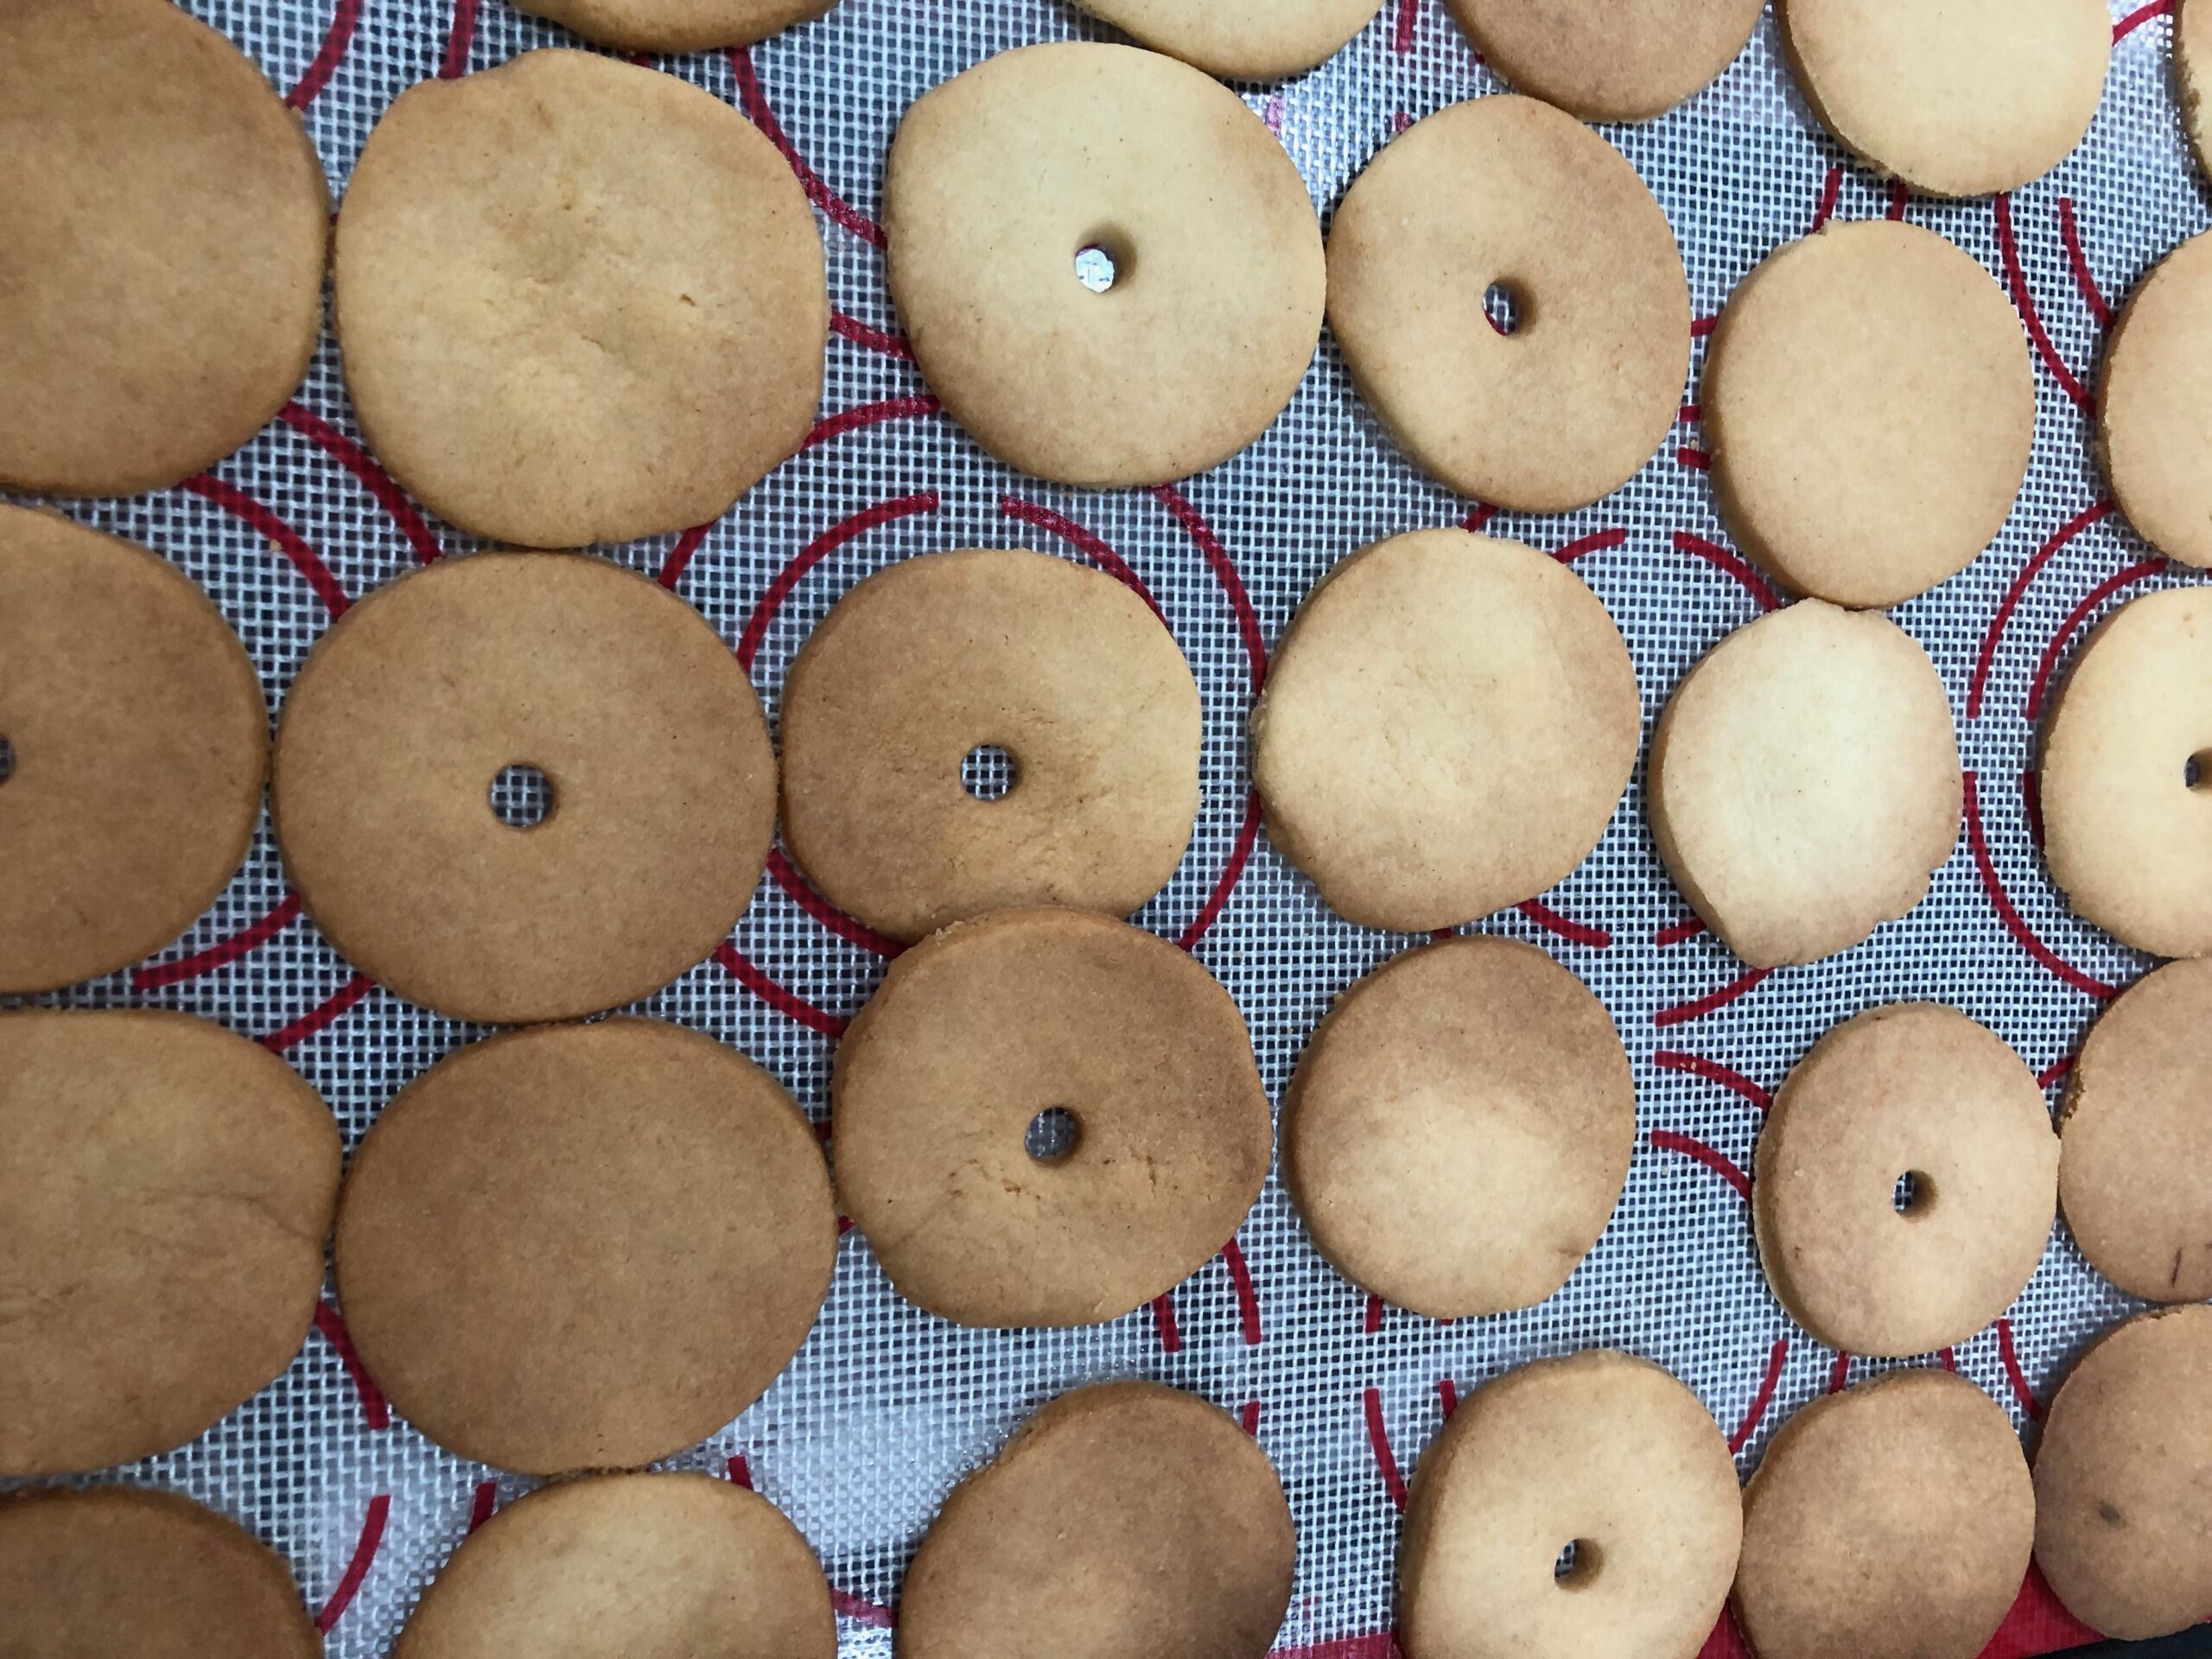
Make sure you have an even amount of circles. Take half of the circles and using a straw, cut out a small hole in the middle of each circle. Place them on the cookie sheet. Take the other half of the circles (without a hole in them) and also place them on a cookie sheet. Bake both sets for about 25 minutes.
-
Remove the baked cookies from the oven and cool them off for about 15-20 minutes.
-
Take chocolate hazelnut spread, and using a teaspoon, scoop some of the filling onto the full circle. Cover it with the circle that has a hole. Repeat for each cookie.
-
Place them on a platter and sprinkle some powdered sugar on top. Enjoy!

Lemon cake is a popular dessert with grownups and kids. The light and refreshing taste of lemon goes with many flavors. You can top it with coconut flakes, chocolate glaze, fruit preserves, cream cheese frosting, chocolate-hazelnut spread, or serve it with whipped cream and ice-cream. That’s the wonder of lemon cake – it’s classic taste pairs up nicely with endless flavors in your kitchen.
This recipe is also very easy to make, with simple ingredients and straightforward process.
In this recipe I used sunflower seed oil. However, if you prefer a more rich and creamier flavor, you can use two sticks (about 200 grams) of butter that’s melted, instead of oil. I also made this recipe using rapeseed oil, but I prefer the sweeter taste of sunflower seed oil.
As always, I try to use the least amount of sugar as possible. For this recipe instead of a whole cup of sugar I reduced it to 3/4 of a cup, and it still turned out delicious. Why add the extra calories if you don’t have to.
To make this lemon cake as fluffy as possible and less dense, I use cake flour from Poland, type 450 that contains less protein than the all-purpose type.
-
2
cups
cake flour (type 450)
-
3
tbsp
potato flour
-
4
whole
eggs
-
3/4
cup
sugar
-
3/4
cup
sunflower or rapeseed oil
-
3/4
cup
plain yogurt
-
1
whole
lemon
-
2
tsp
baking powder
-
2
tbsp
shredded coconut
-
Preheat the oven to 350 degrees Fahrenheit or 180 degrees Celsius.
-
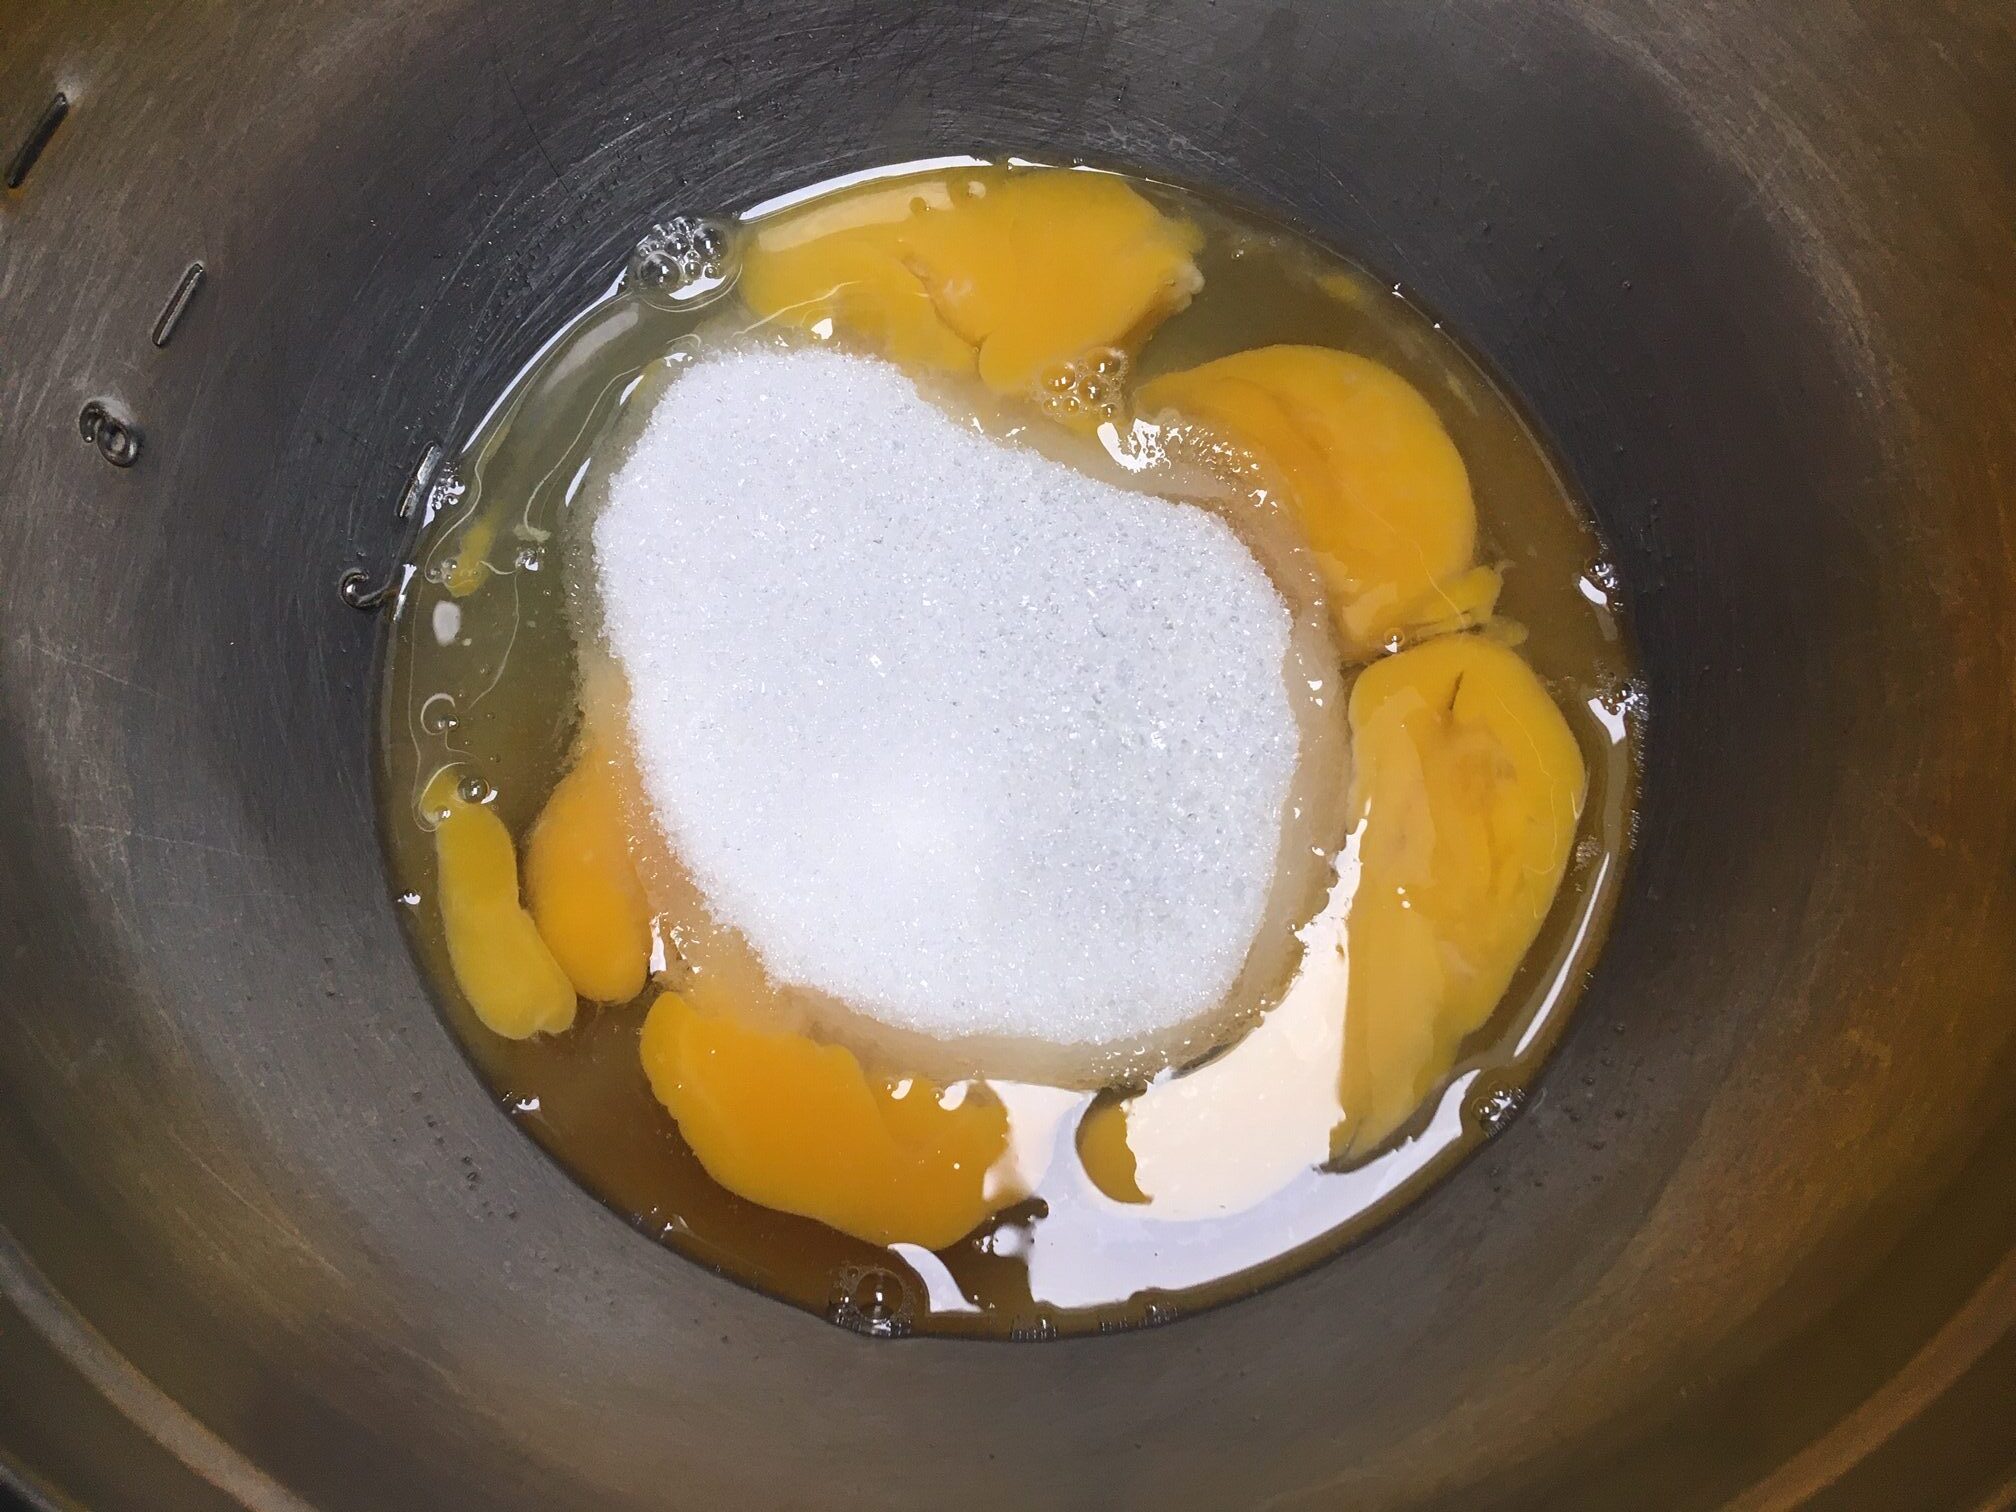
In a medium bowl mix the eggs with sugar until fluffy.
-
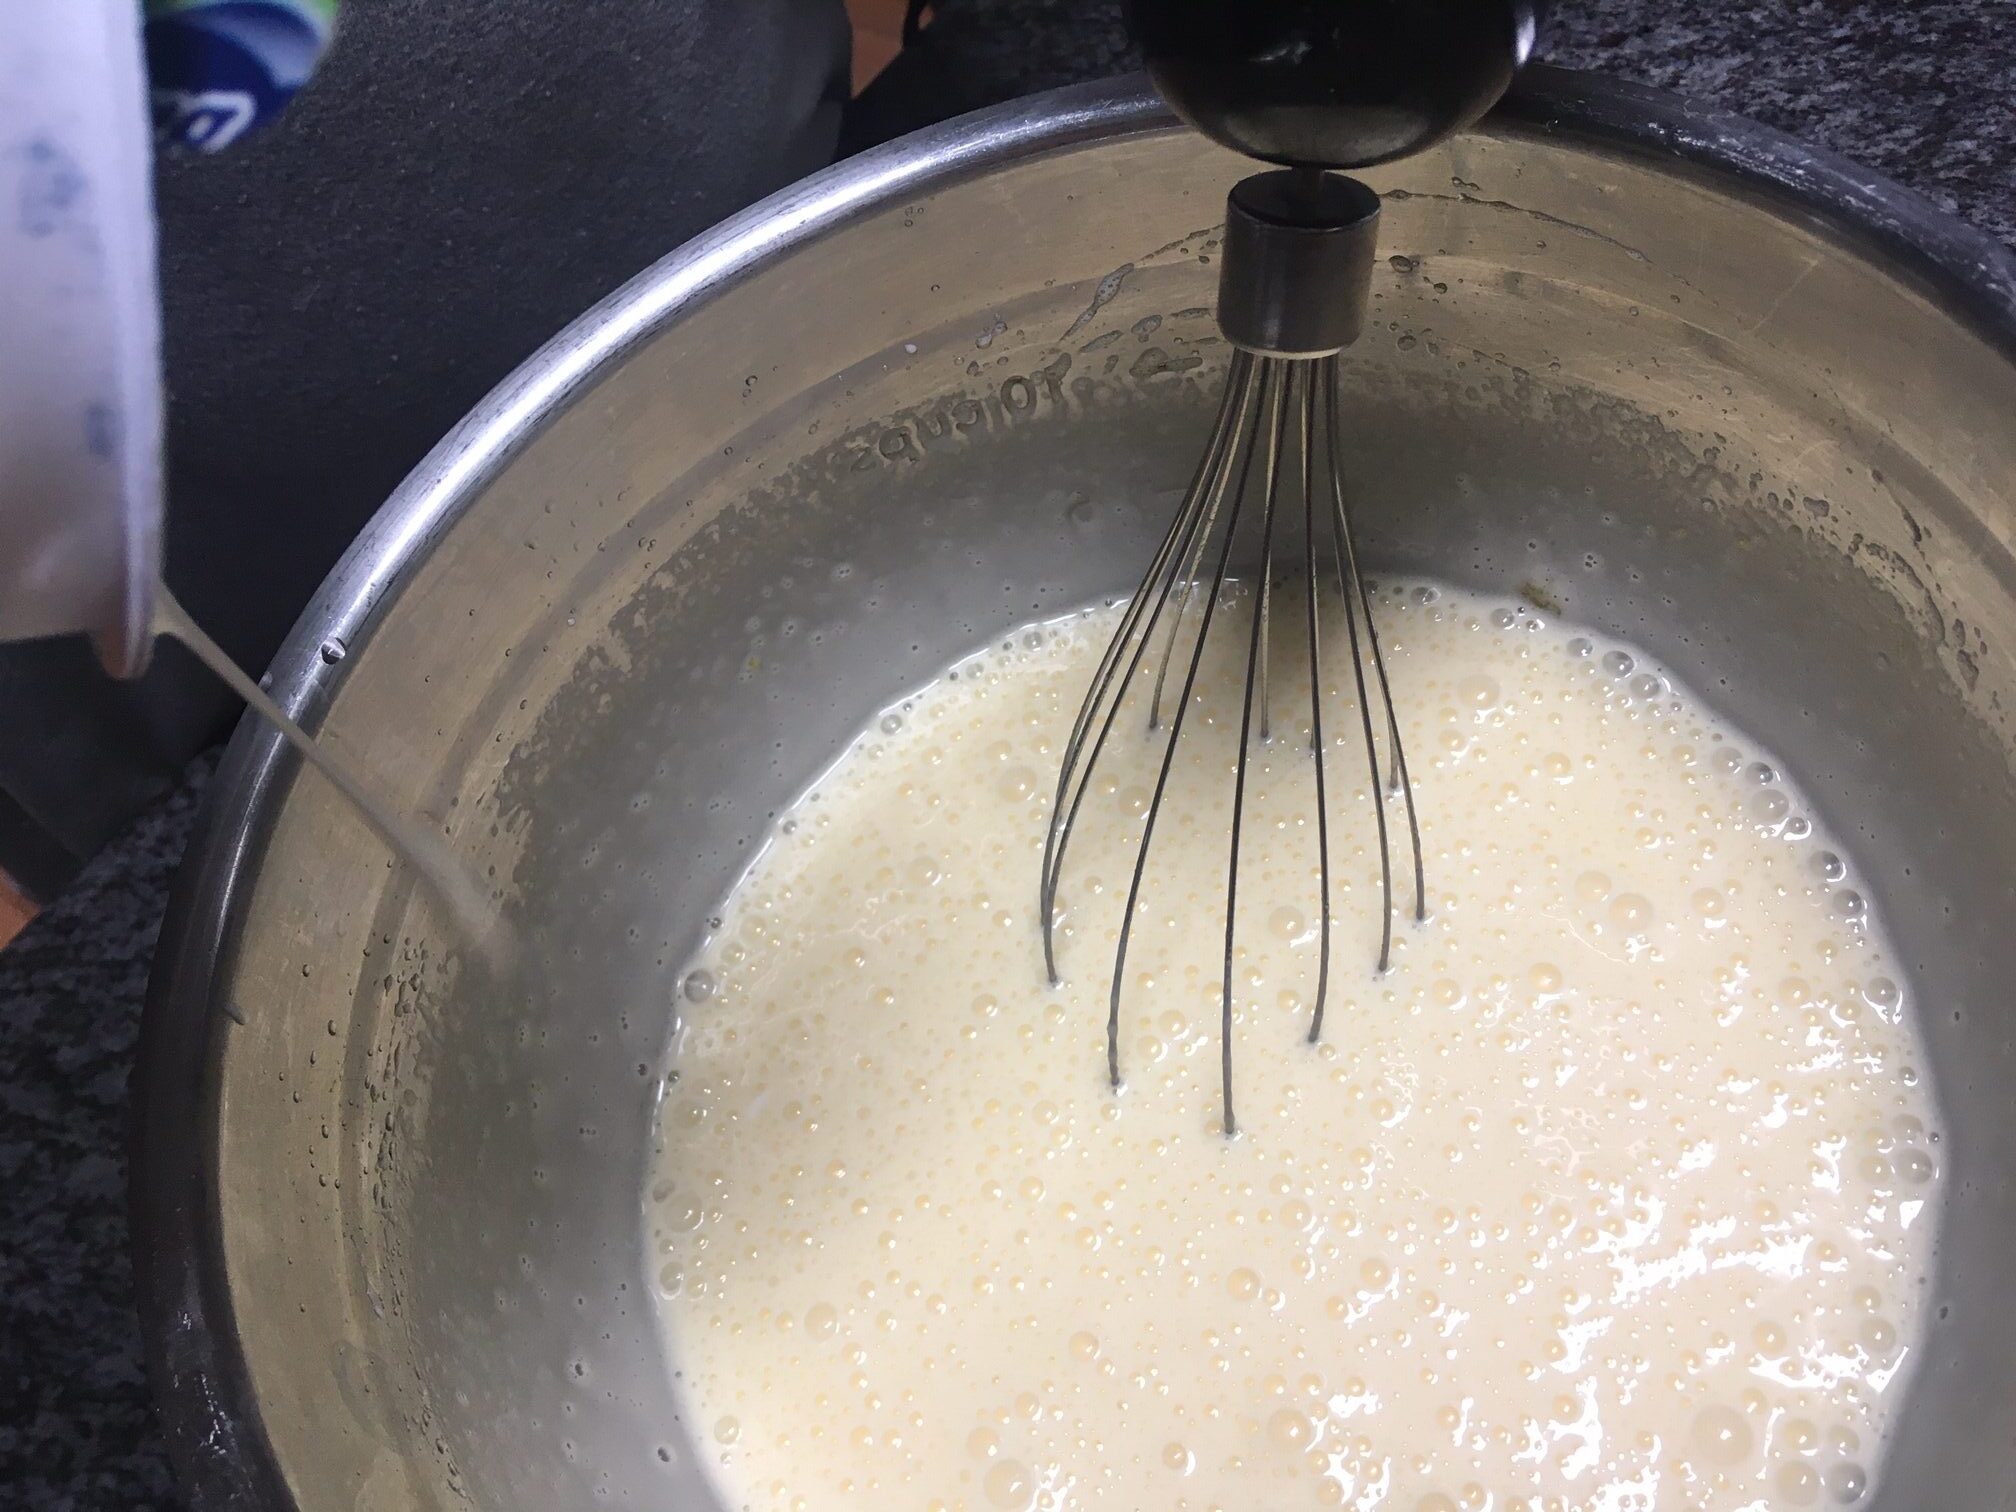
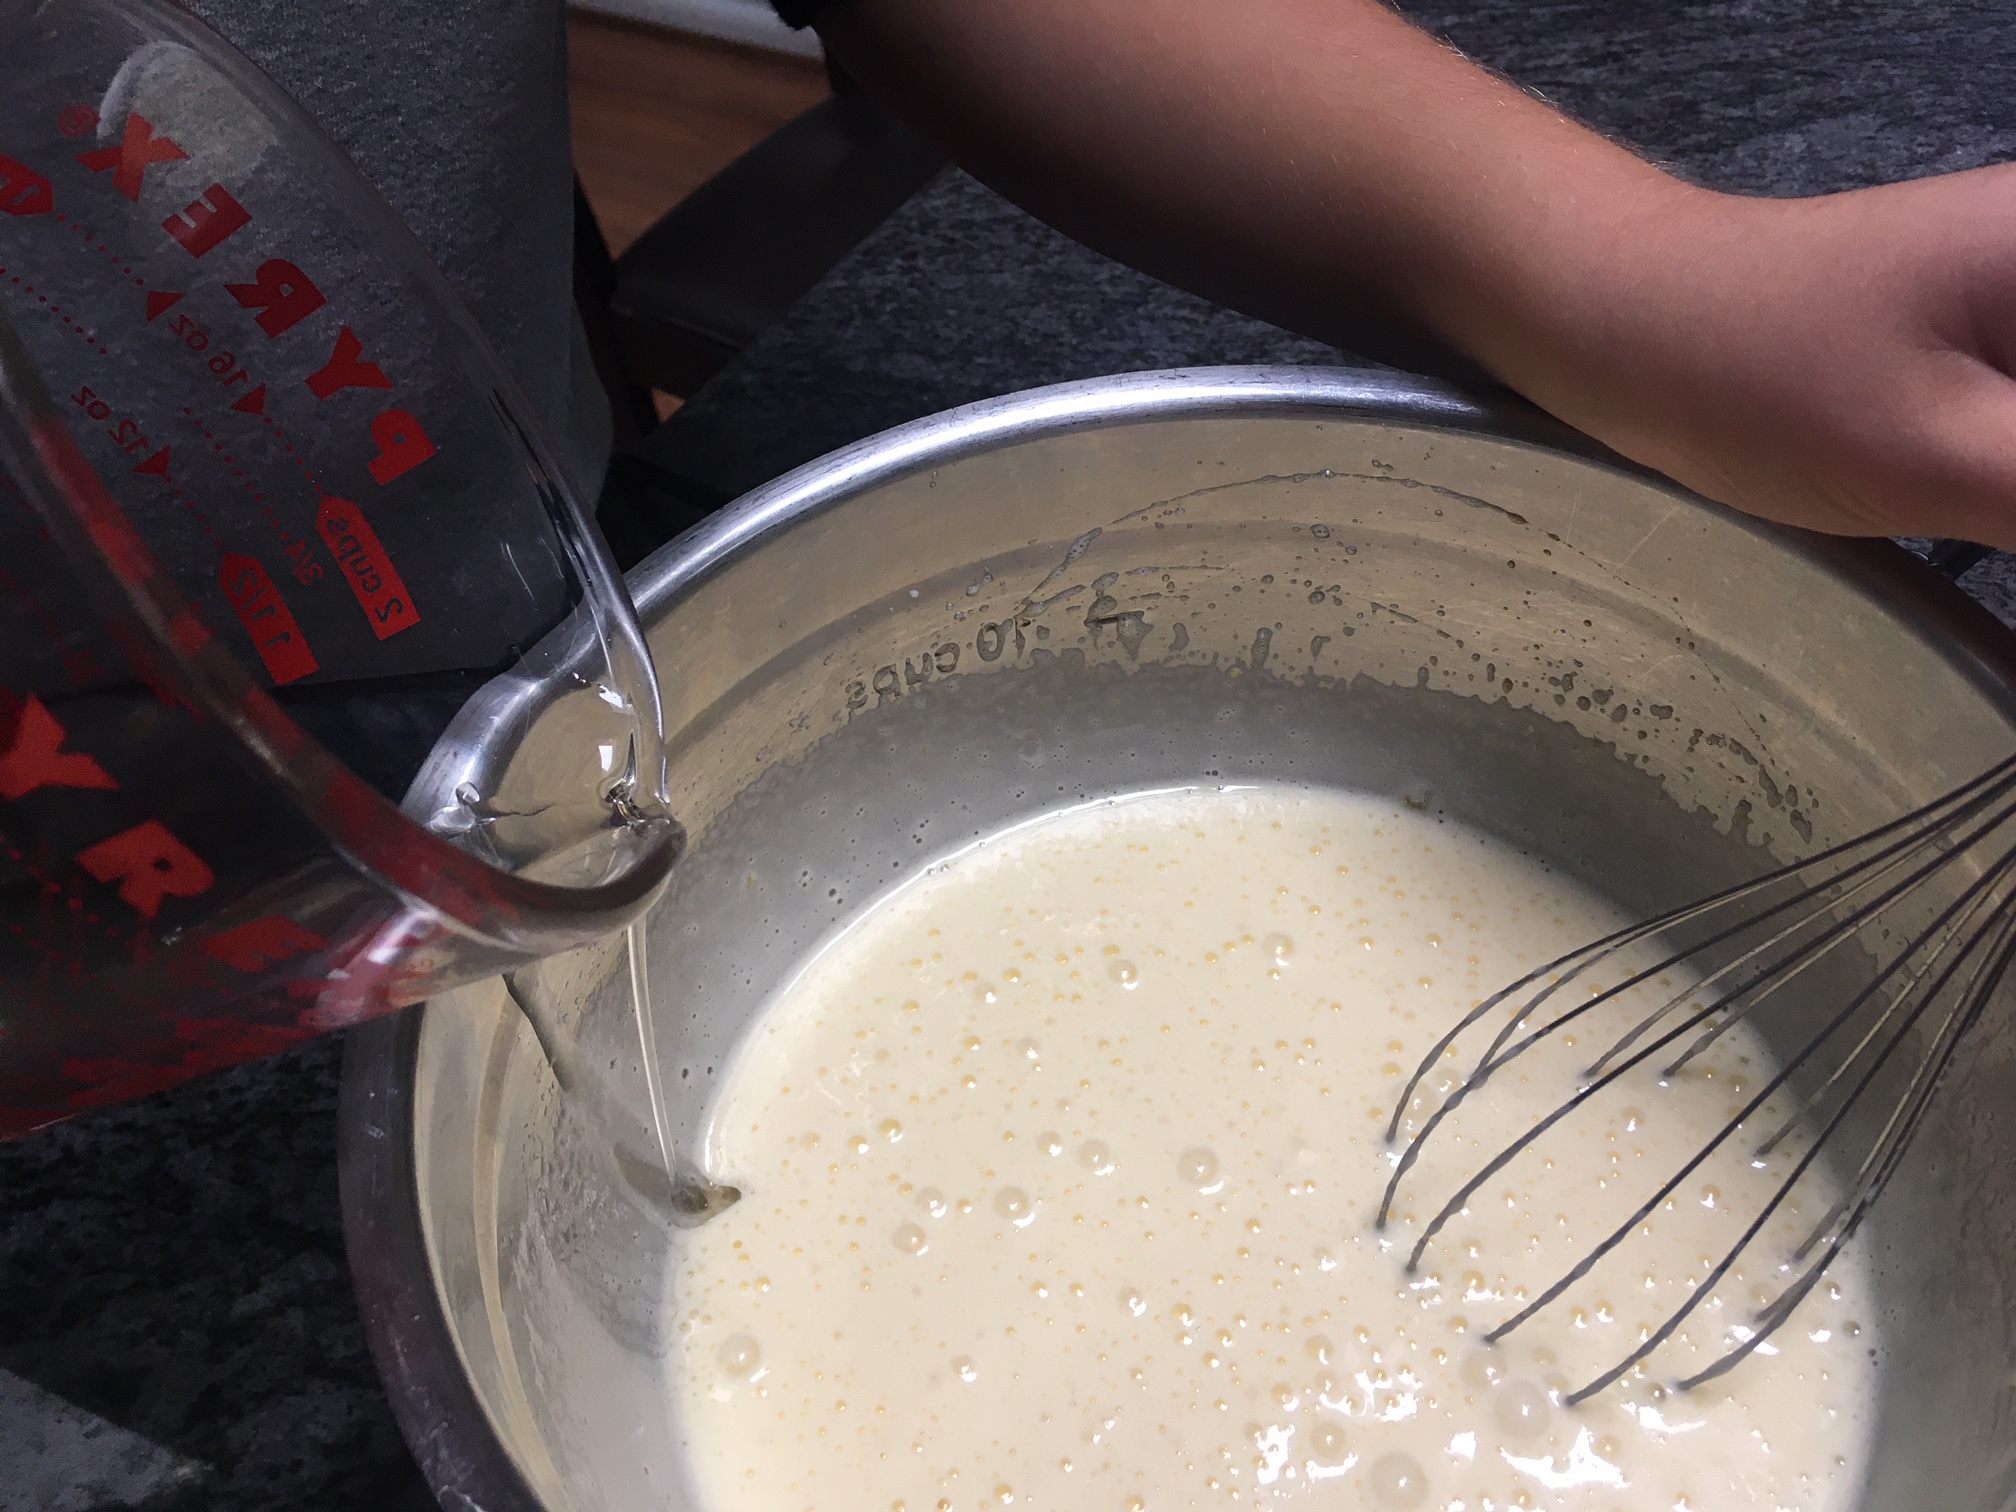
While continuing to mix, slowly pour in the oil.
-
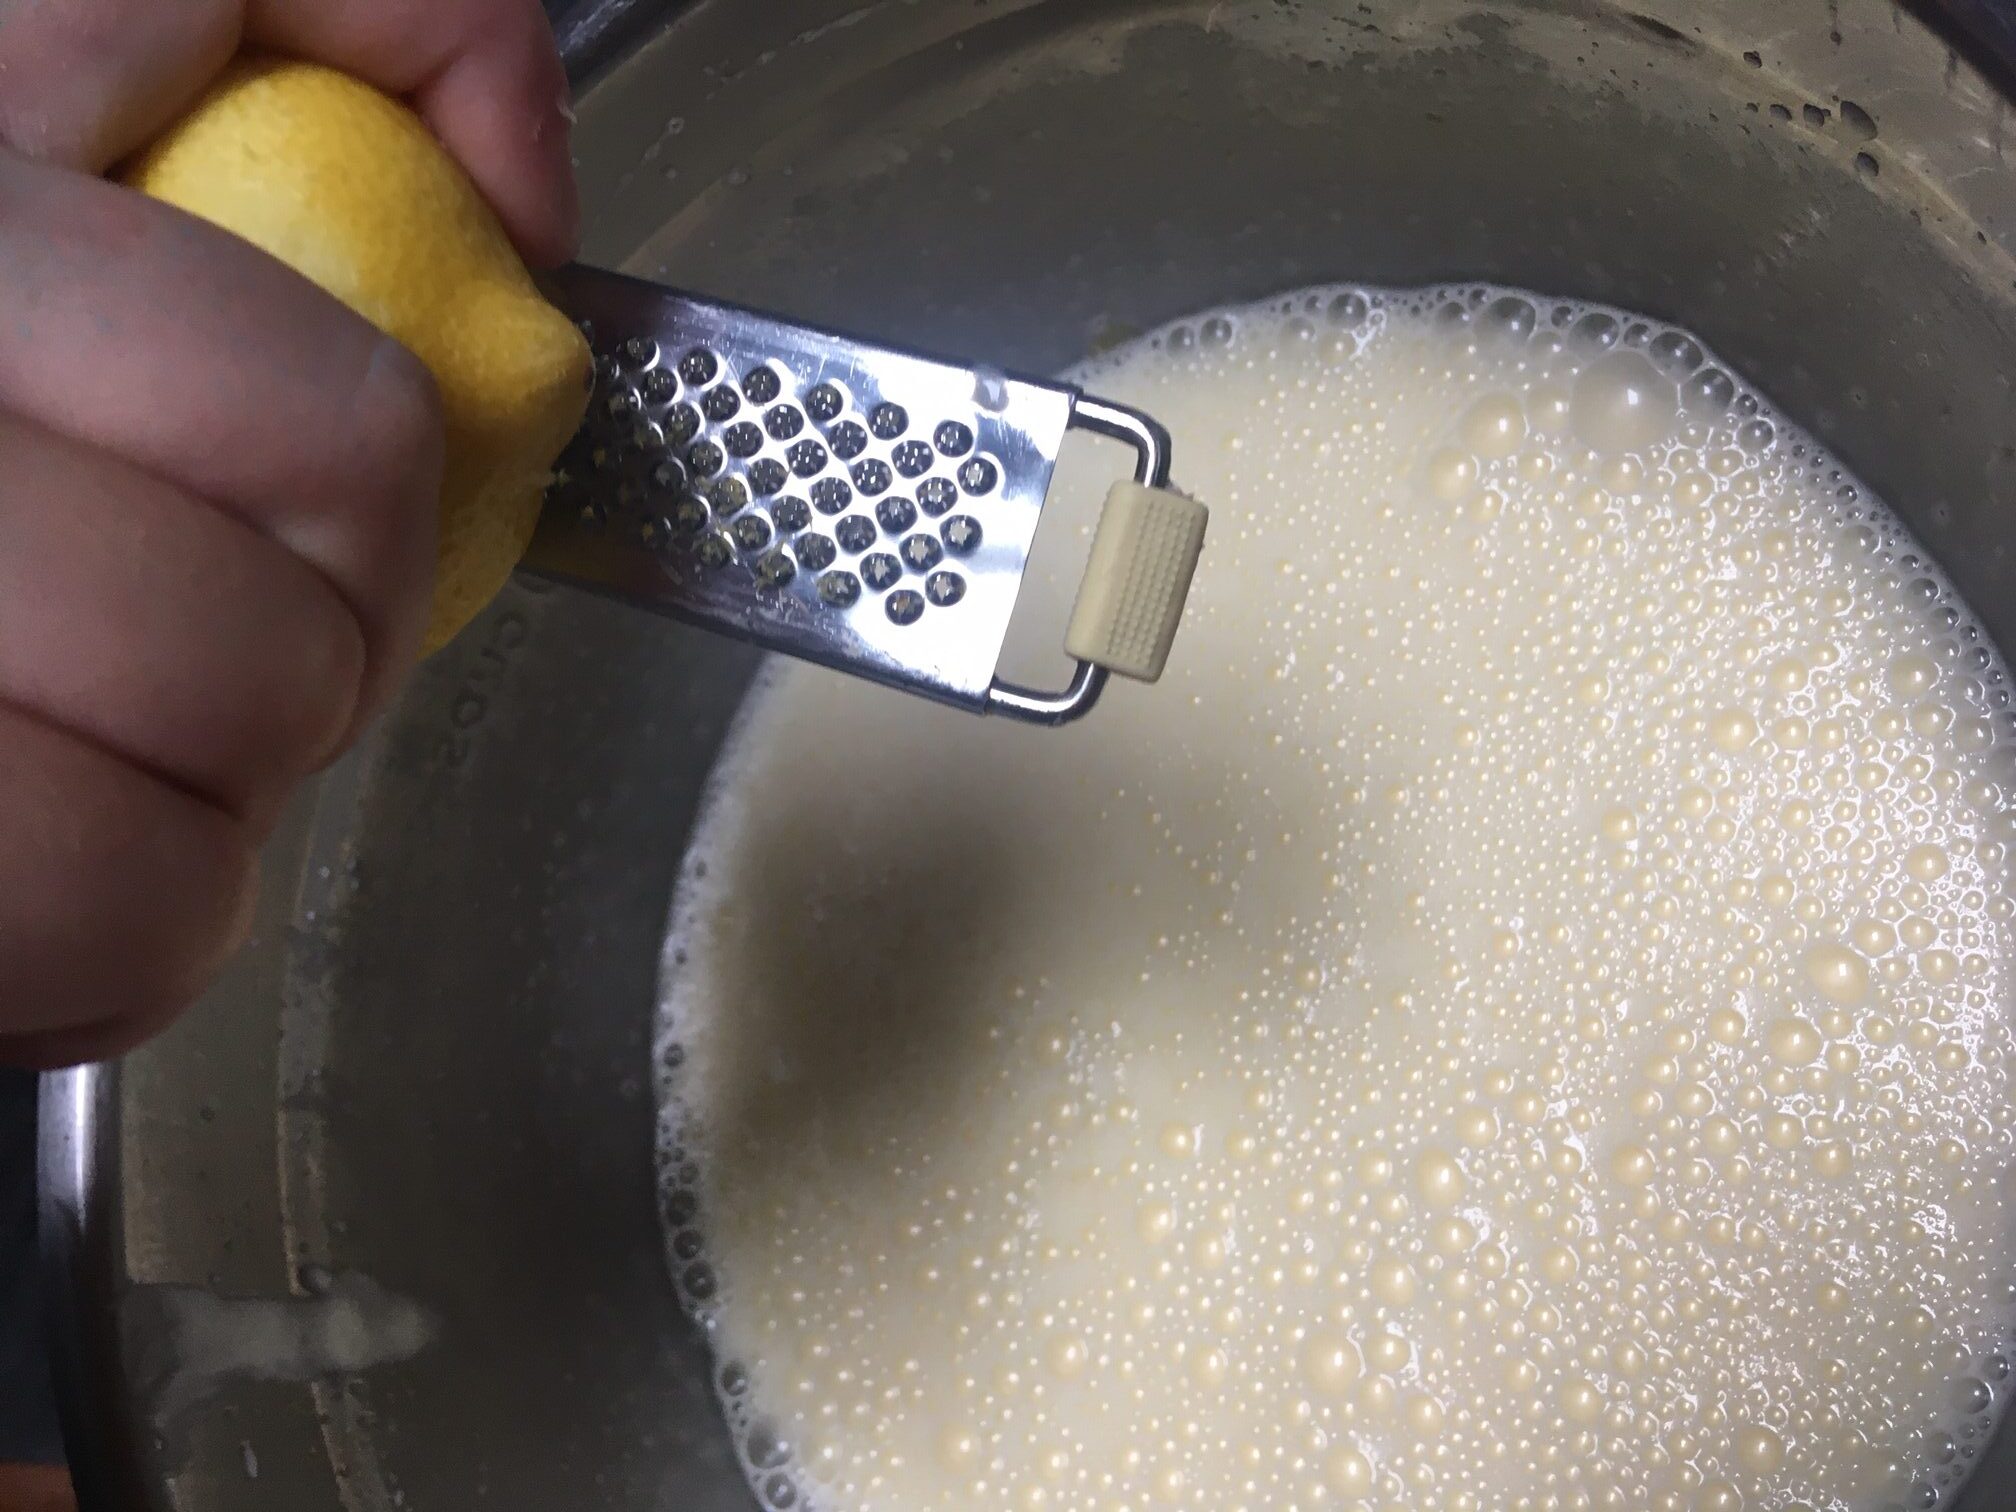
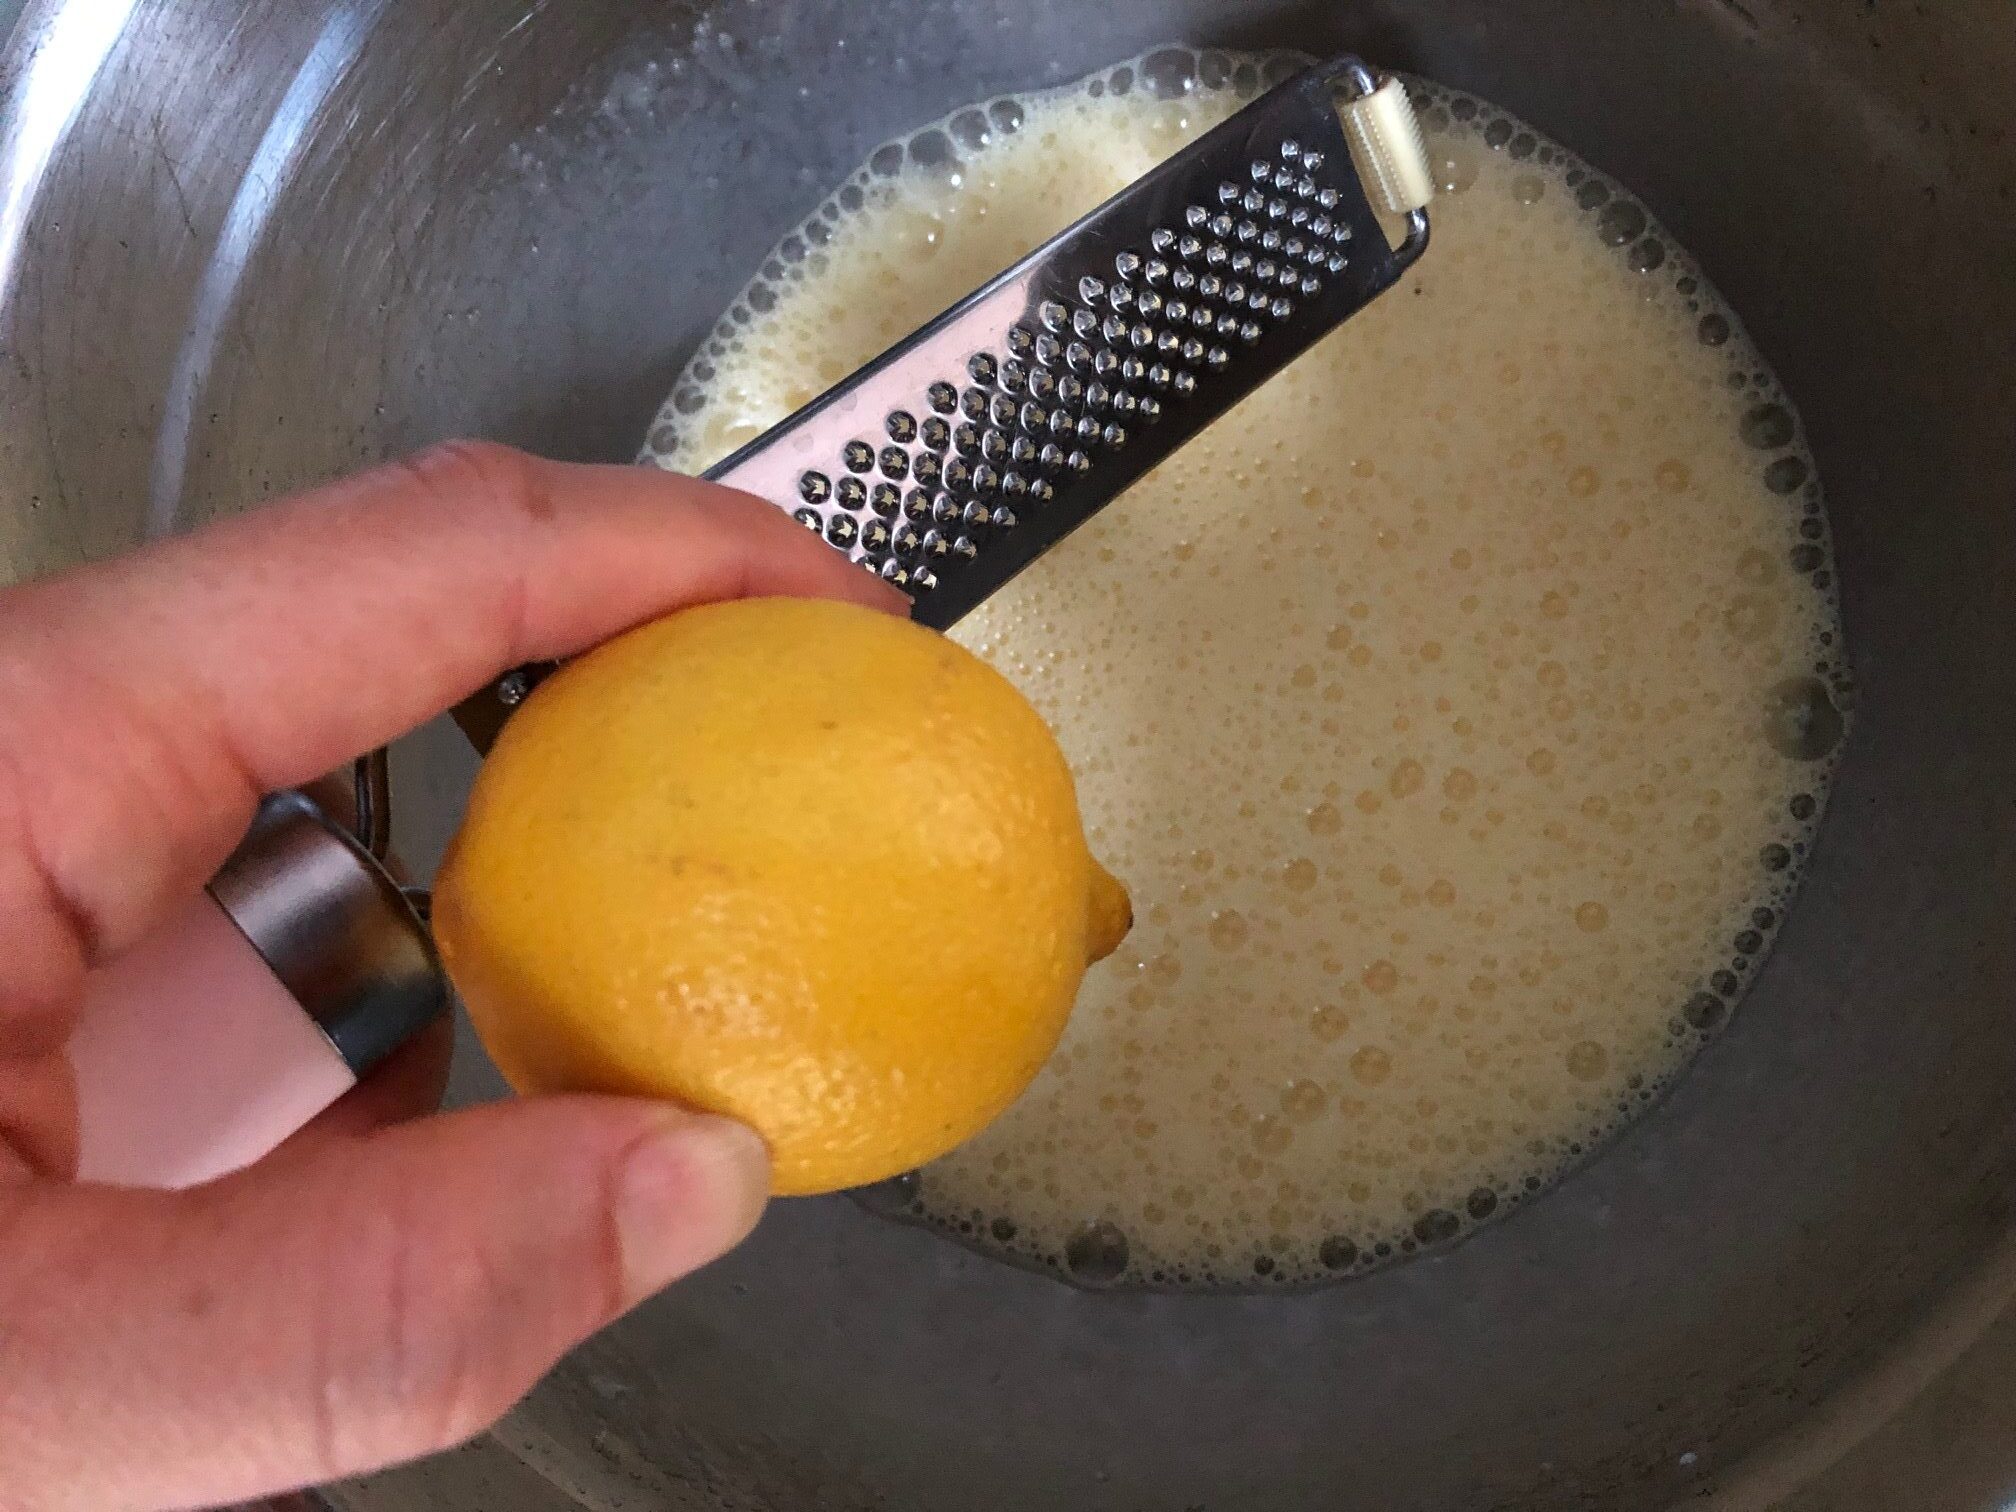
Continue mixing while adding lemon juice squeezed from the lemon and the zest from the lemon peel.
-
Add the yoghurt and mix it all together.
-
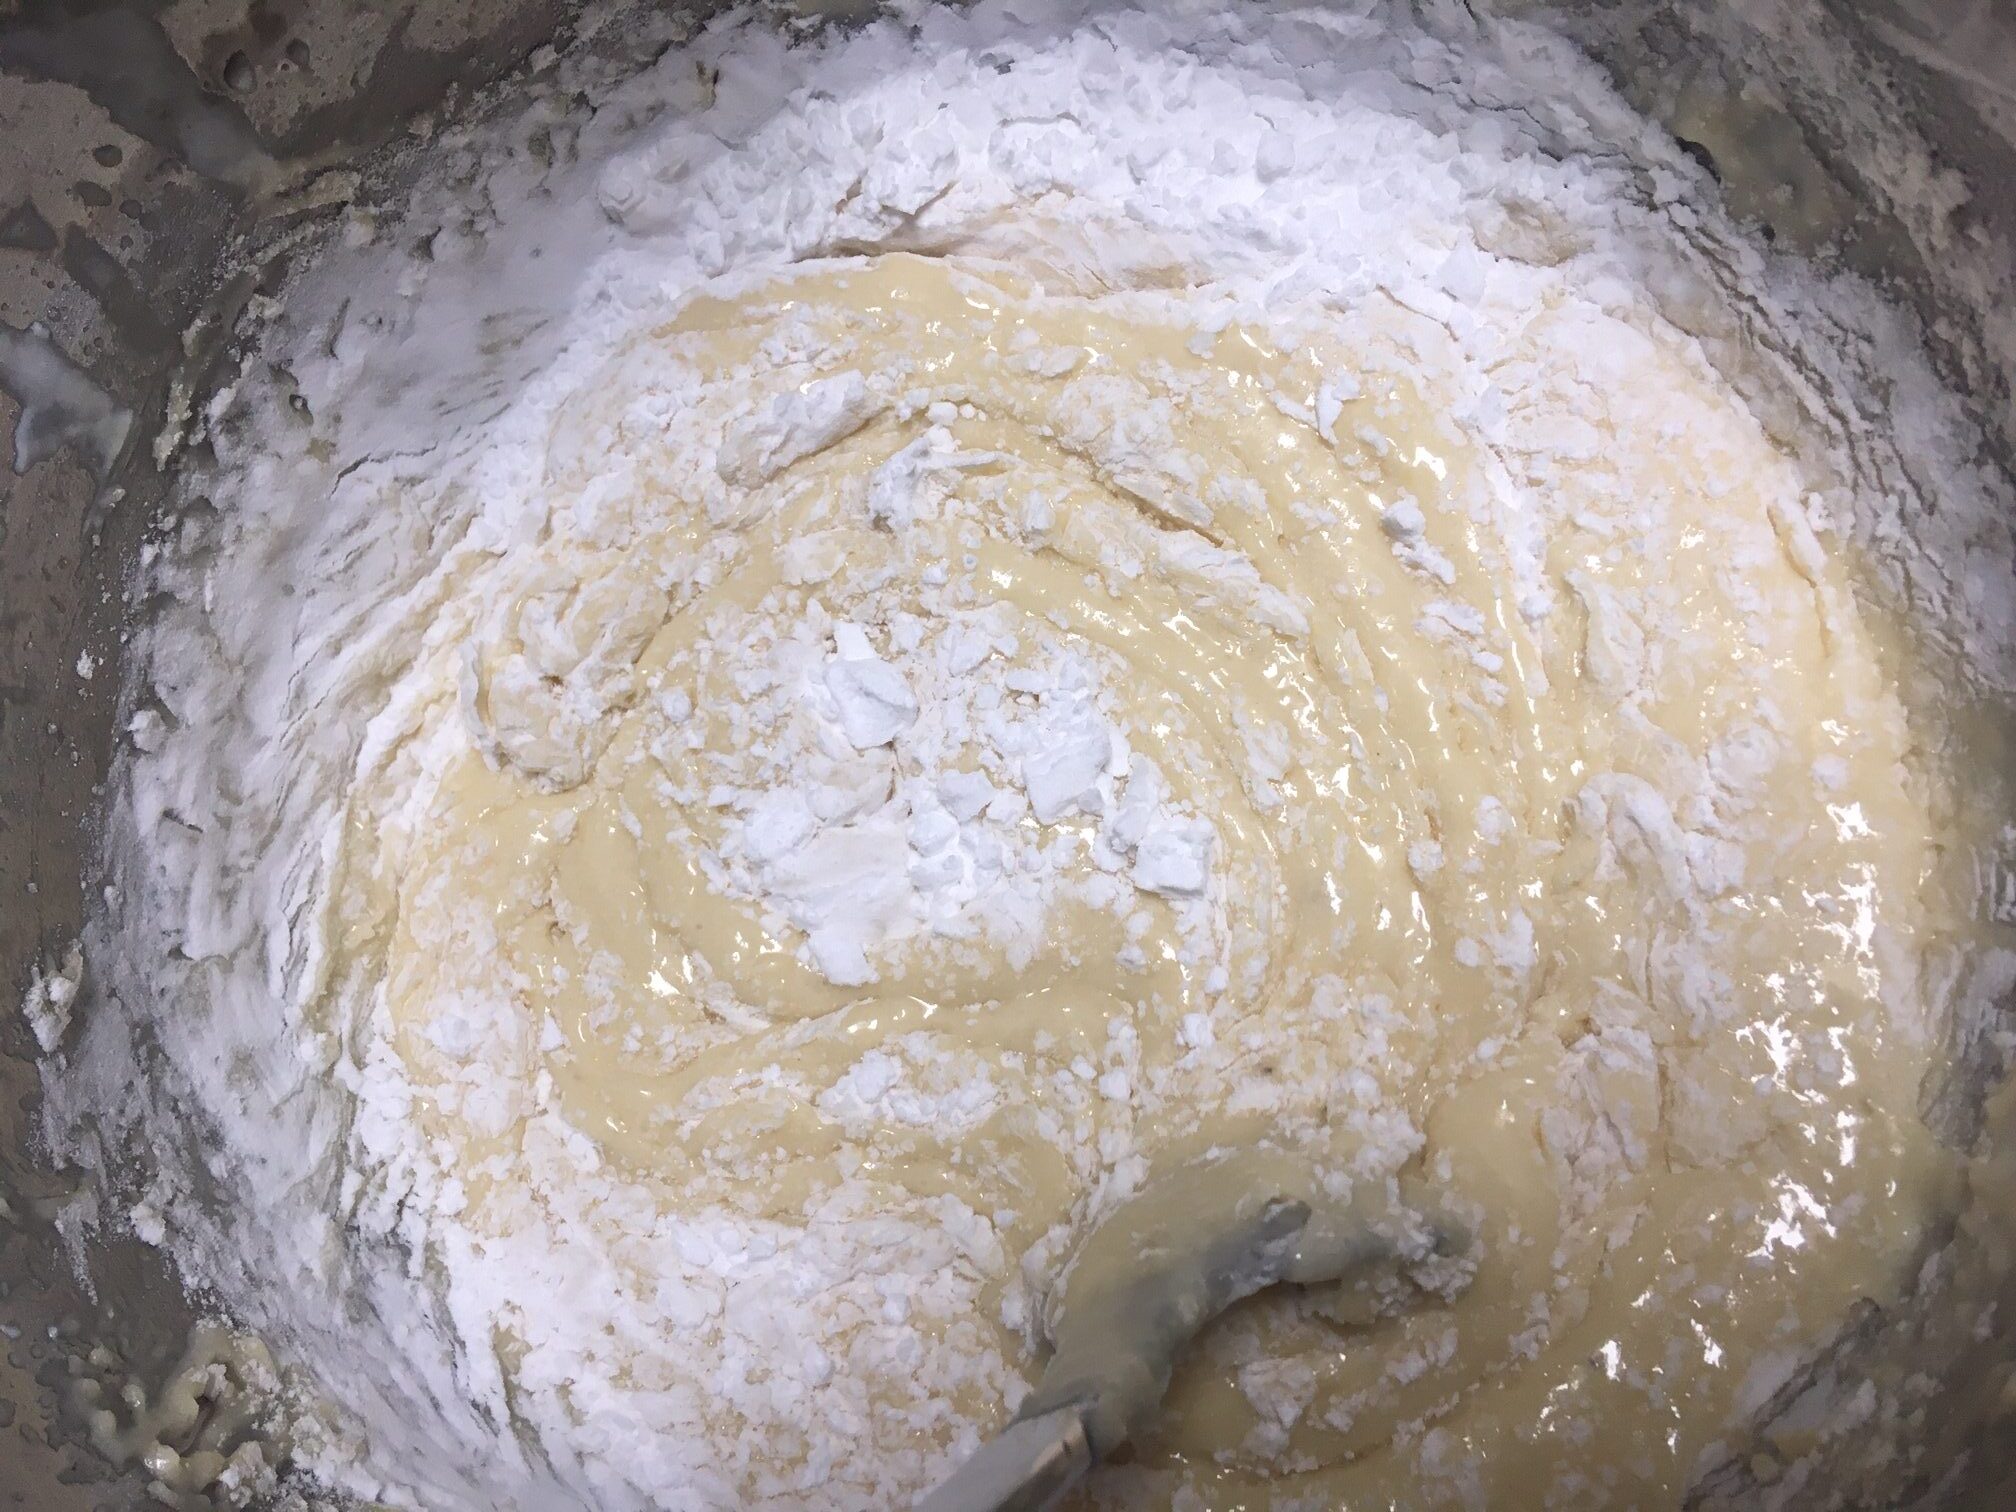
In a measuring cup mesure two cups of flour, add baking powder and potato flour. Mix it all together and add it to the previously mixed wet ingredients.
-
Mix it gently all together with a spoon.
-
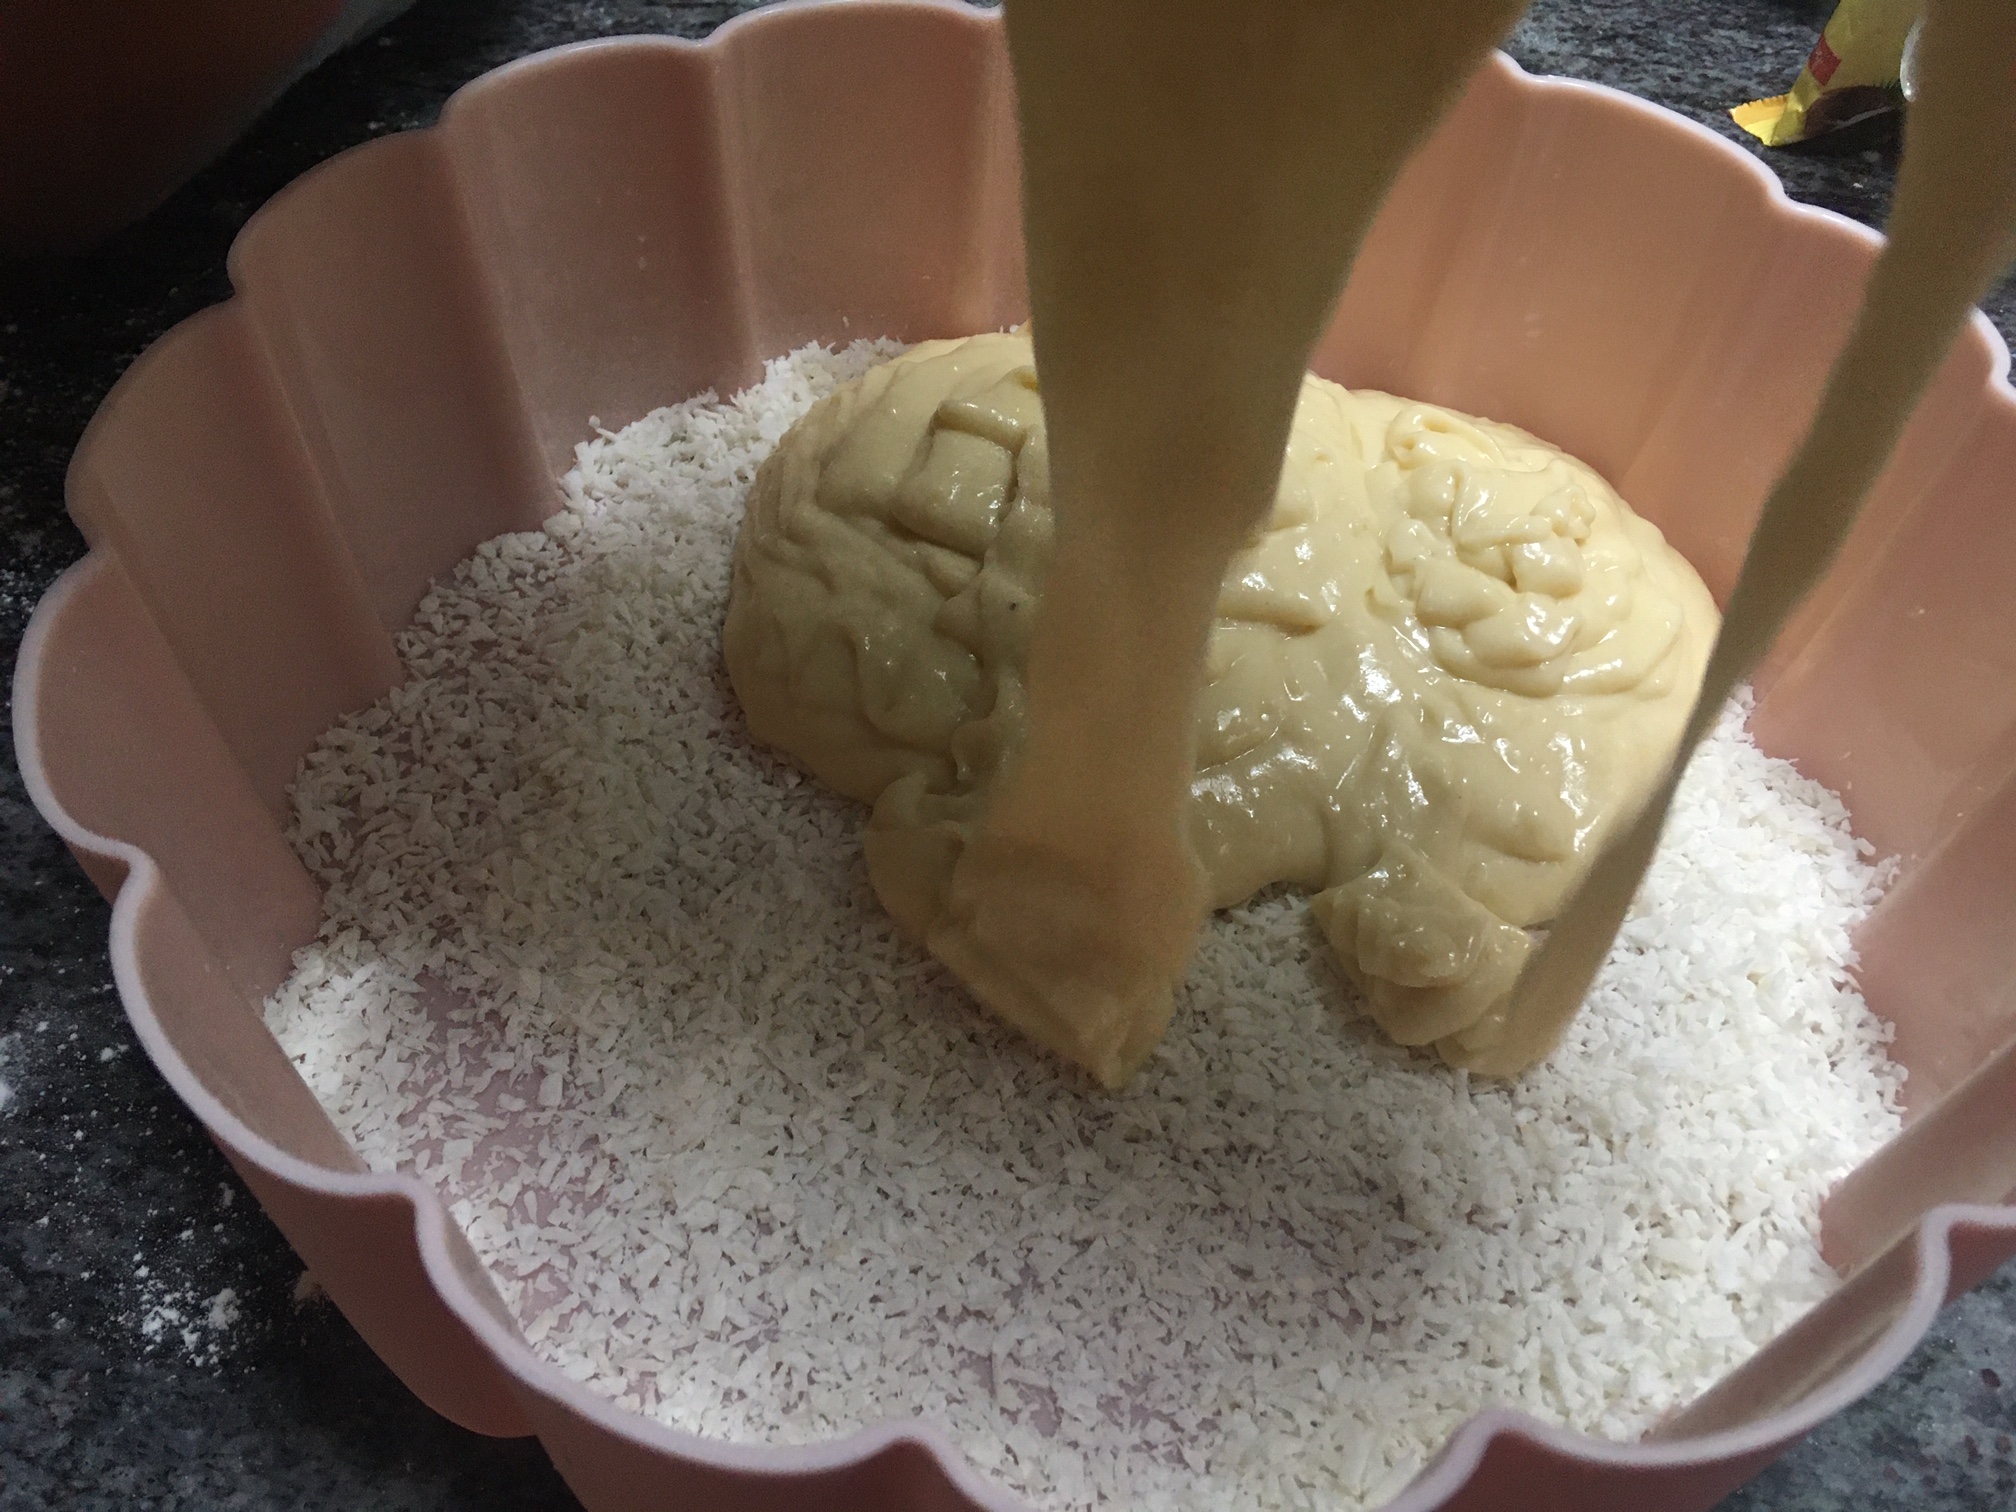
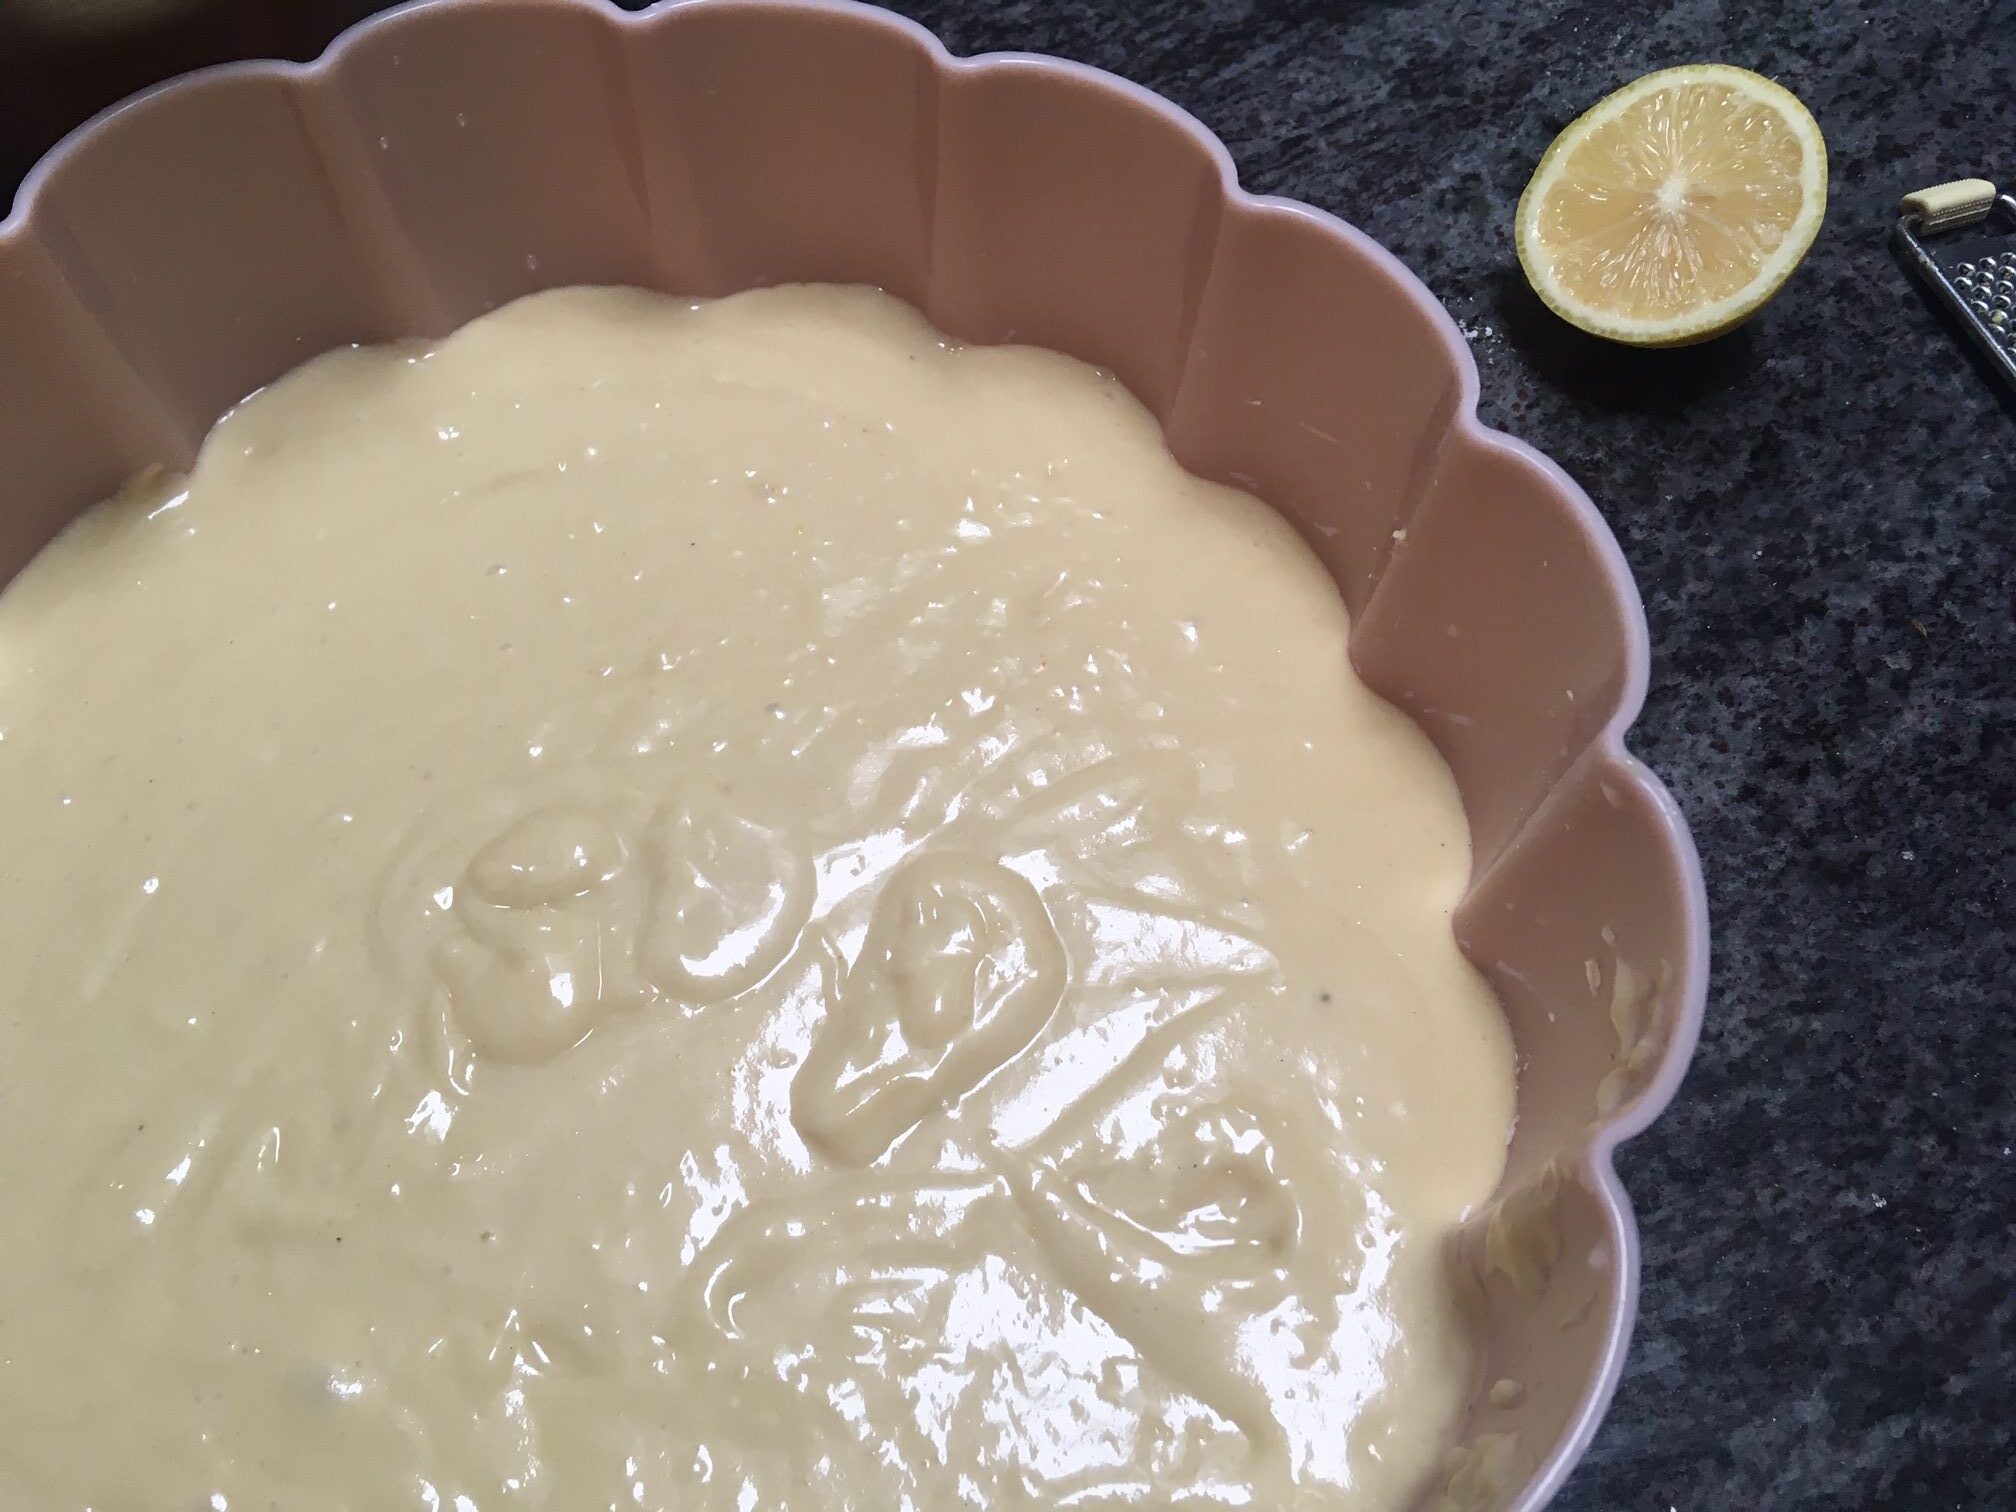
Prepare a baking dish with some grease and coconut flakes.
-
Pour in the mixture into a baking dish and bake for 45-50 minutes.
-
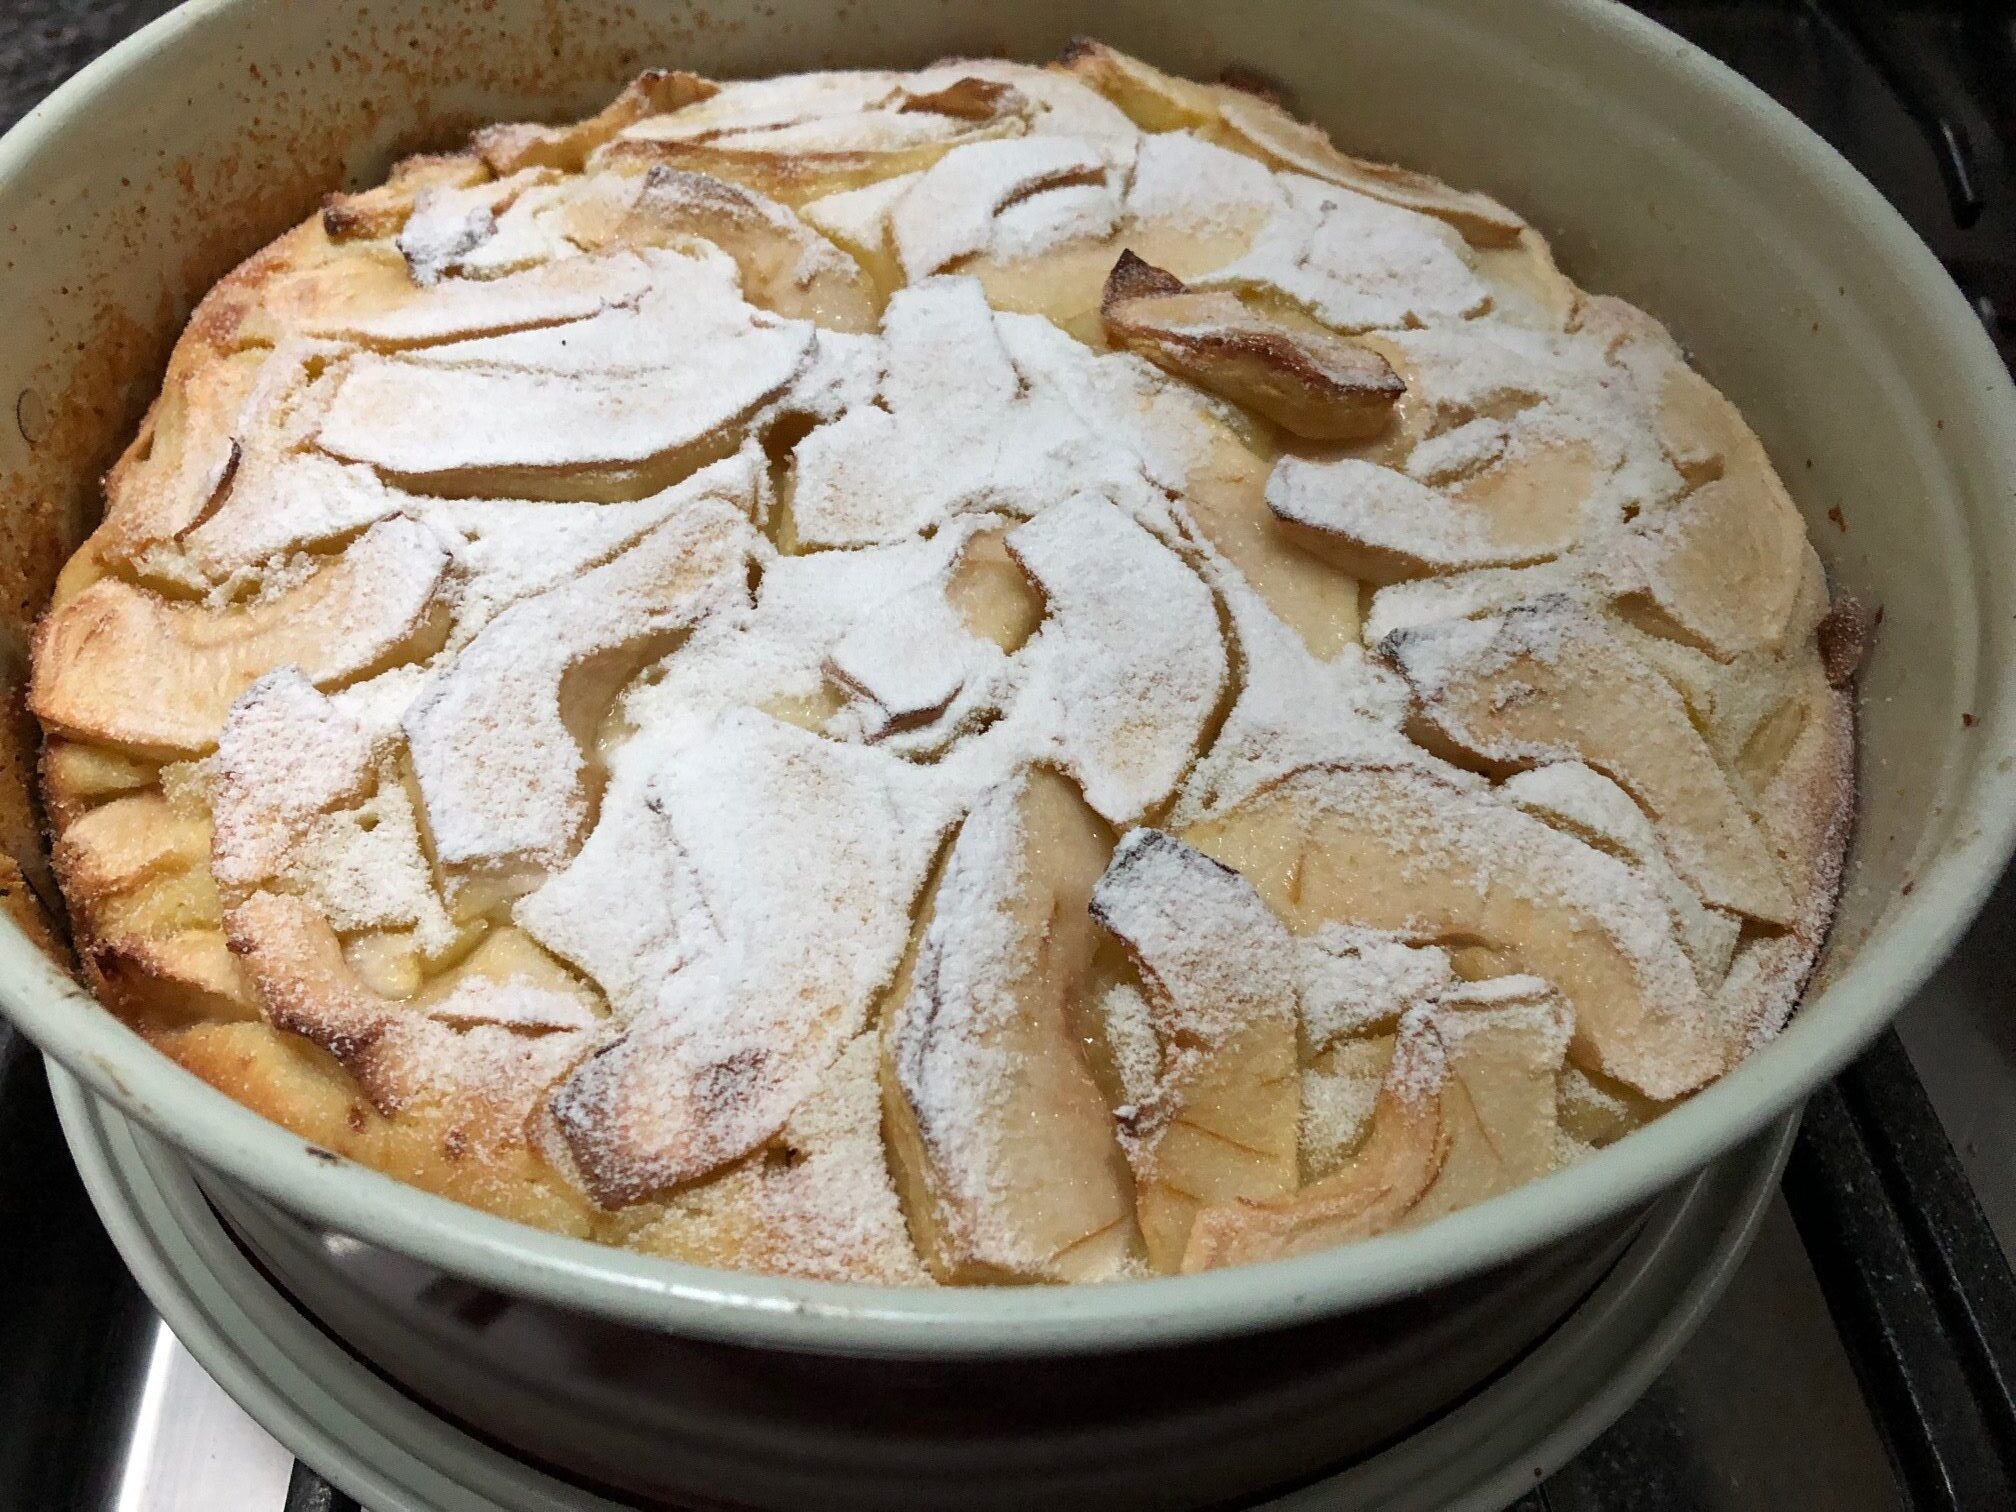
Apples, apples, and more apples in the fall means lots of delicious baking opportunities
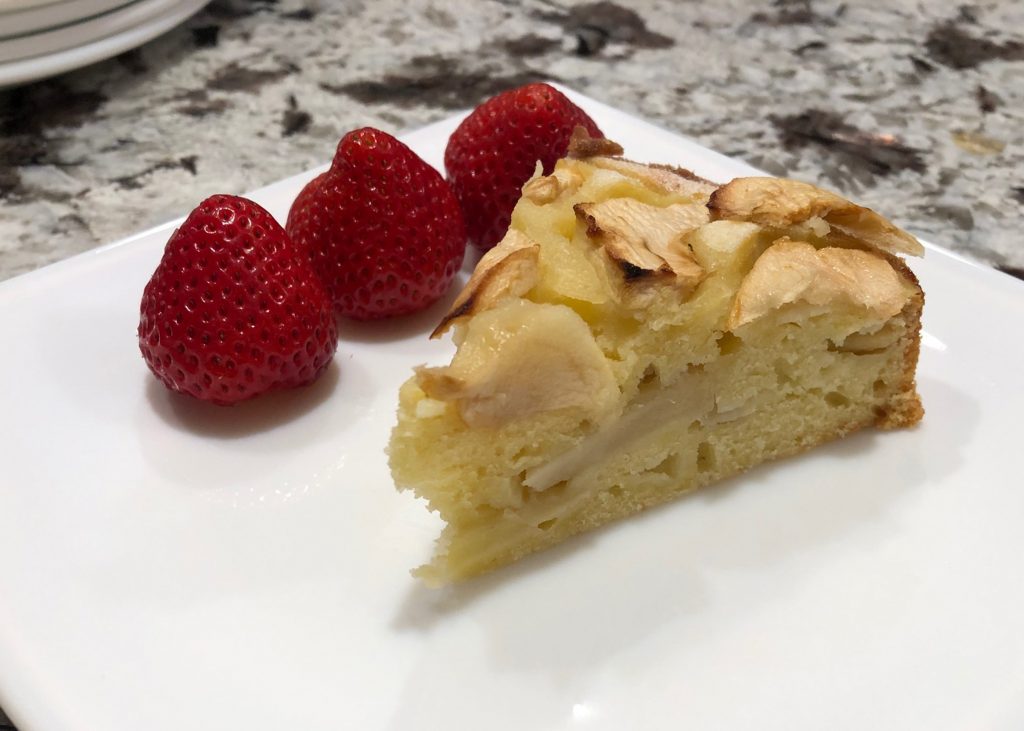
Apple cake is one of those recipes I make regularly, especially in the fall. Apples are in abundance in September and October. Red, yellow, and green apples fill the produce sections in grocery stores and farmers’ markets. Personally I enjoy taking my kids to the local apple orchards to pick our own apples. We then use them to bake apple cakes, apple desserts or, to make preserves.
Apples are not only delicious but are also nutritious
Apples are also a great source of fiber, pectin which is good for digestion, and have plenty of vitamins, such as A, C, and E. And, because they are readily available, you don’t have to go out of your way to get your hands on some.
Endless ways to use apples in your recipes
Baking with apples is also very easy. Try them in pies, muffins, pancakes, or breads. They’ll supply lots of flavor and nutrients to any recipe. My favorite recipe is Aurelia’s Apple Cake because it’s one of the simplest recipes I know and the cake turns out perfectly delicious every time.
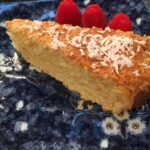
This apple cake is not too sweet, a little tart, and goes wonderfully with a hot cup of tea or coffee in the morning. You can also enjoy it with a scoop of vanilla ice cream.
I also like this recipe because it does not require too much sugar. Plus, less sugar means fewer empty calories.
For this apple cake recipe I use all-purpose type 550 wheat flour from Poland, but you can also use type 500 to make it even more delicate.
Aurelia's Apple Cake
-
6
tbs
unsalted butter
-
4
whole
eggs
-
2
tbs
sour cream or plain yogurt
-
1.5-2
cups
all purpose flour
-
4-5
medium
apples
(granny smith)
-
1
tsp
vanilla extract
-
4
tbsp
sugar
-
1
tbsp
powdered sugar
for topping
-
2
tsp
baking powder
-
1
tbsp
sparkling water
-
1
tbsp
lemon juice
-
½
tsp
lemon zest
-
Preheat the oven to 350 degrees Fahrenheit or 180 degrees Celsius
-
Melt butter, but be careful not to burn it. Cool it off for about 5-10 minutes.
-
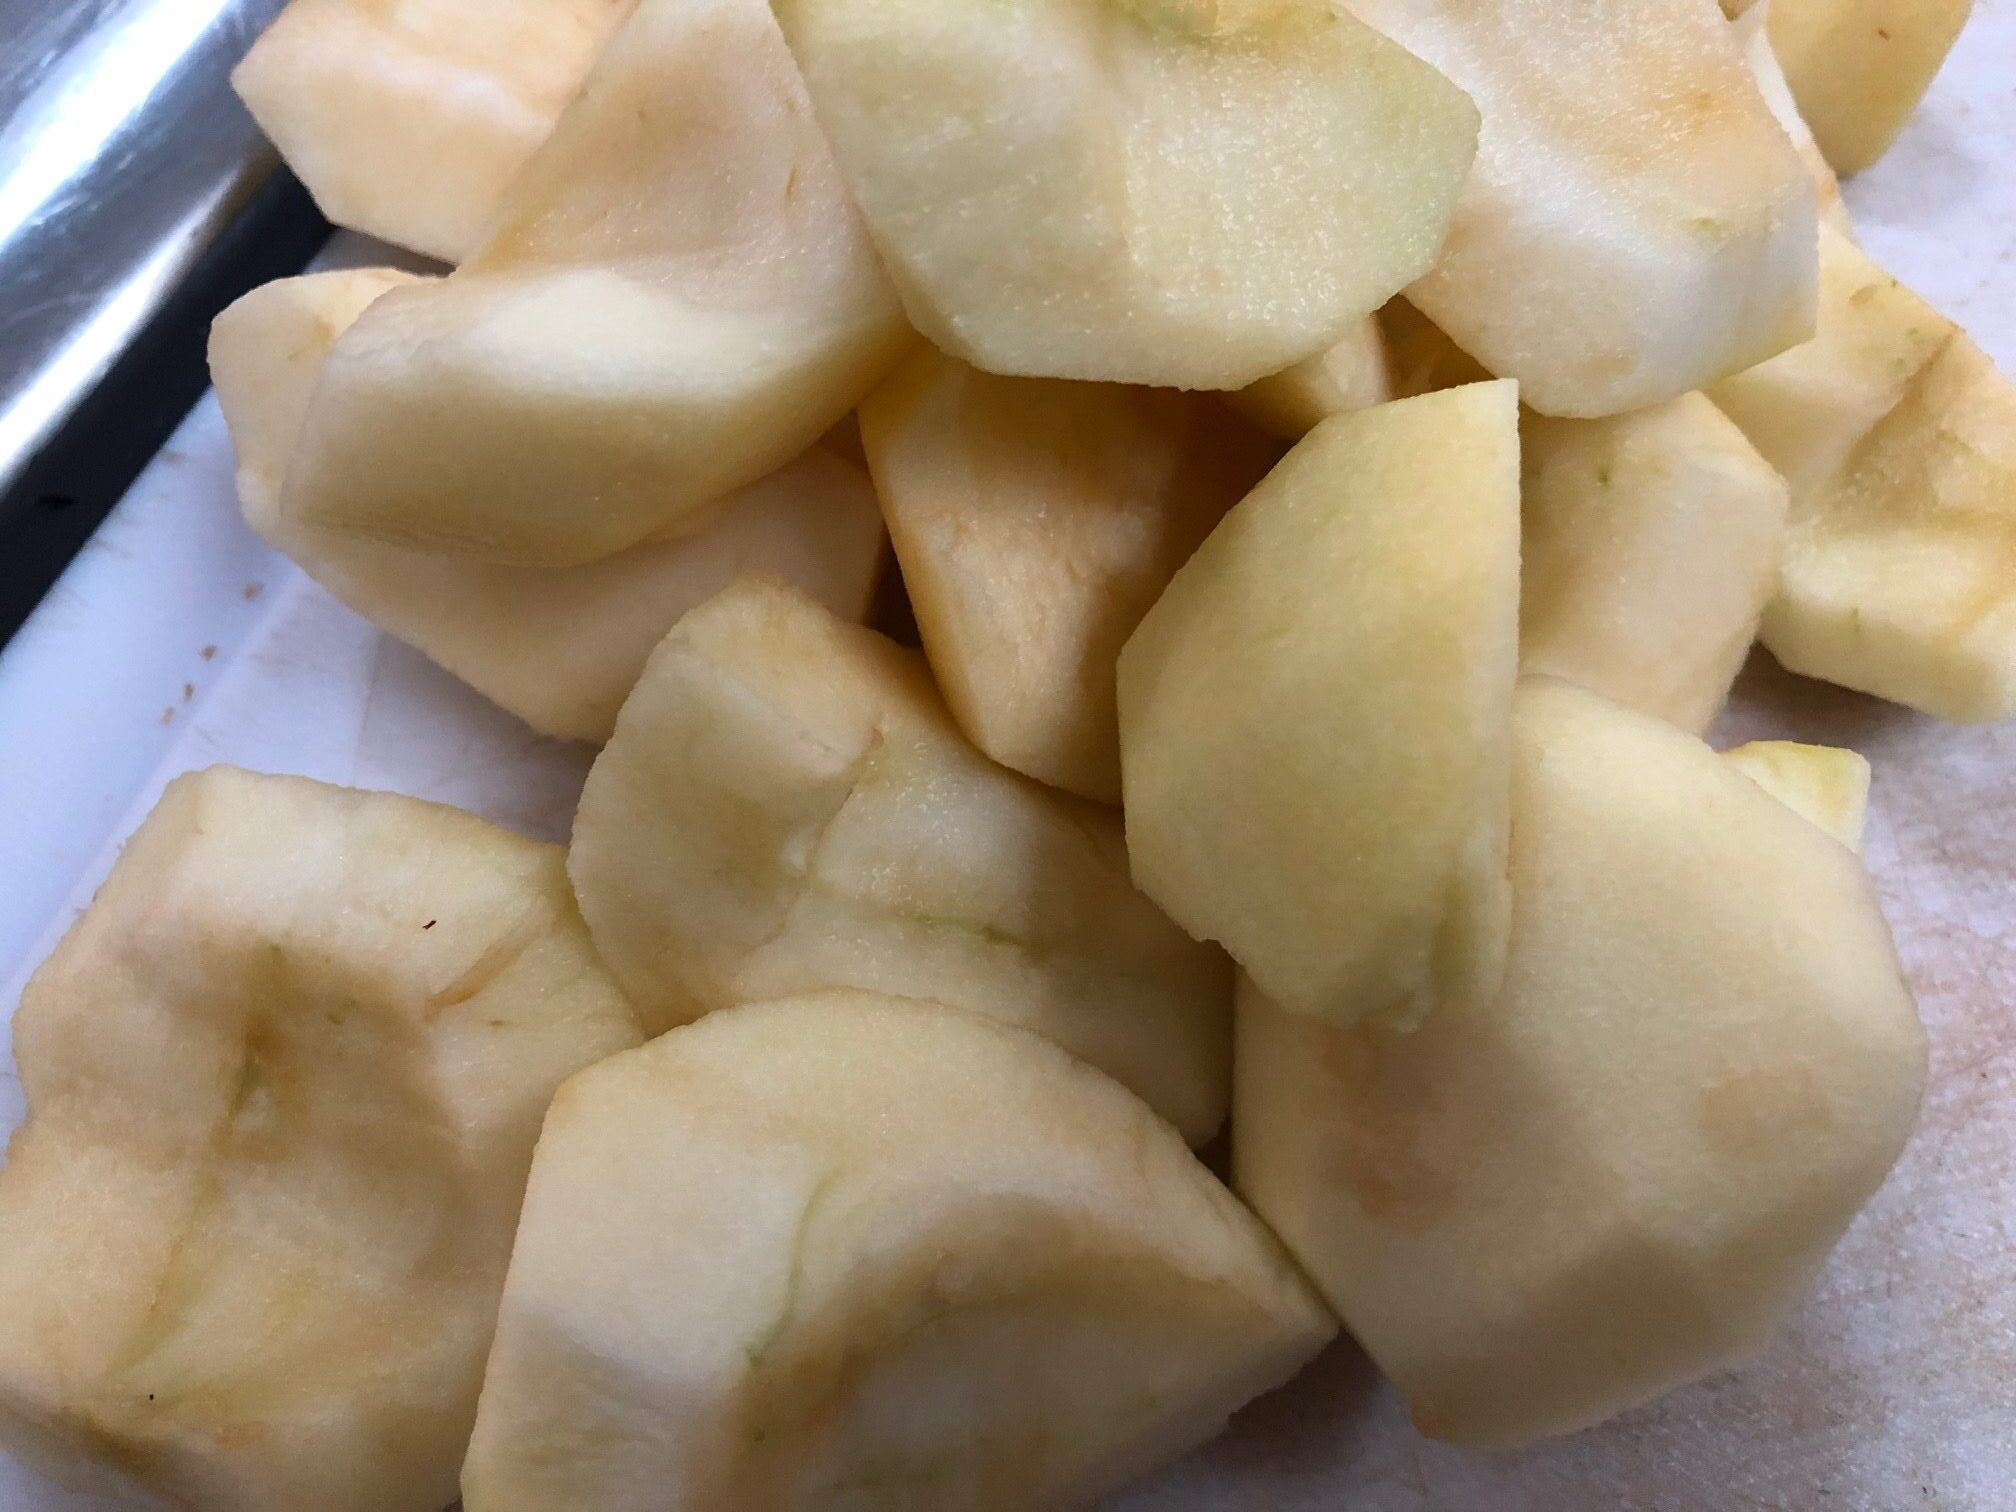
In the meatime, peal and cut the apples into thin slices and sprinkle them with some lemon juice. Set the apples aside.
-
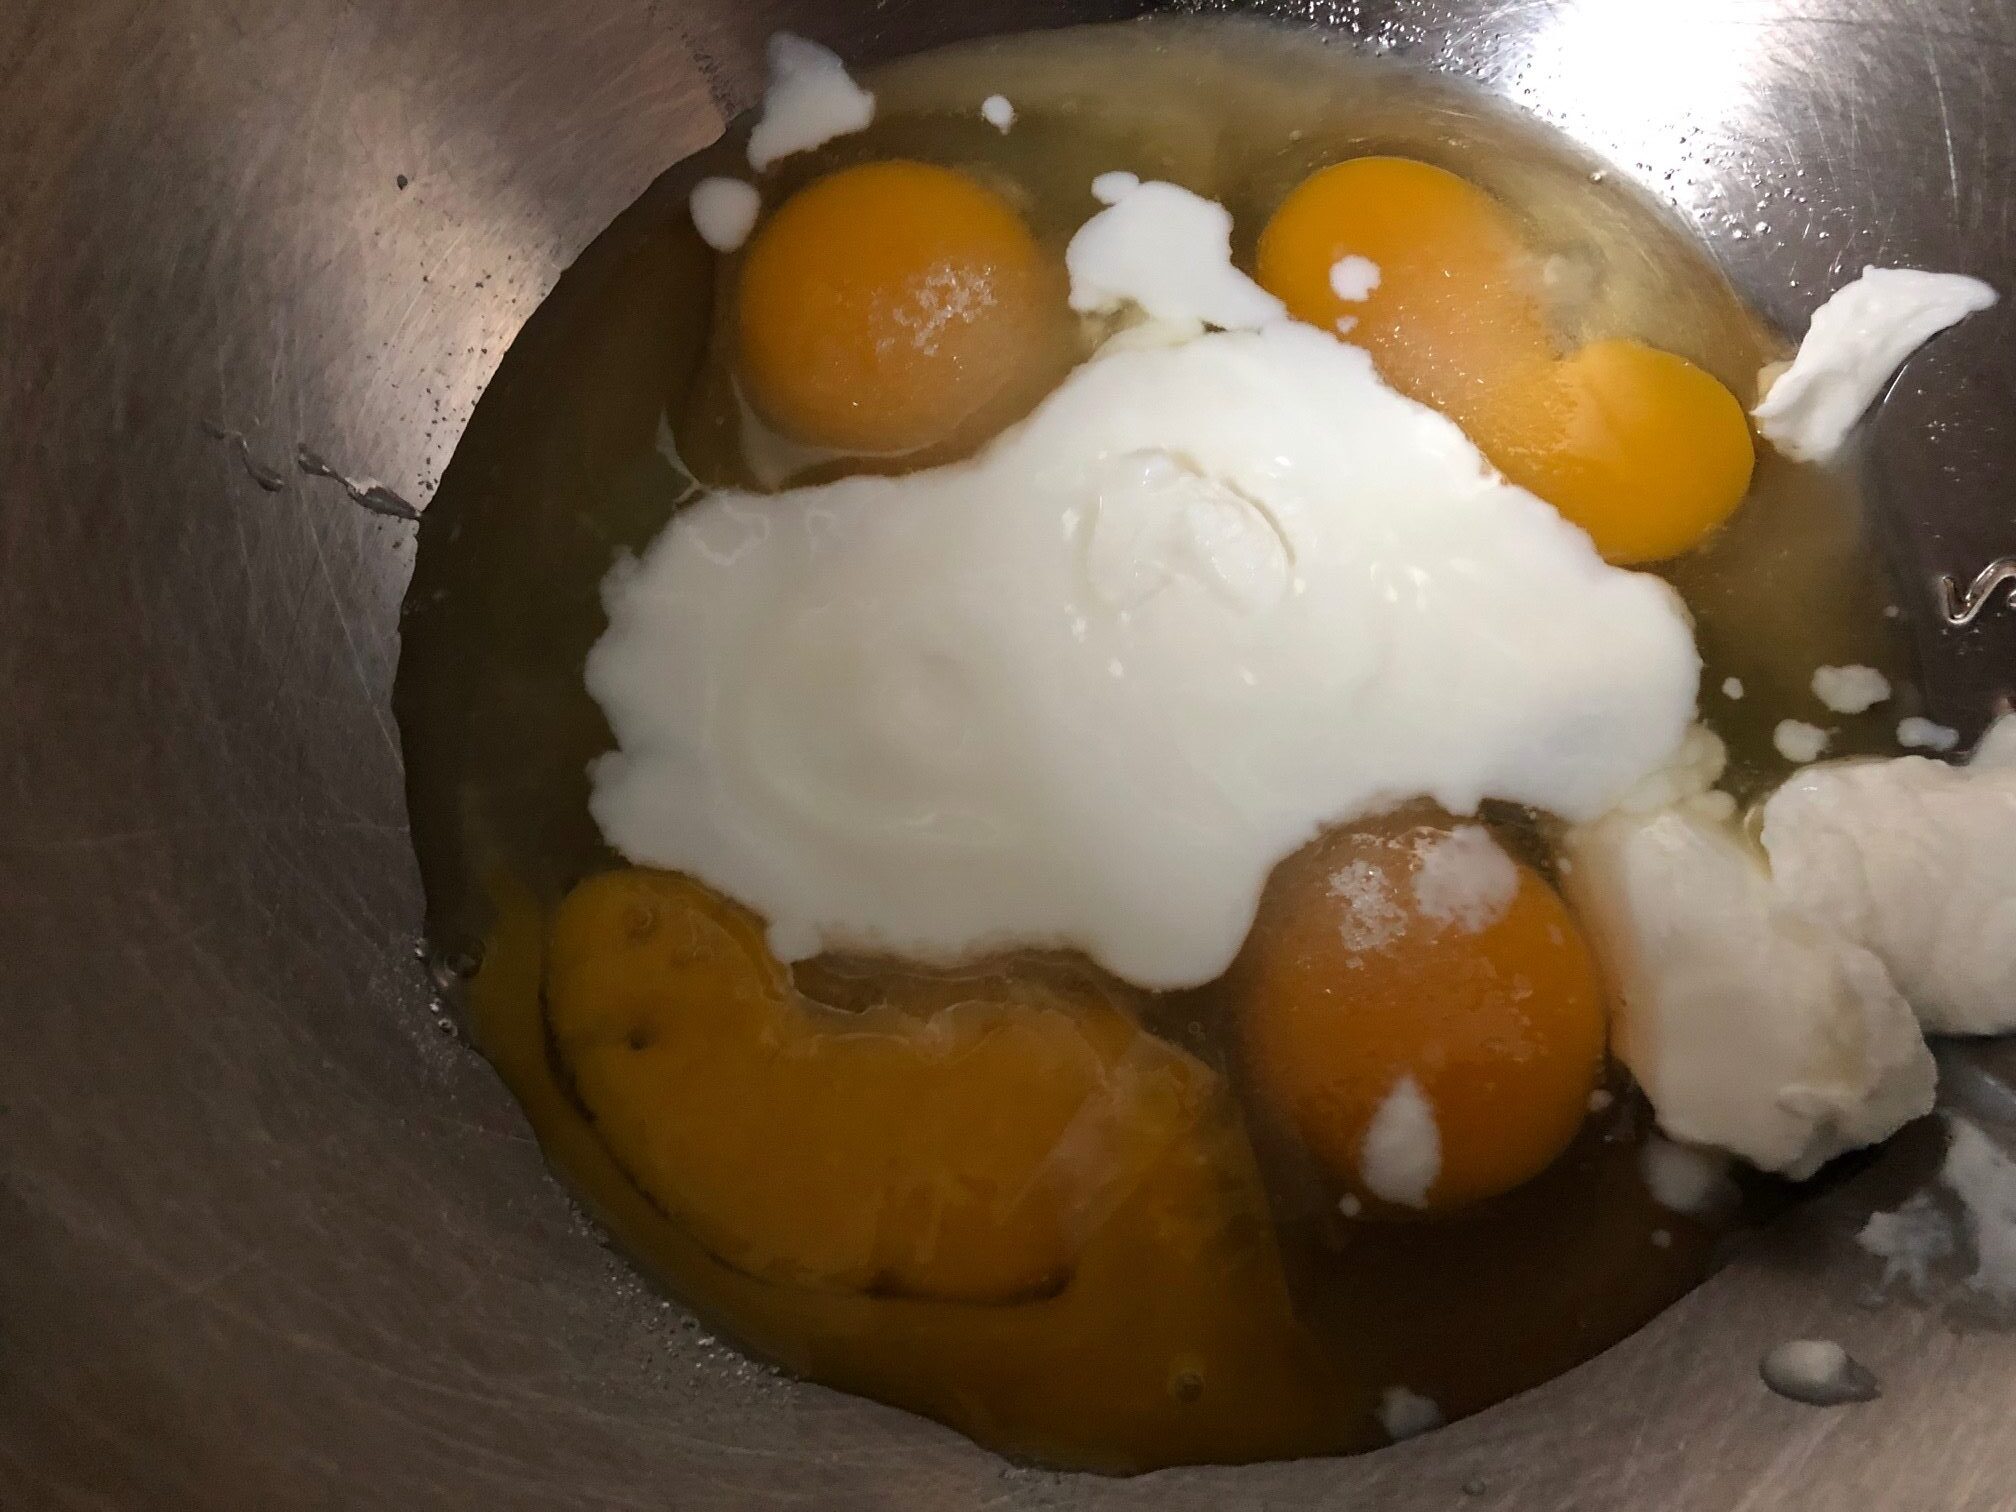
In a seperate bowl, add eggs, sour cream, sugar, and mix them all together with a spoon.
-
Add the melted butter, vanilla, lemon zest, and continue mixing.
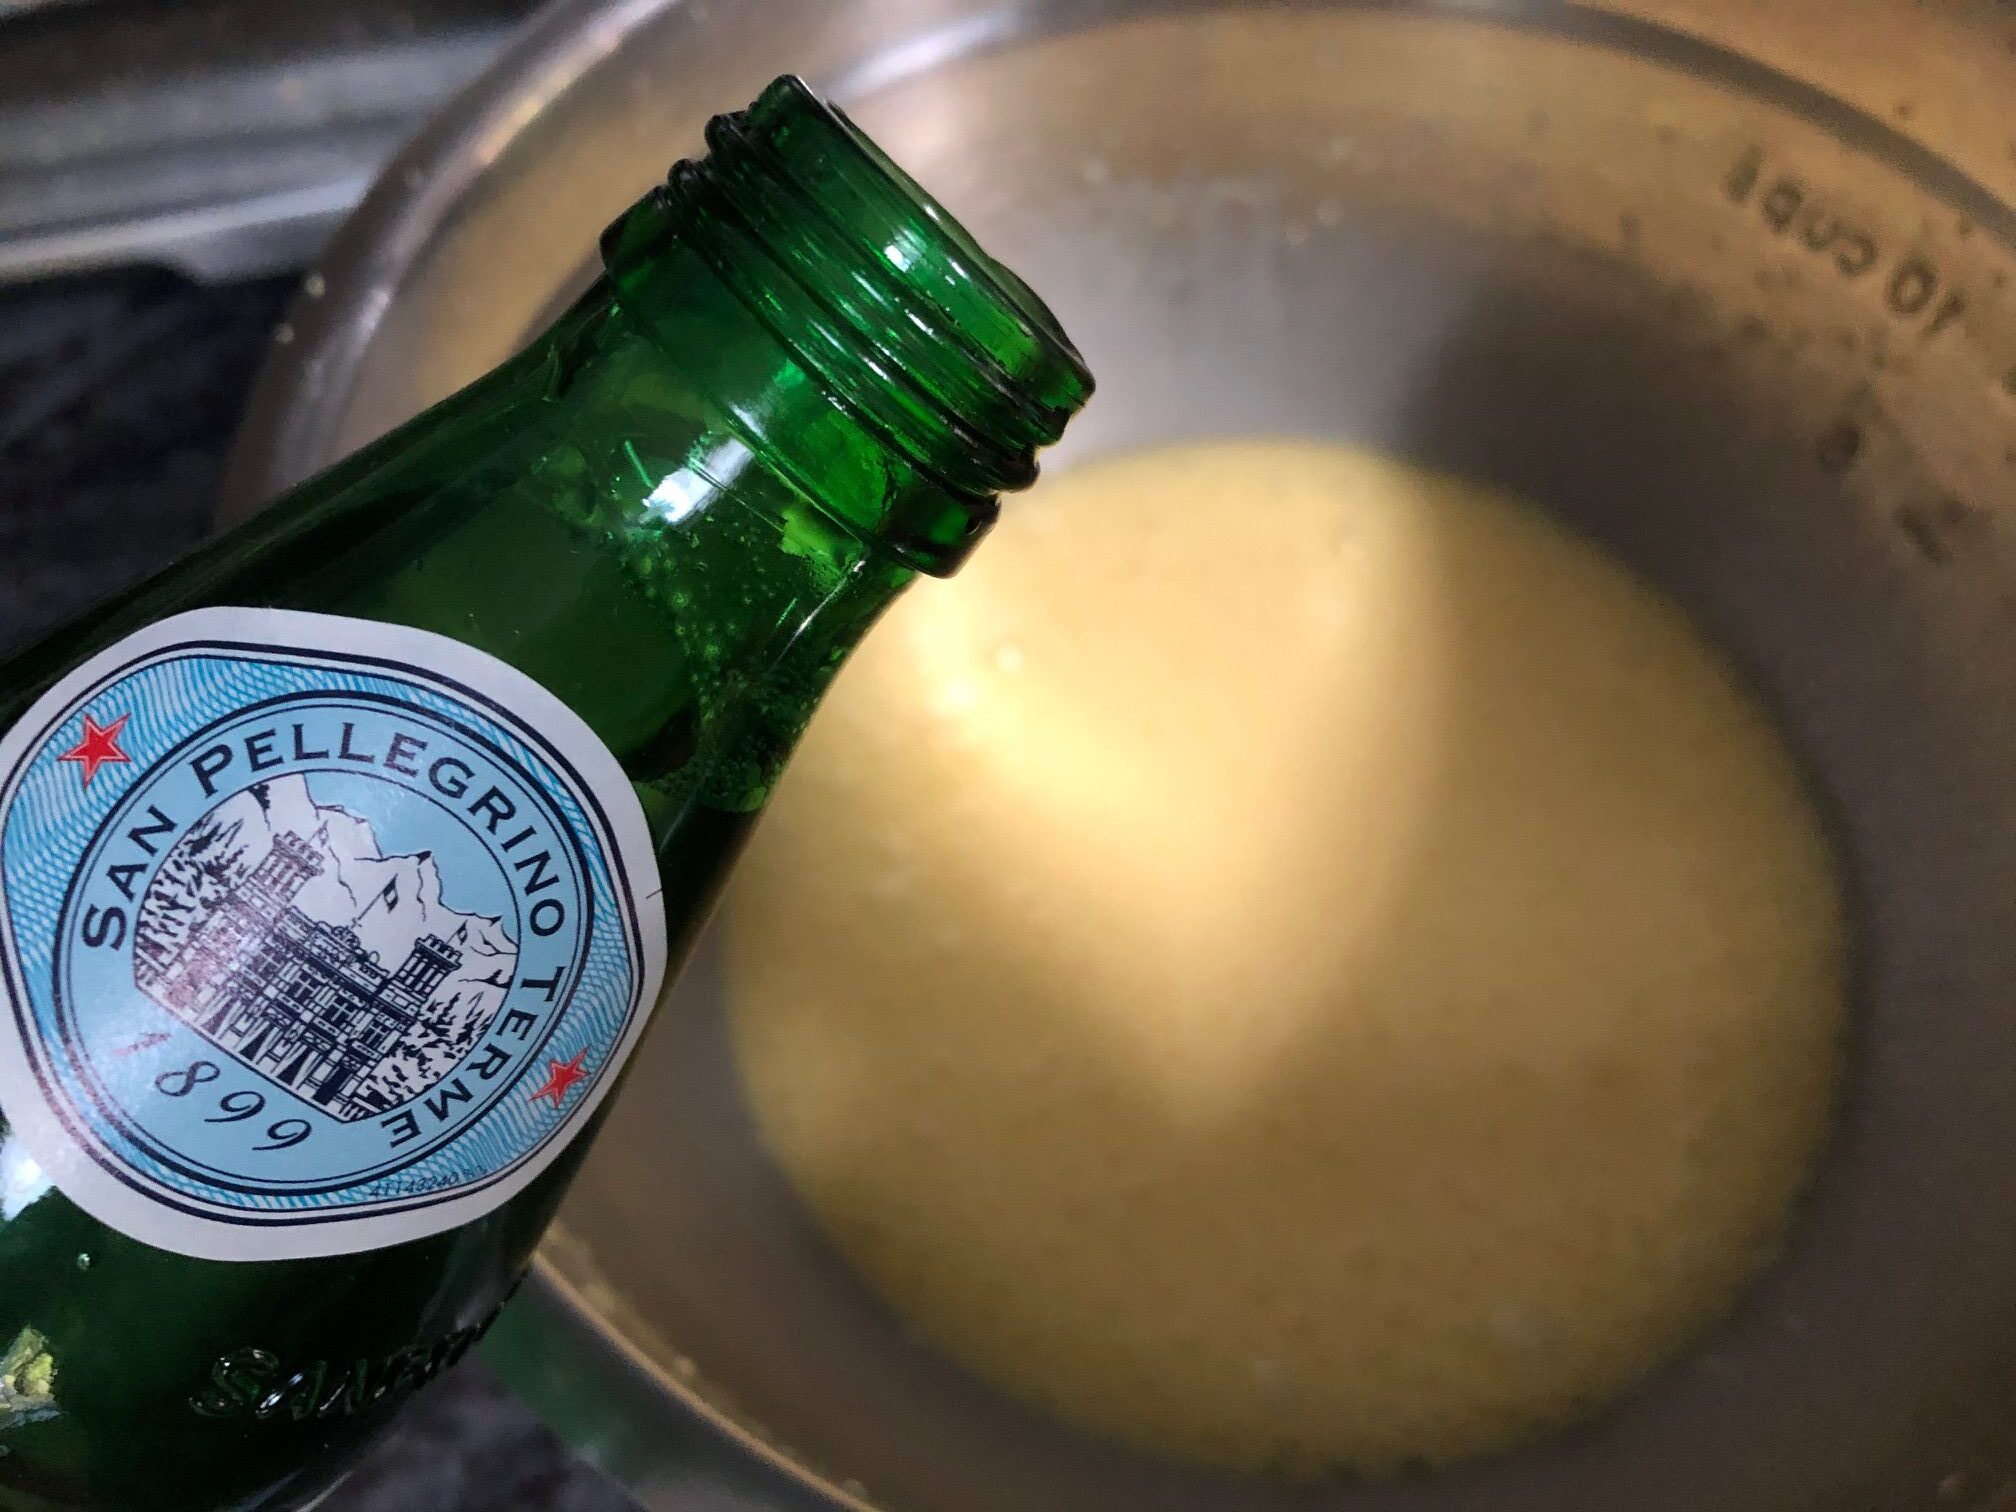
-
Add a table spoon of sparkling water and mix.
-
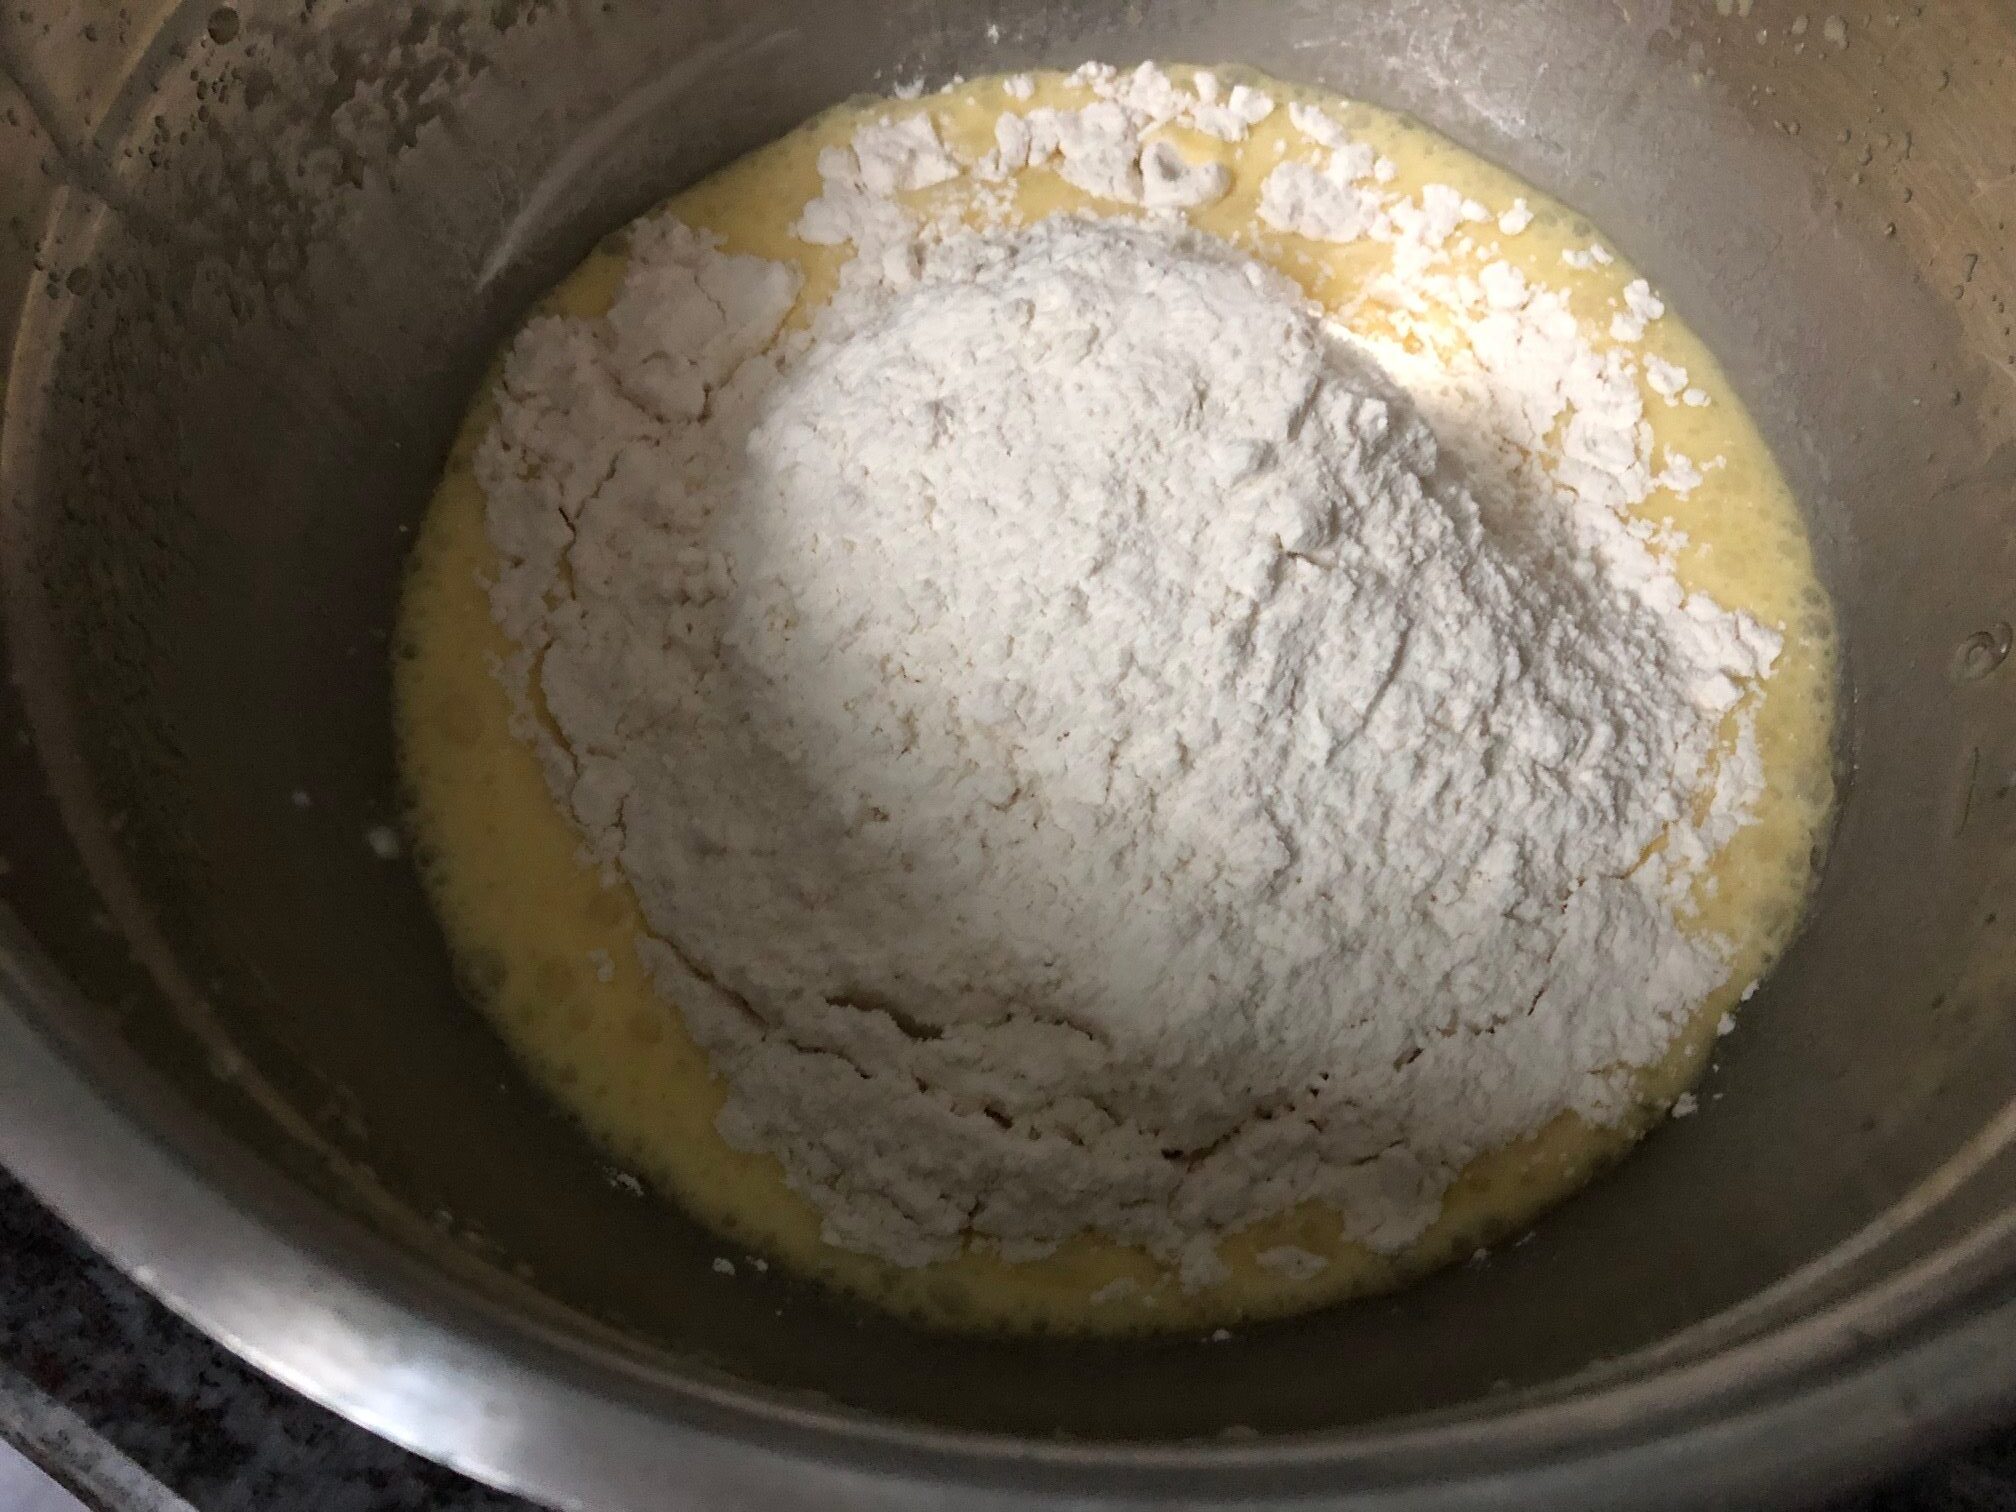
Measure about two cups of flour, and add two tea spoons of baking powder to the flour with a pinch of salt. Mix it well together and then pour into the bowl with the other ingredients.
-
Mix all the ingredients together with a spoon.
-
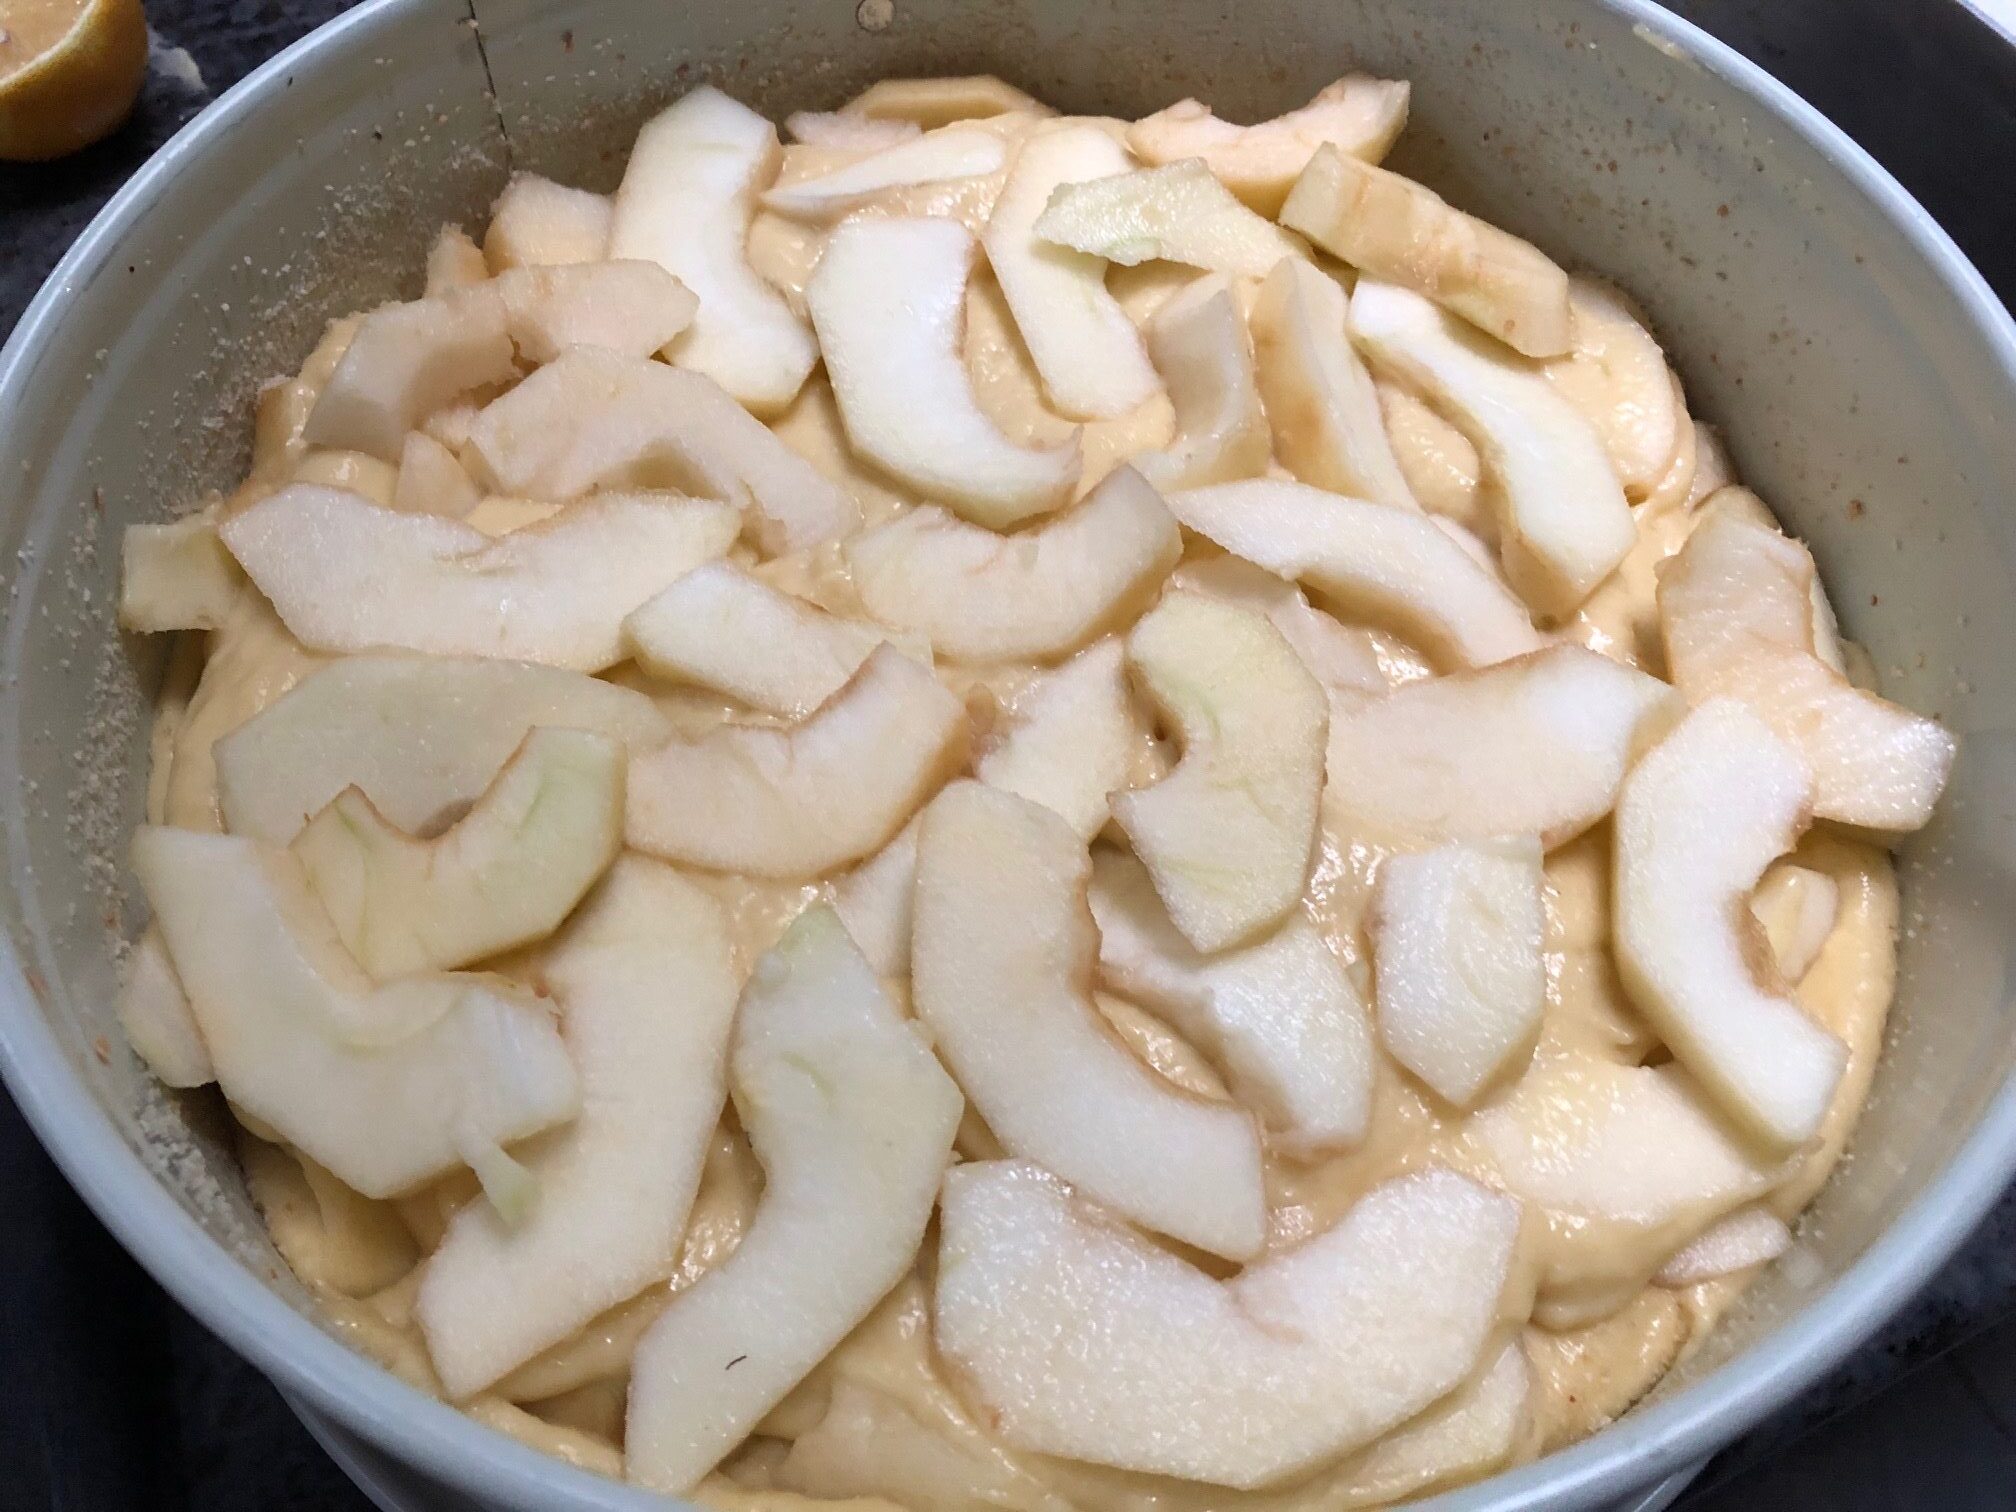
Add half of the apples and mix them into the batter, gently.
-
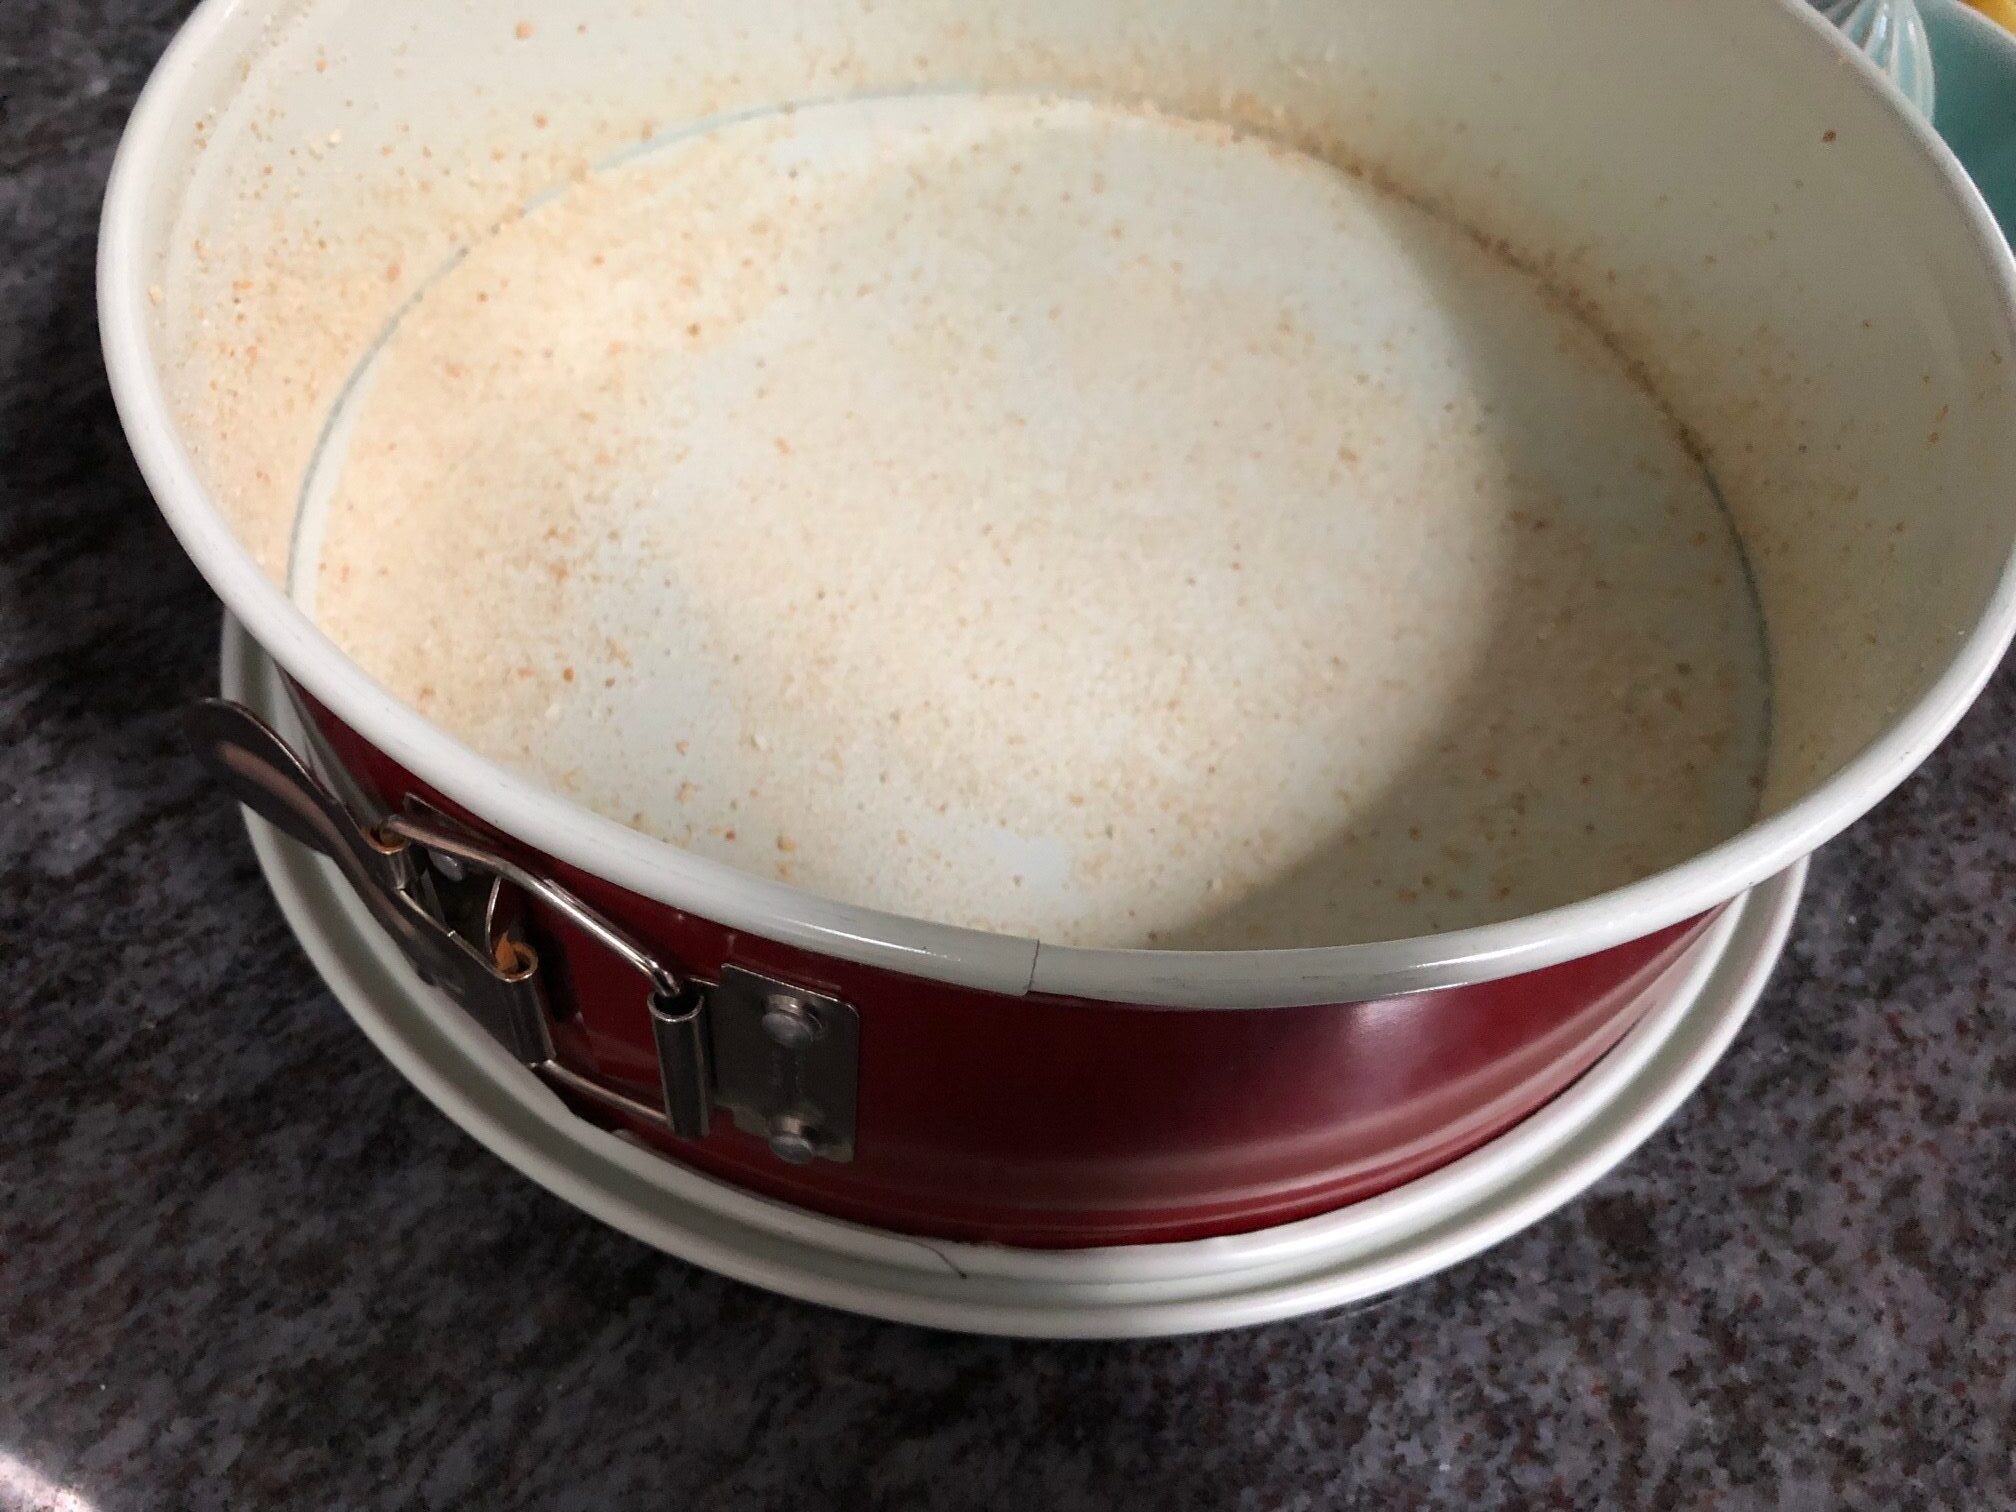
Pour out the batter onto a greased and lightly breaded round baking dish.
-
Place the other half of the apples on top of the batter.
-
Bake for 40-45 minutes until golden.
-
Cool it off for about 10 minutes, sprinkle some powdered sugar on top, and Enjoy!