Eating healthy in the United States has been a challenge for me. Coming from Europe, where I was exposed to delicious, simple, and homemade food, helped me realize quickly that unhealthy food dominates the shelves at the many major grocery stores in the U.S. I also realized that many people in the U.S. want, and choose, food that’s quick, cheap, and convenient. But, what many don’t realize is that choosing convenient and cheap food, often comes with a very high hidden price. Your health!
If it looks too good to be true, it probably is
I remember going to the grocery store for the first time in the U.S. and seeing the beautifully red and plump tomatoes displayed in the produce section. It was December, and I was impressed that such beauties were available for me to enjoy in the cold winter months. I bought two pounds, thinking that I’ll be eating them like apples for dessert.
When I got home and bit into one of those picture-perfect tomatoes, I noticed right away that they tasted nothing like I expected. The skin was hard and thick and the taste was watered down. Barely resembling the taste of a tomato I got used to eating in Italy or Poland.
To extend shelf life of food, taste and nutrition is often what gets sacrificed
I run into similar experiences with eggs, milk, cheese, strawberries, potatoes, chicken, and many other foods sold in the U.S. But the most disappointing is the taste of bread. Especially the sandwich kind sold in plastic bags.
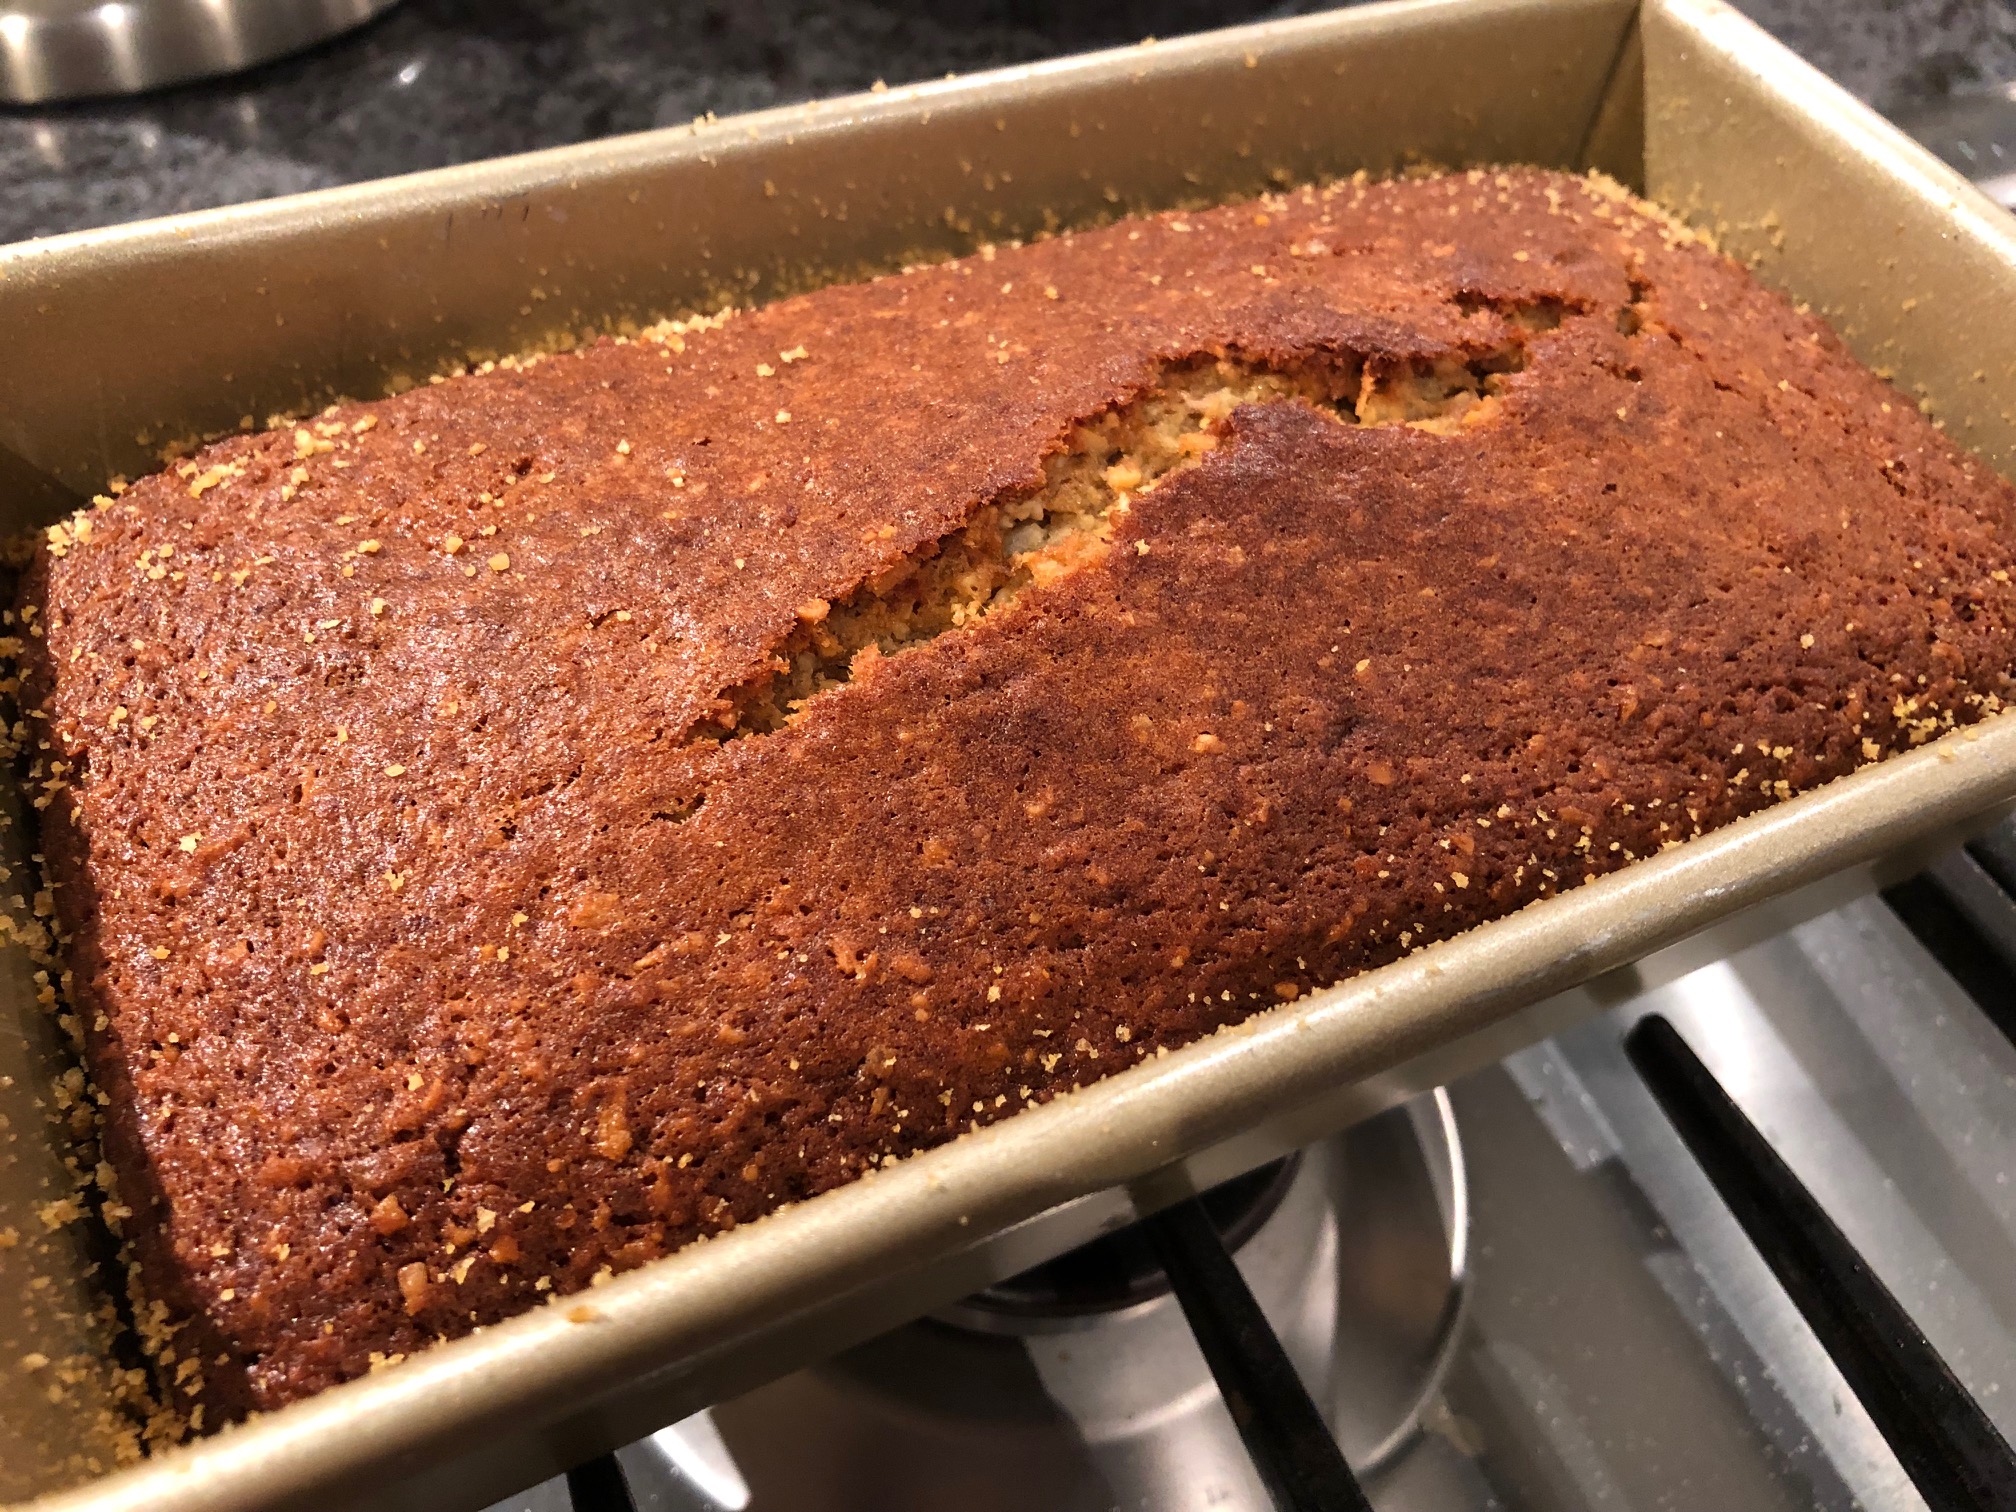
That bread is the softest thing I ever touched. It feels like cotton. It looks like cotton too, pure white and fluffy. The most amazing feature about this bread is it’s shelf life. You can eat it for a month, and it still tastes fresh. In contrast, the bread I make at home stays fresh for two days max.
Before learning about the U.S. wheat and flour, I would buy this sandwich bread regularly. I even enjoyed a couple of toasted slices with butter for breakfast. But it still did not taste as good as the bread I grew up on. Plus, I started noticing that each time I ate a sandwich made with that bread, I felt bloated afterwards. I also started gaining weight. Despite regular exercise and eating similar amounts of calories each day. I missed the European type of bread, but the idea of baking my own bread each day was not realistic with a full-time job.
Many foods in the U.S. have additives in them that are banned in most of the world
After having my first baby, I started noticing that I was getting sick more often and my health was getting worse too. I begin doing some research and started paying more attention to the food labels. What I discovered was shocking. Many popular foods sold across the U.S. are stuffed with chemicals, preservatives and food dies that are banned in most of the world.
And despite the fact that the Food and Drug Administration (FDA) allows these ingredients to be added to so many U.S. foods because of inconclusive studies, does not mean that they don’t affect our health. Especially when we ingest these additives on a daily basis and consider the cumulative effect they have on our health.
To start eating healthy, the best thing you can do is to cook from scratch with the right ingredients
As a mom who wants to raise healthy kids, I find myself spending hours at the grocery store trying to decrypt the food labels to understand what’s hidden in my food. It isn’t easy, and for someone who doesn’t have the time, or a chemistry degree, it’s difficult to figure out which foods are good or bad for you.
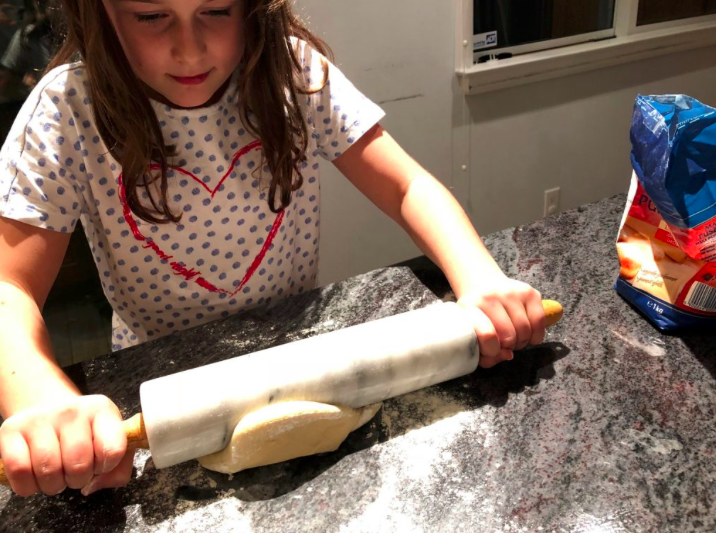
The best approach is to start making food from scratch. I know for many this is difficult, but at least try making one meal where you actually turn on the stovetop or even try out the oven. Not only is this a great opportunity to bond with your family, but it’s a way to involve your kids in food preparation. And, get a sense of satisfaction after sharing the meal you made with the people you love.
As I have mentioned in my previous posts, try to avoid Enriched flour and use European flour if you can. At least try it and see if you notice a difference. And, be a smart consumer. Do your research before you shop. Choose foods that are made from ingredients you recognize and the food labels don’t look like a novel.
***
Read: Ten Simple Tips to Stay Fit and still enjoy eating Bread.
***
If you are interested in learning more, below are a few blogs and sites that I found very insightful:
 The Healthy Home Economist
I like their article on why wheat is toxic, real-reason-for-toxic-wheat-its-not-gluten.
 Food Babe
Vani Hari offers many healthy options for cooking and baking healthy foods. My favorite is her article on the ingredients to avoid in the processed food you buy, ingredients-to-avoid.
 The Perfect Loaf
It’s a wonderfully beautiful site. Simple and Maurizio covers many great reasons why naturally leavened bread is not only important for the taste of the bread, but also why it’s important for your health. Don’t rush the bread making process, theperfectloaf.com.
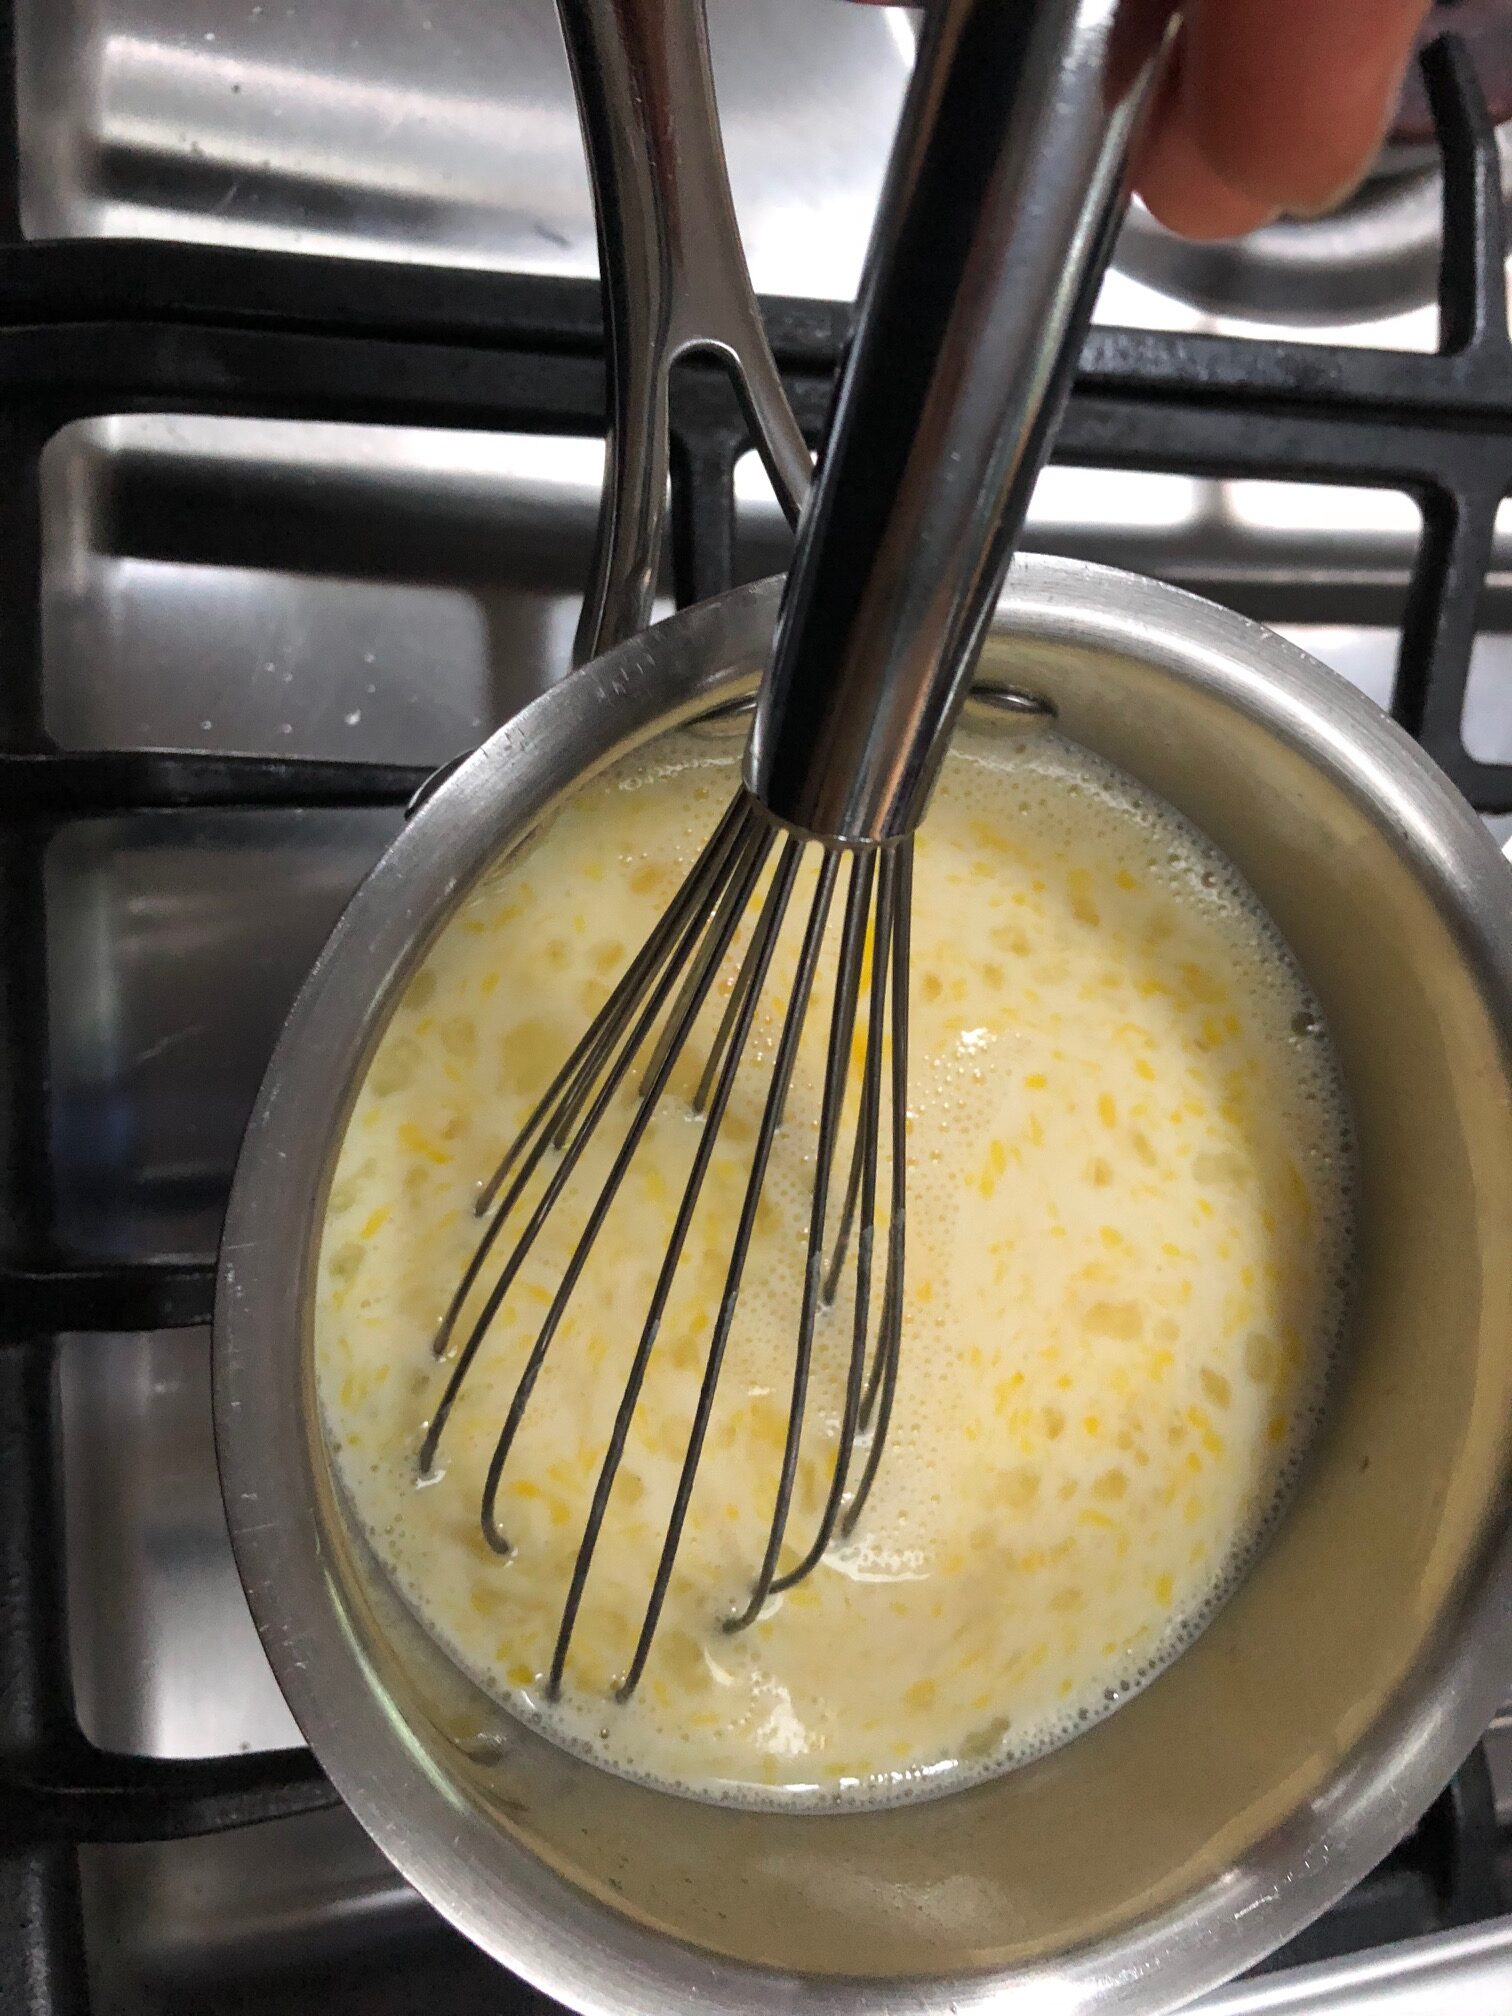
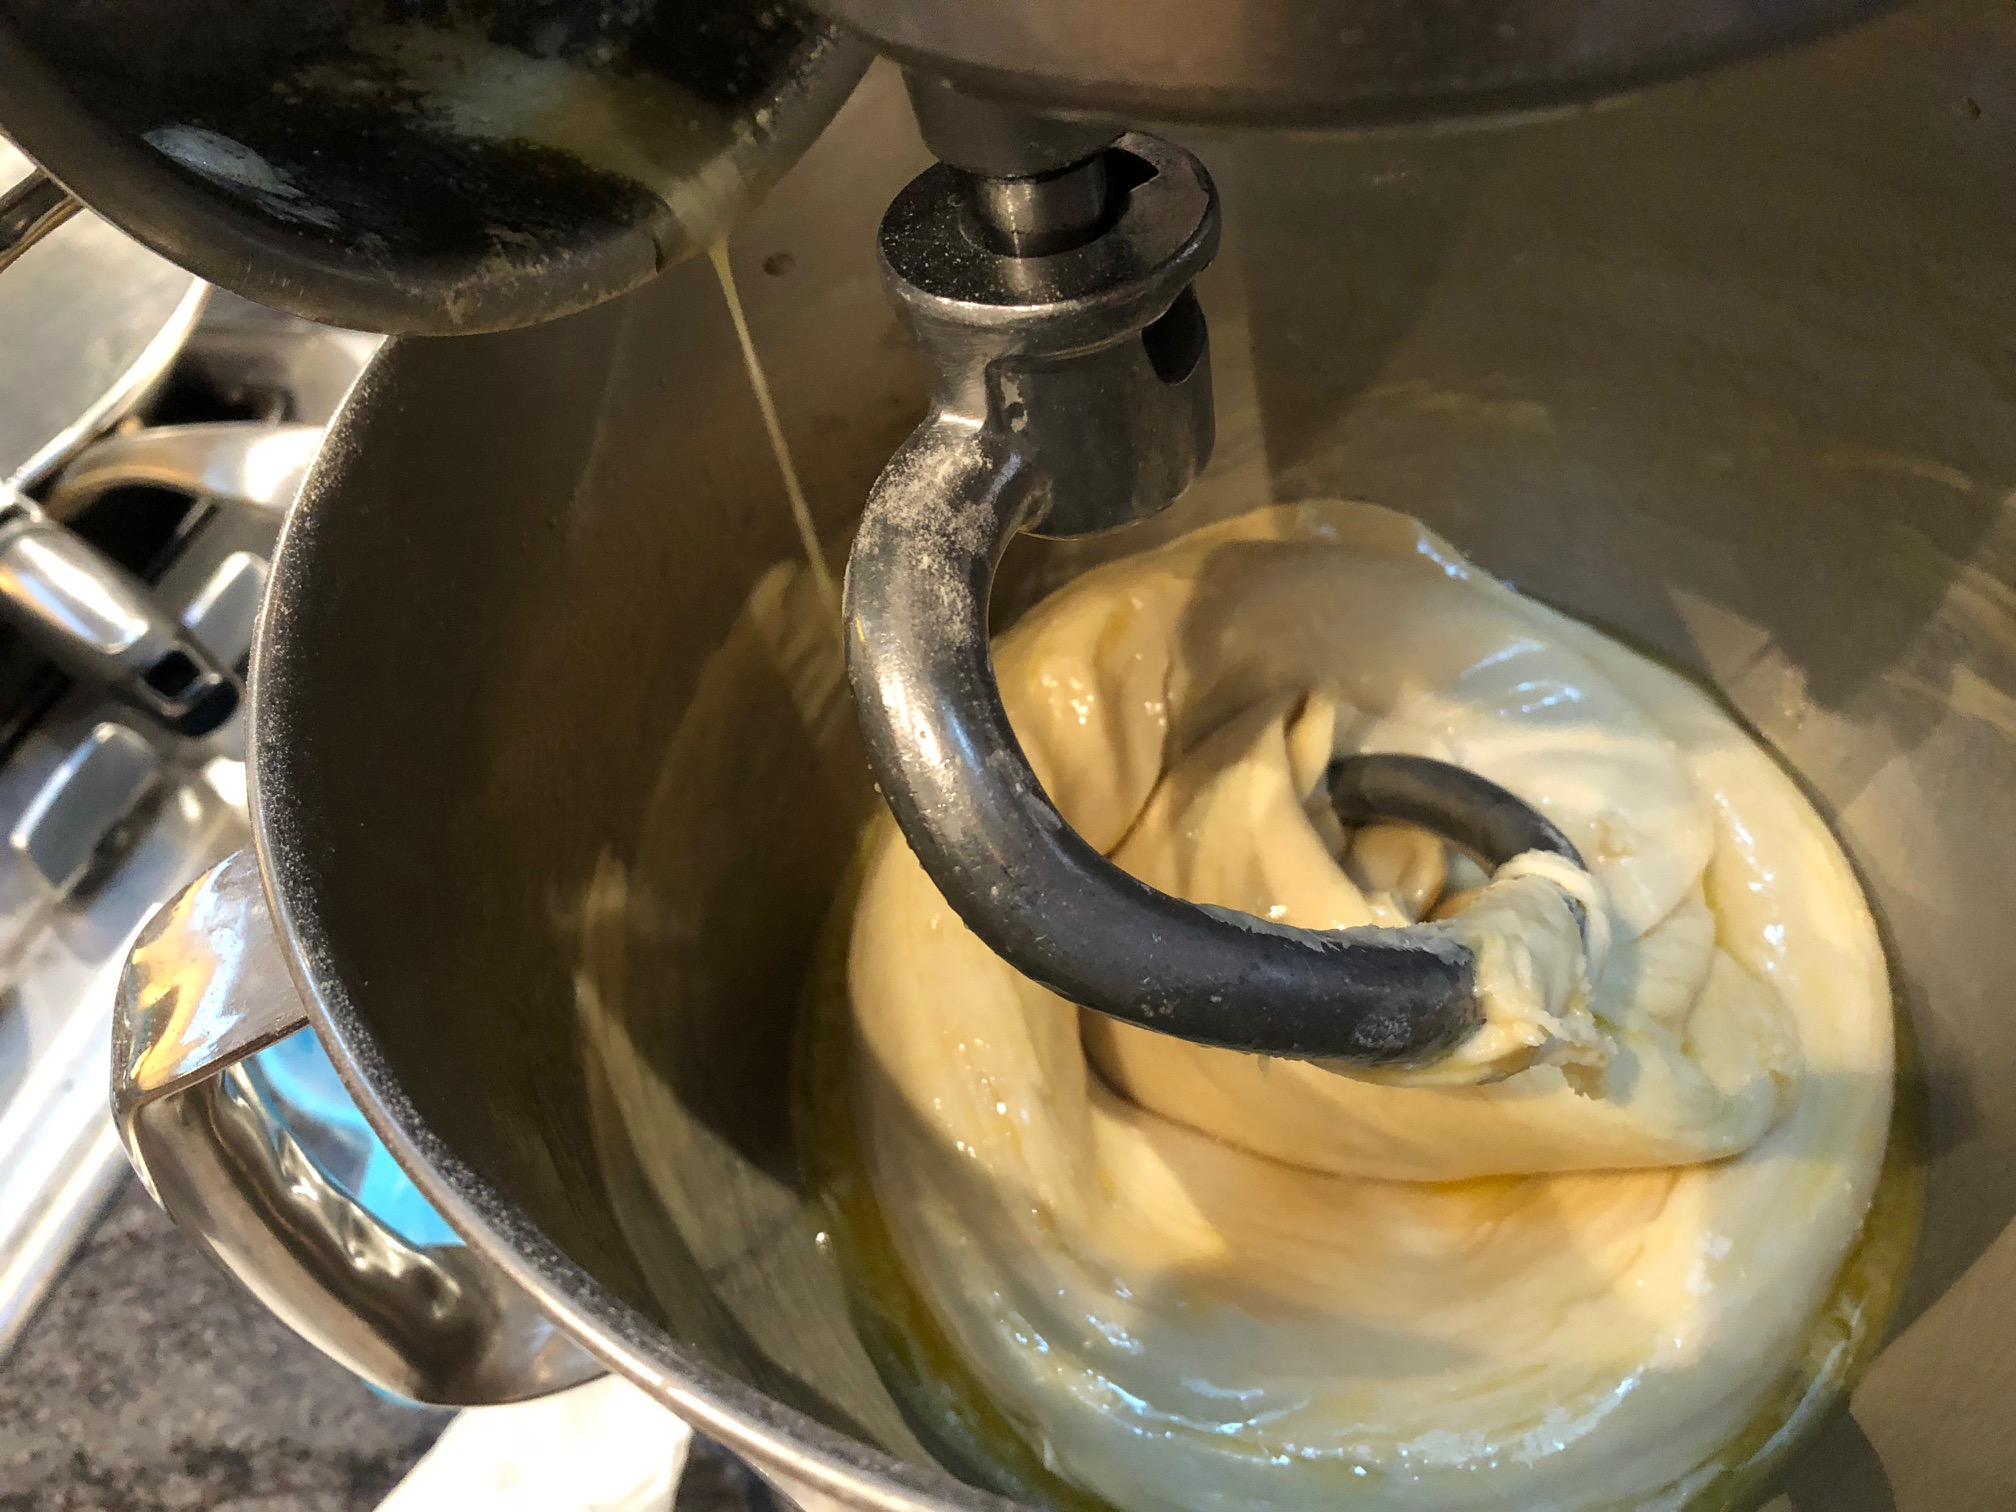
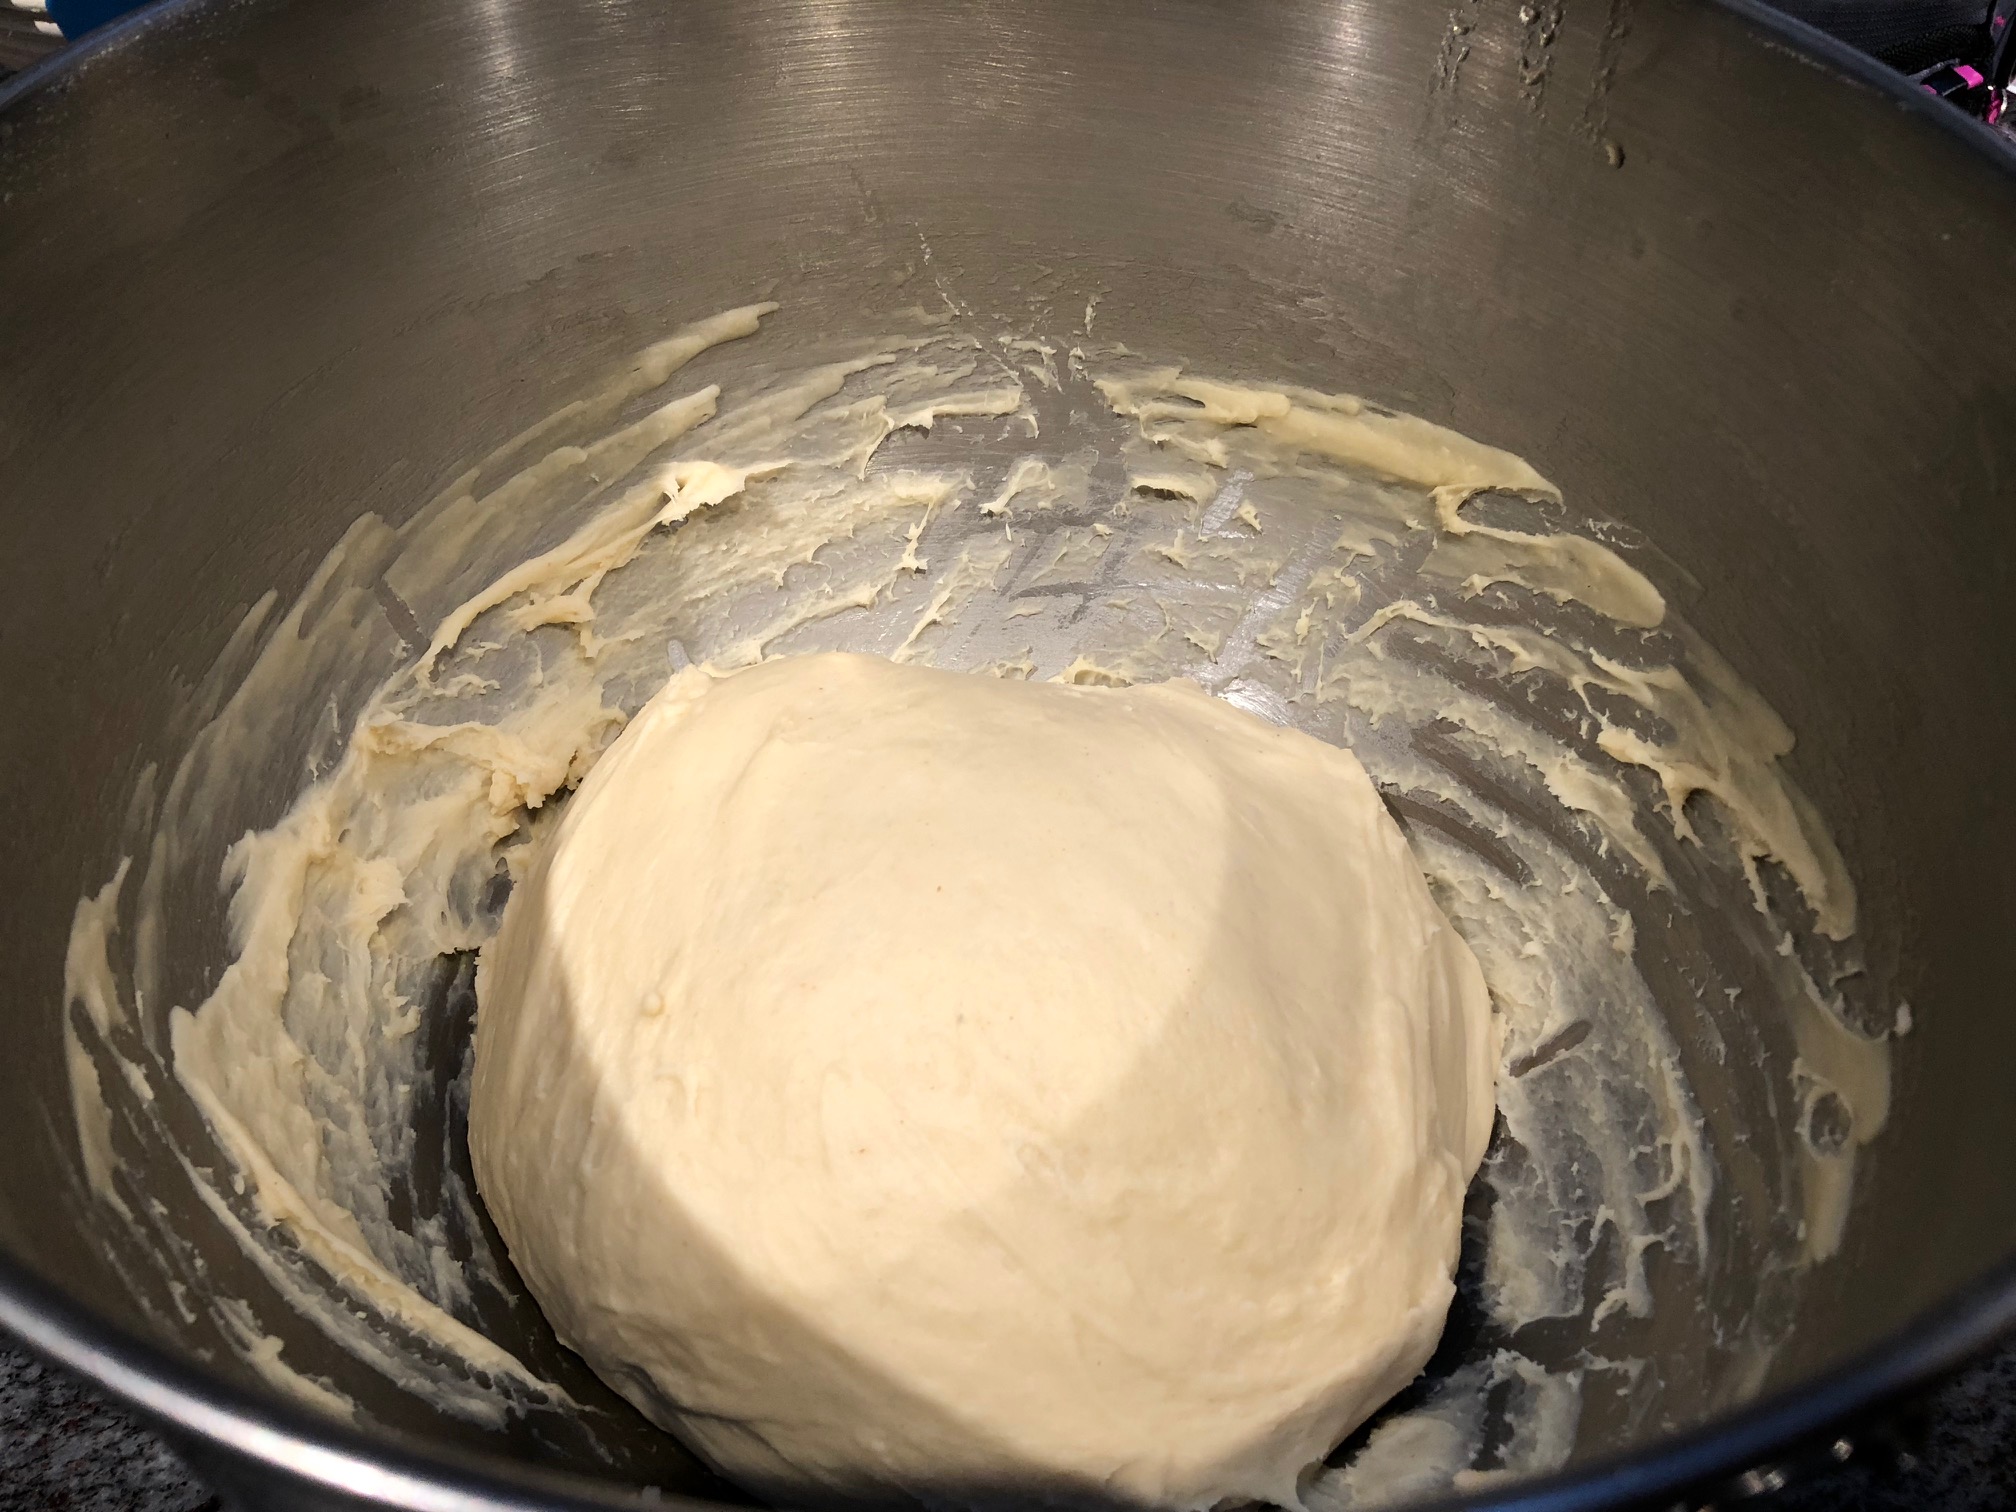
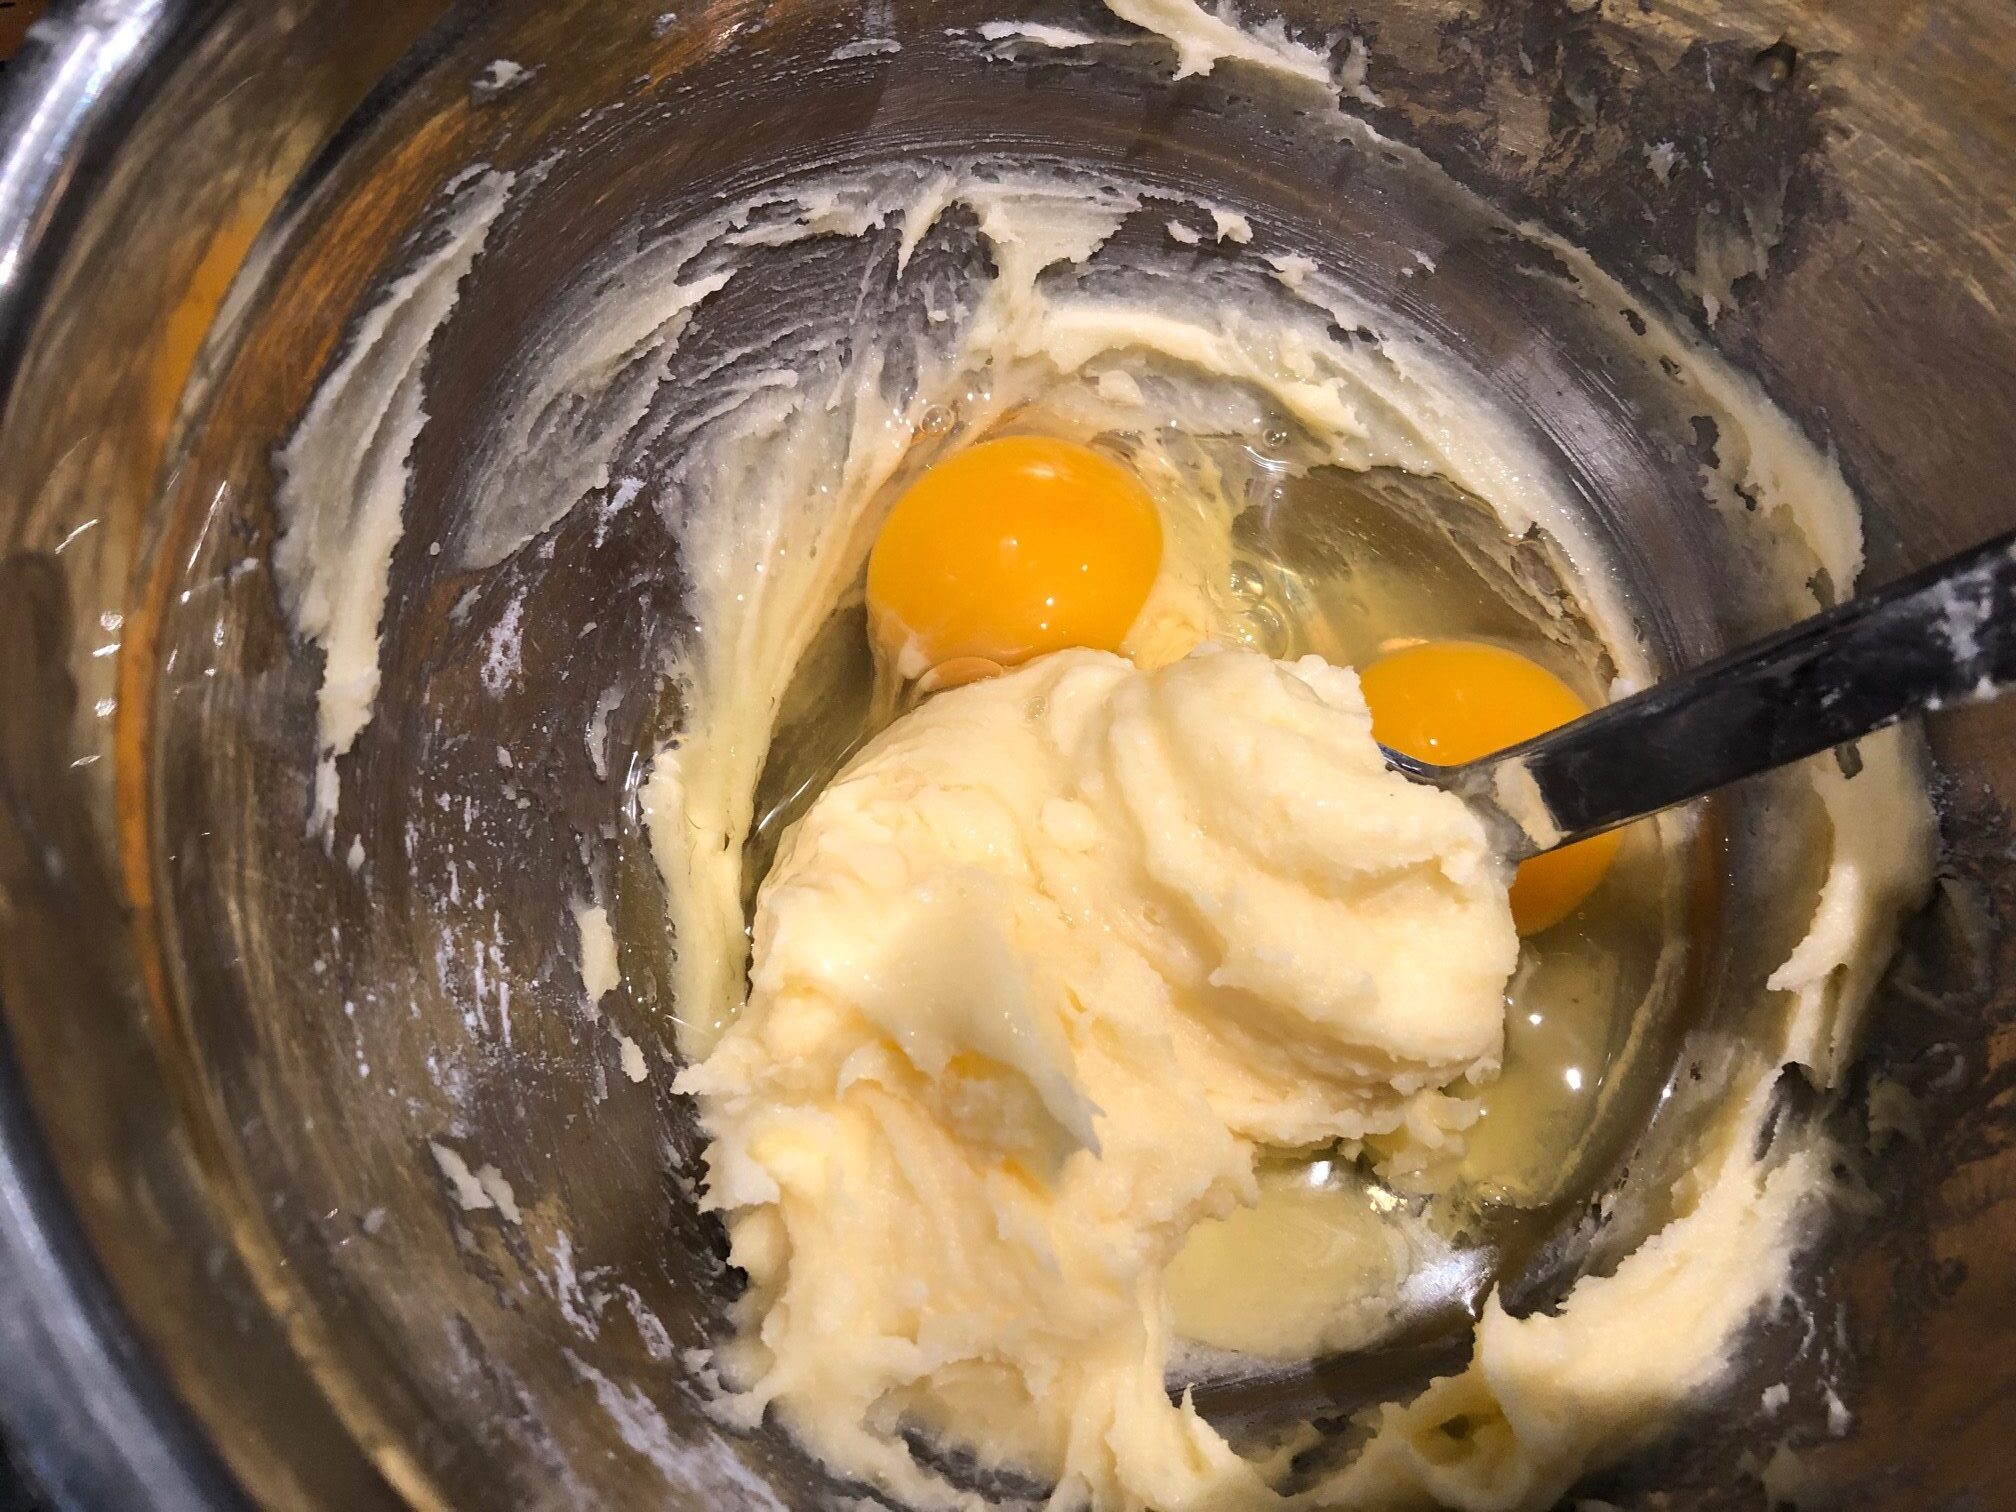
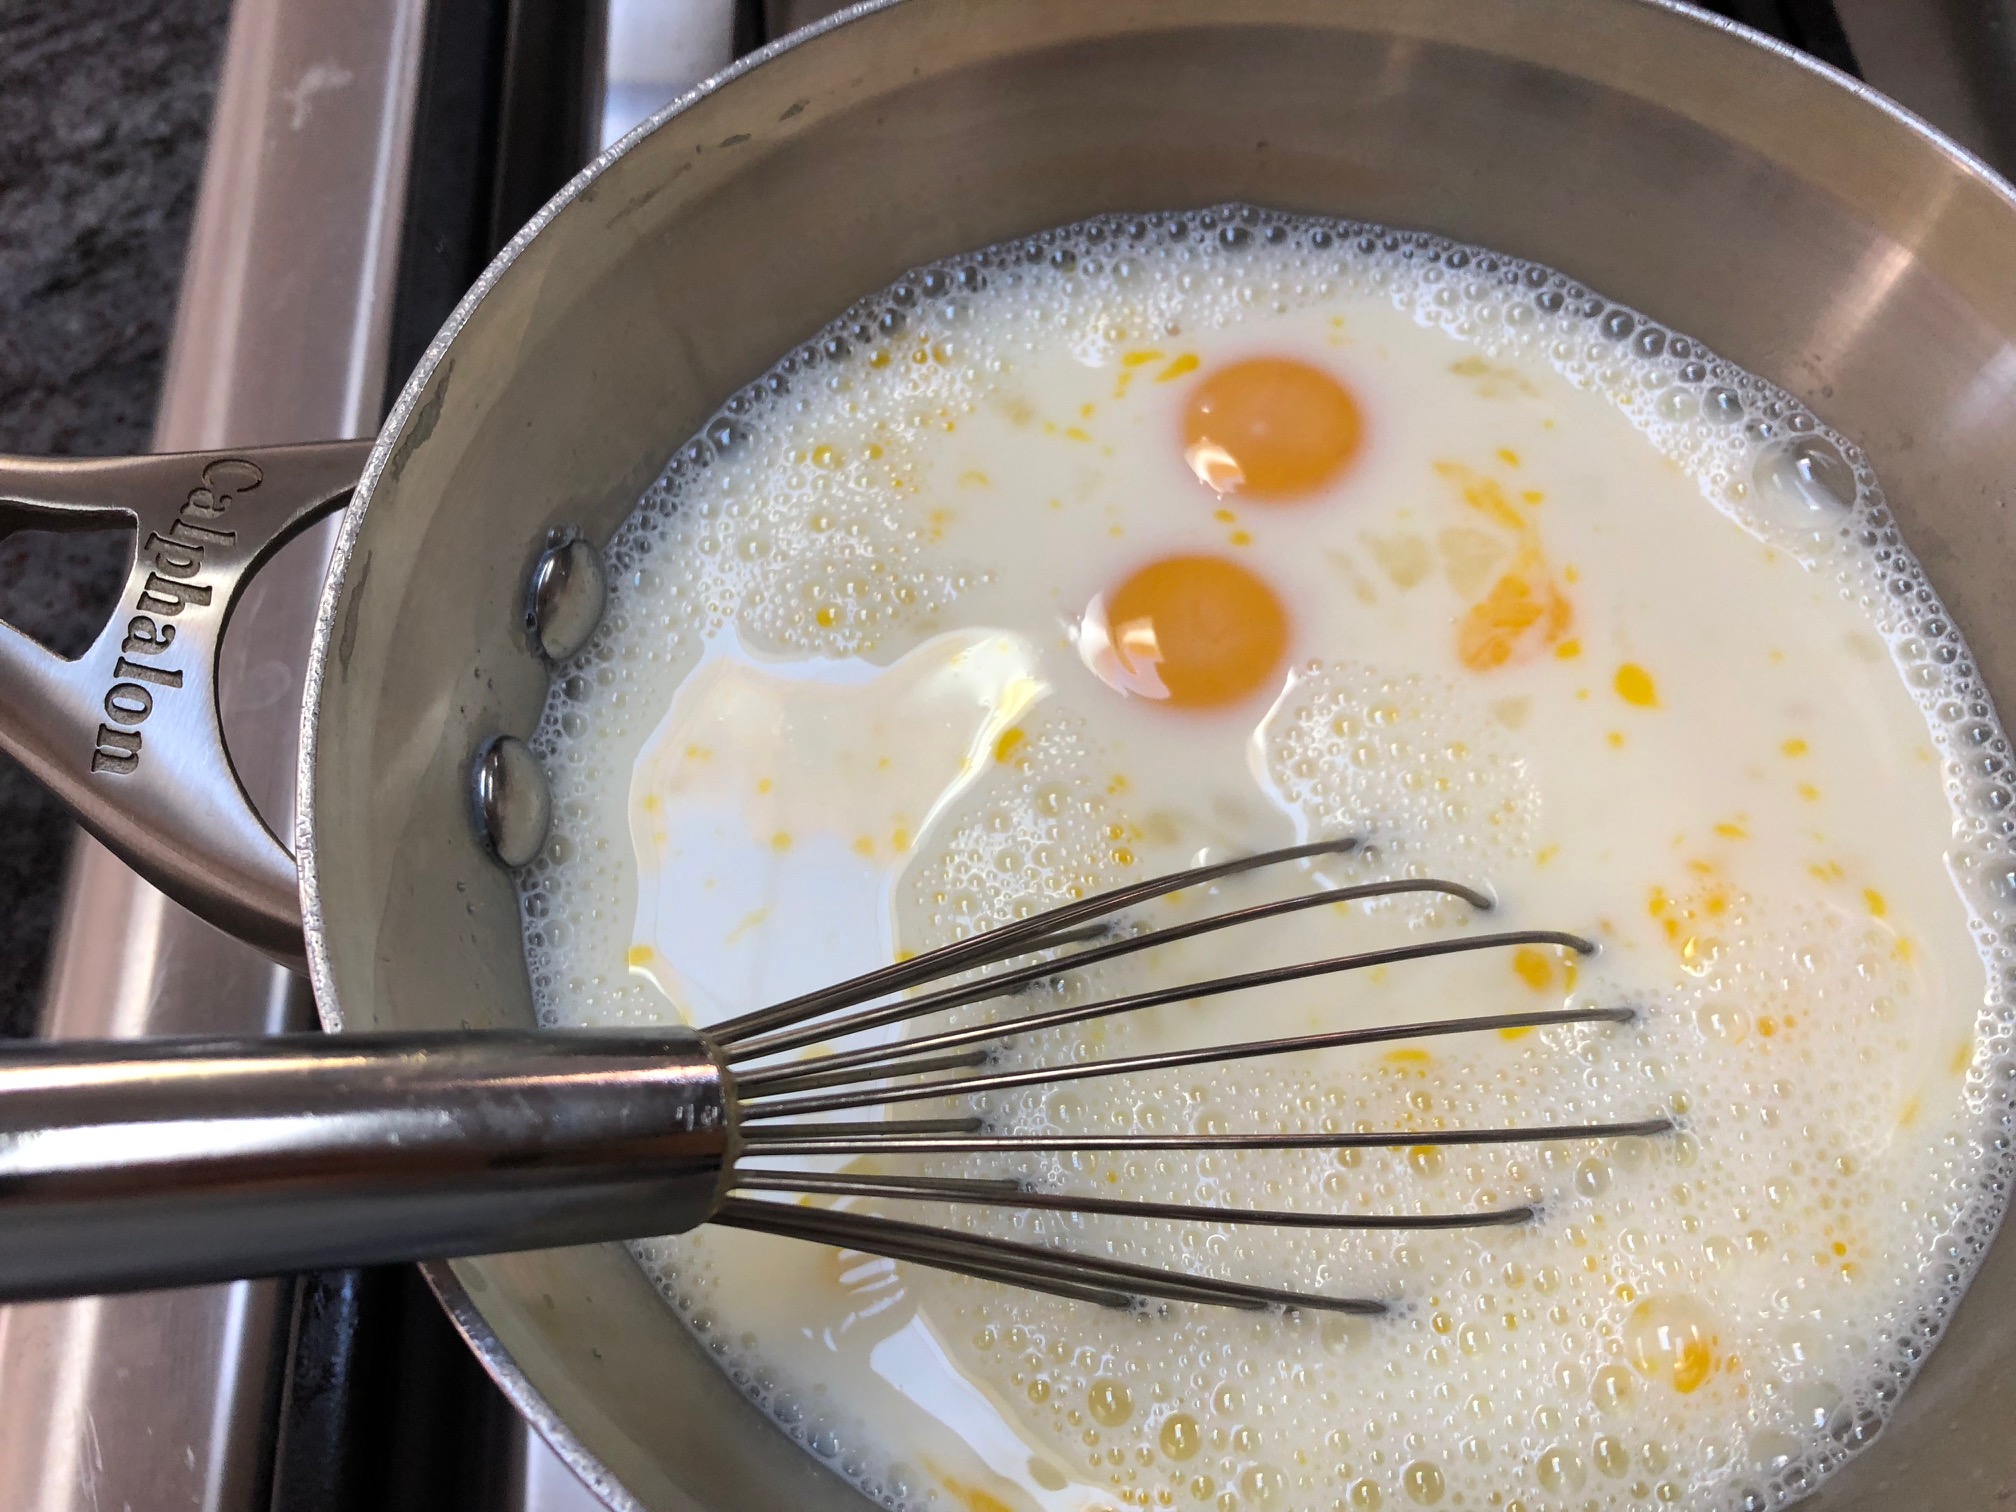
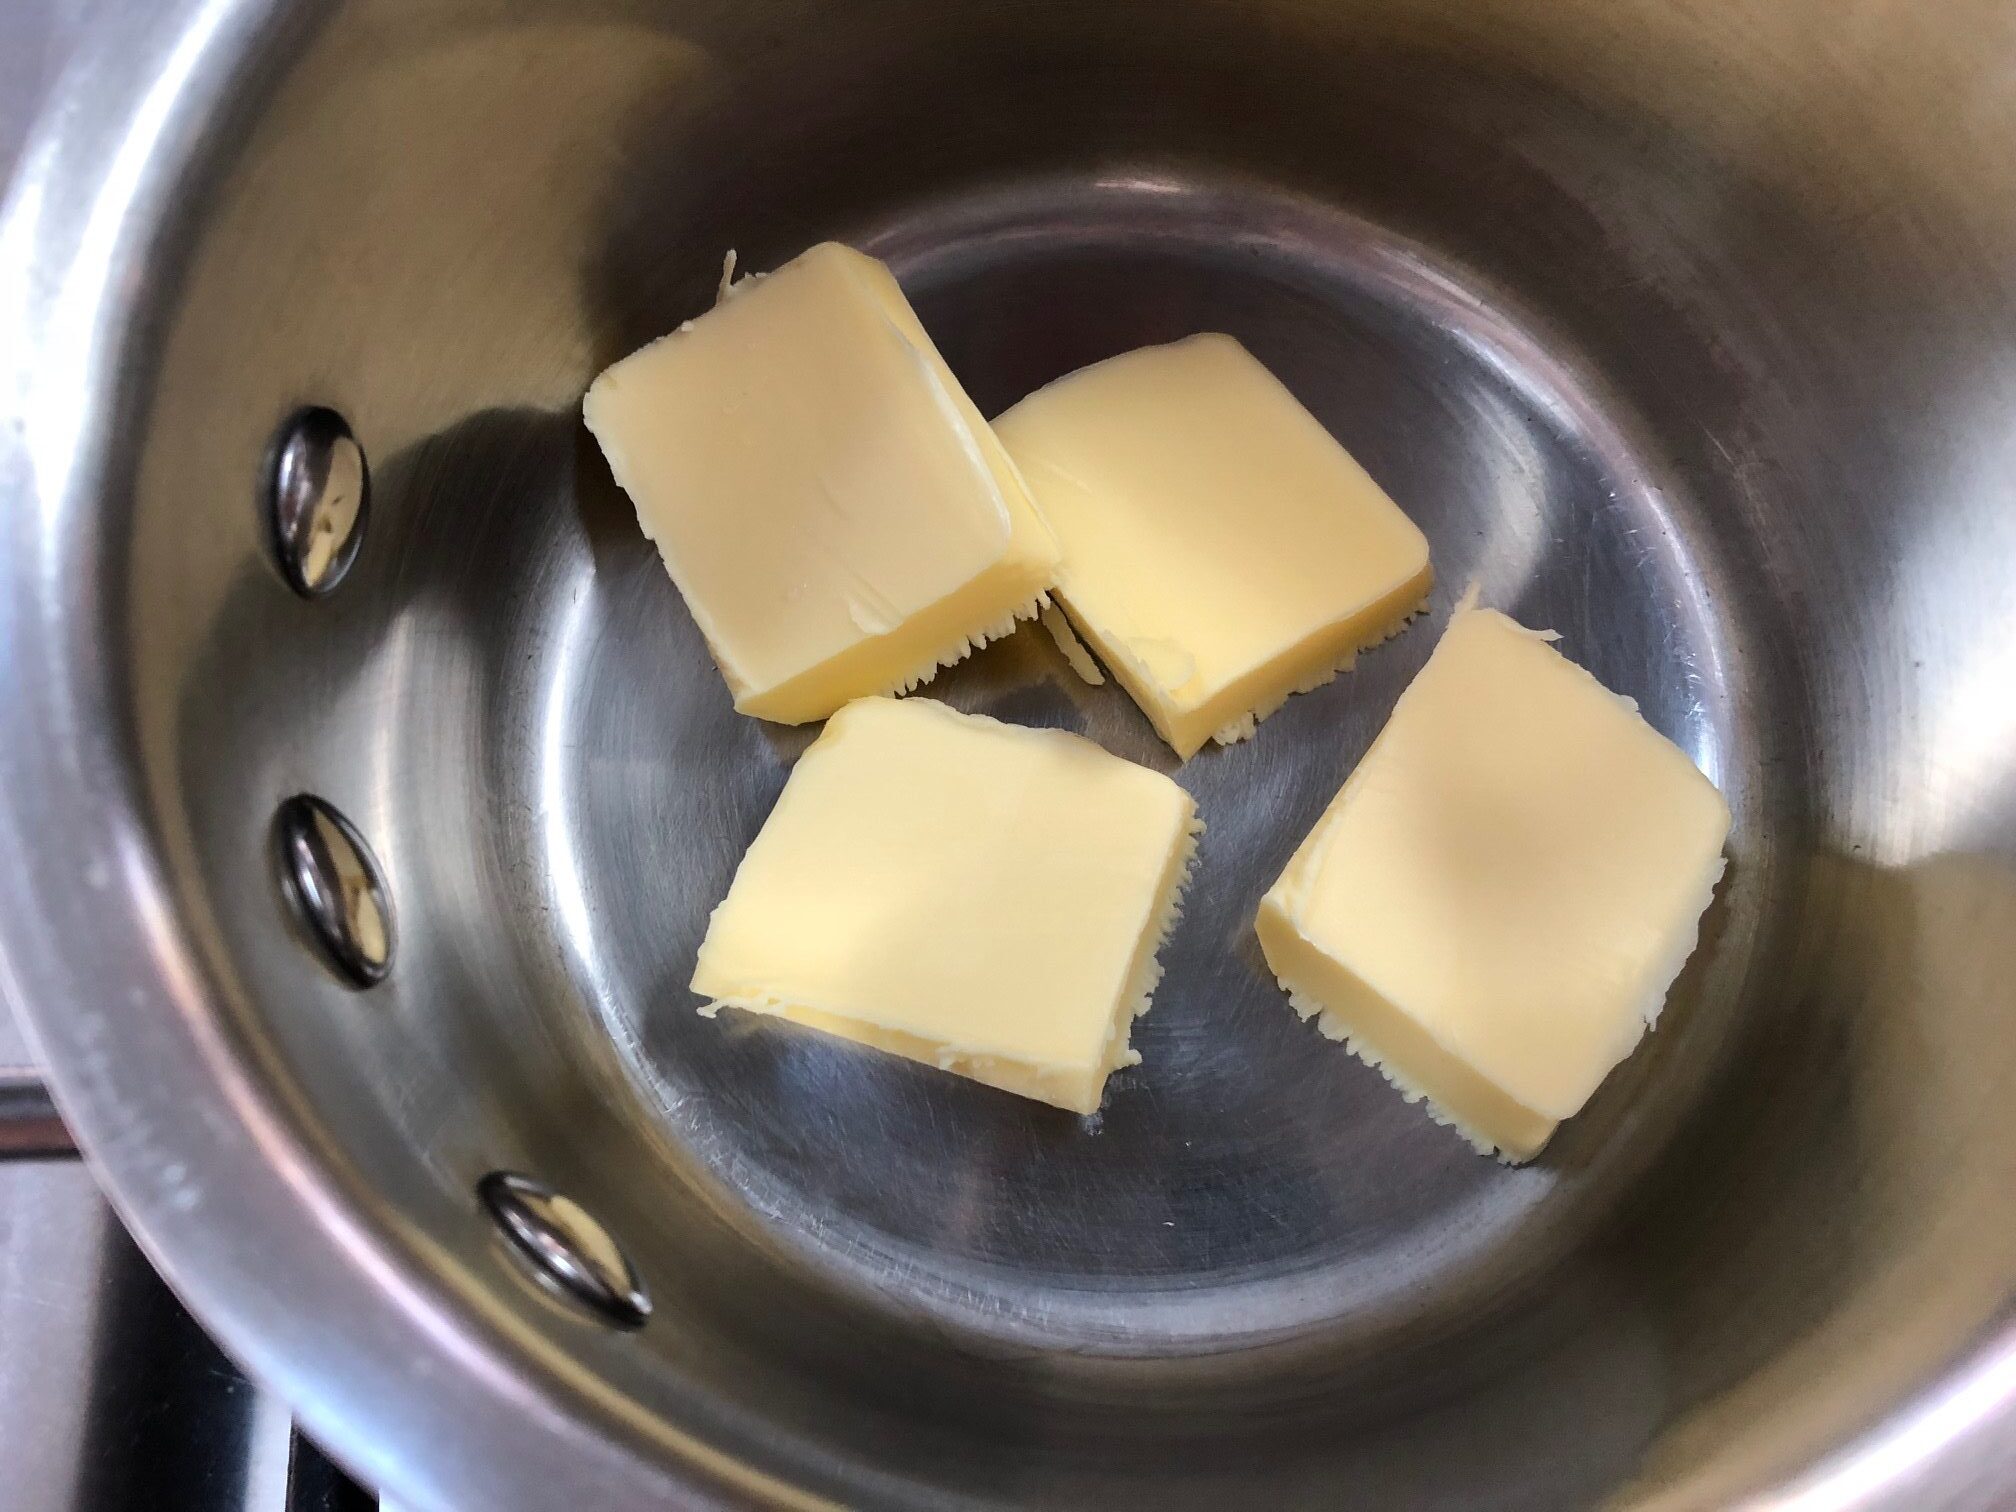
 If you can, an hour before baking, take your butter and eggs out of the fridge and place them on the counter. I also recommend using the all-purpose wheat flour from Poland, type 550 for this recipe [click here to buy].
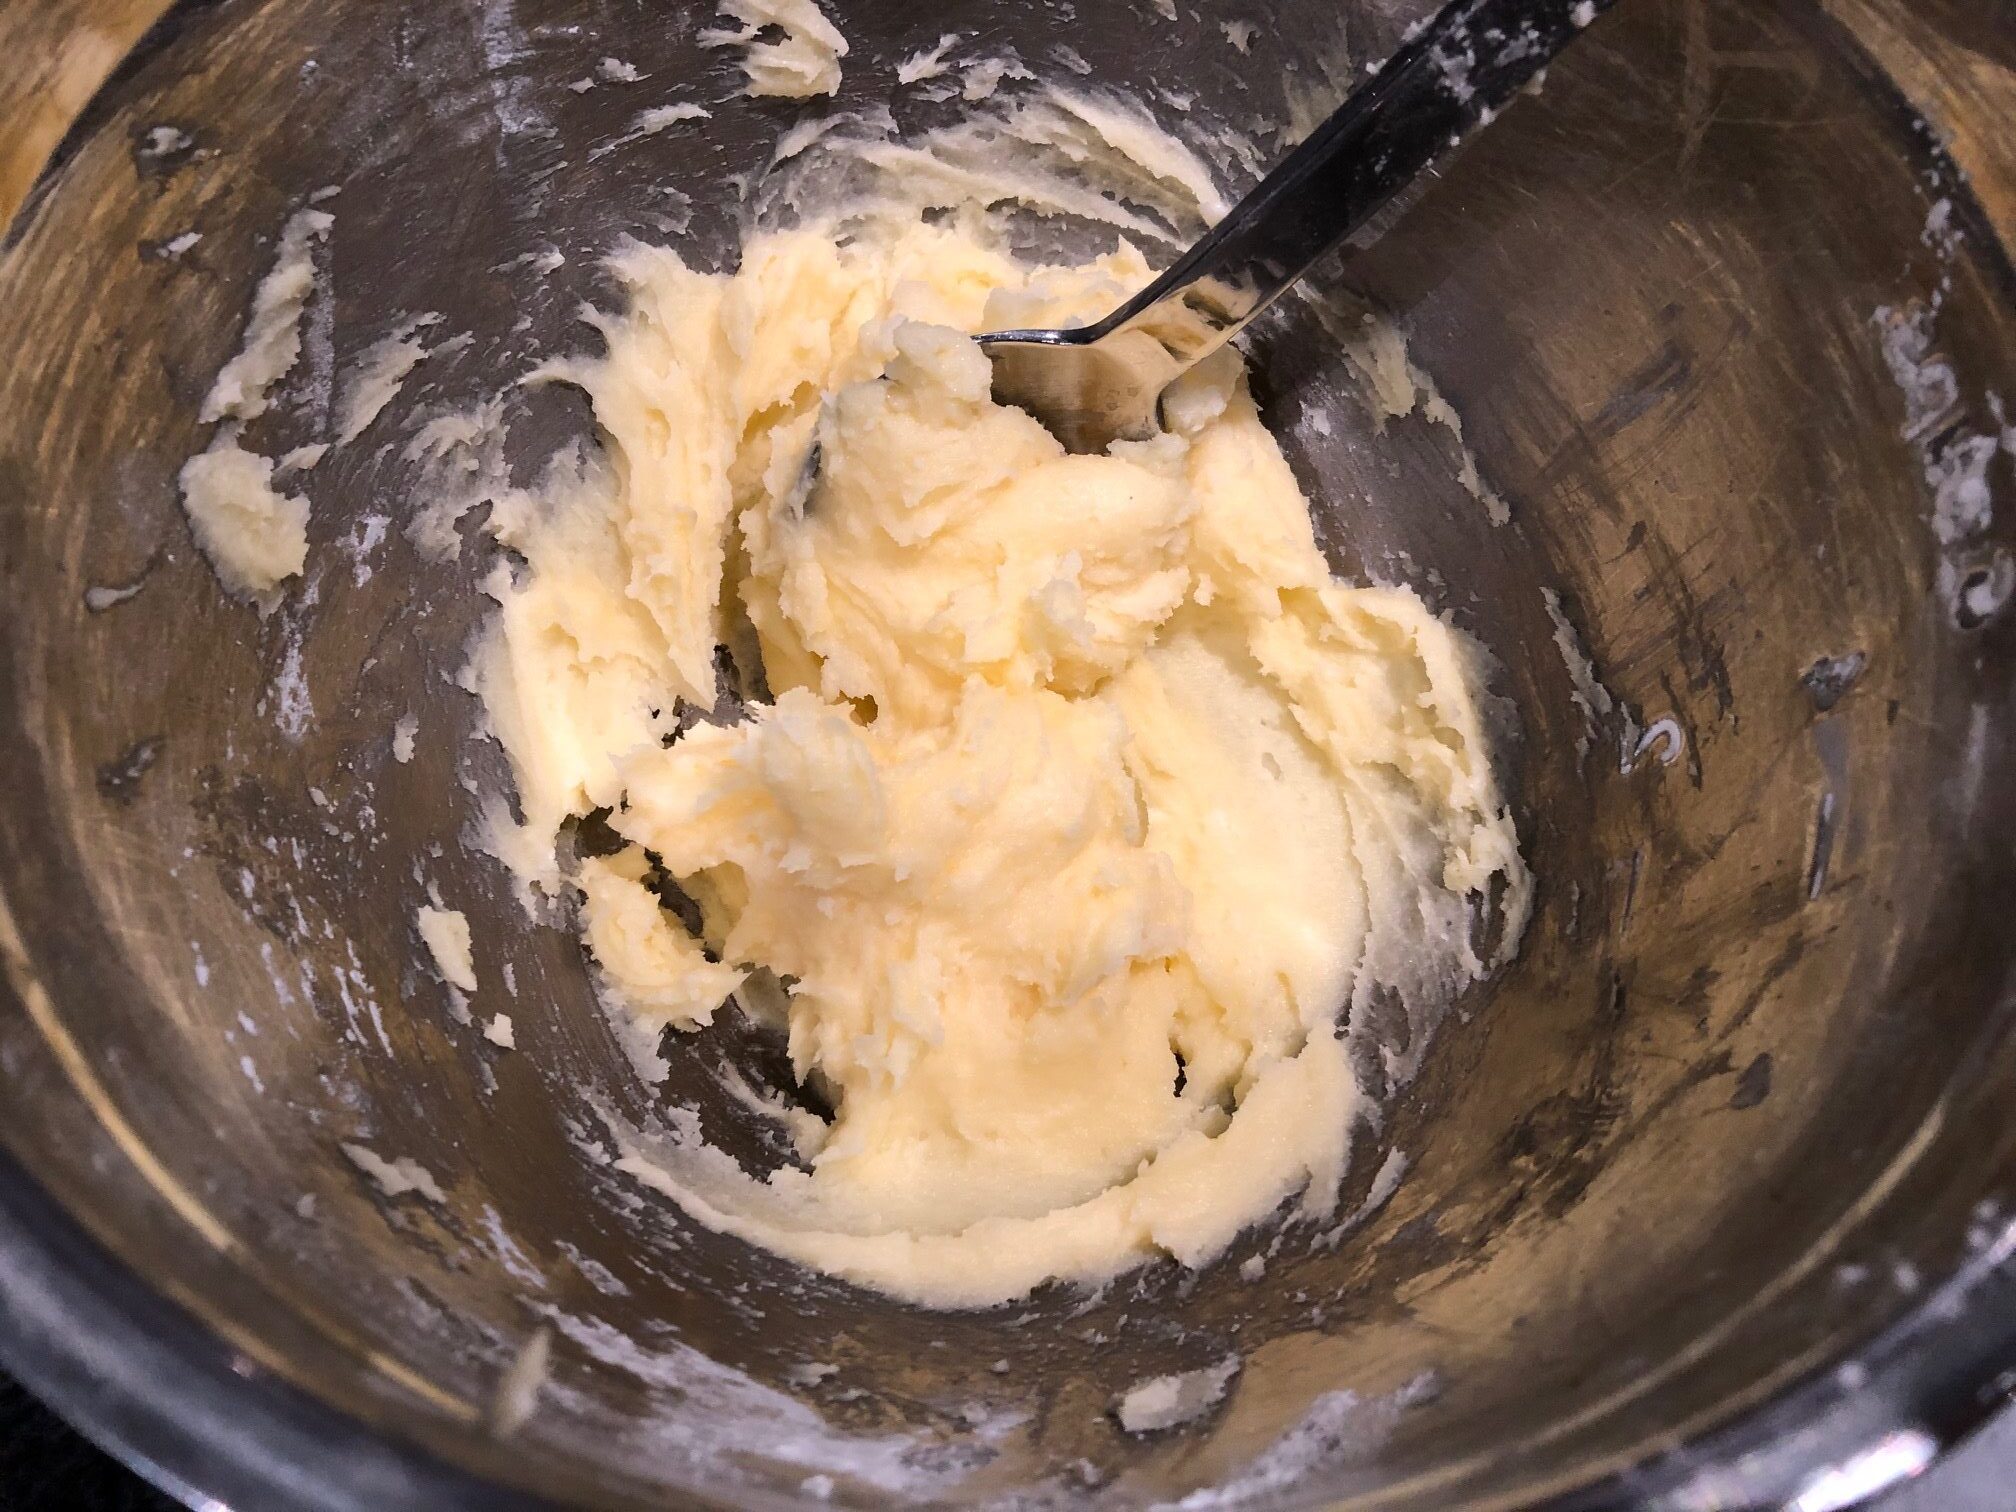


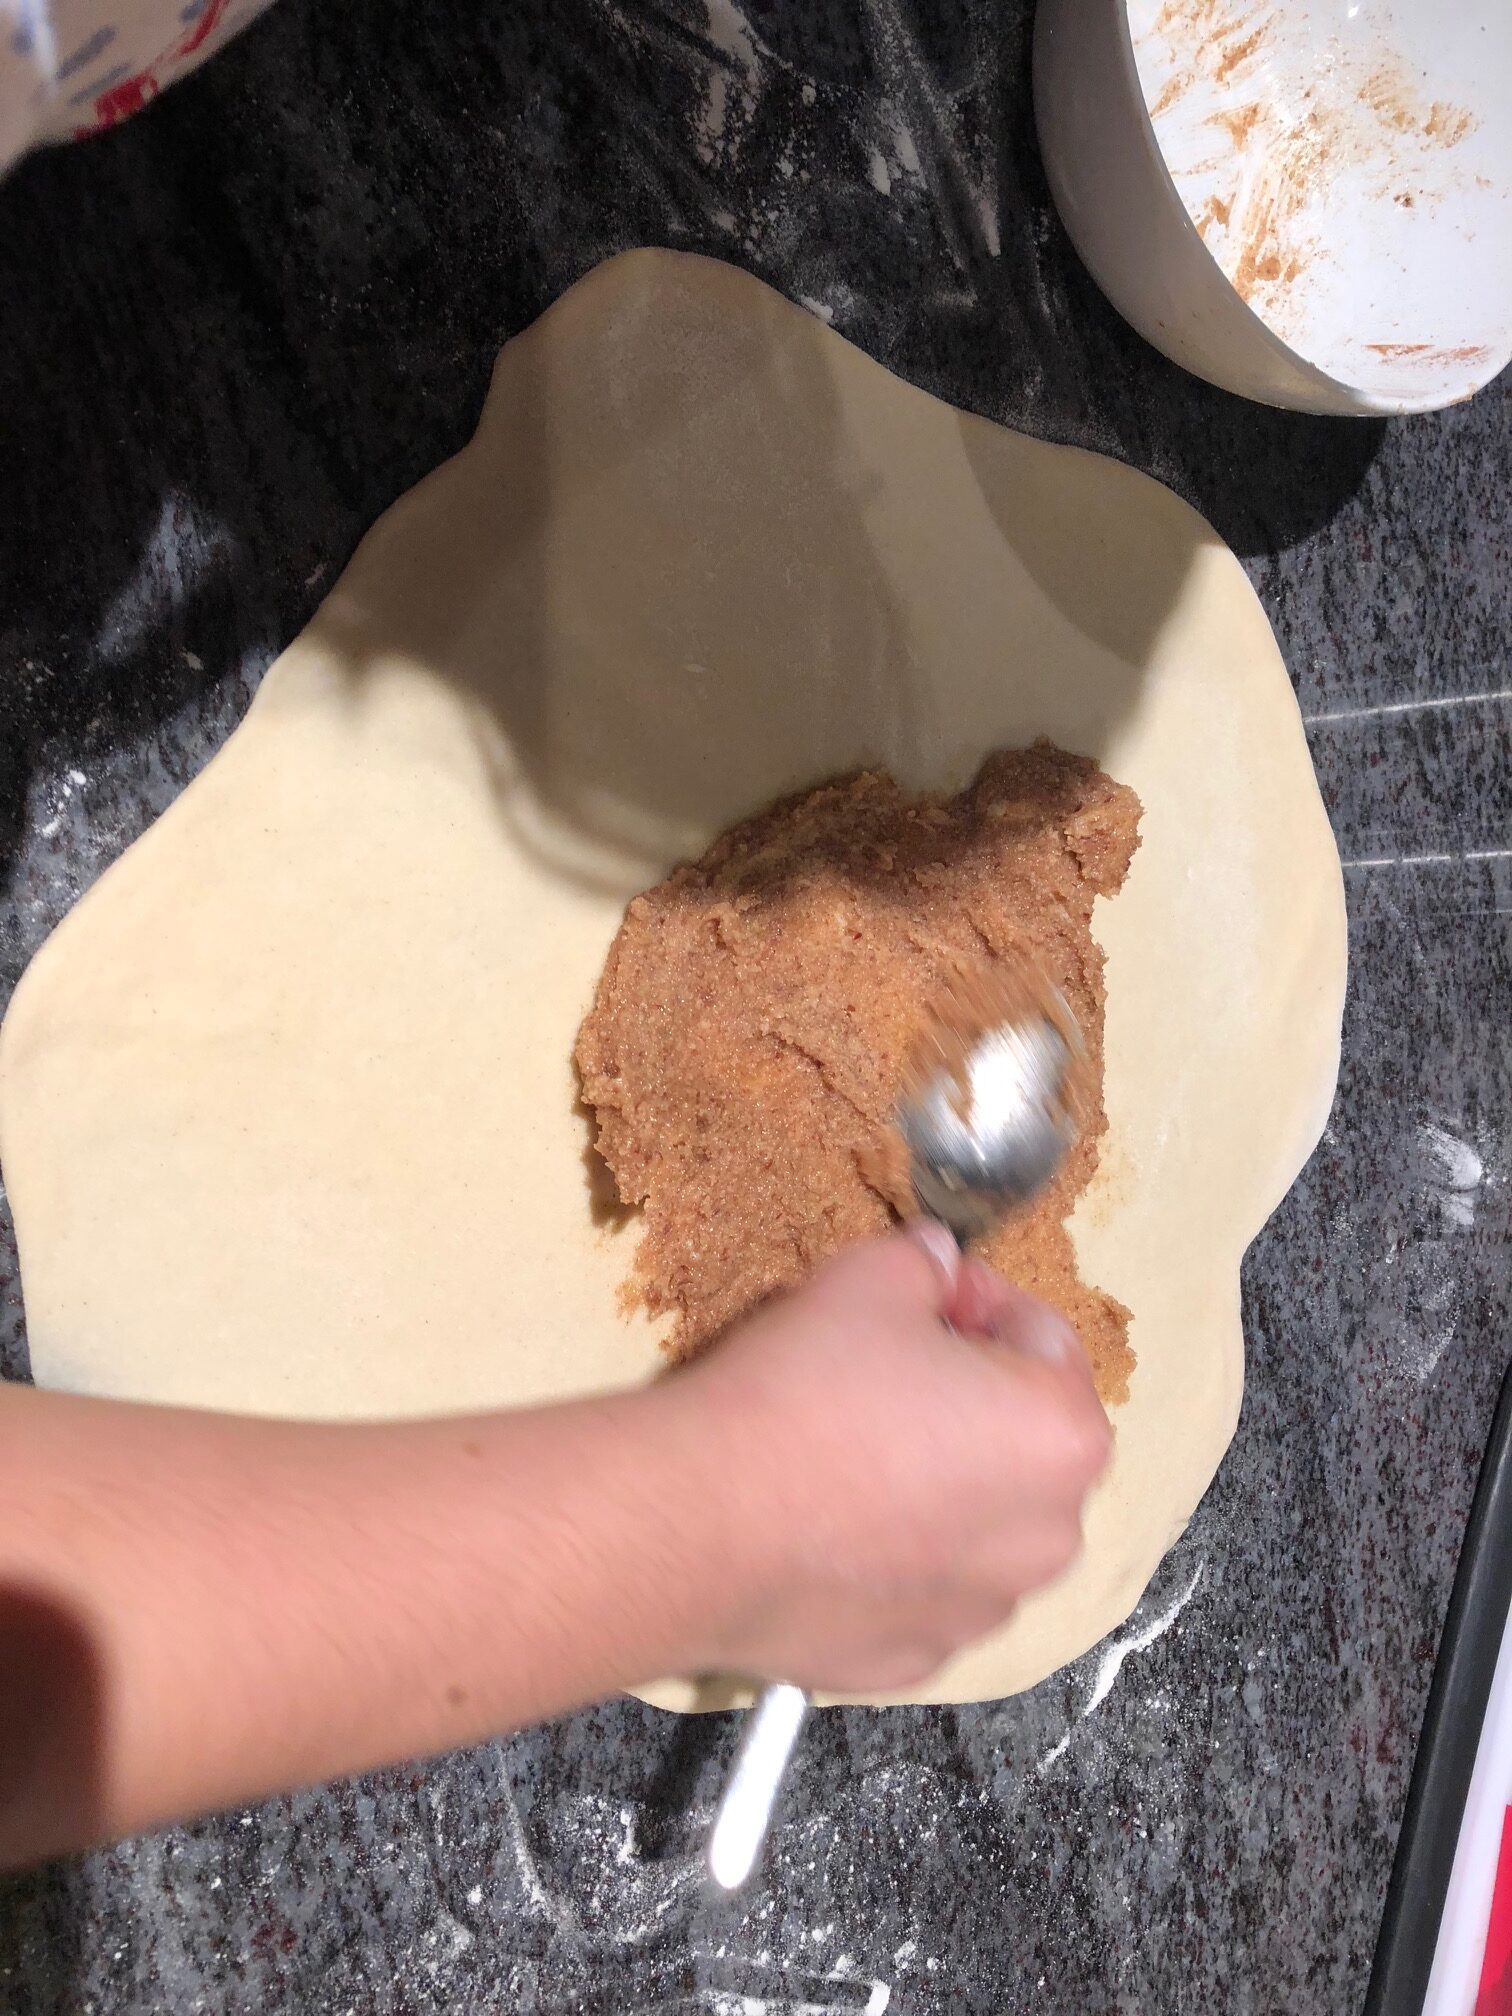
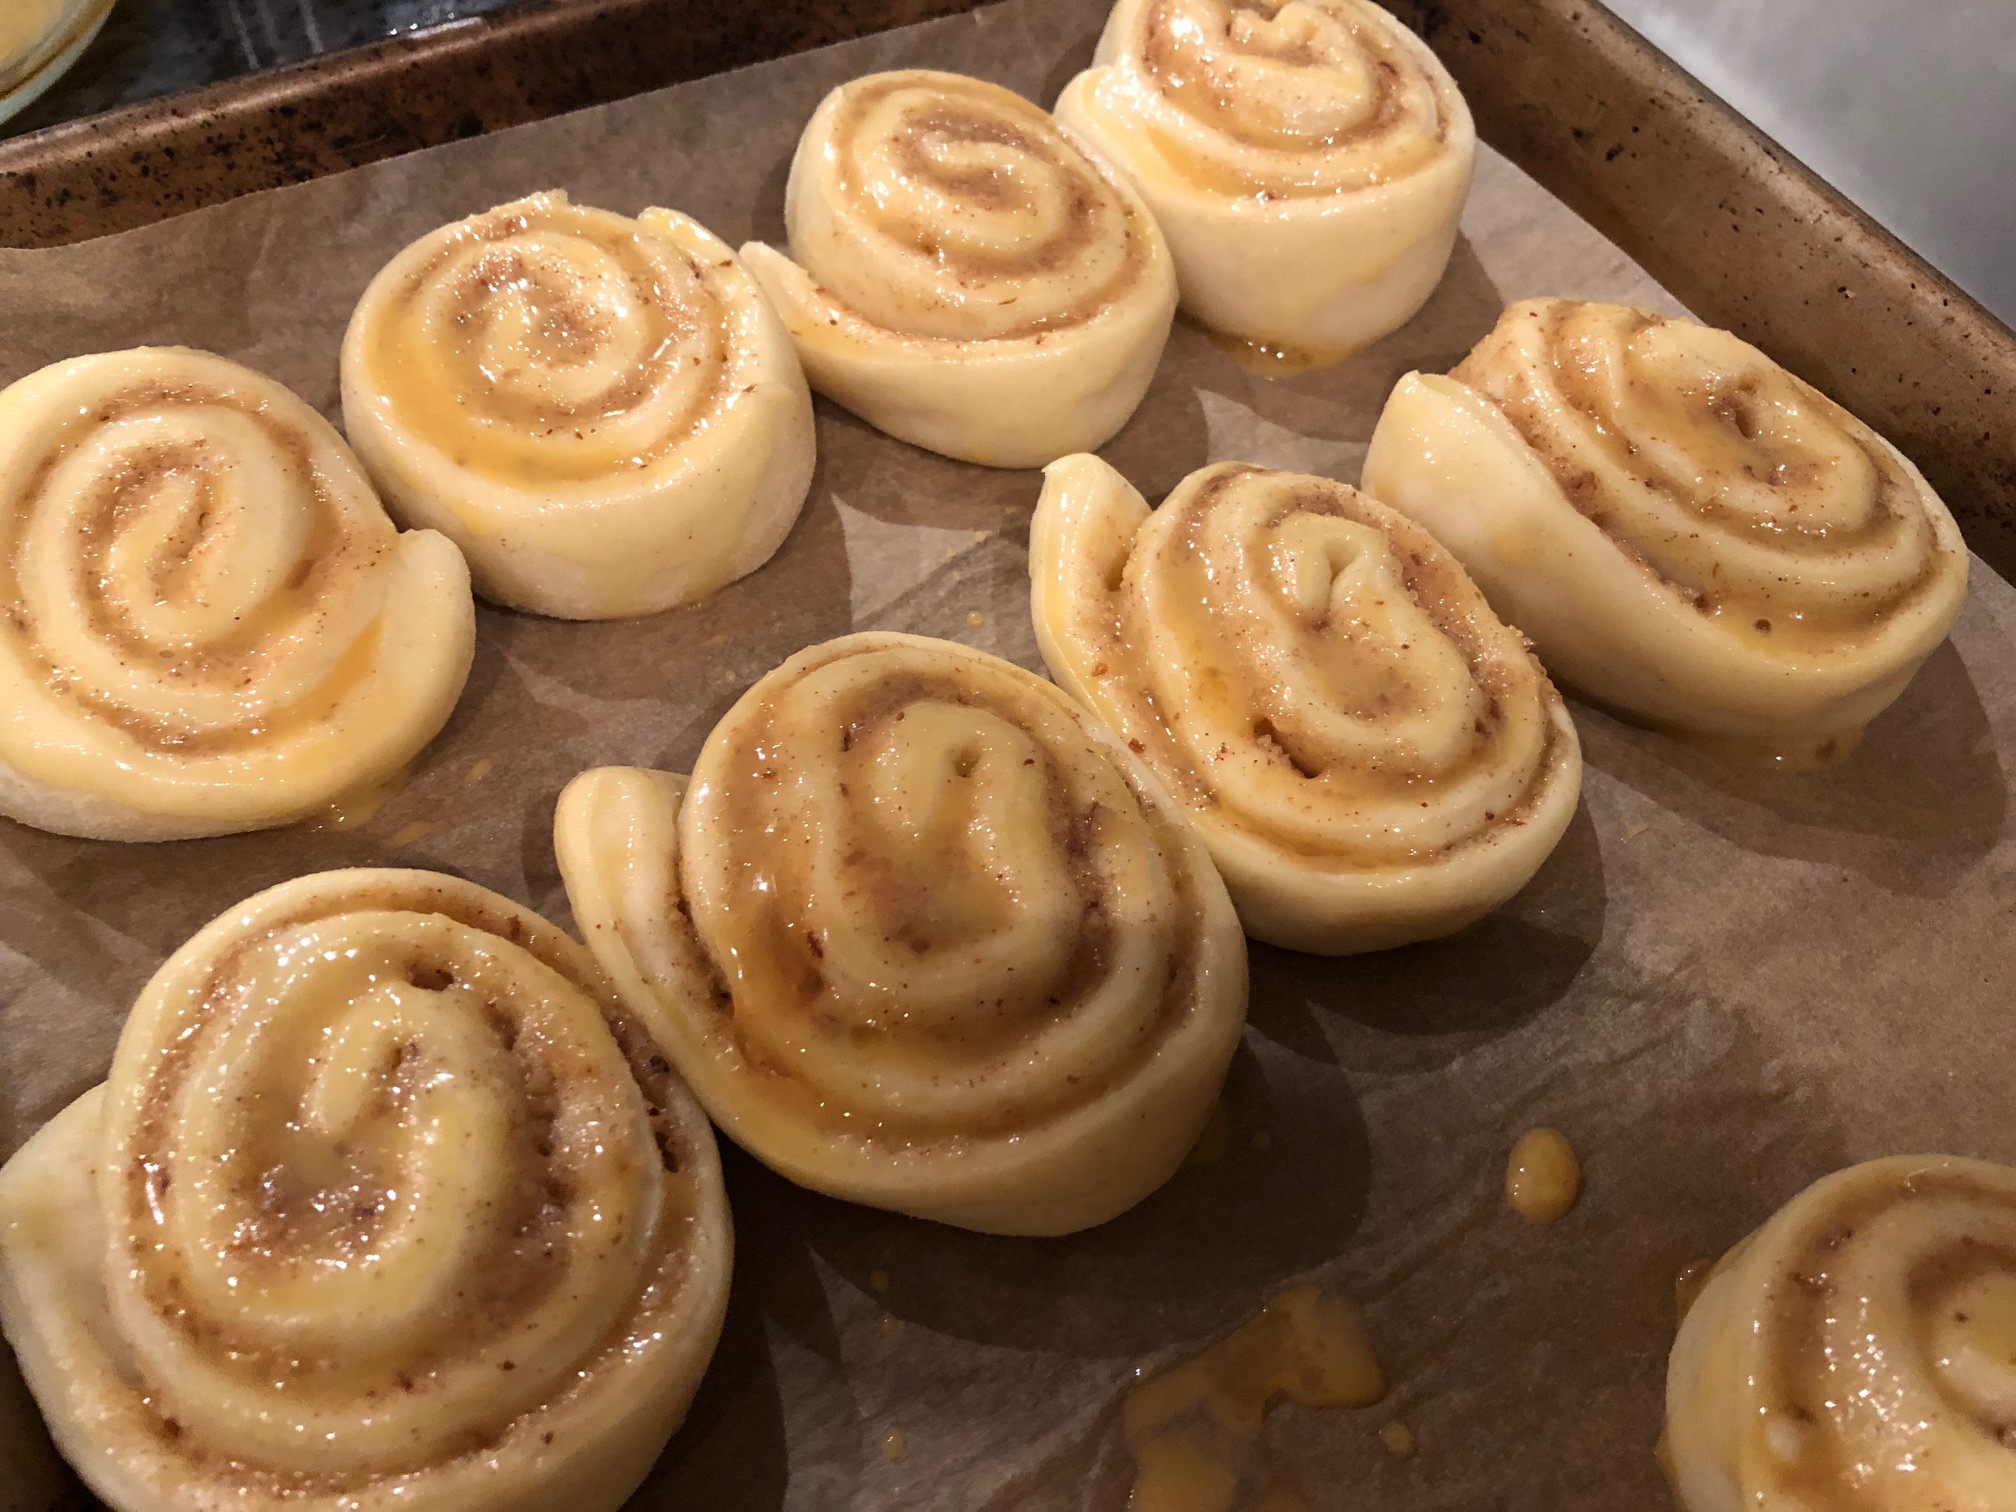
 Cinnamon rolls and fall go perfectly together. Add the fact that my daughter loves cinnamon. Hence, her recent request to make cinnamon rolls. I was certainly inspired, especially since I knew this is going to be a popular snack with my kids.