Blueberry Muffins are my favorite breakfast food. They are simple to make, portable thanks to their individual paper cups, and great snack for kids. I didn’t grow up eating muffins, but fell in love with muffins when I moved to Canada. And after tasting the different varieties sold at Tim Hortons, I got into a habit of picking one up each day on my way to school.
What I like about muffins is that you have lots of options with the flavor. You can choose to add fruit, seeds, cheese, spices, even vegetables. The important thing to remember about making muffins is to mix wet and dry ingredients separately, and only combine them at the end. The other critical step is to make sure your ingredients are at room temperature.
Therefore, take out the milk, eggs, butter, and kefir (or sour cream) out of the fridge about an hour before making this recipe, and let them warm up on the counter. Avoid using the cold ingredients whenever possible if you want your muffins to be nice and fluffy.
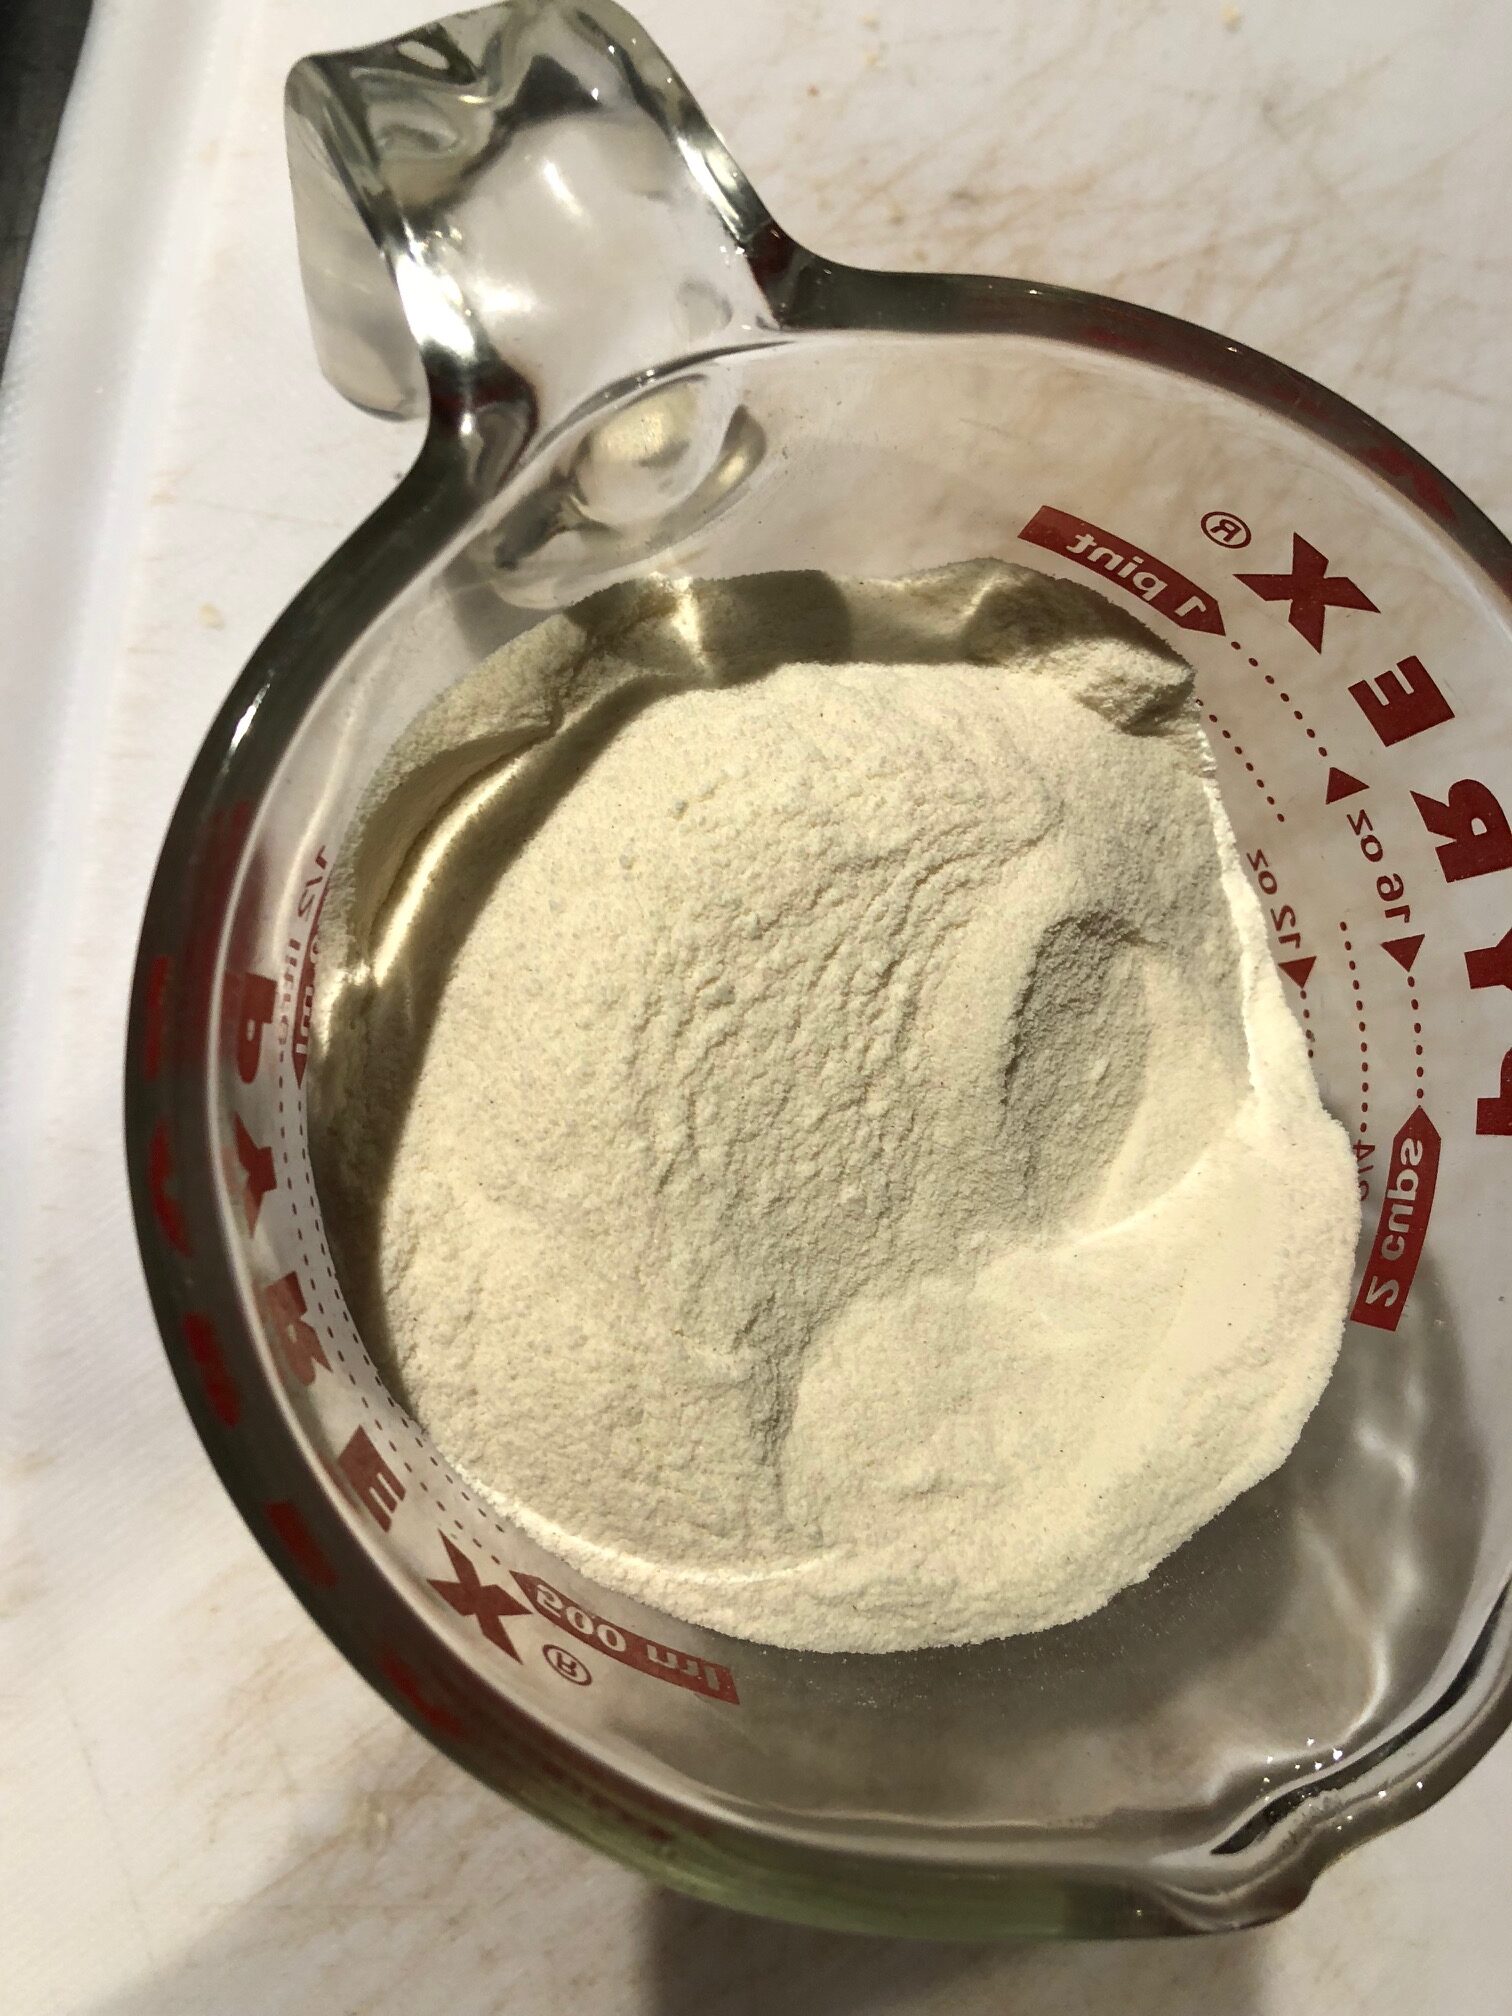
For my recipe I use wheat flour from Poland called “Krupczatka”. It’s a coarsely milled flour and works very well when you’re using a fair amount of butter in the dough. I found that by using this flour, the muffin dough is nice and moist, and has a nice crumb. A lot better then when using the “all purpose” type of flour.
Blueberry Muffins
-
2
cups
flour
(Polish Luksusowa - type 550)
-
1
cup
brown sugar
-
2
whole
eggs
-
1/2
cup
milk
-
1/2
cup
kefir (or sour cream)
-
1/2
cup
unsalted butter (about 100 grams)
-
1
tsp
vanilla extract
-
1
tbsp
lemon zest
-
1
tsp
baking powder
-
1
tsp
baking soda
-
1/2
tsp
kosher salt
-
2
cups
blueberries
(washed and dried)
-
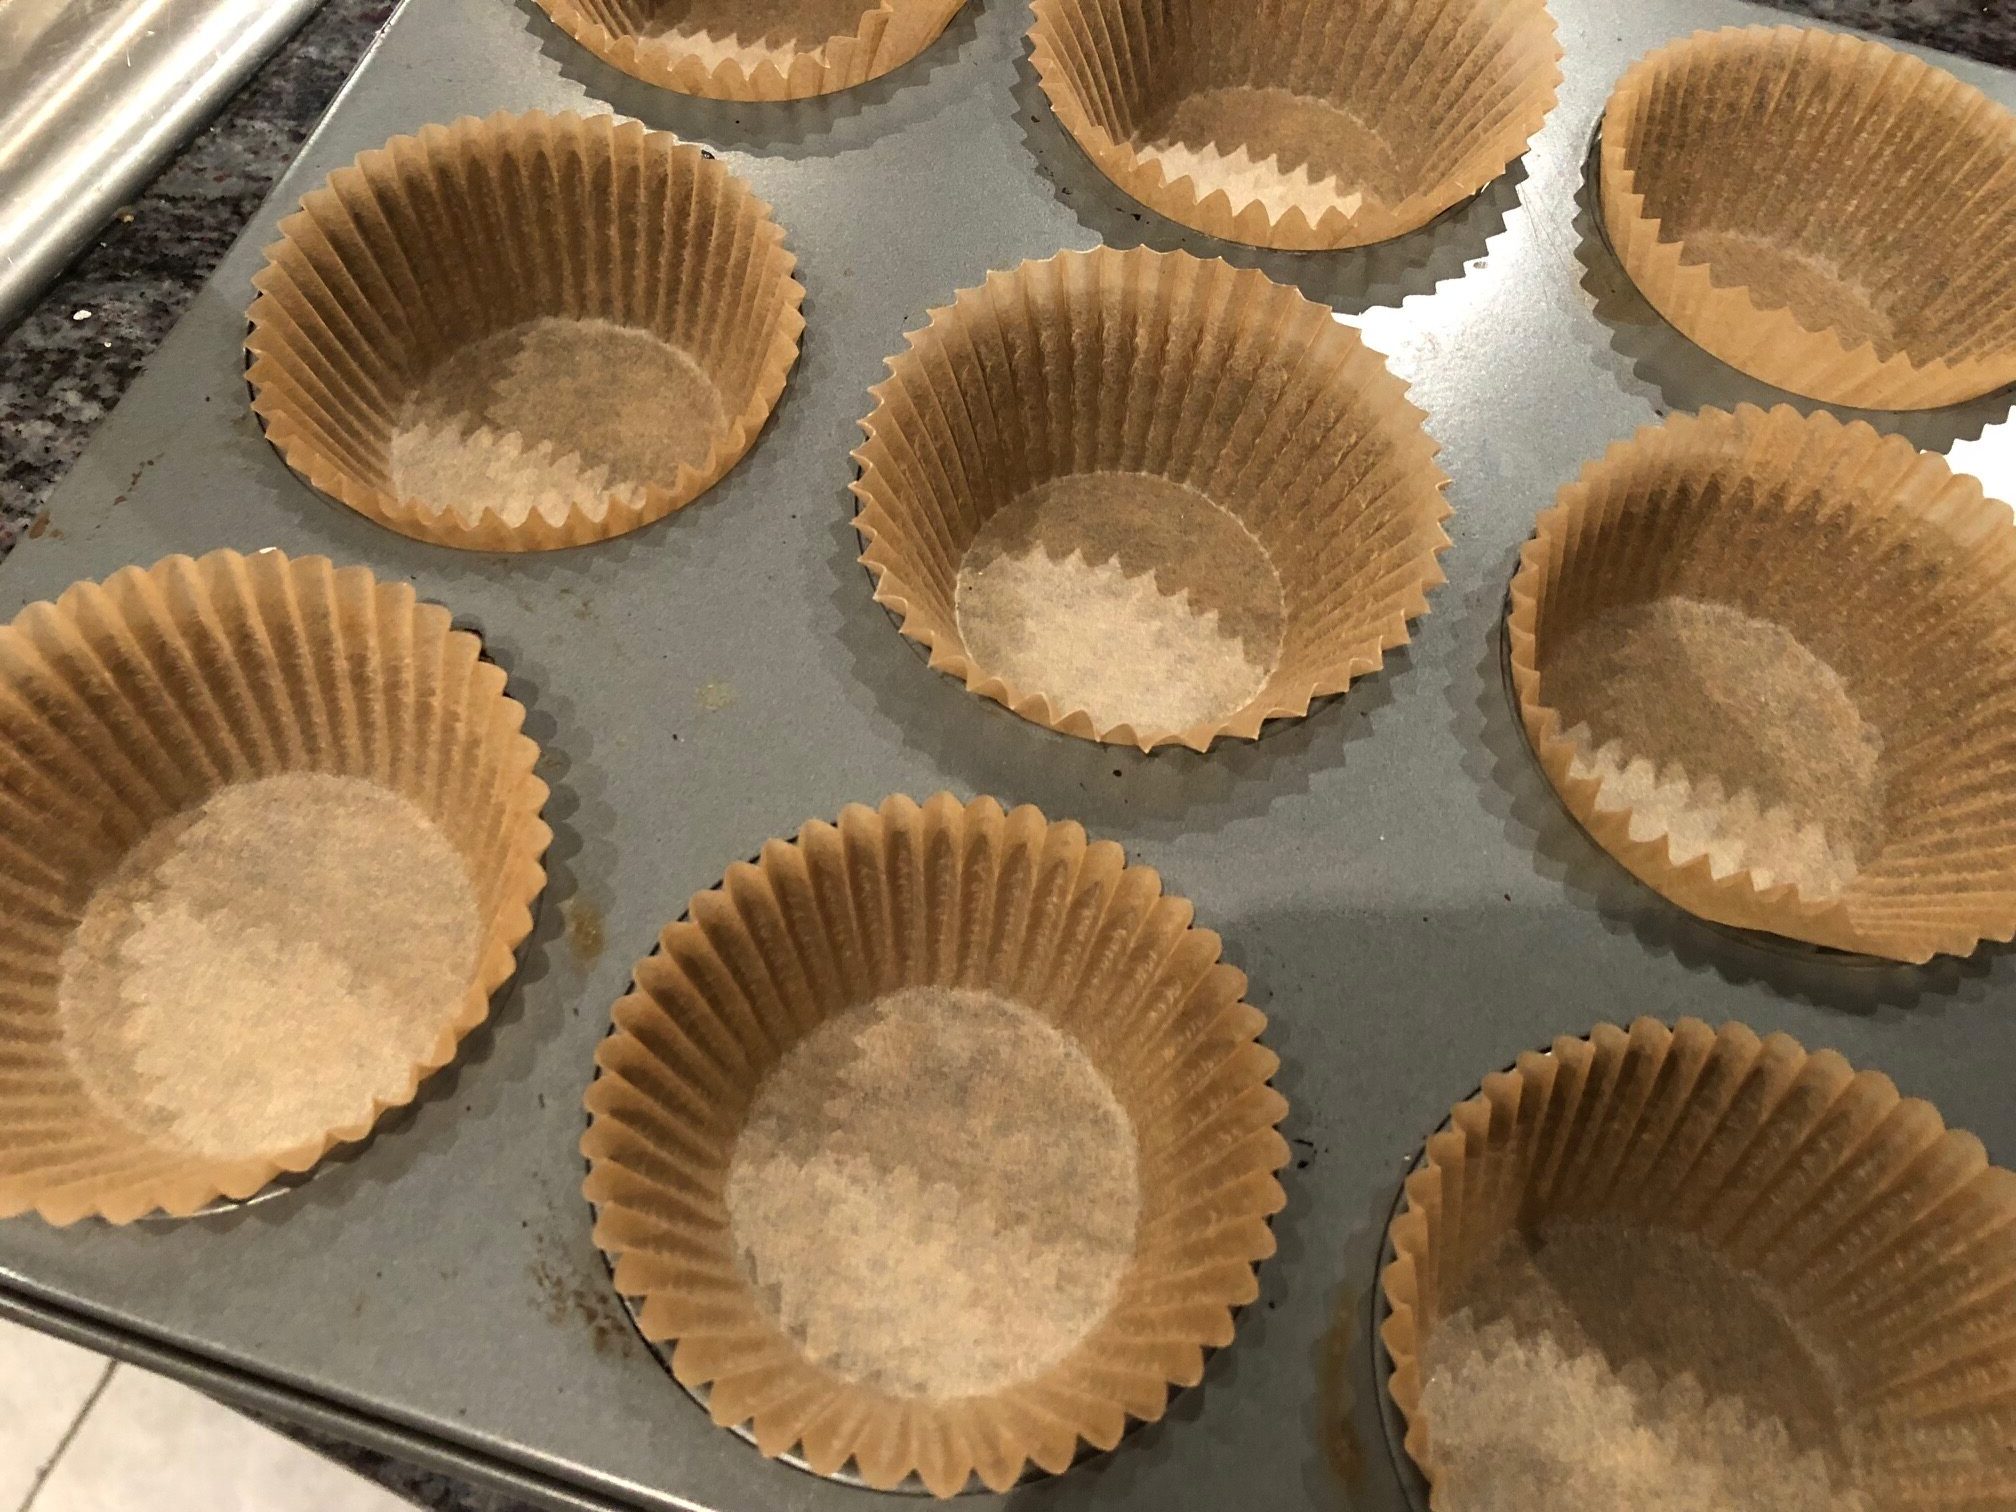
Preheat oven to 375 degrees Fahrenheit (190 Celsius) and line the muffin pan with 12 parchment cups.
-
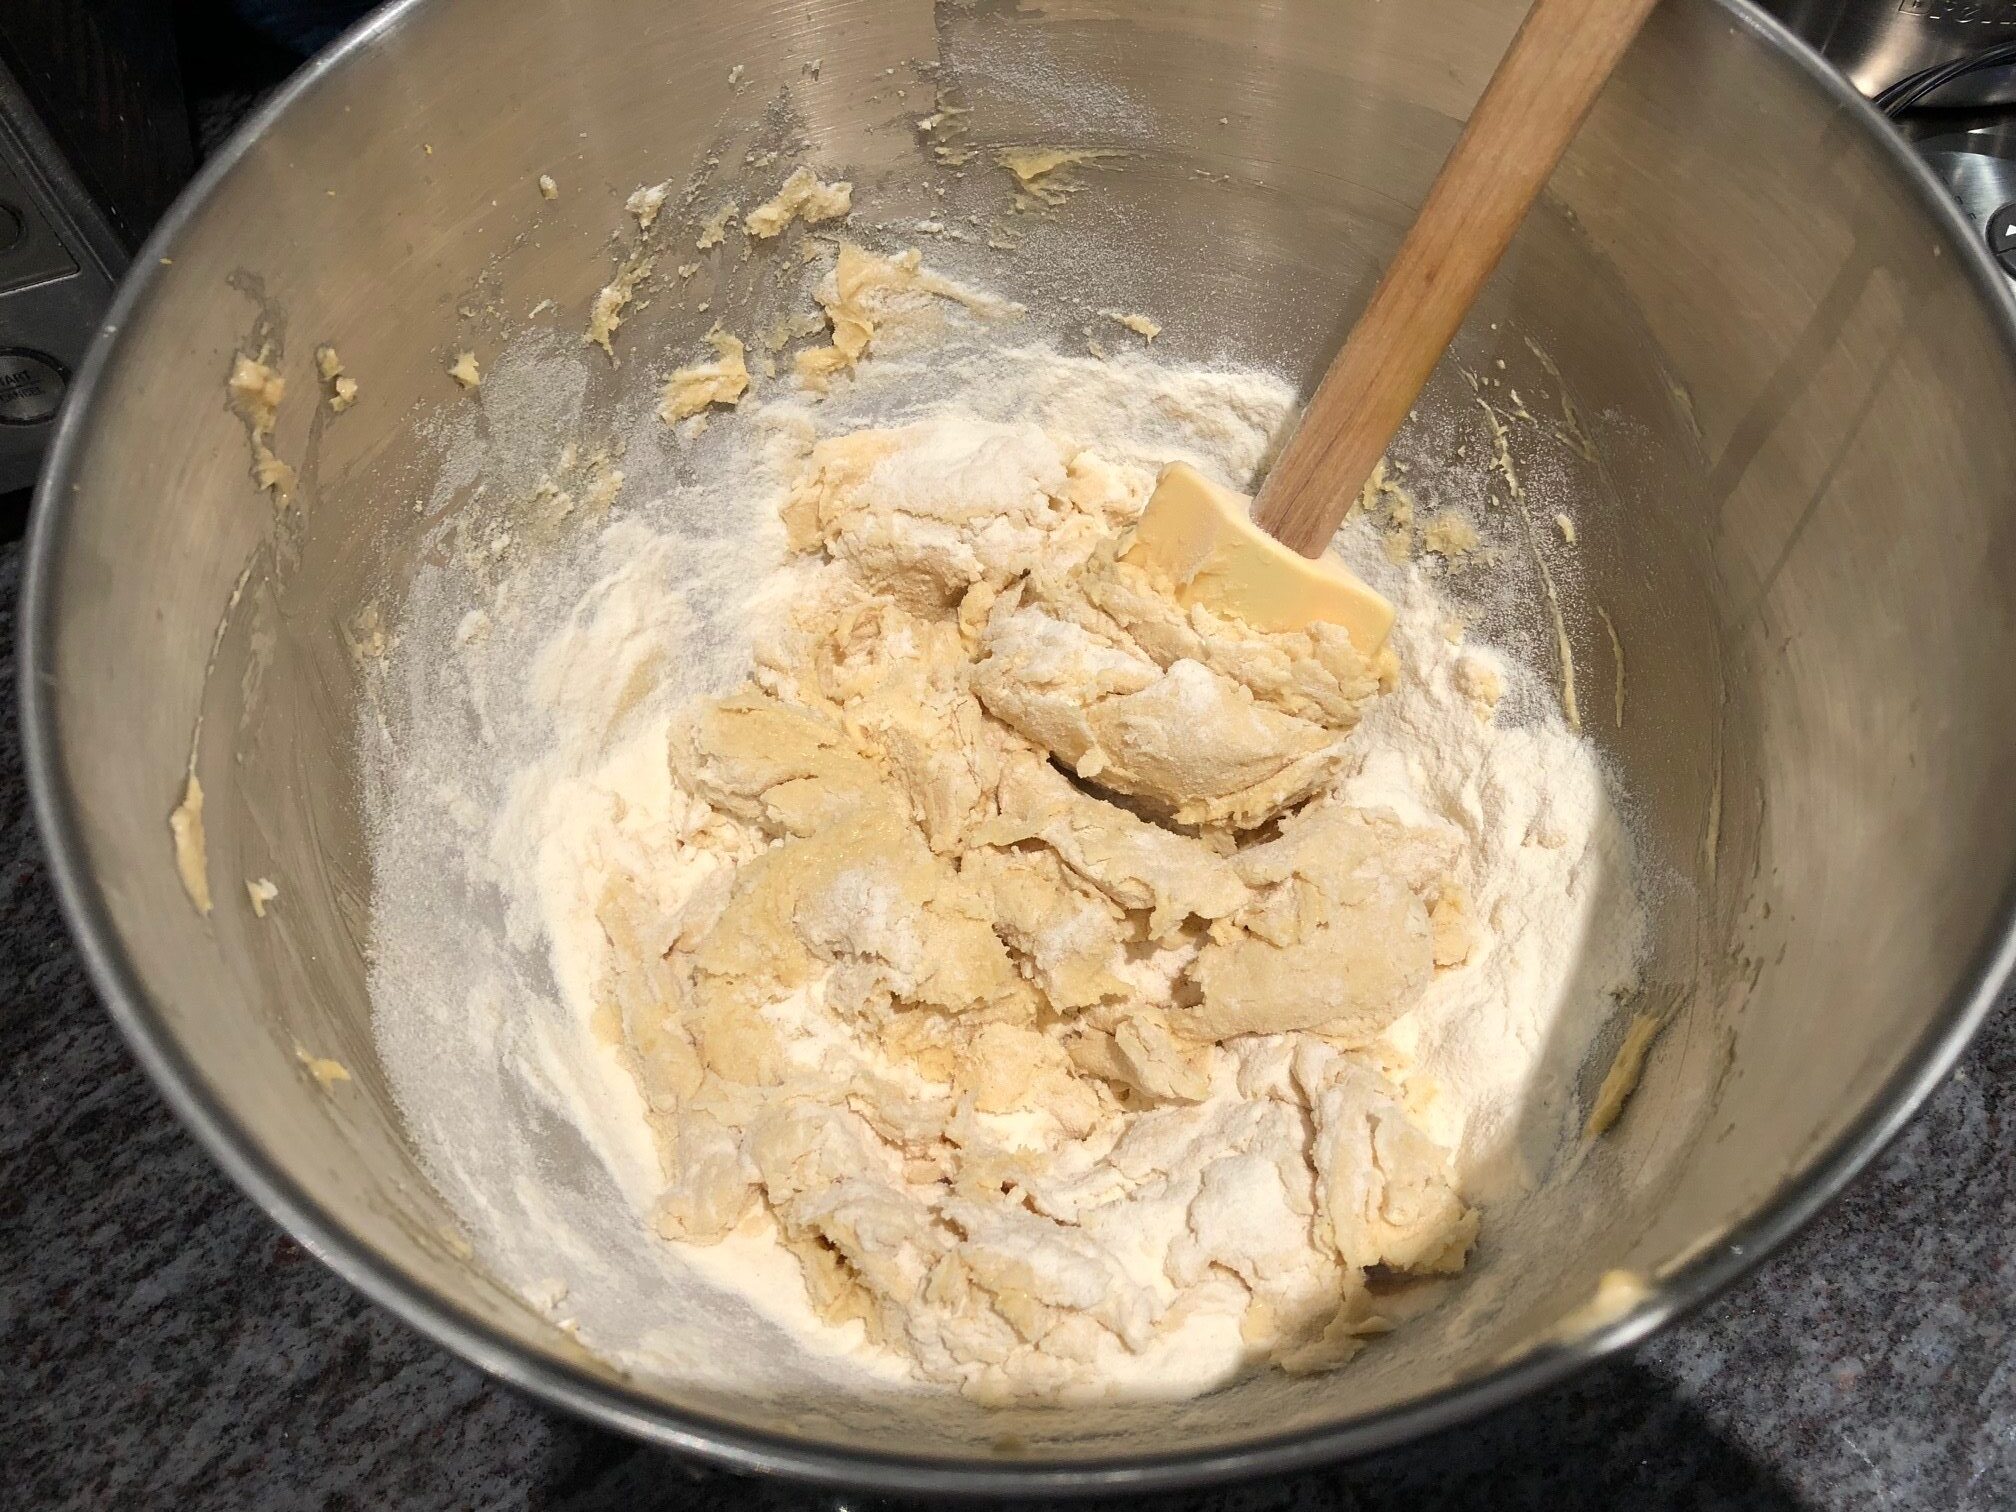
Prepare the dry ingredients first. In a large bowl mix flour, baking powder, baking soda together and put it aside.
-
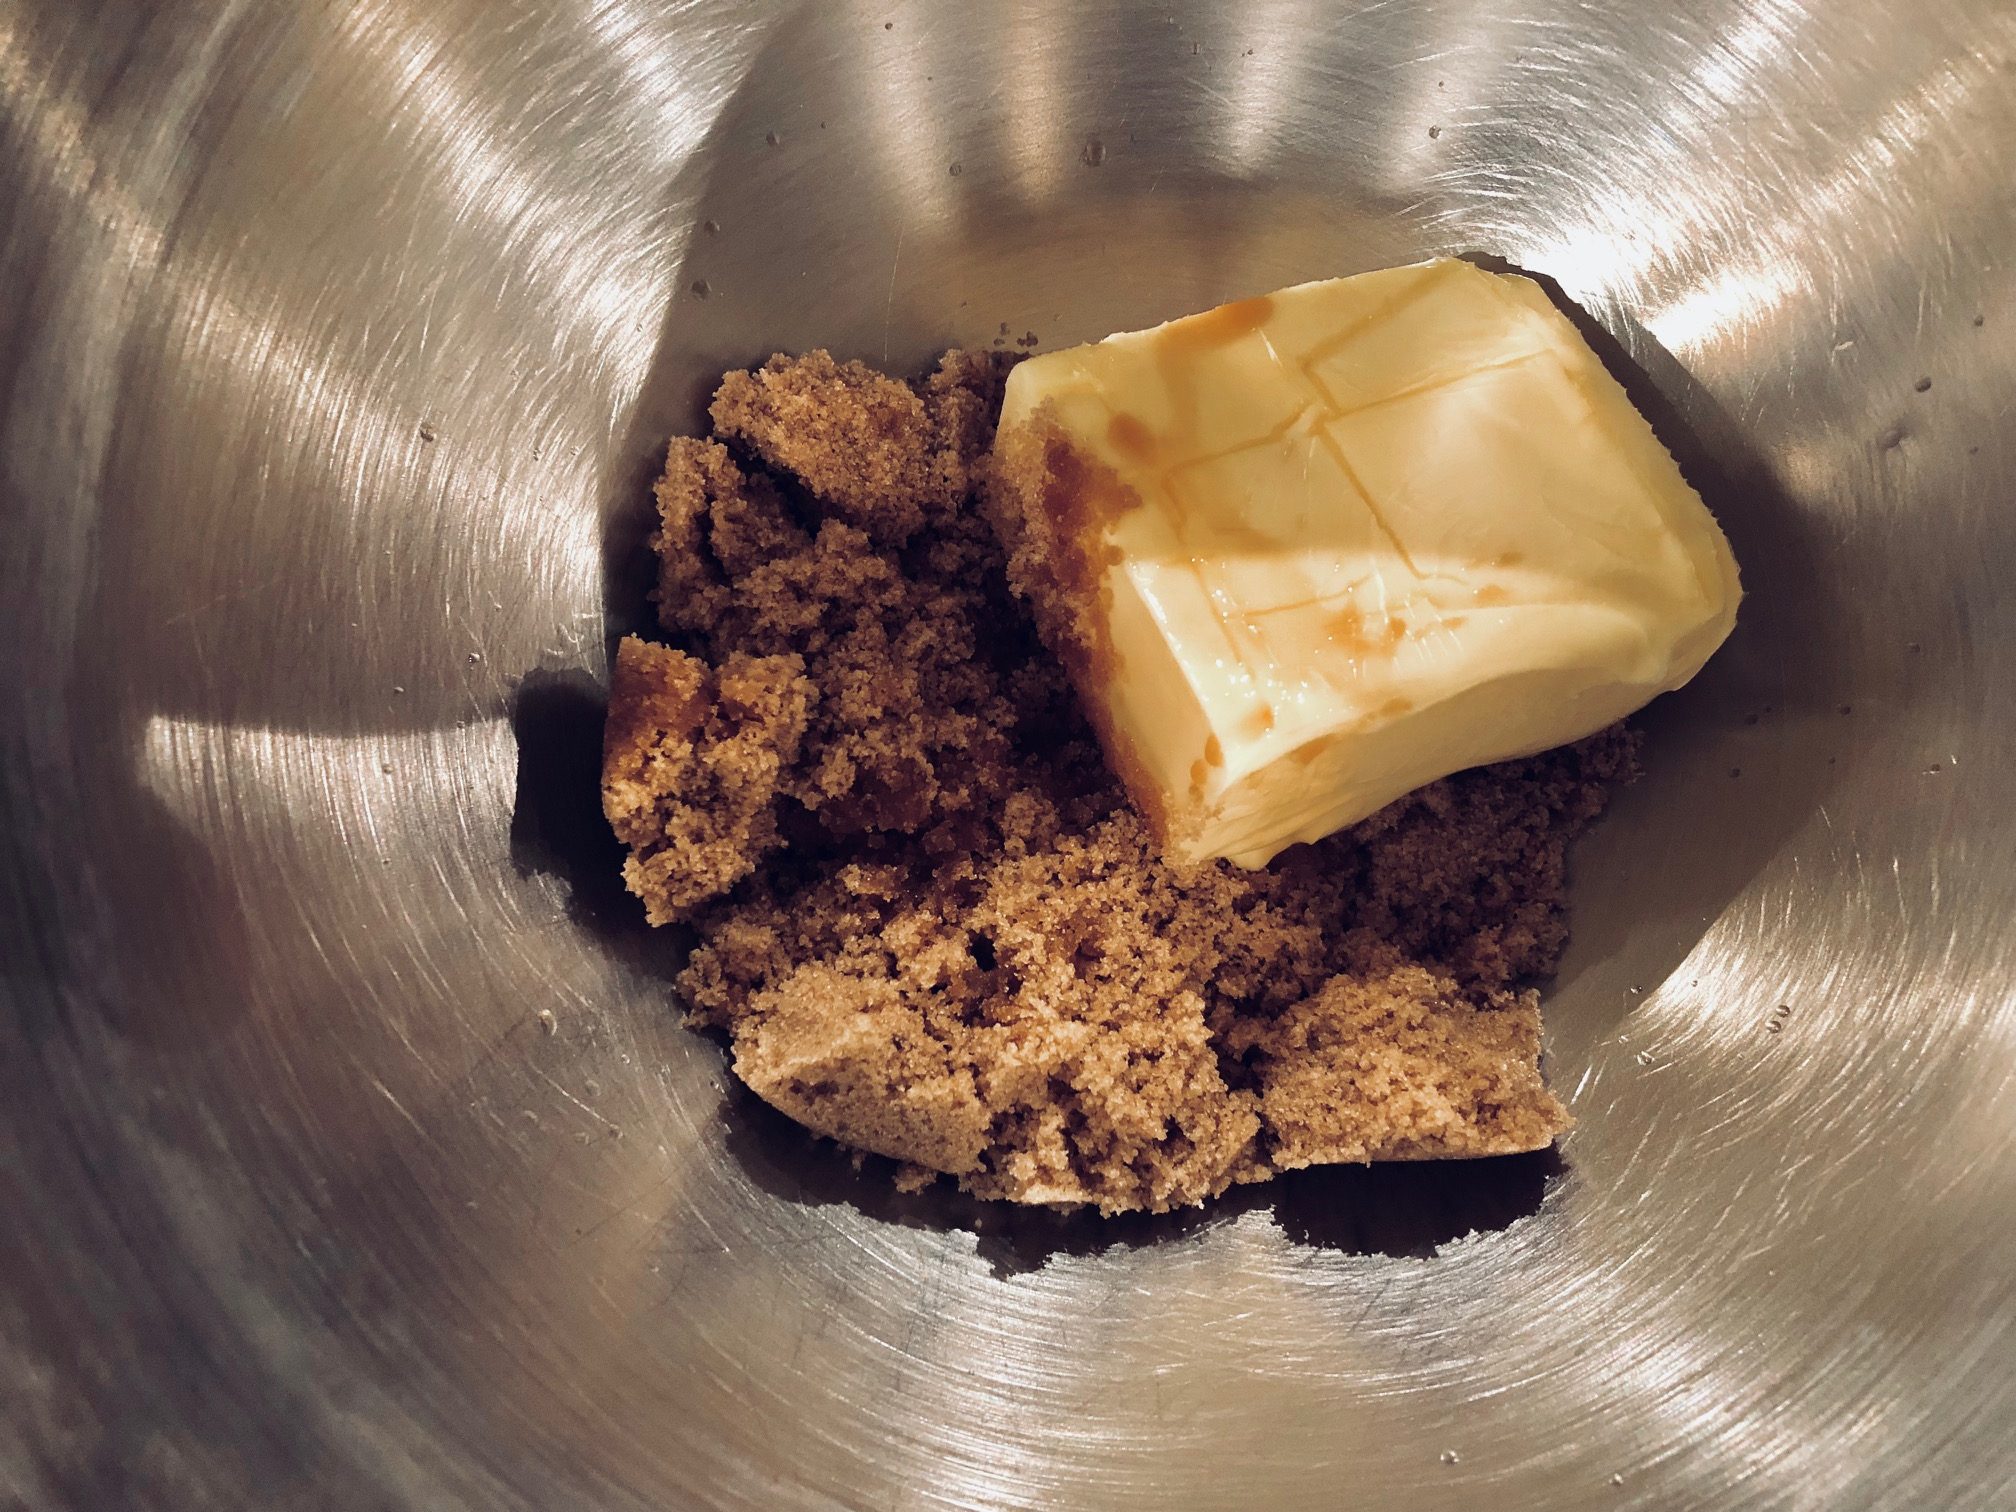
Next work with the wet ingredients. In a medium bowl, mix butter and sugar together first.
-
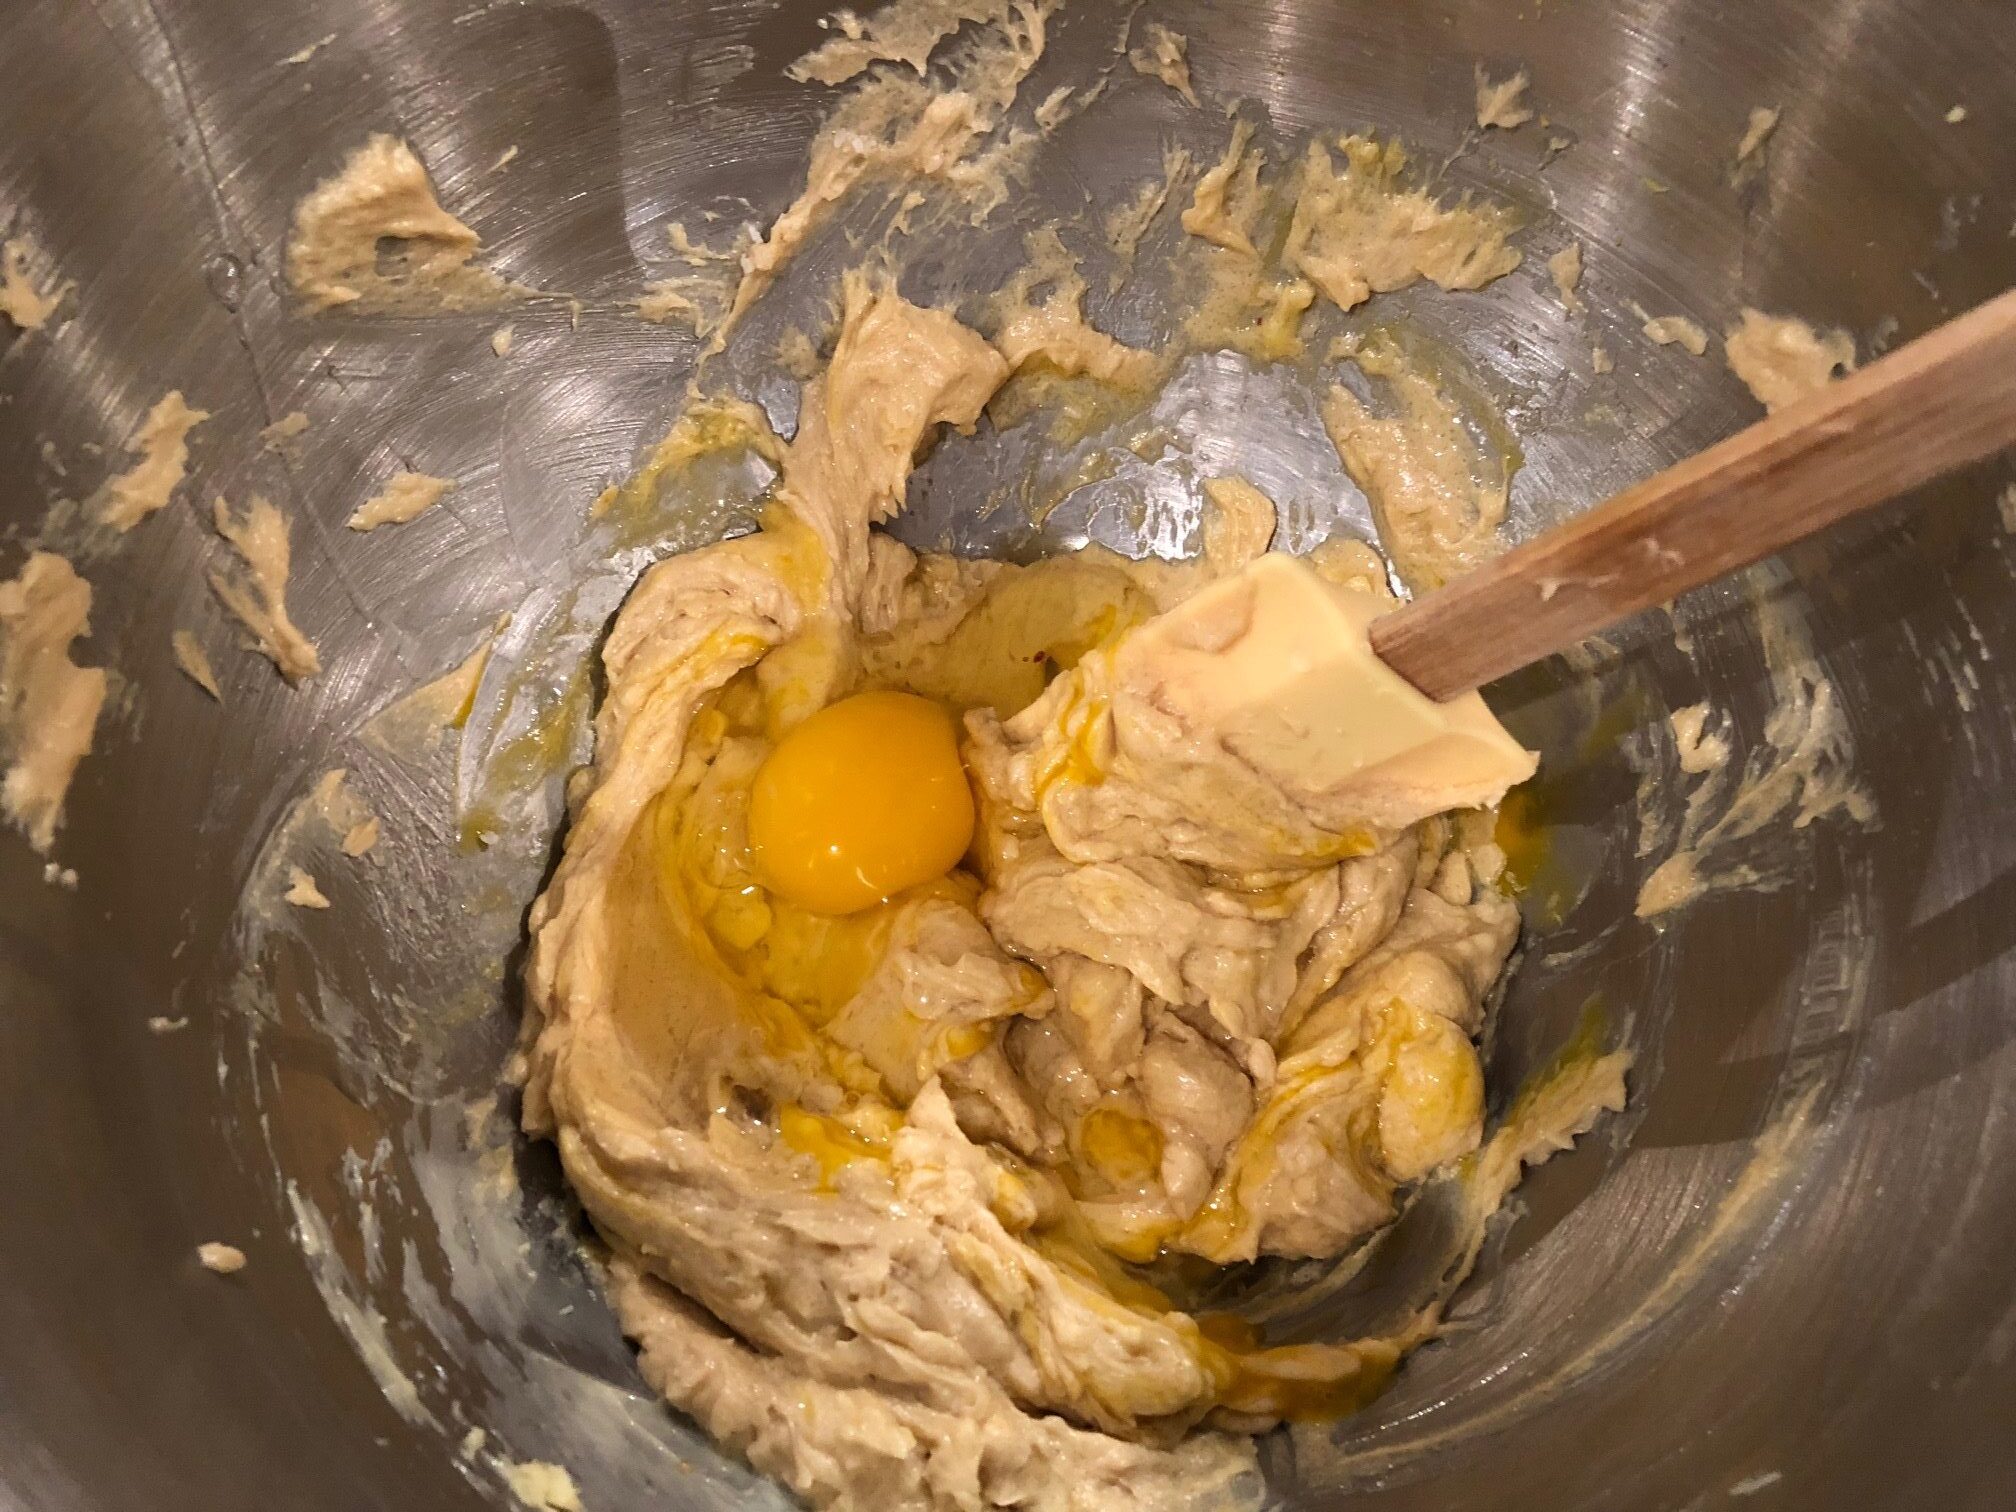
Add the eggs and the lemon zest, and continue mixing until smooth.
-
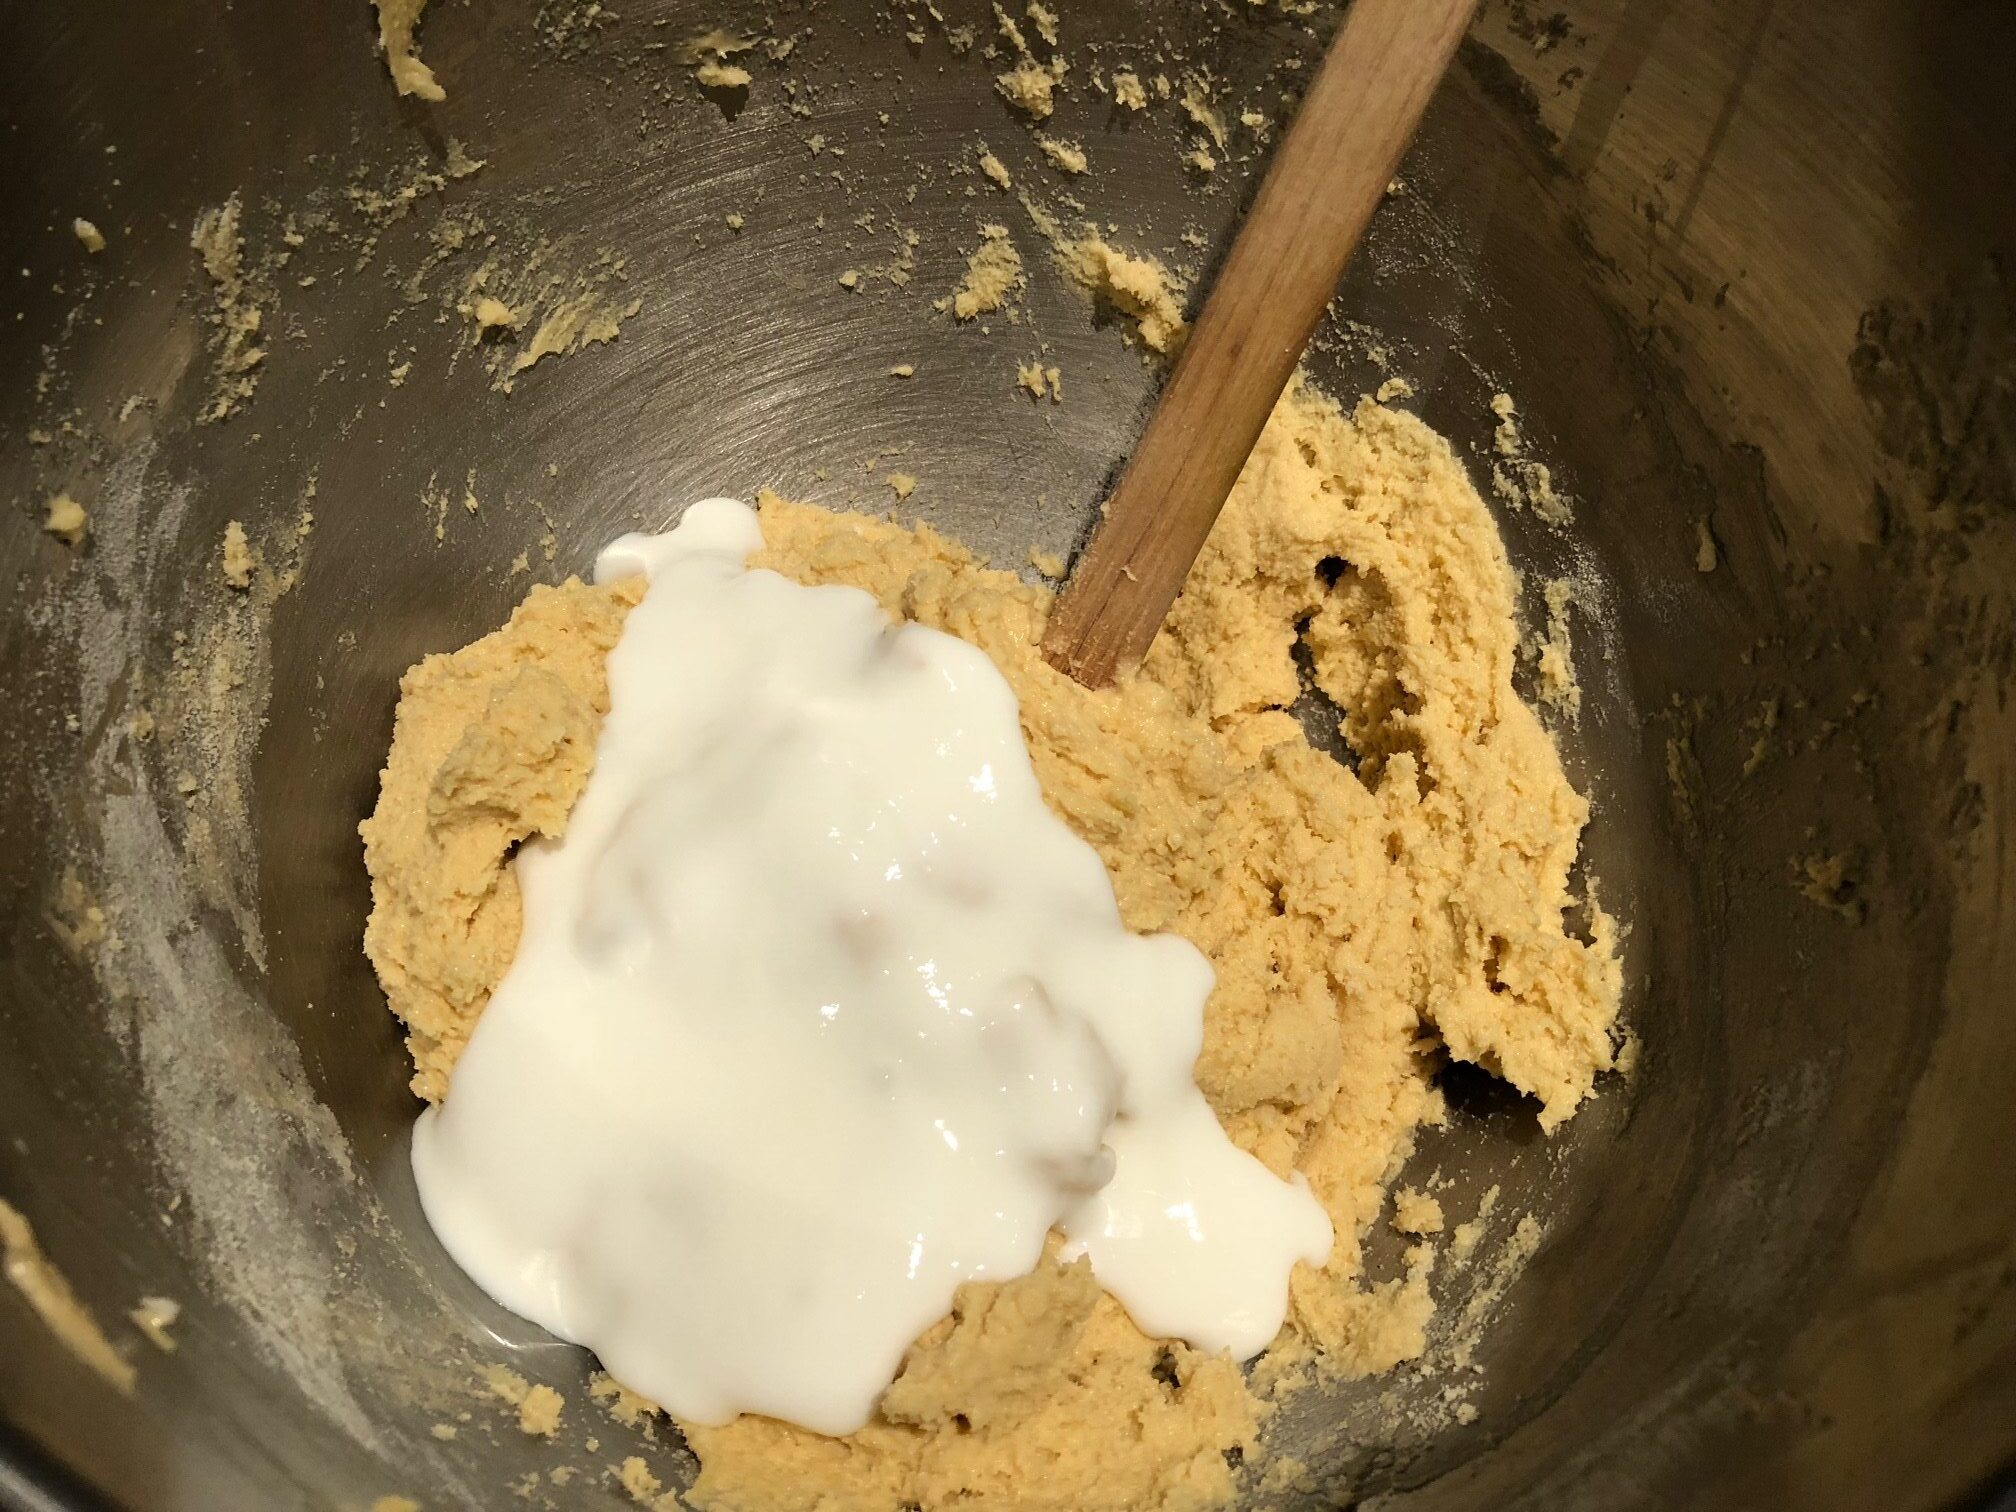
Next, add milk and kefir or sour cream. Then add vanilla and mix it together with a spoon.
-
Combine both, the dry ingredients with the wet ones gently using a spatula or spoon. Don't over mix.
-
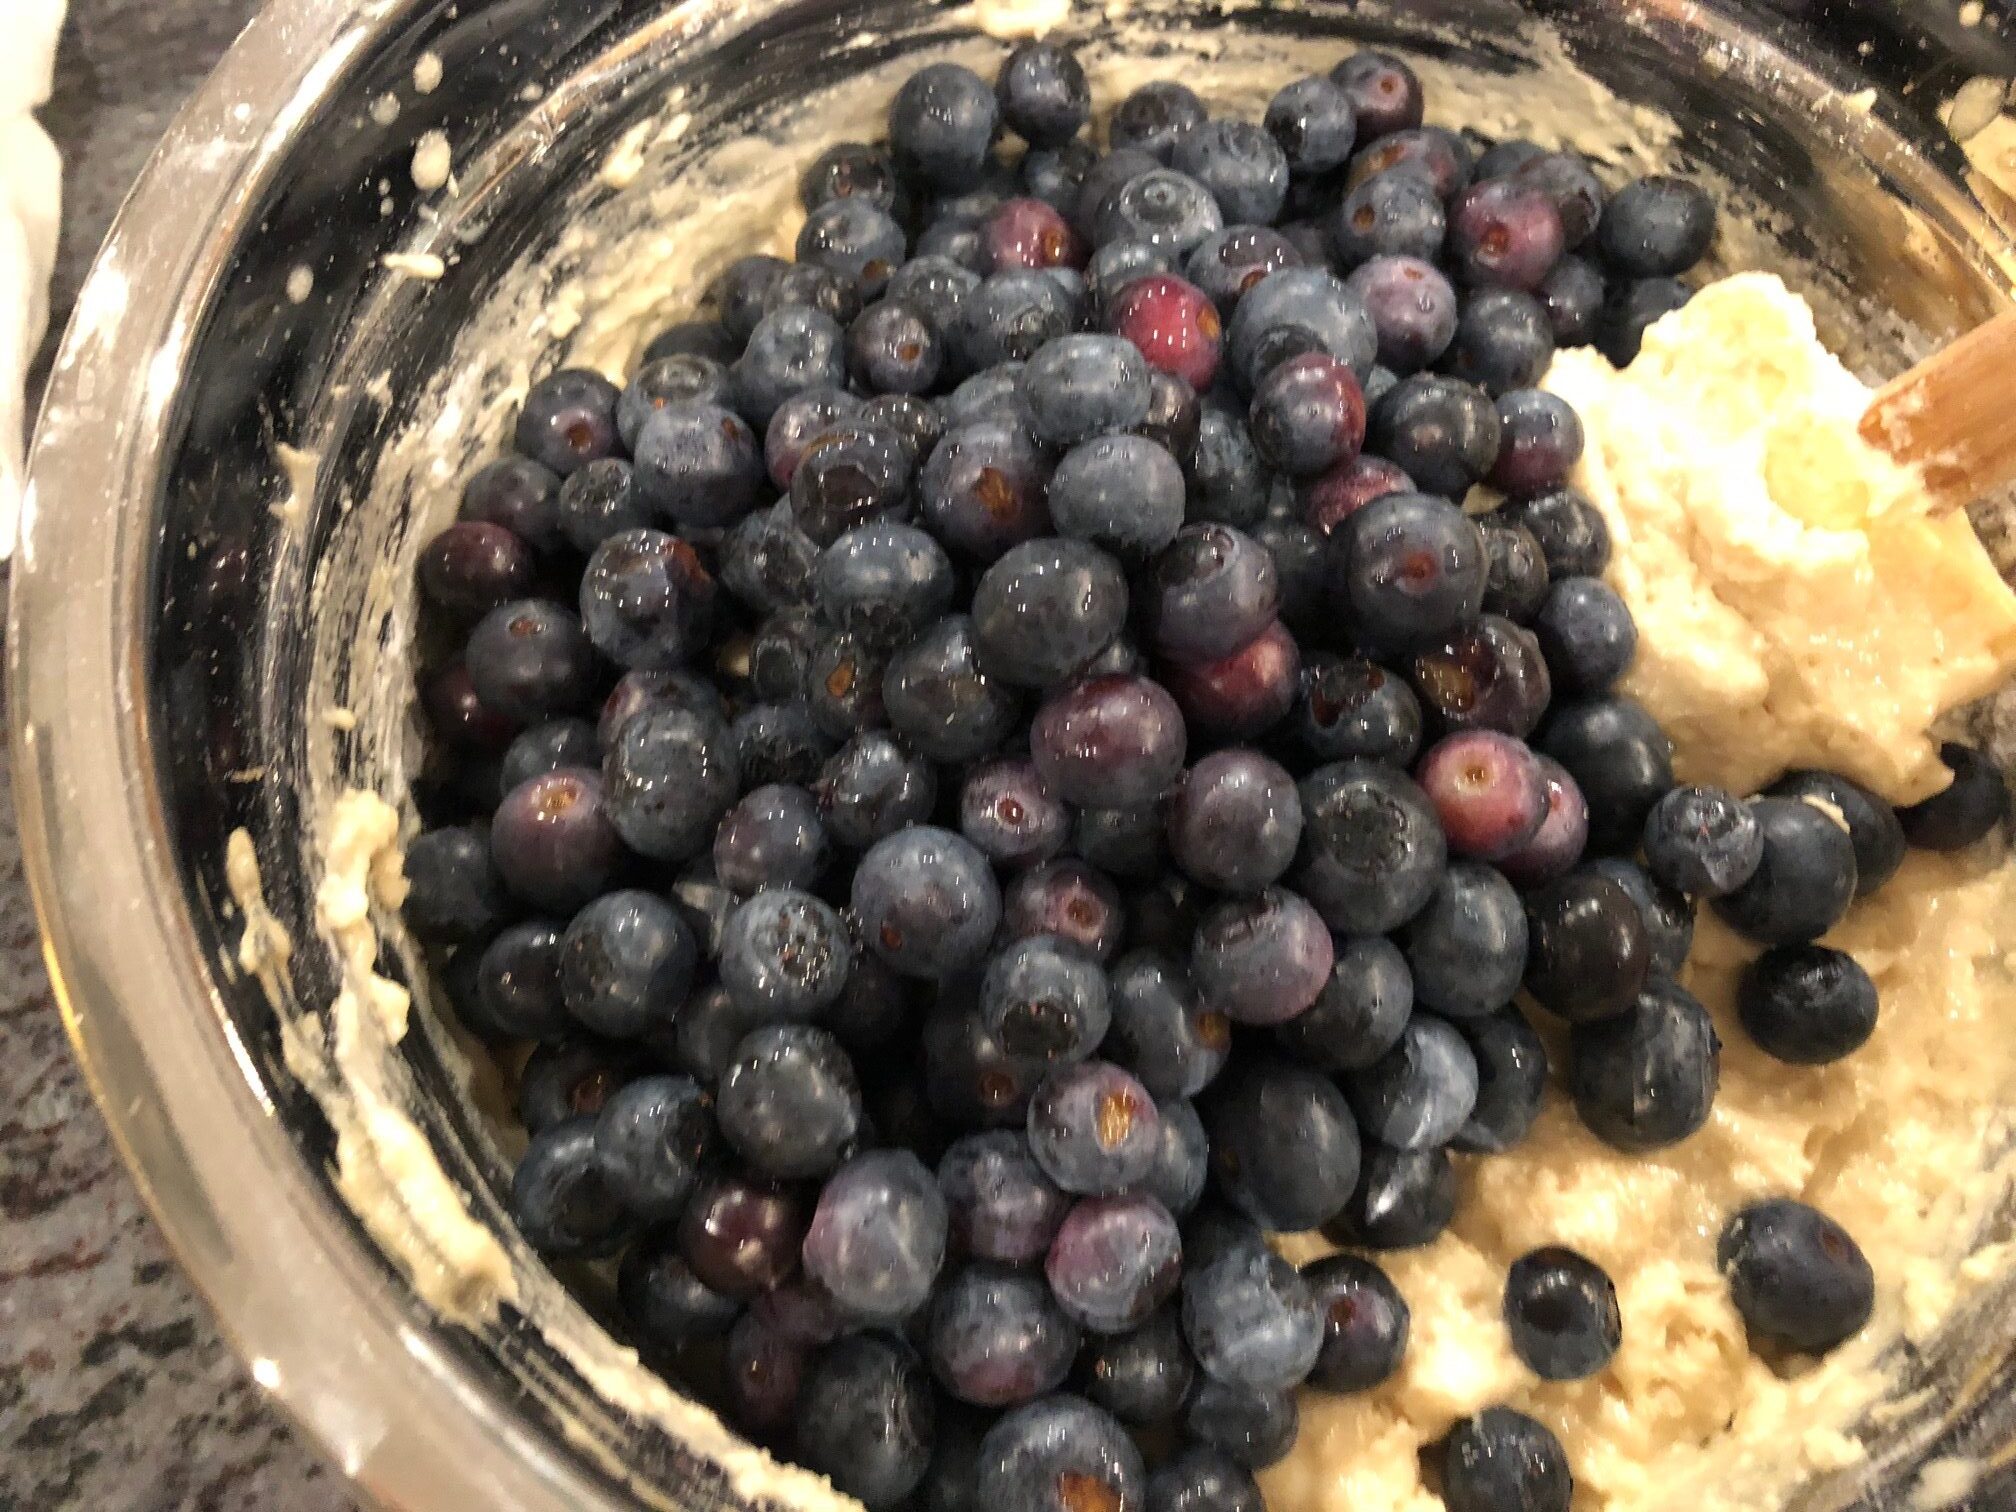
Finally, add the blueberries and mix it gently together.
-
Using a large spoon fill the muffin cups just below the rim and bake for 25-30 minutes. Or, until you see the blueberries starting to spill some of their juice.

Pierogi, very similar to dumplings, are a staple of Polish cuisine.
Pierogis are little pouches stuffed with savory or sweet flavors
My grandmother would make pierogi for our dinners and for dessert. She would stuff them with meat, cabbage, potatoes, apples, cheese, or strawberries. But my favorite ones stuffed with sweet blueberries.
Blueberry pierogi remind me of summers in Poland. Summers in Poland can be magical. And food is one ingredient that makes them magical. I remember walking for hours and hours with my grandmother through the fields and forests near our home, picking wild strawberries and blueberries. We would bring them home and make preserves and of course, blueberry pierogi.
Get your kids involved in pierogi-making!
What’s fun about pierogi is that you can make them with your kids. They enjoy squeezing and molding the dough using their hands. The kids also enjoy to roll, stuff, and choose the filling for their dumplings. And they feel great satisfaction actually getting to eat the food they helped prepare.


Pierogi dough is very simple to make. It’s the filling that can be a bit more complicated, depending on whether you want to make the savory or sweet kind. My favorite flavors are potato with onion or the blueberry ones. Below are a couple of recipes to get you started with these basic fillings.
Also, to make the dough extra light and silky, add a tablespoon of sunflower seed oil or melted butter. It will also make the dough more elastic and easier to work with.
The other important ingredient to make the perfect dough is the flour. My favorite flour to use for this recipe is wheat flour from Poland “Poznanska”, or type 500. It’s more delicate than the all-purpose kind and the flavor is more authentic.
Start with the right flour by purchasing Poznanska flour today!
Pierogi Dough
-
2
cups
flour
-
3/4
cups
water
-
1
whole
egg
-
1
tbsp
sunflower seed oil
(optional)
Potato & Onion Filling
-
3-4
medium
potatoes
-
1/2
medium
yellow onion
-
3
tbsp
salted butter
-
2-3
tbsp
cream cheese
(optional)
Blueberry Filling
-
1
pint
blueberries
-
1-2
tbsp
cane sugar
-
Sieve the flour onto a wooden cutting block. Make sure you're working on a generous size surface.
-
Part the flour in the middle to create a pouch and then add the egg inside it so as not to spill it.
-
Slowly keep adding water mixed with sunflower seed oil as you scoop the flour around to catch the fluids from spilling.
-
Keep kneading the dough until it becomes elastic and uniform.
-
Portion the dough in half. Take the one portion of the dough and using a rolling pin, roll the dough as you sprinkle some flour to prevent sticking. You might need to keep sprinkling the flour onto the dough and your rolling surface throughout the process to prevent it from sticking.
-
Once your dough is about a 1/6 inch (about 4 millimeters) thick, take a large glass and using it's edge, press against the dough and create circles.
-
Place them on a parchment paper so they don't stick to the counter.
-
Take the leftover dough and roll it again to repeat the steps above until you use all your dough. Once you have your circles cut, you are ready to stuff your pierogi.
Potato & Onion Filling
-
Wash and peal the potatoes.
-
Cut and boil them in salted water until well cooked. You can use a fork to check if they are soft when poked.
-
Once boiled, drain the water from the potatoes.
-
Add butter and mash them until they are pureed. You can also add cream cheese for a more tart taste. And you may also add a pinch of salt and pepper for added taste.
-
Peal the onion, and cut it in half. Use only half of it, unless you prefer a stronger onion taste.
-
Mince the onion very thoroughly.
-
Add the minced onion to the potatoes and mix it well together. To add more flavor, you can gently fry the minced onion before adding it to the potatoes.
-
Take one of the circles and using a teaspoon, scoop some of the potato and onion mixture and place it in the center of the circle-shaped dough.
-
Fold the dough gently with your fingers and pinch it into a half-moon shaped pocket. Using the tips of your fingers, fold the edges tightly about 6-8 times around the closure to make sure there are no openings. You want to prevent the filling from escaping during the boiling process.
-
Repeat these steps for all your individual circle-shaped dough. You should be able to make between 24-30 pierogis. Place them on parchment paper as you fold them.
-
Boil 4-5 cups (about 1 liter) of water and add about 10 pierogi at a time. Boil the pierogis for about 4-5 minutes.
-
Scoop and place them on a plate. Add some butter for taste. You may also fry them gently for about a minute on each side on some butter to make them extra crispy.
Blueberry Filling
-
Take one pint (0.5 liter) of washed and dried blueberries. Add 1-2 tablespoons of sugar and mix it gently.
-
Repeat the above steps, replacing the potato and onion filling with blueberries.
-
Once boiled, add a few tablespoons of sour cream on top and sprinkle some sugar.

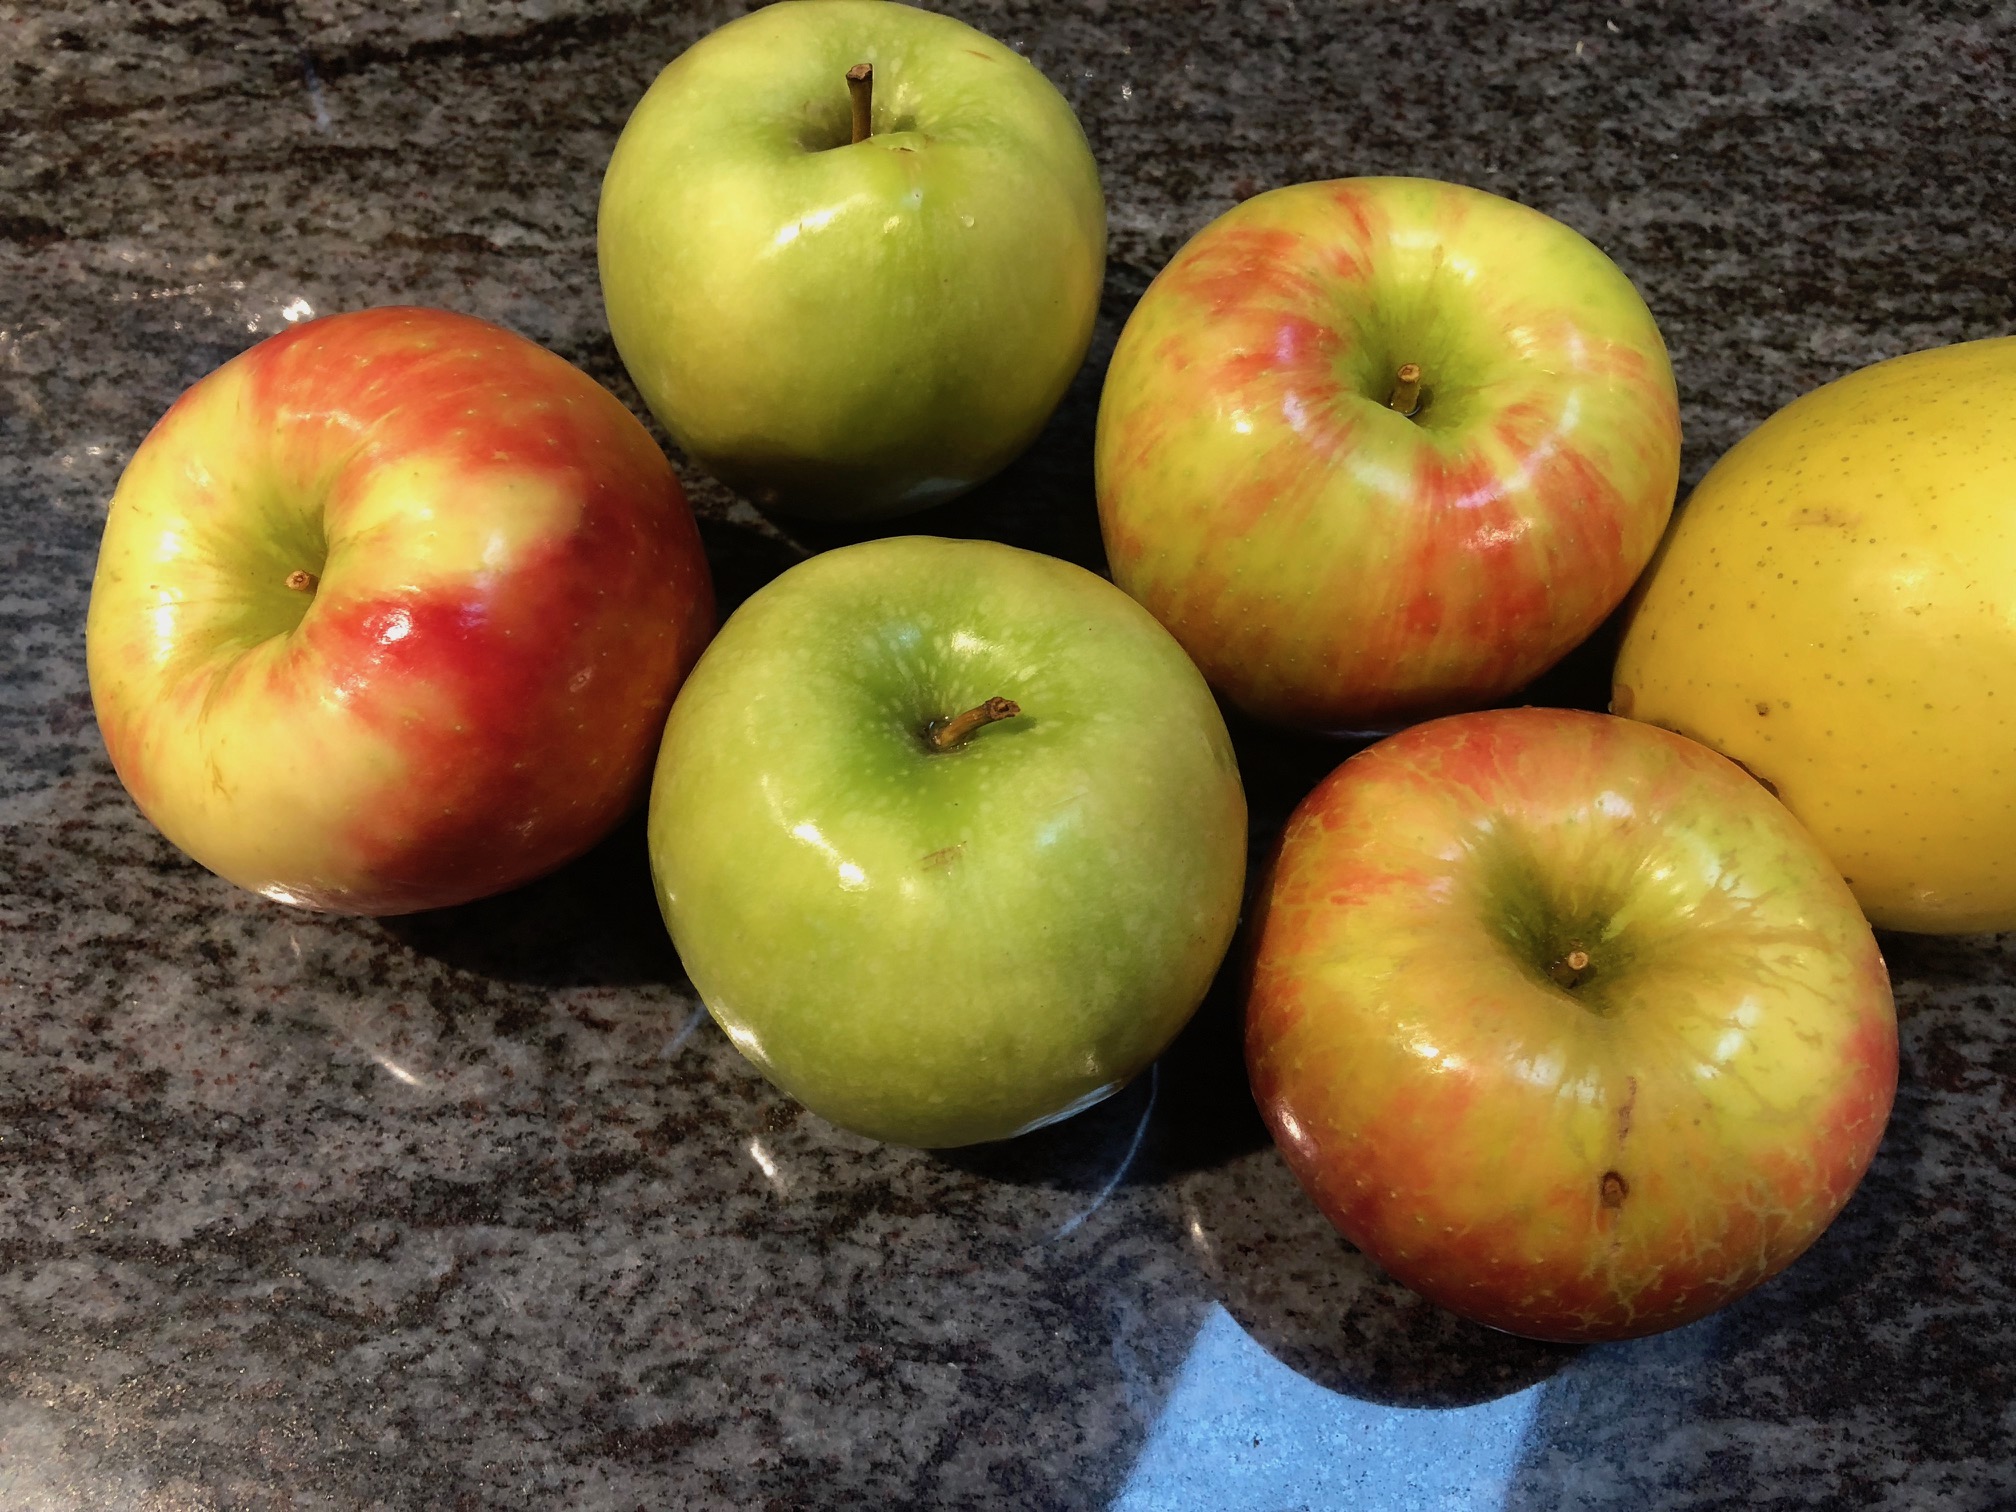
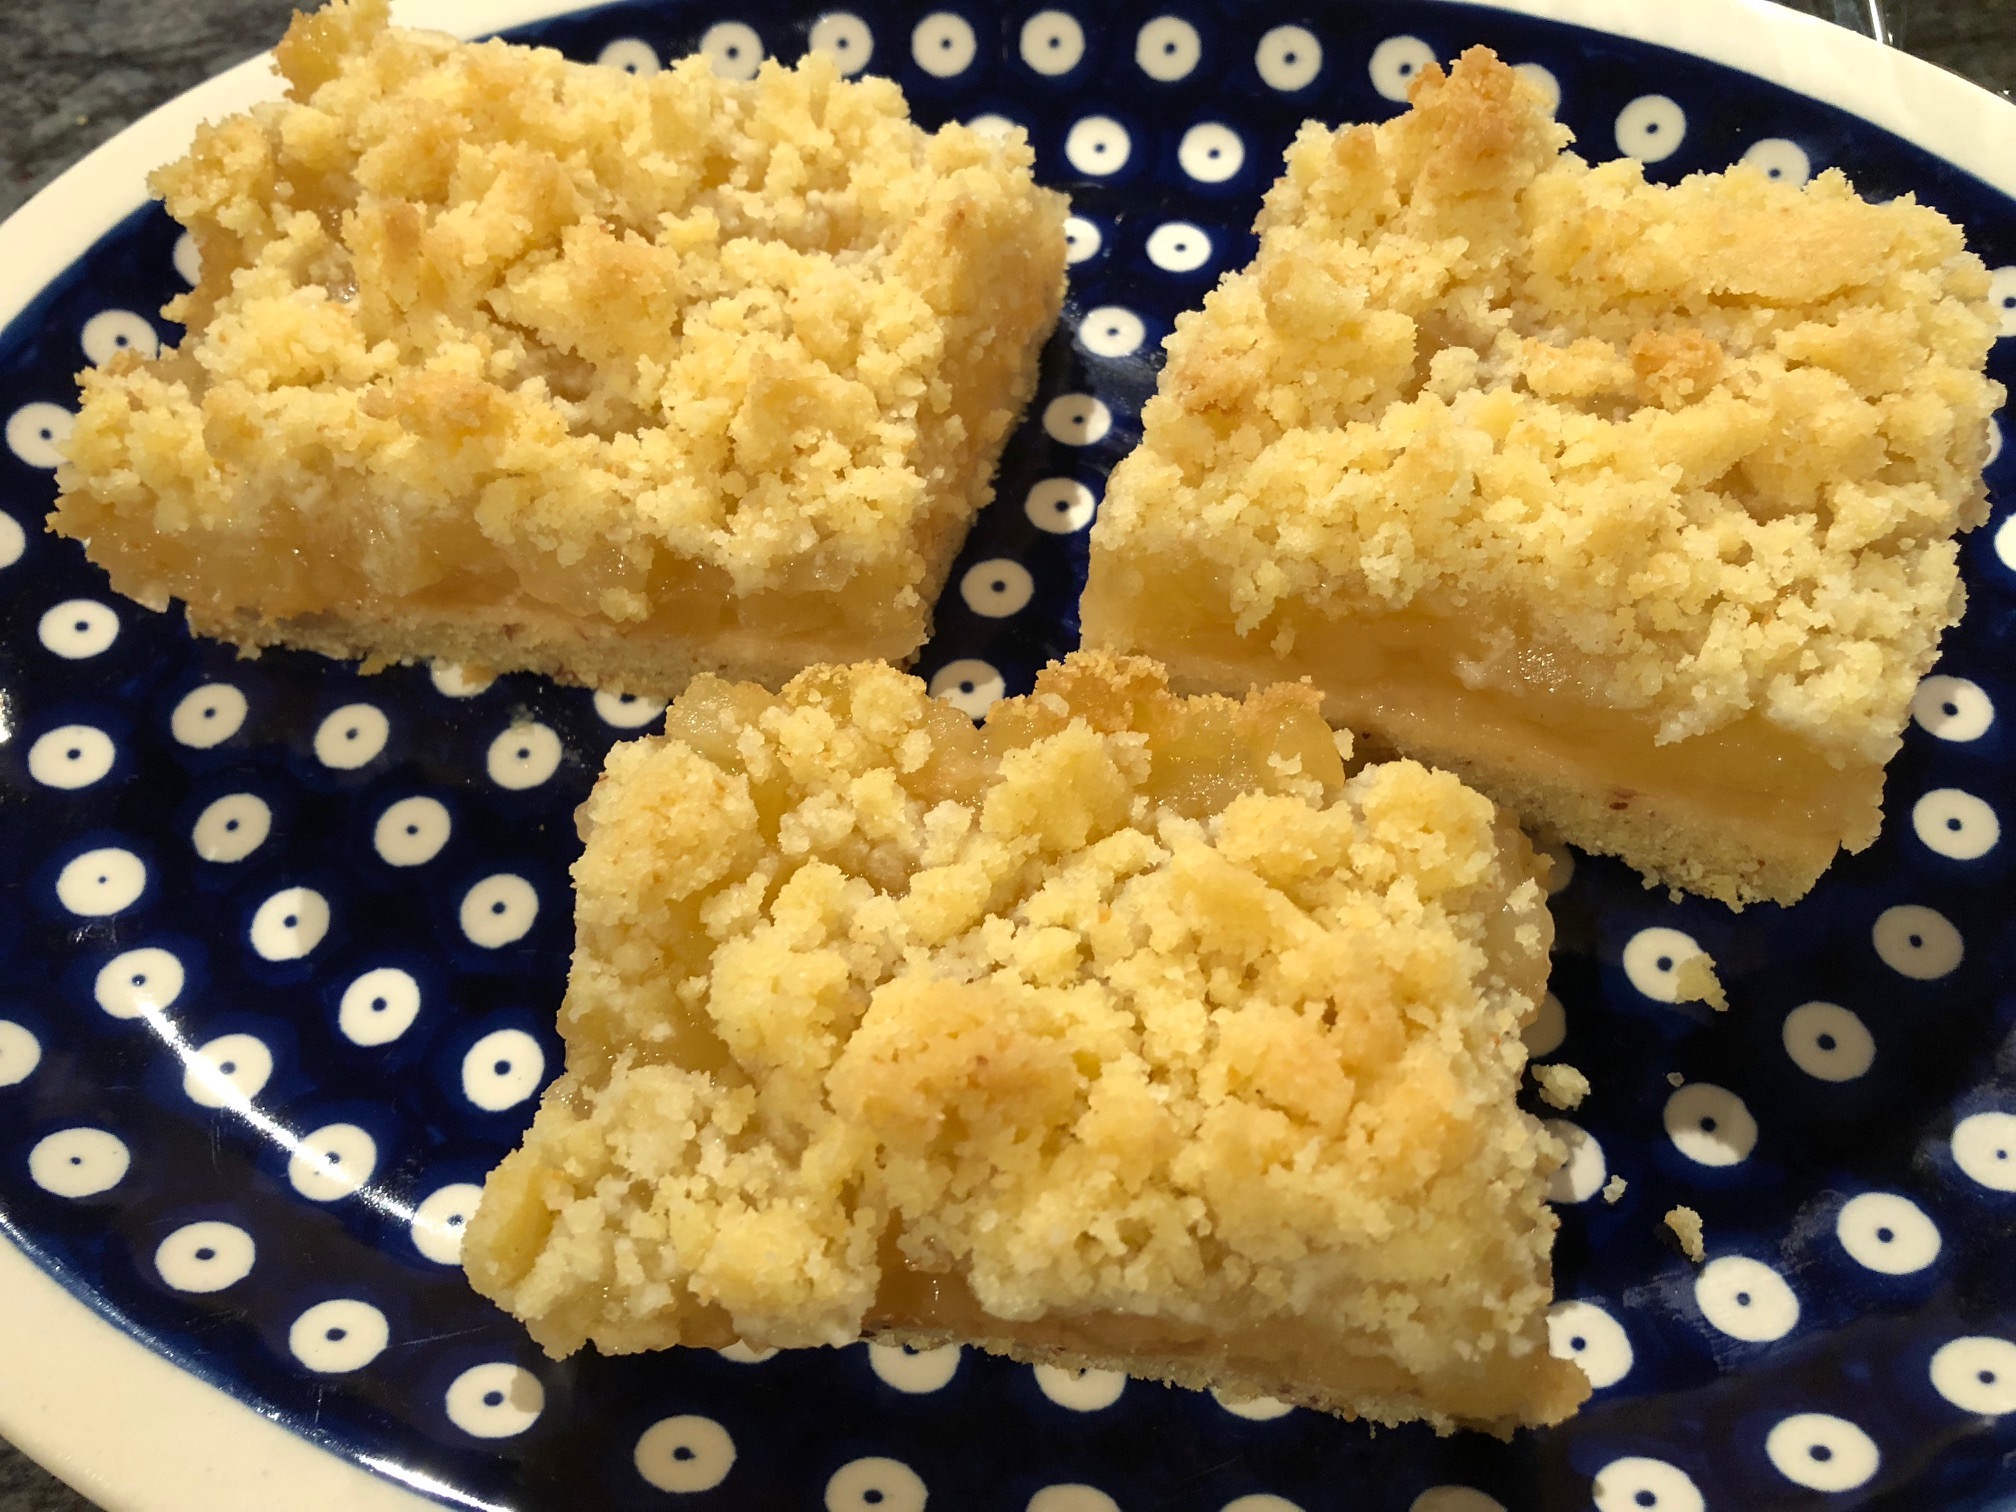
I always think of September as the apple month. During this time apples grow everywhere. And when I was a child, I remember that my grandmother would bring bags and bags of apples home. My favorite is the Cortland apple. It’s perfect for baking and delicious to eat. Cortland apples have a hint of raspberry flavor, making them sweet and not too tart. My grandmother would also make all kinds of wonderful things with apples. Apple compote, apples dipped in honey, apple pancakes, apple strudel, and my favorite the “Szarlotka”, or apple crumble as it is known in English.
Over time, I have updated my grandmother’s recipe. Replacing half of the flour with almond meal to add more nutrients. Halved the sugar to reduce the unnecessary calories. And removed the baking powder. Even though the cake is a little flatter as a result, it’s healthier without this added chemical.
This recipe can also be made gluten-free. Simply replace the flour with almond meal and add about 3 table spoons of potato flour.
It’s an ideal pastry to pair with your morning coffee or the afternoon tea. And the kids love it too because they think they’re eating dessert while also eating fruit and a protein-loaded snack. But, if you want to take this apple crumble to the next level, add a scoop of vanilla ice cream while it’s still warm. You’ll melt.
For optimum Apple Crumble, I use wheat flour from Poland type 520-550. This type of flour is excellent to use for baking. It’s also not enriched like most local brands. Click here to learn why I only bake with this flour.
Apple Crumble (Szarlotka)
-
3/4
cup
almond meal
-
1/2
cup
flour
(krupczatka)
-
3
whole
eggs
-
6-8
whole
apples
-
4
tbsp
sugar
-
1
stick
unsalted butter
(100 grams)
-
1
tbsp
brown sugar
-
2
tbsp
lemon juice
-
1
tsp
cinnamon
-
1
tsp
vanilla extract
-
1
pinch
salt
For the Crumble to top off the pastry:
-
5
tbsp
butter
-
2
tbsp
sugar
-
4
tbsp
flour
(krupczatka)
-
Wash and dry 6-8 apples. You can add a couple more if you like your apple crumble loaded with extra fruit.
-
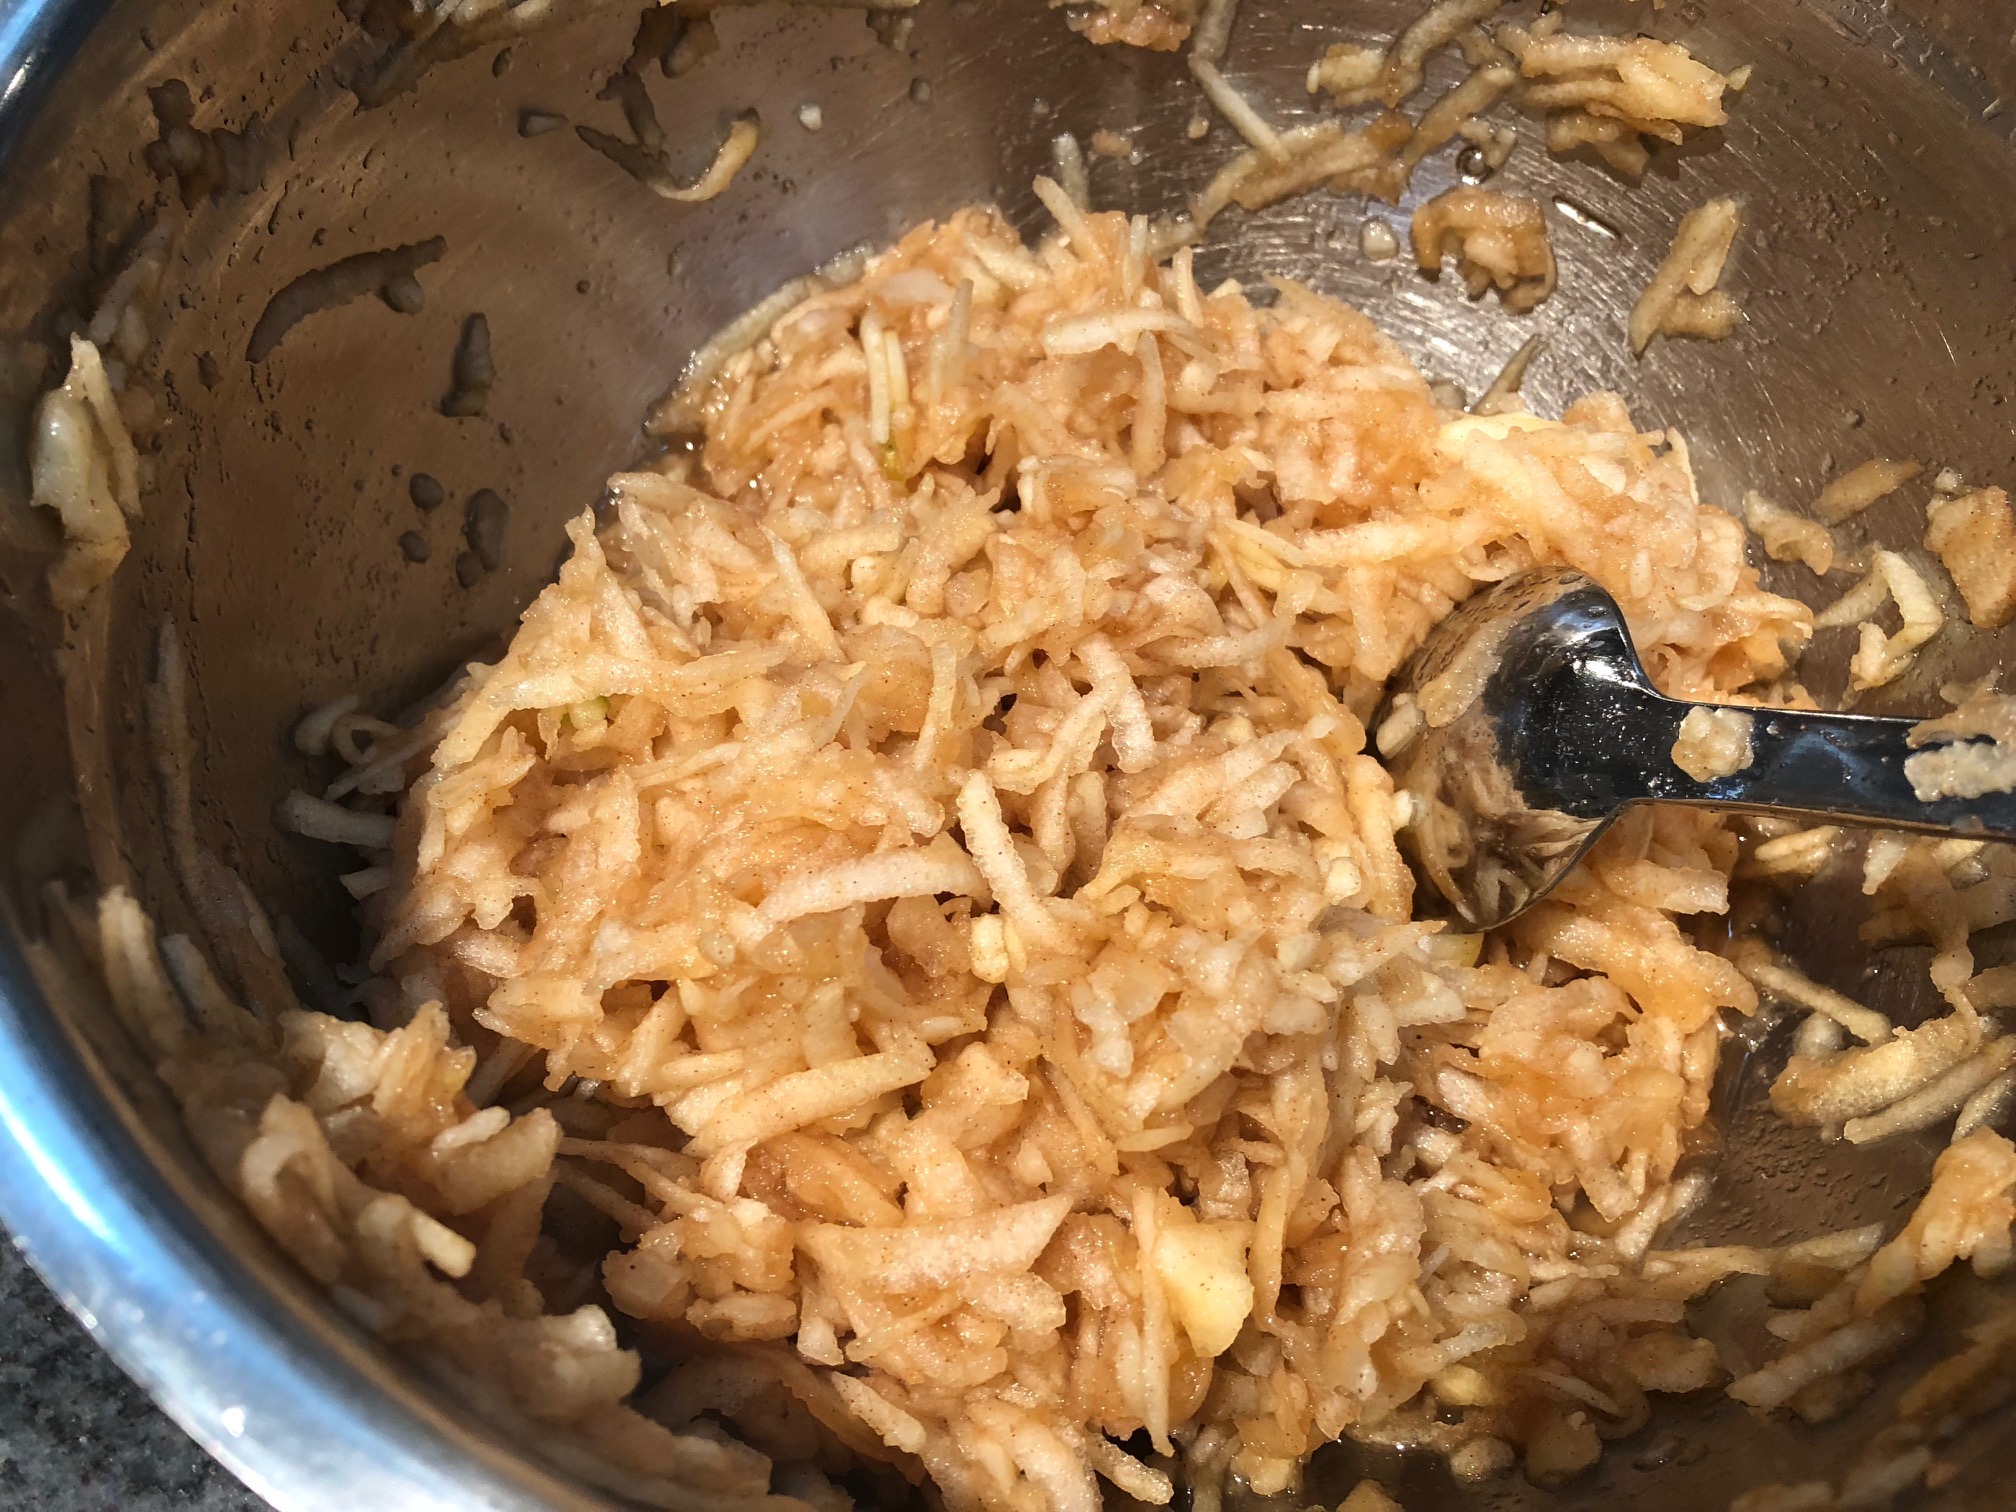
Peal the apples, half them, and remove the seeds. Take a large mixing bowl and using a grater, grate the peeled slices of apples on the large holes into the bowl.
-
Add cinnamon, brown sugar, and 1 tbsp of lemon juice, and mix it all together.
-
In the meantime, preheat the oven to 350 degrees Fahrenheit (180 Celsius).
-
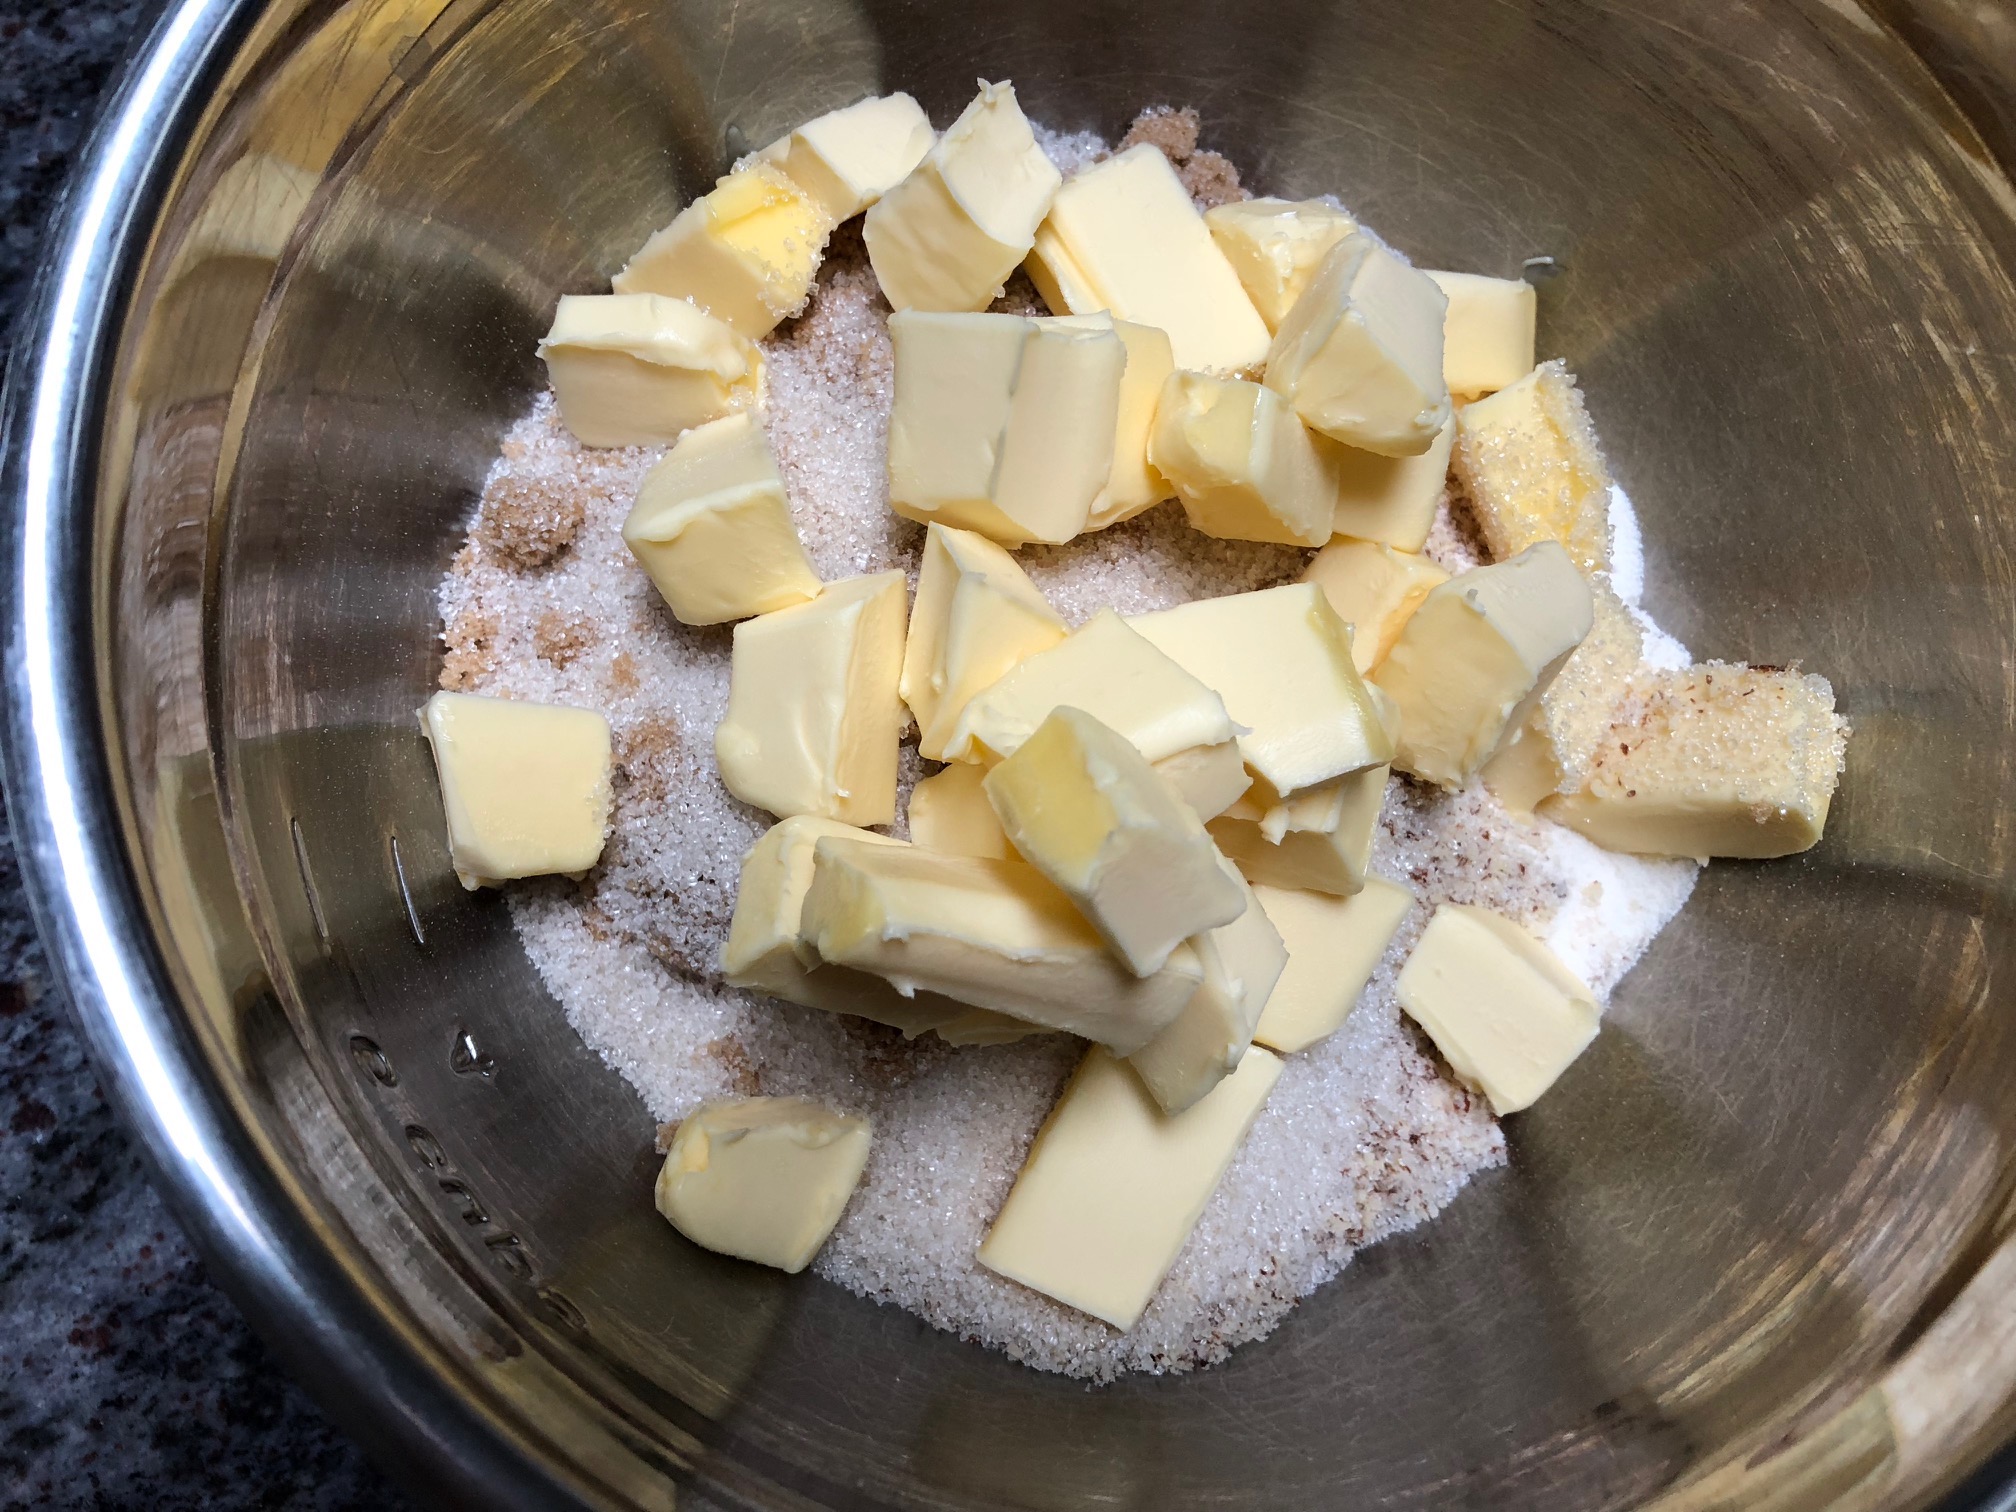
While the oven is heating, in a medium mixing bowl, add flour, almond meal, sugar, salt, and chopped butter (at room temperature).
-
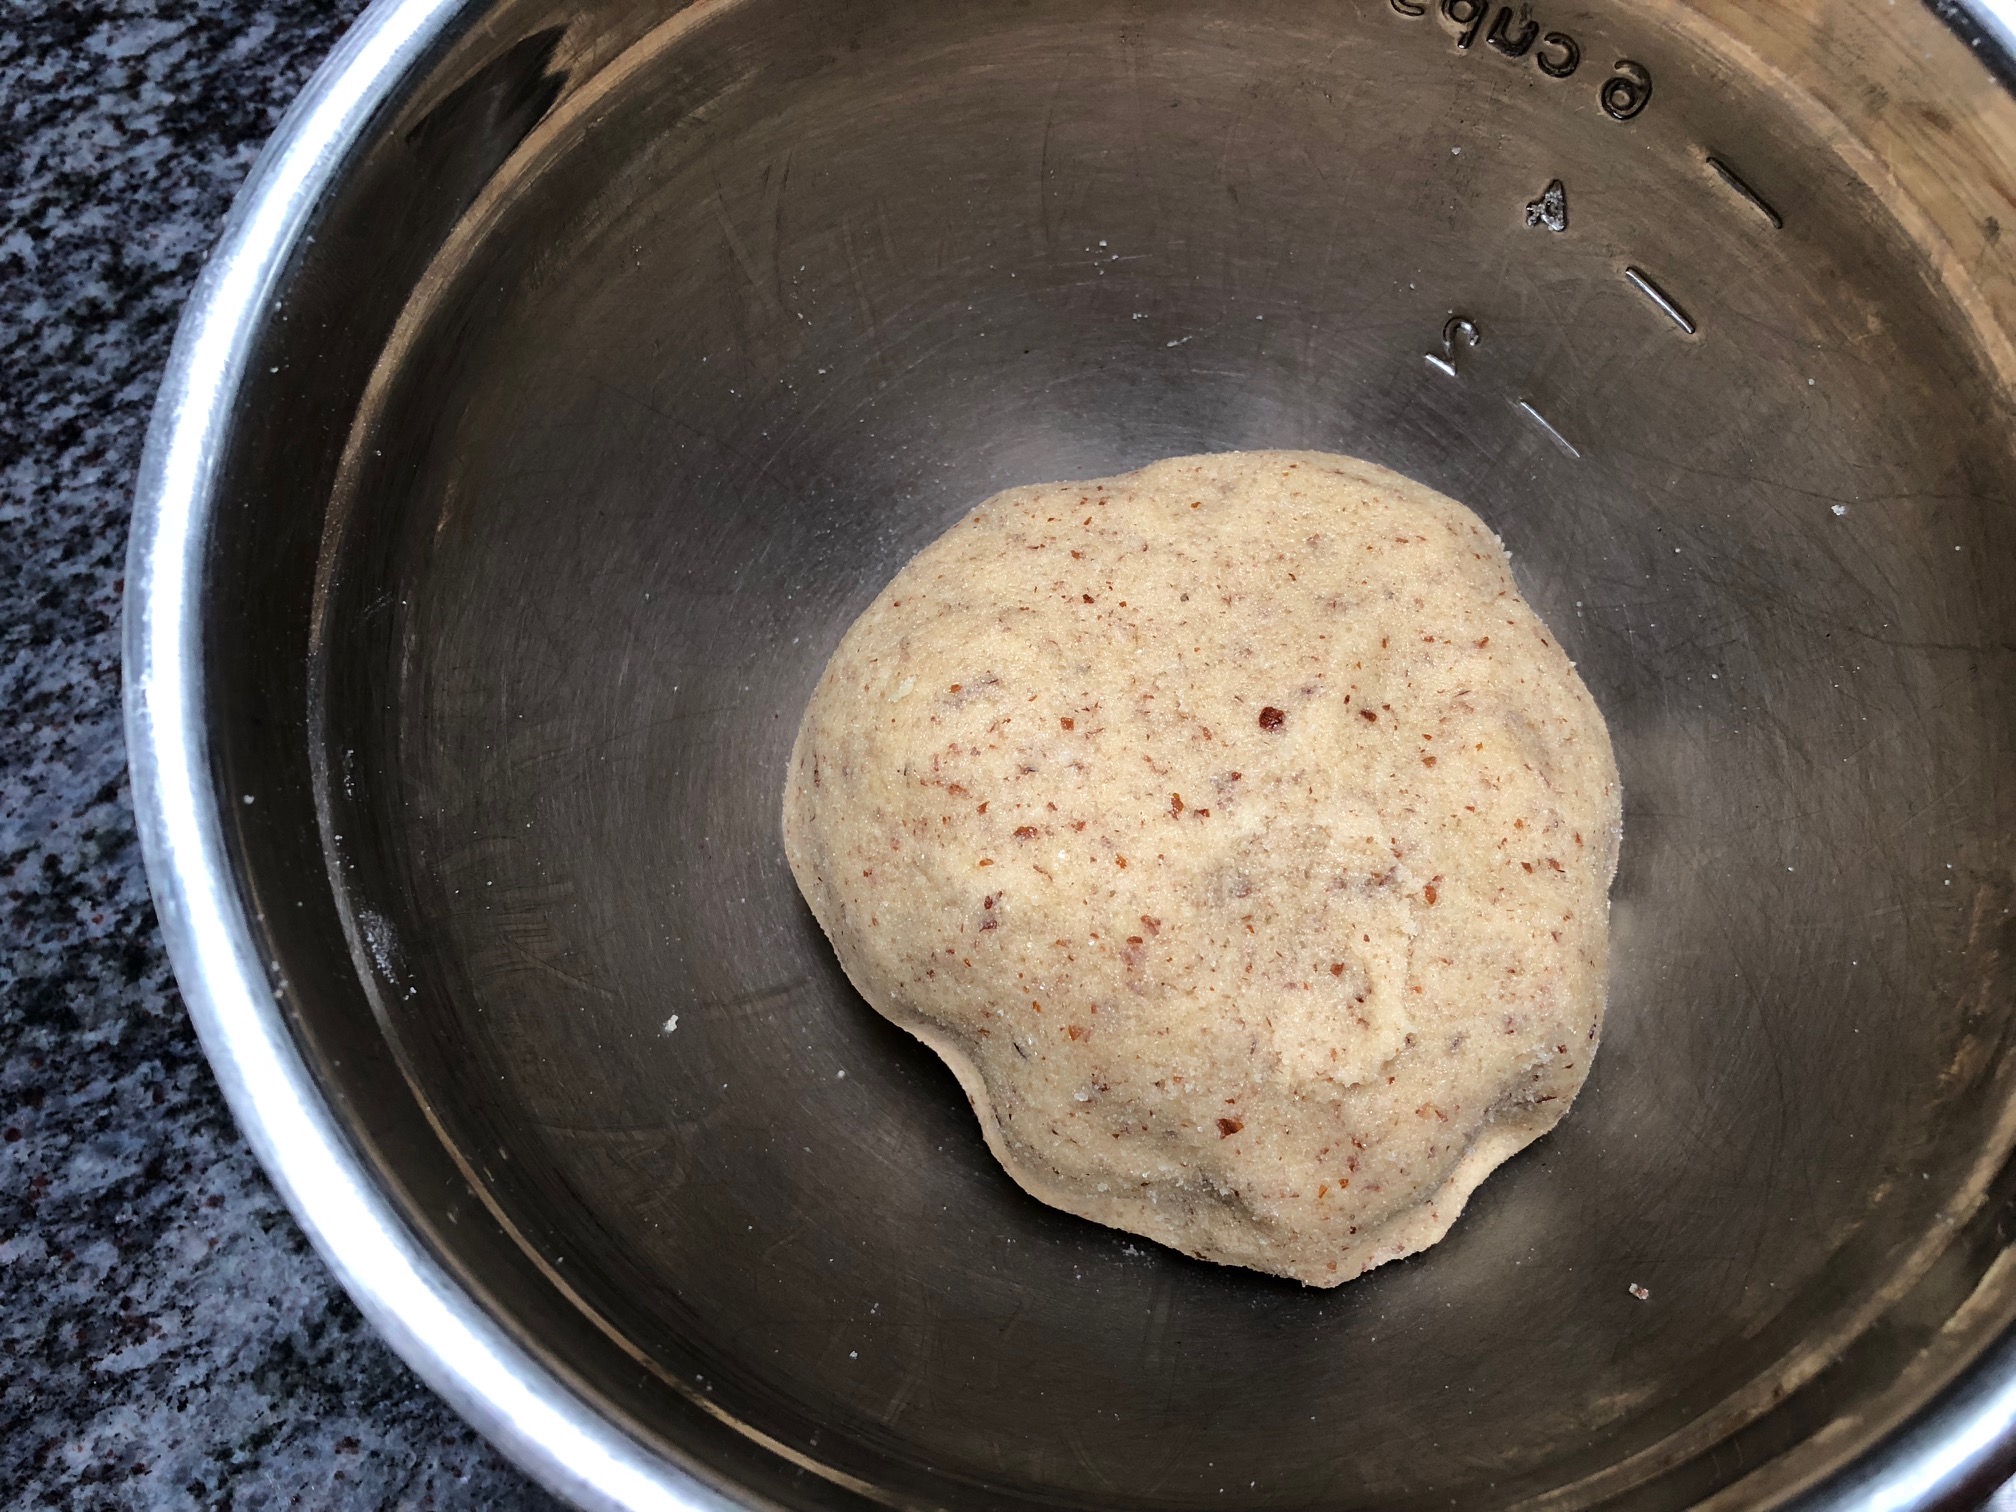
Combine it together to form a ball.
-
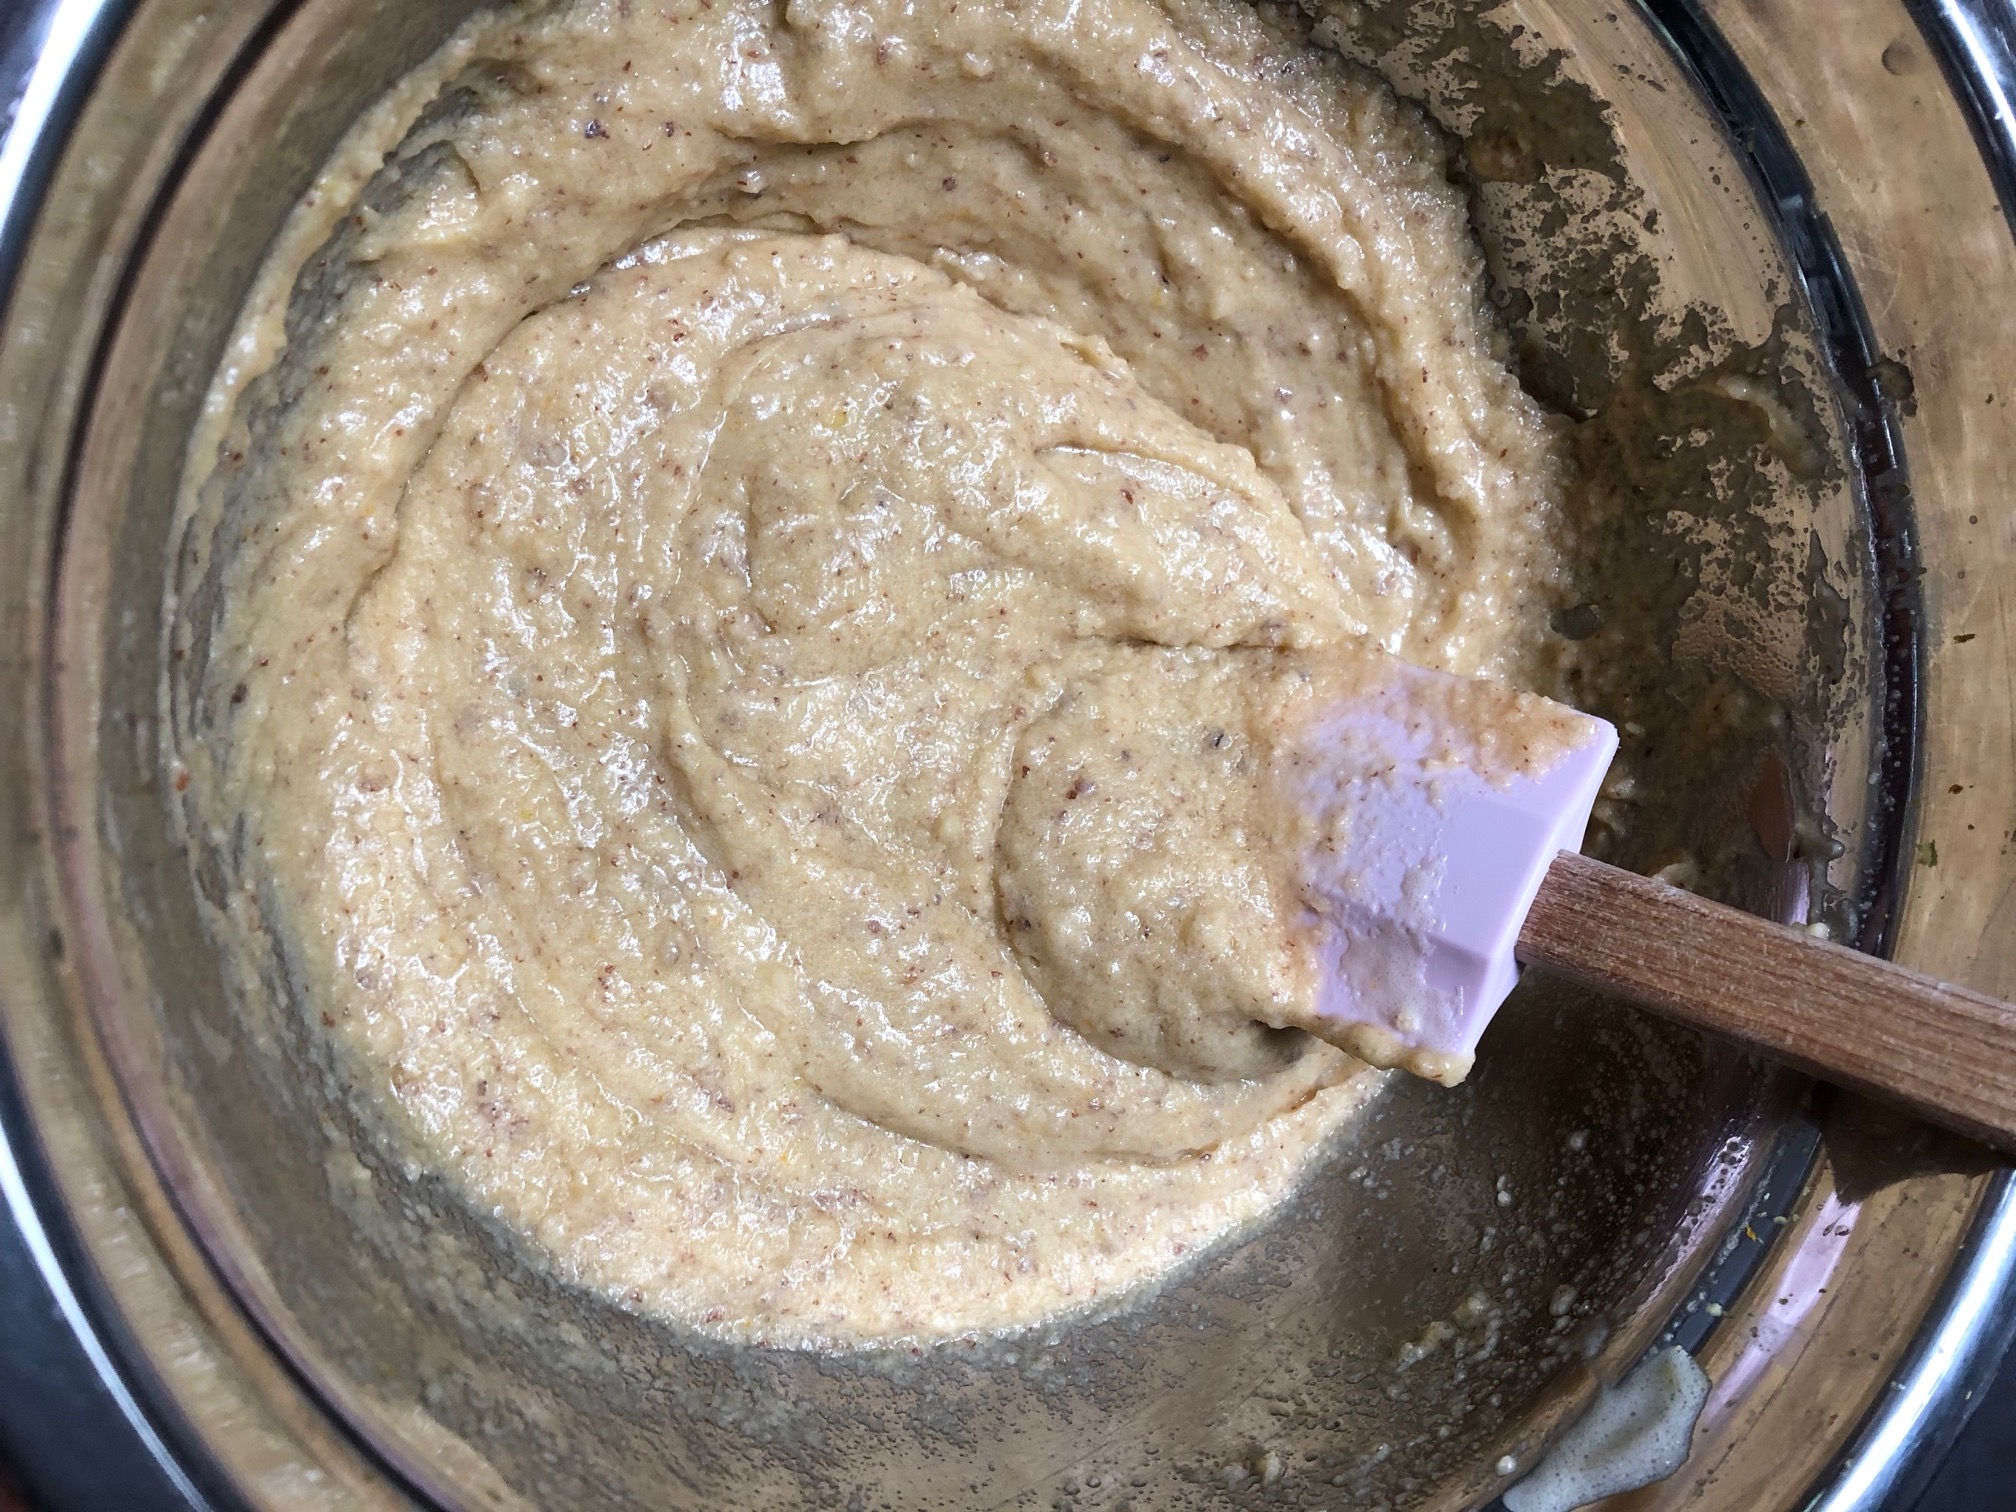
In a separate bowl, combine eggs, one tbsp of lemon juice, and vanilla and mix it well together until the mixture becomes fluffy.
-
Combine both of the mixtures together (wet and dry)with a spatula until you have one consistent mixture.
-
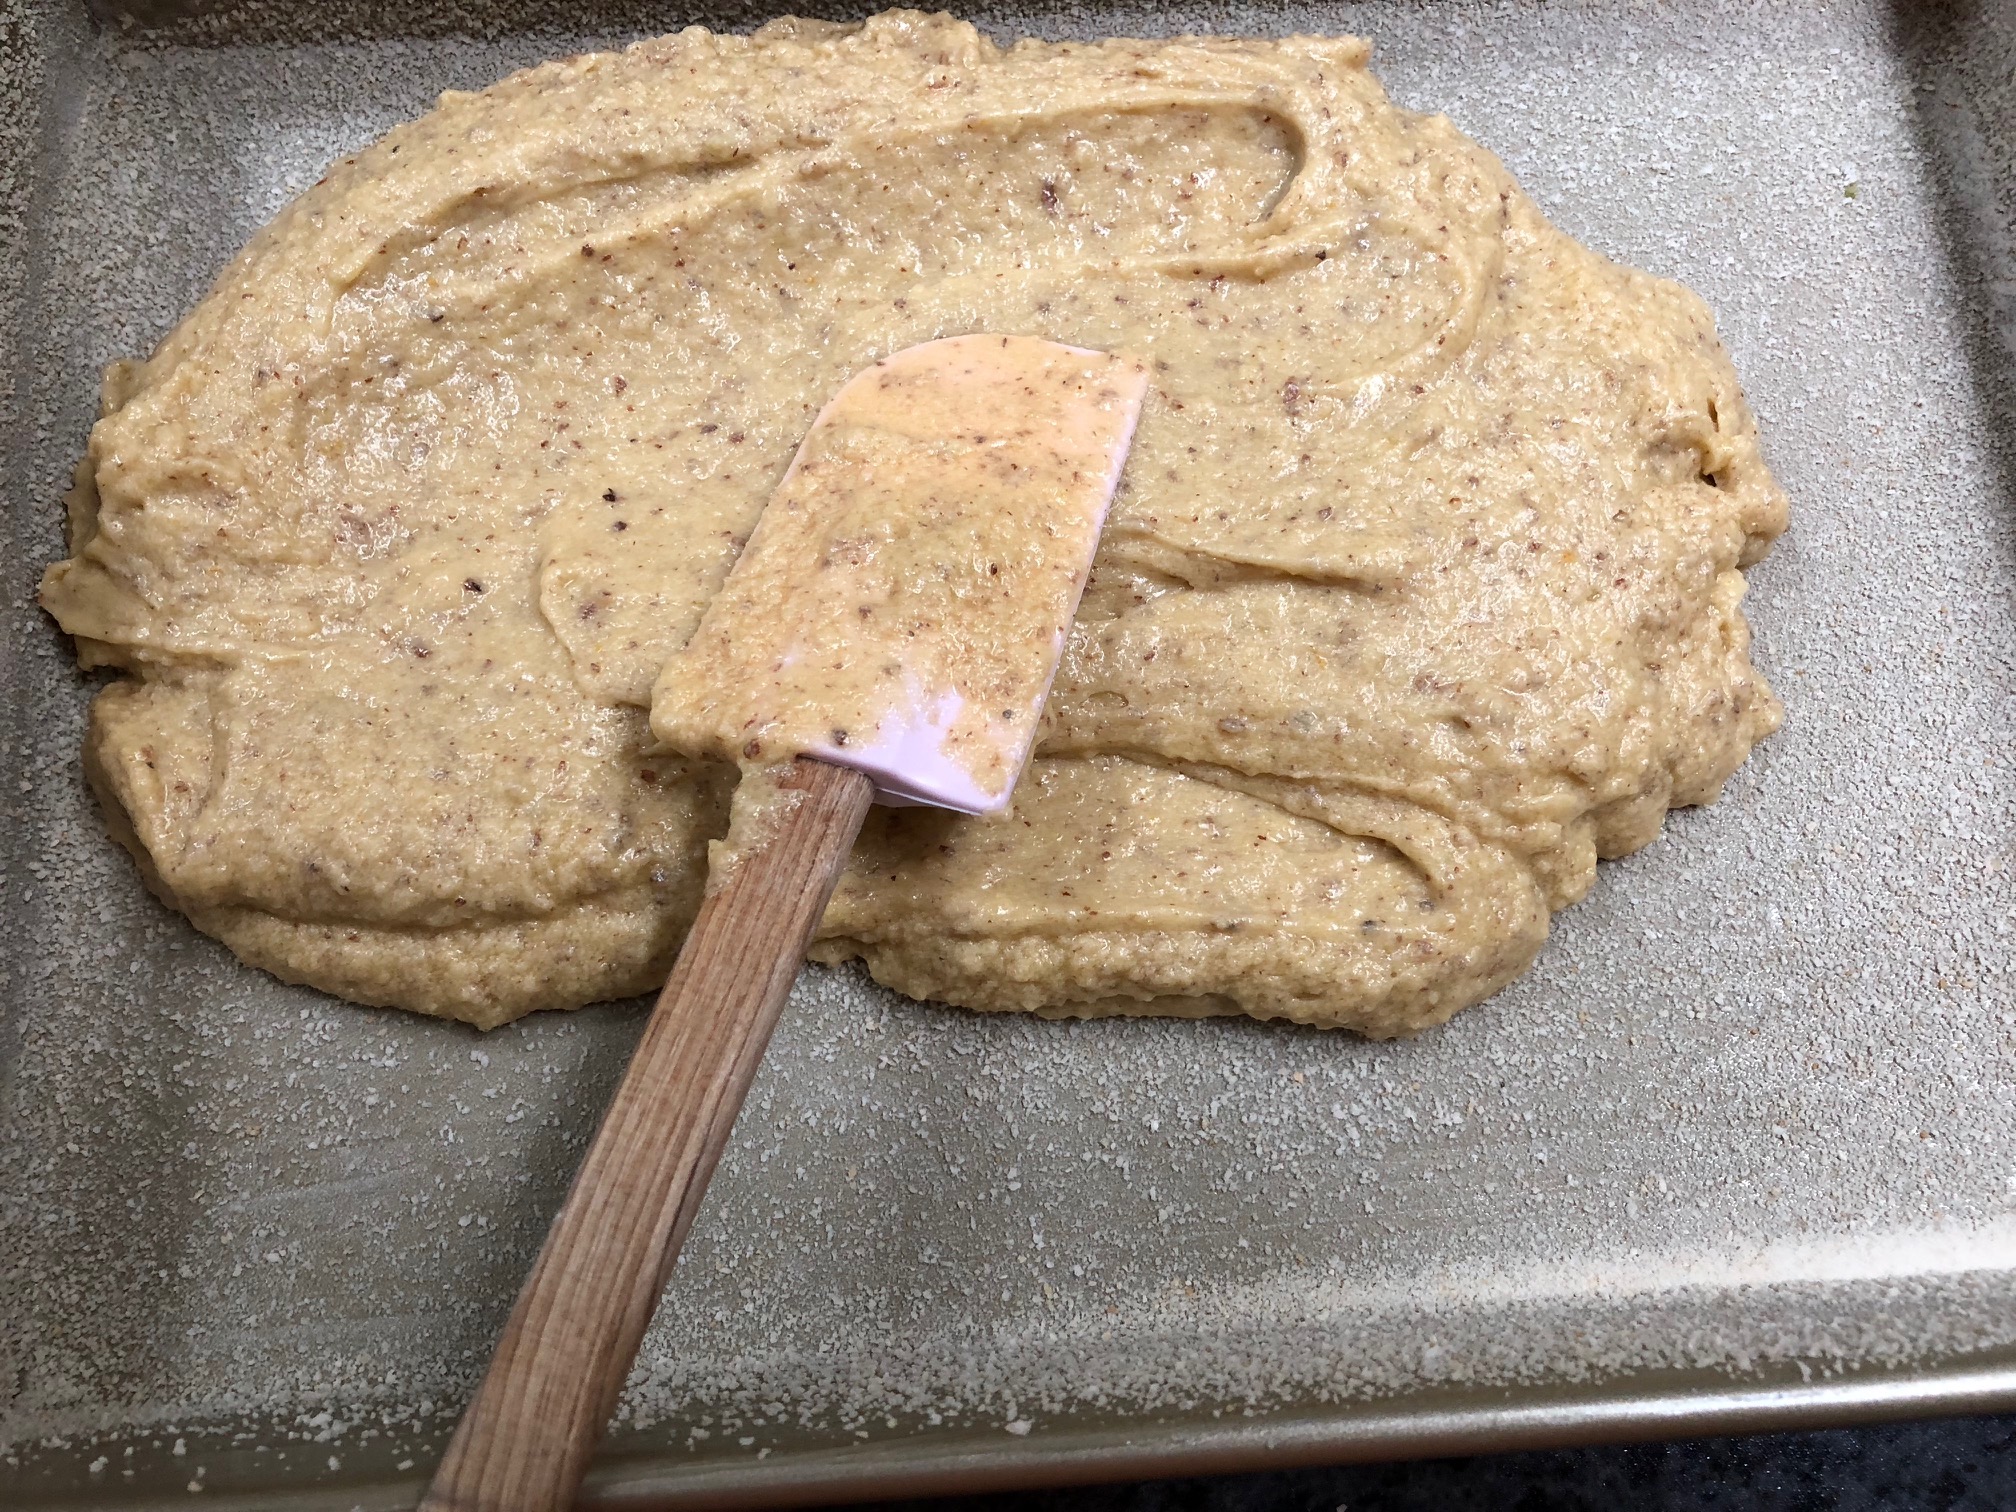
Take a large non-stick baking sheet and spread the mixture gently onto it. If you don't have a non-stick baking sheet, take a small slice of butter and thinly butter the surface and the sides using your fingers, and then powder it with some bread crumbs. This trick works like magic when you don't want your dough to stick to the surface.
-
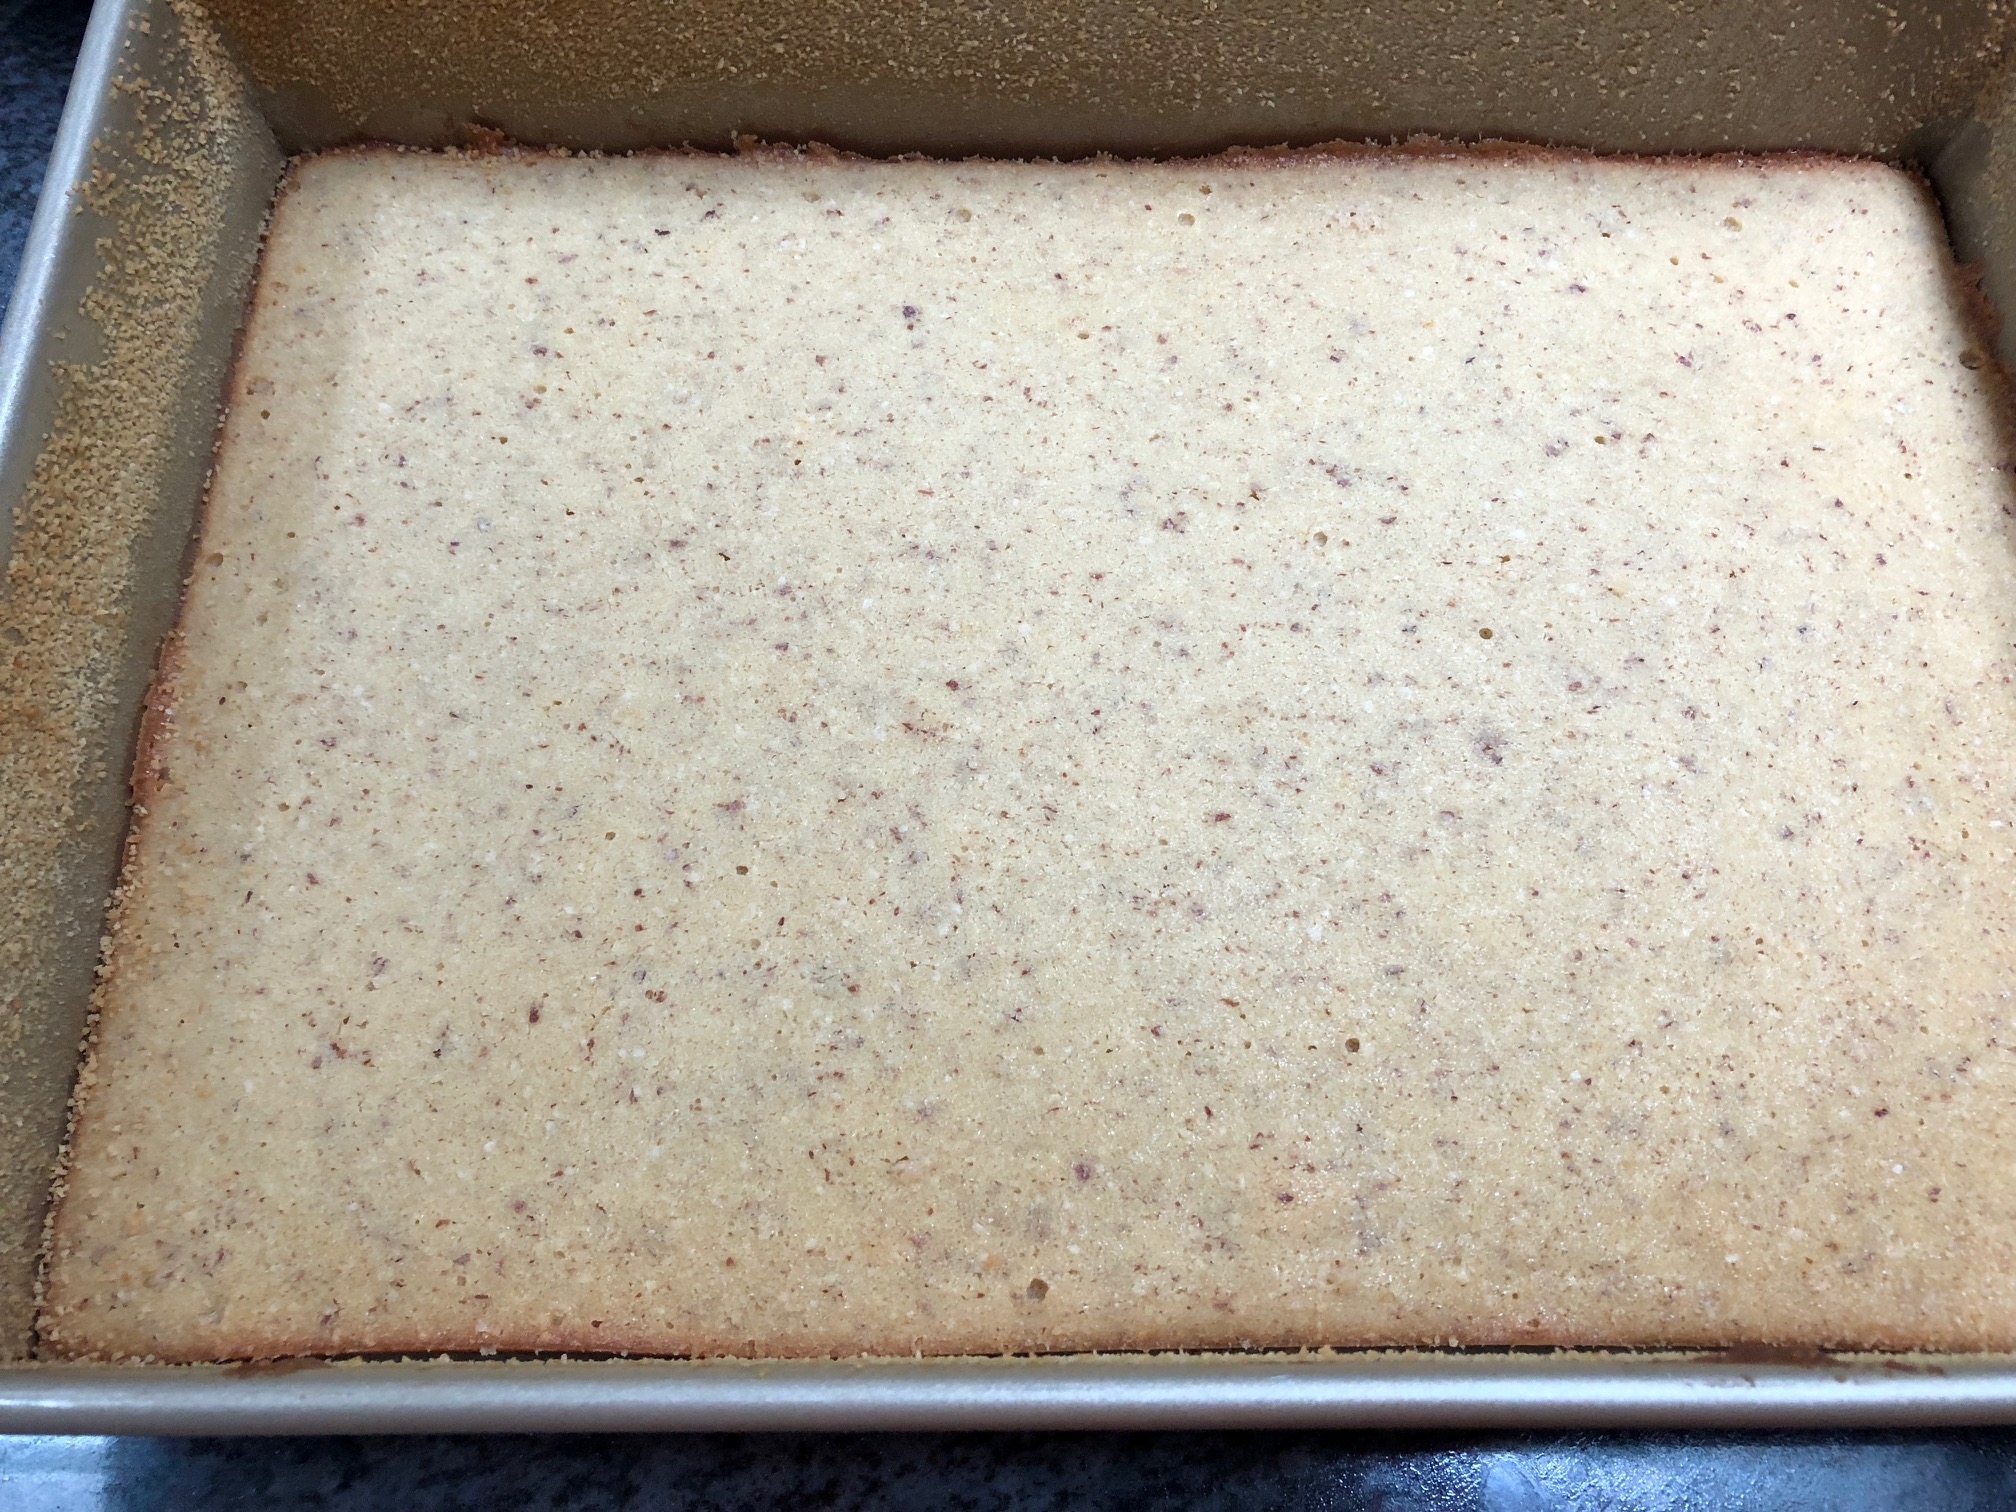
Bake your dough for 25 minutes, then remove it from the oven, and using a fork puncture the dough throughout.
-
While the dough is baking, make the crumble. To do that, combine butter, sugar, and flour and using your fingers work the ingredients together until small clumps are formed.
-
Next, take the grated apples and spread them evenly over the baked dough.
-
Add the crumble on top and bake for another 30 - 35 minutes.
-
Remove from the oven and place it on a cooling rack and wait 10-15 minutes for the apple crumble to cool off.
Important note about this recipe: Coarsely milled flour, also known as “Krupczatka” is the best flour to use for shortbread baking and this recipe. It prevents the shortbread from becoming too dense and makes the dough more airy, especially if you don’t use baking powder.
Also, as with many Polish flours, it has 11 grams of protein per 100 grams versus only 6.7 grams of protein per 100 grams found in the U.S. Enriched flour (see below). Another reason why I only bake with Polish flour.


Racuchy are Polish pancakes, but better. The main difference is that they are made with yeast rather than baking powder and therefore are lighter, airer, and healthier.
Use yeast rather than baking powder when making Racuchy,
the Polish pancakes
Personally, I discovered that whenever I eat baking powder I get acid reflux. Also, most commercial baking powders contain aluminum which some claim leads to Alzheimers disease. So, I generally avoid baking powder and prefer to use yeast whenever possible, or use organic baking powder without aluminum when I need to.
Racuchy are wonderful for those lazy Sunday mornings
The challenge with yeast is that it requires time to proof. And for this recipe, you’ll need about 50 minutes to an hour just for proofing. So, it’s a good recipe for a leisurely Sunday morning breakfast.
Add apples to your Racuchy to make the crisp and flavorful
In any case, Racuchy were one of my favorite snacks when growing up. Especially the ones with slices of apples baked into them. My grandmother would also serve them with some powdered sugar and sour cream on top. The combination was divine.
Today I make them with bananas, blueberries, or strawberries as well. And they also taste delicious with honey or maple syrup.
For this recipe I use wheat flour from Poland type 550 or “Luksusowa” since it’s the best flour to use for yeast-based baking. It has a minimum of 25% gluten, which is necessary to give the dough it’s elasticity. It’s also high in protein, 11-12 grams of protein per 100 grams, as opposed to 3 grams of protein typically found in U.S. Enriched Flours.
Follow my recipe below on how to make your own Polish Pancakes (Racuchy) at home!
Racuchy - Polish Pancakes
-
3-4
cups
flour
-
2
cups
2% or higher milk
-
3
whole
eggs
-
3
tbsp
sugar
-
1
packet
yeast or 25 grams of fresh yeast
-
1
tsp
vanilla extract
-
1
tsp
lemon juice
-
1/2
tsp
lemon or orange zest
-
1
pinch
of salt
-
1/4
cup
of sunflower seed oil for frying
-
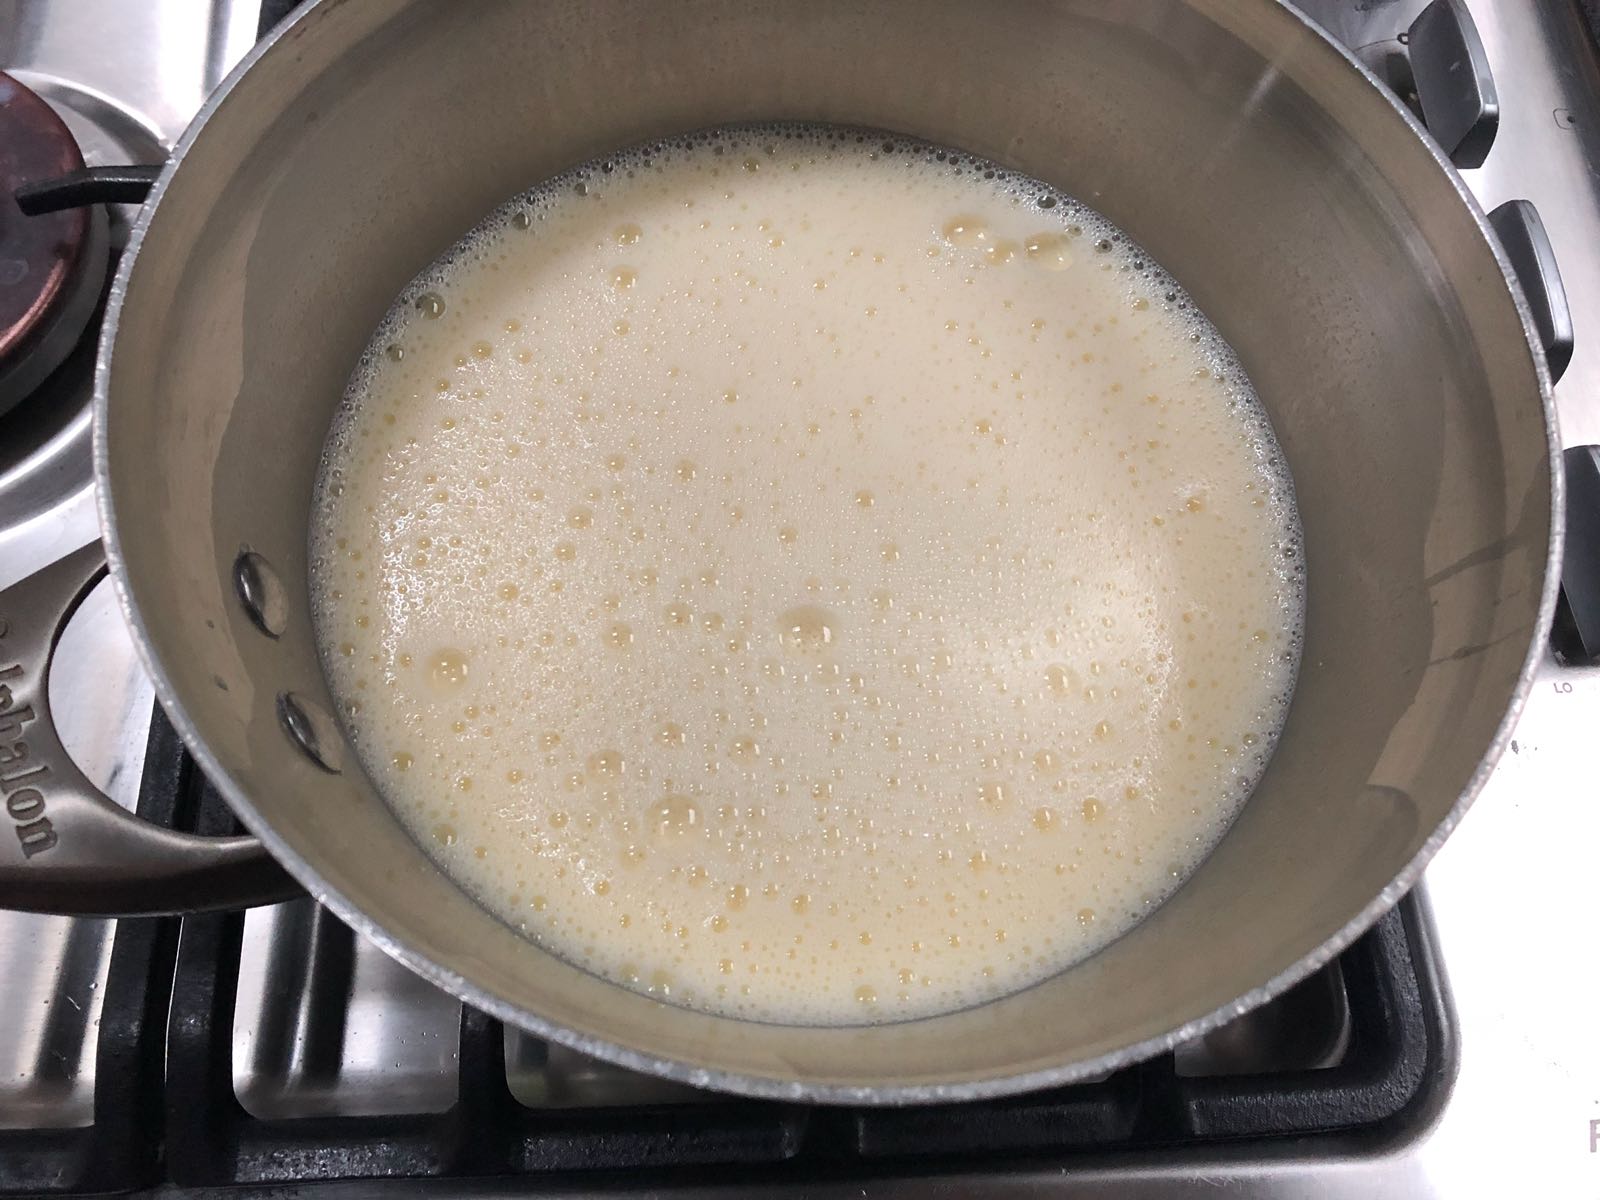
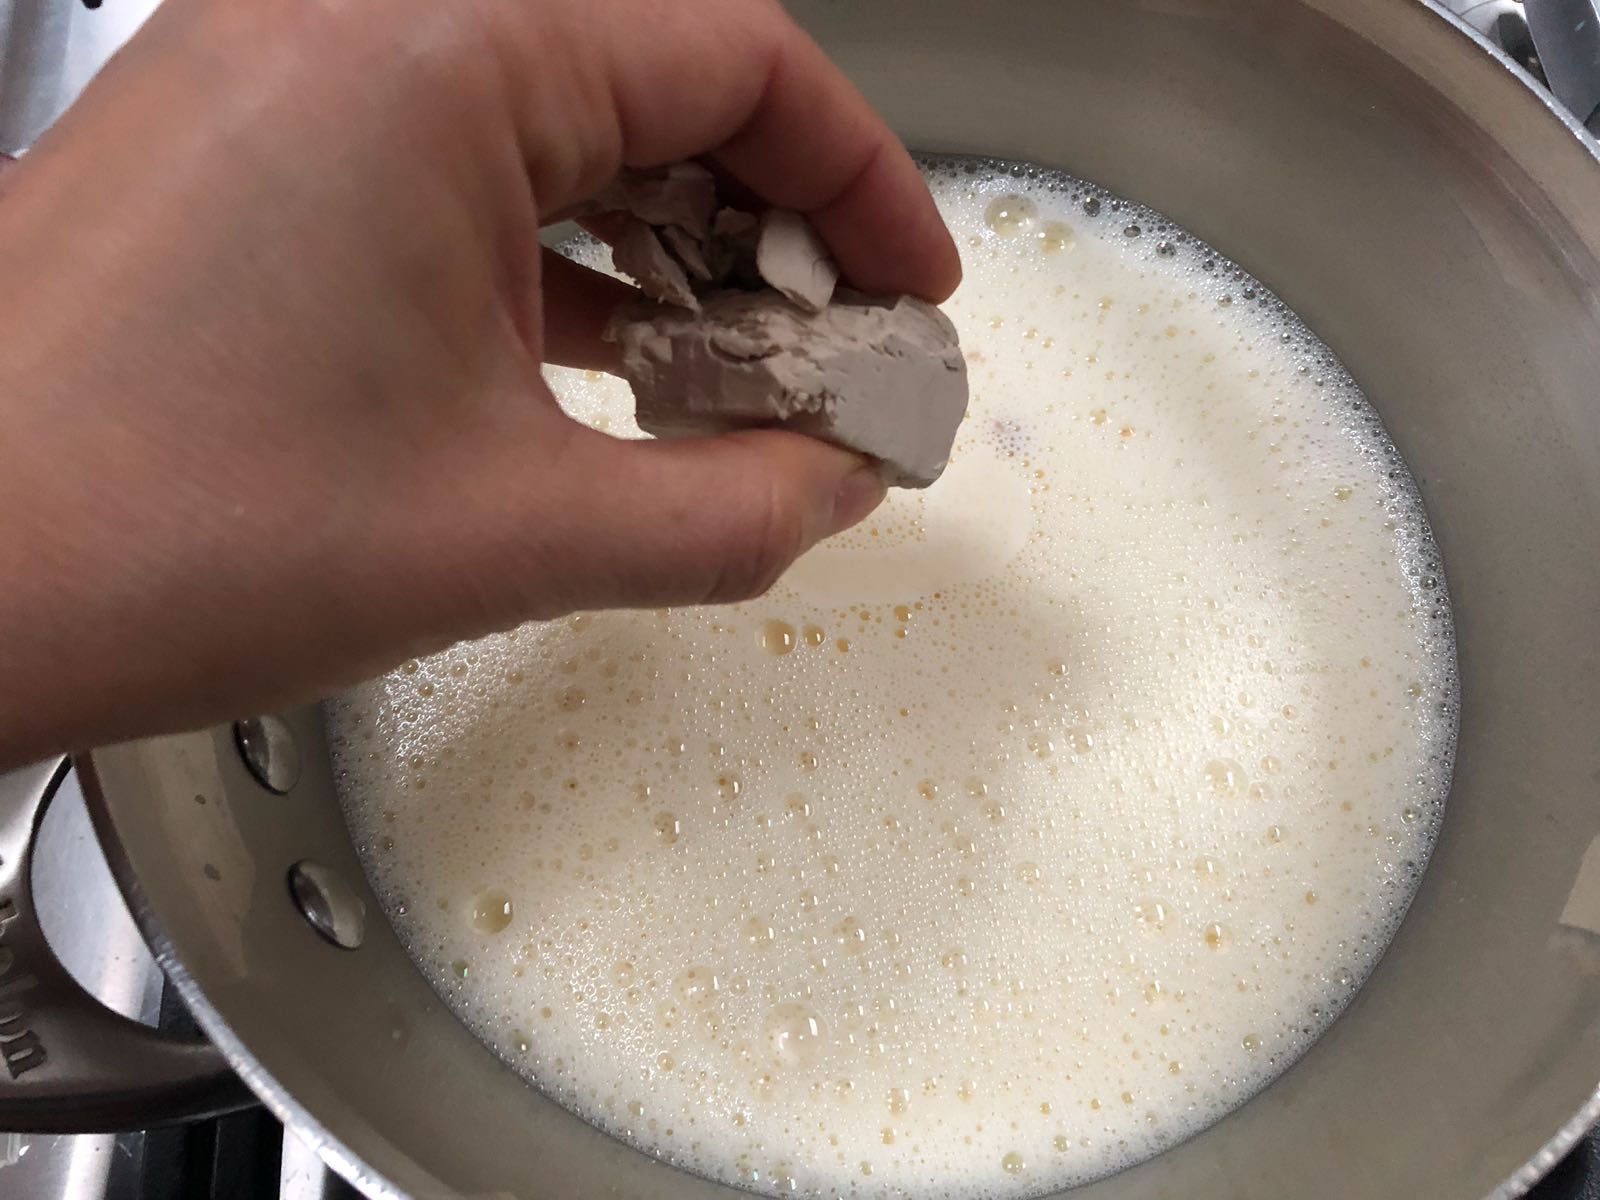
Pour milk, add eggs and sugar into a medium saucepan. Whisk it all together and over low to medium heat warm it until lukewarm. make sure the mixture does not burn your finger when you test it.
-
Add yeast to the mixture (I prefer to use fresh yeast, but dry fast active yeast is fine too). Mix it using a whisk until combined. Let the mixture rest for 10-15 minutes until the yeast is activated.
-
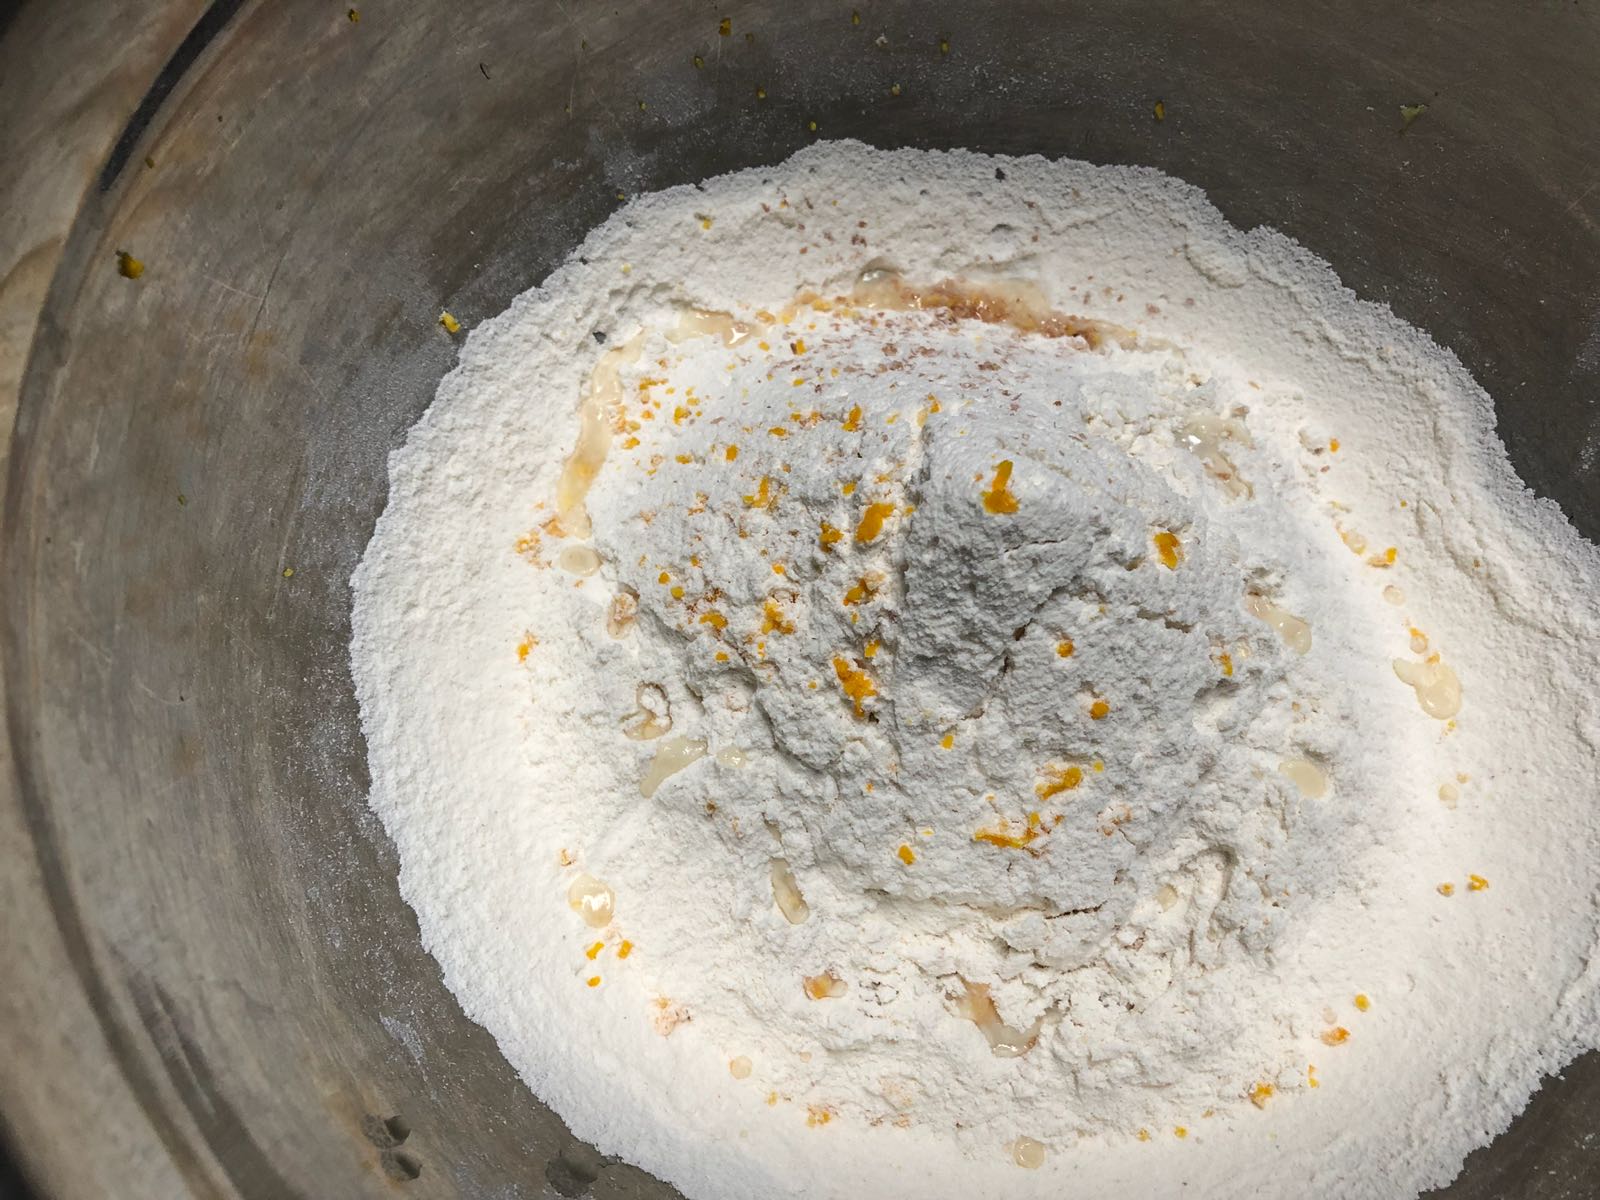
In a large mixing bowl, sift flour and combine it with salt, vanilla, orange or lemon zest, and lemon juice. Mix it with a spoon.
-
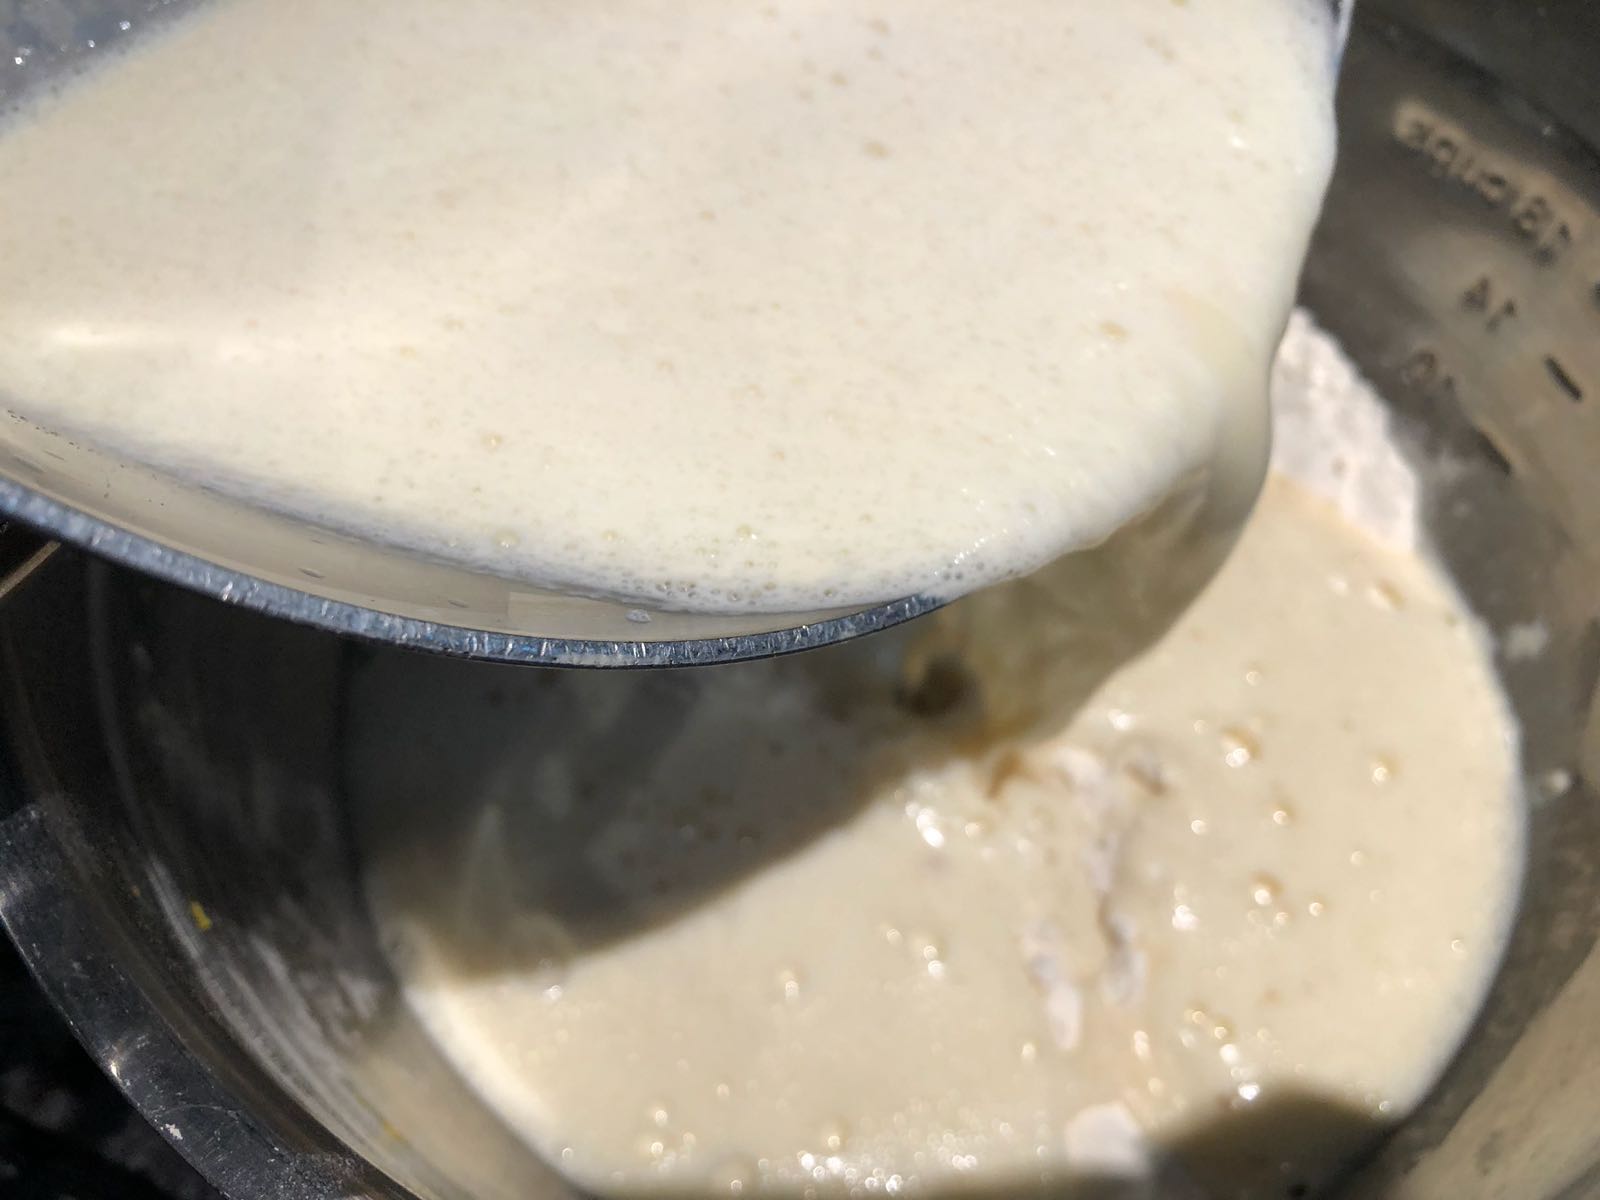
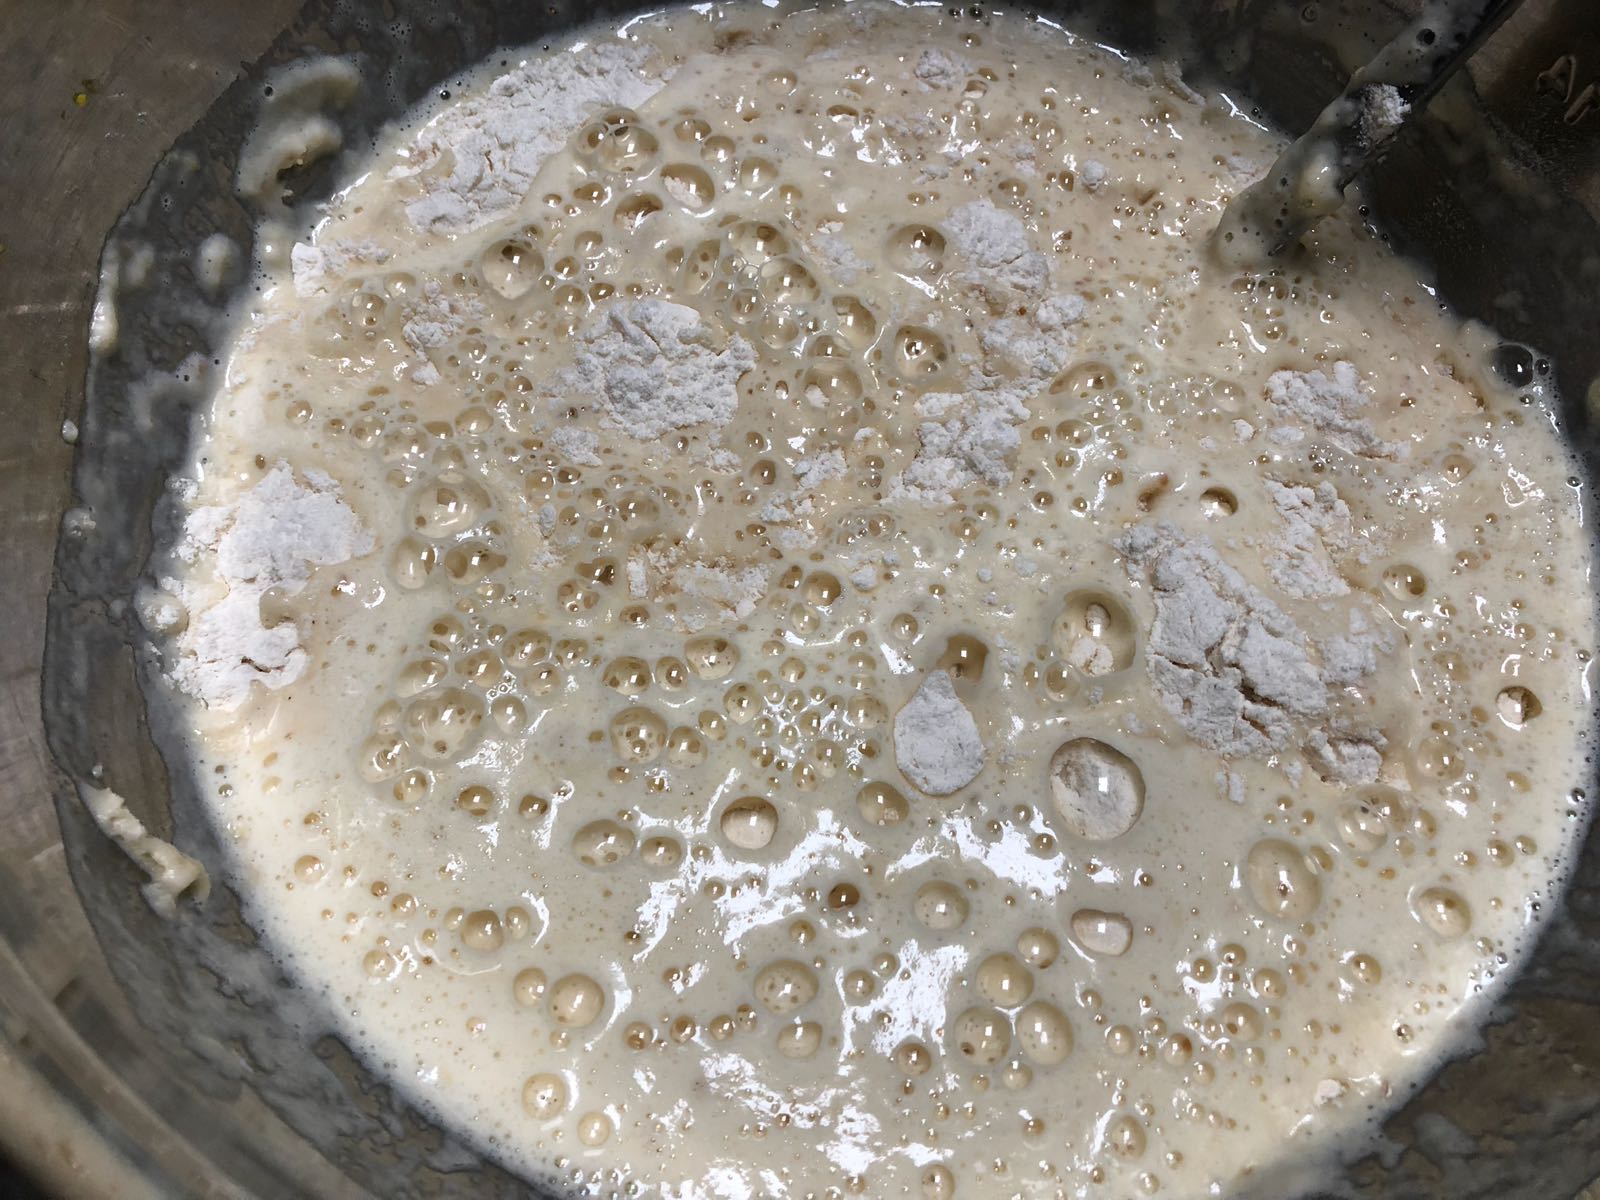
Add the activated-yeast mixture and gently combine it using a hand mixer to eliminate any clumps.
-
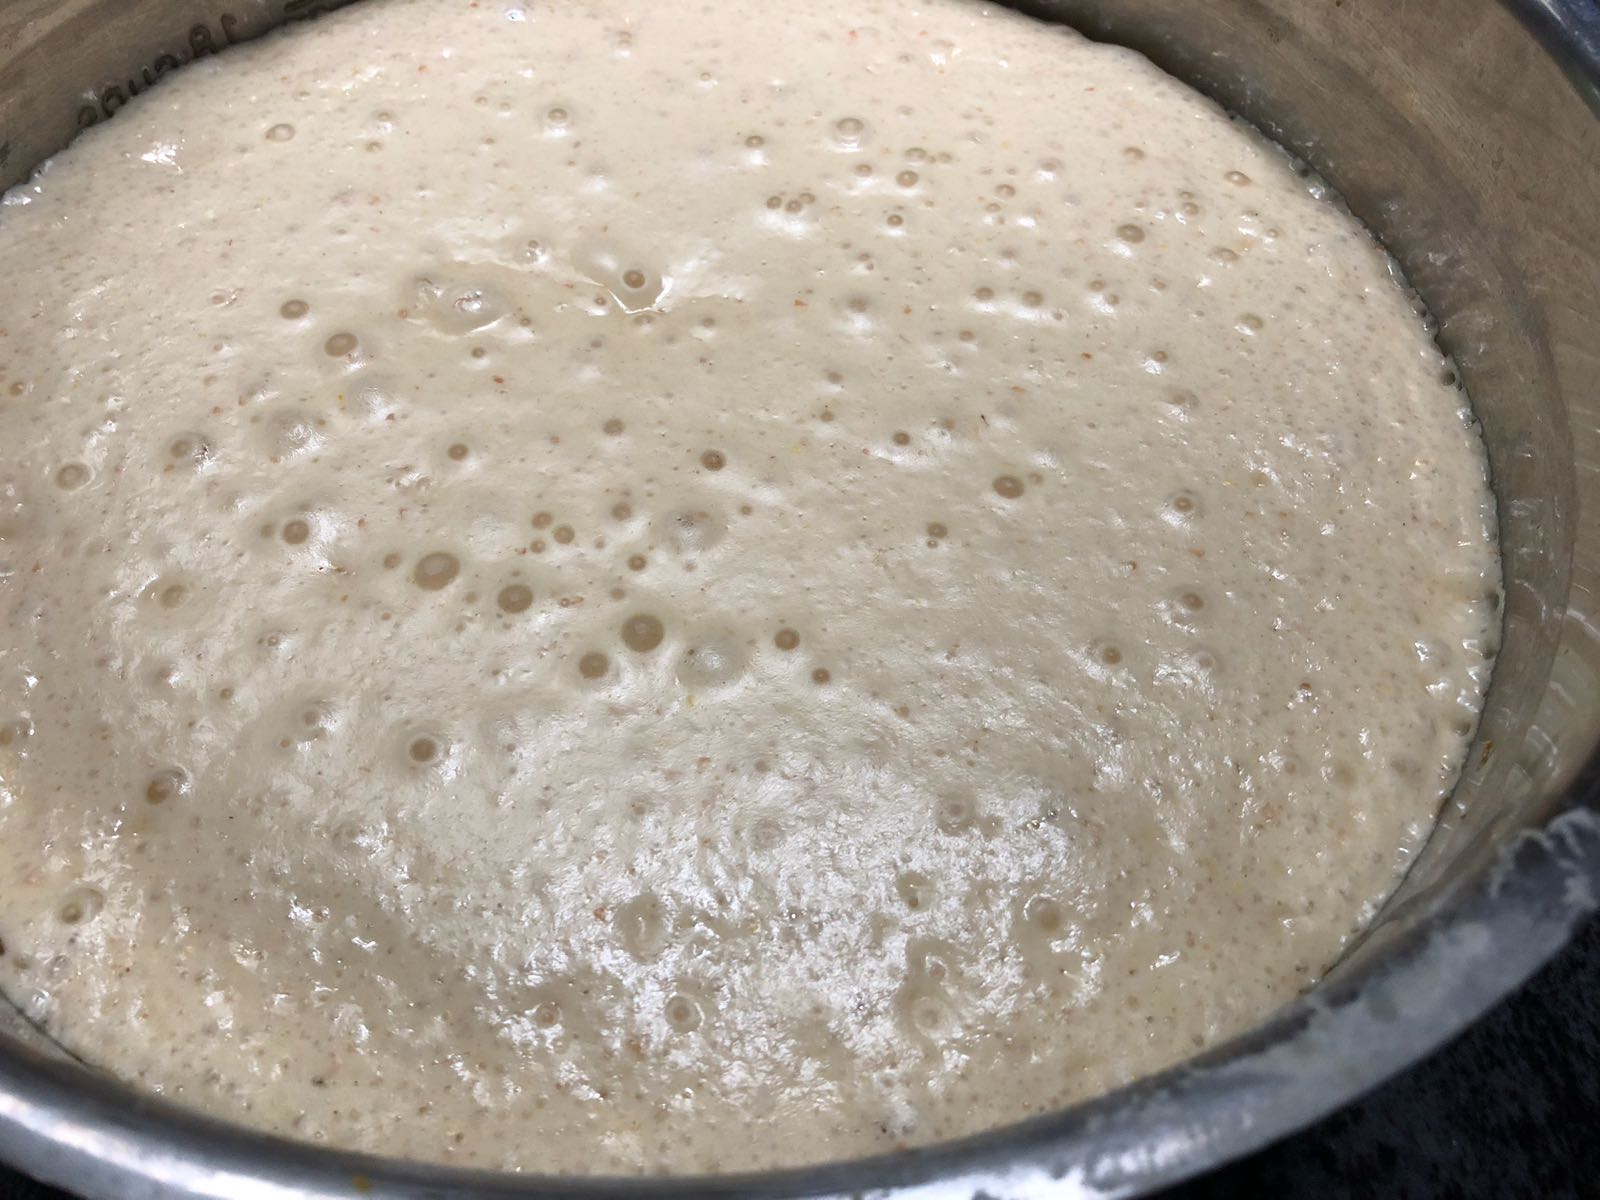
Once combined, place the mixture in a warm place to stand for 30-40 minutes covered with a clean dish towel.
-
Once the dough has doubled in size you're ready to fry your Racuchy.
-
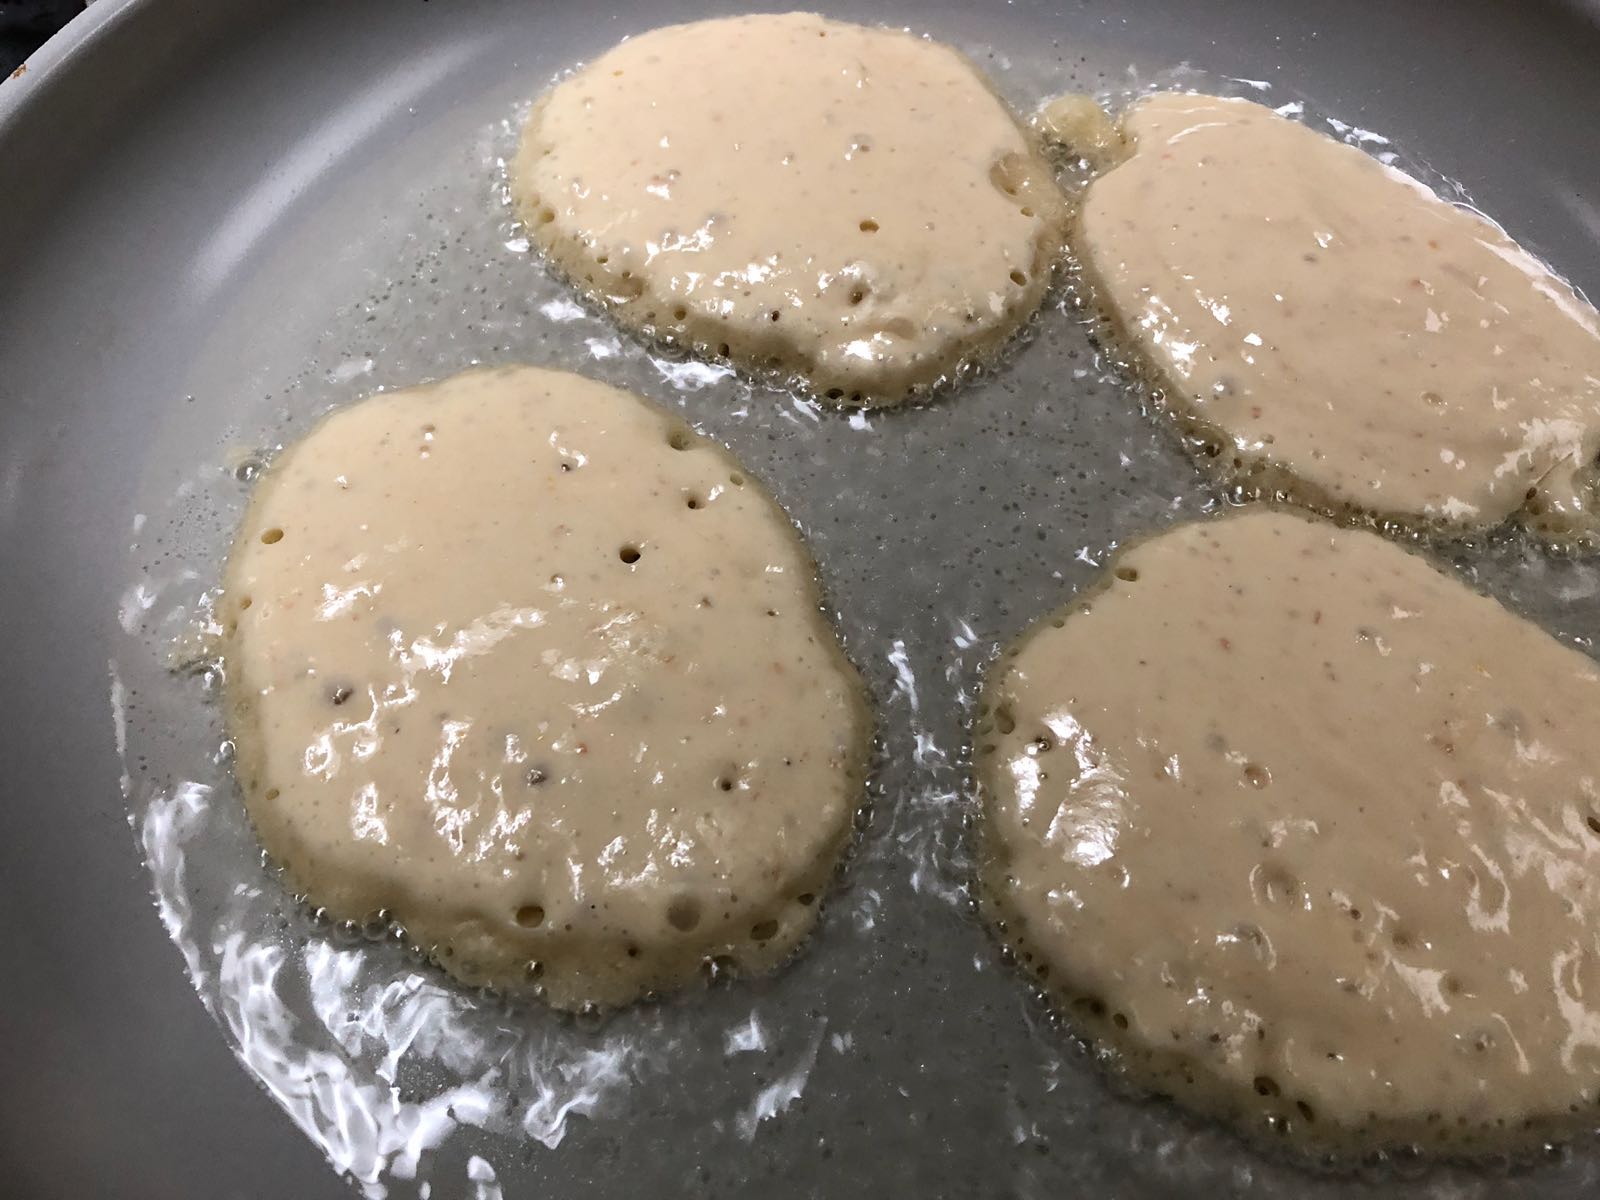
Pour a table spoon or two of sunflower seed oil onto a non-stick frying pan. Warm it on a medium heat. And, using a small ladle, scoop and place some of the batter onto the hot surface. Reduce the heat to low.
-
The batter is very delicate and burns fast, so fry your pancakes on low heat. You might also need to add some more oil as it gets absorbed during frying.
-
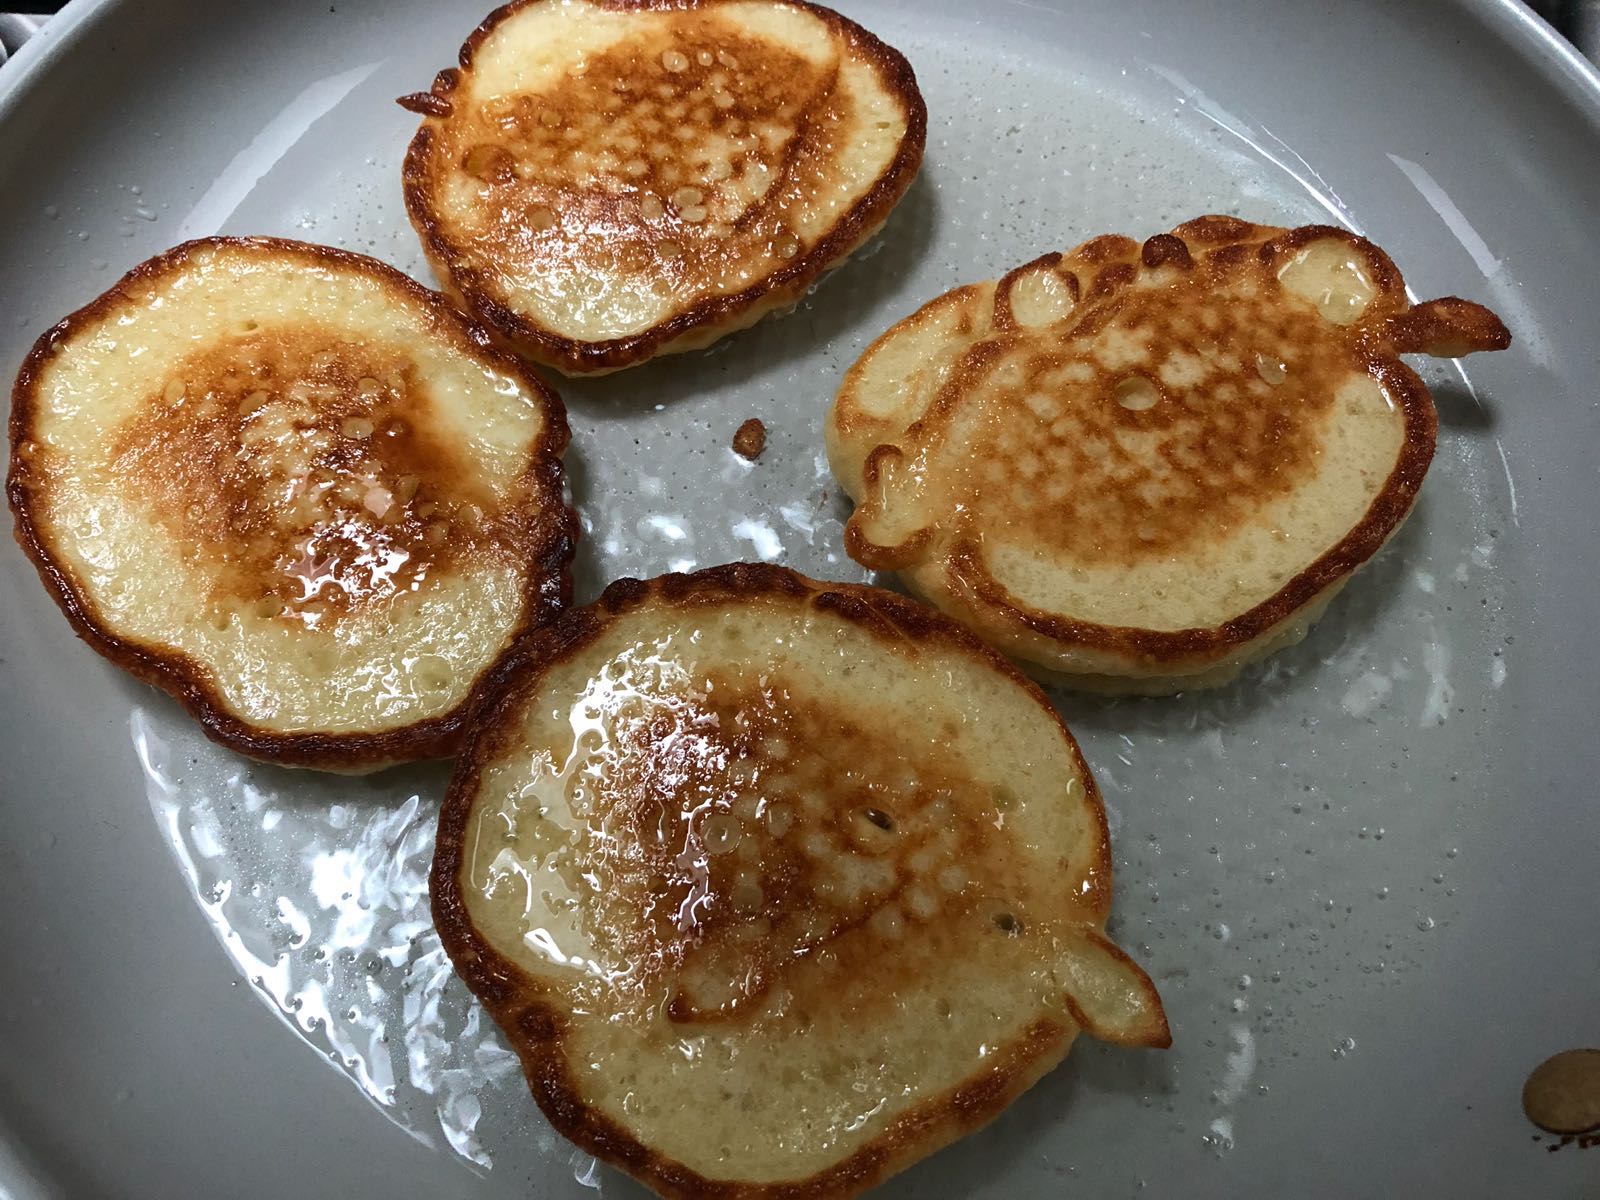
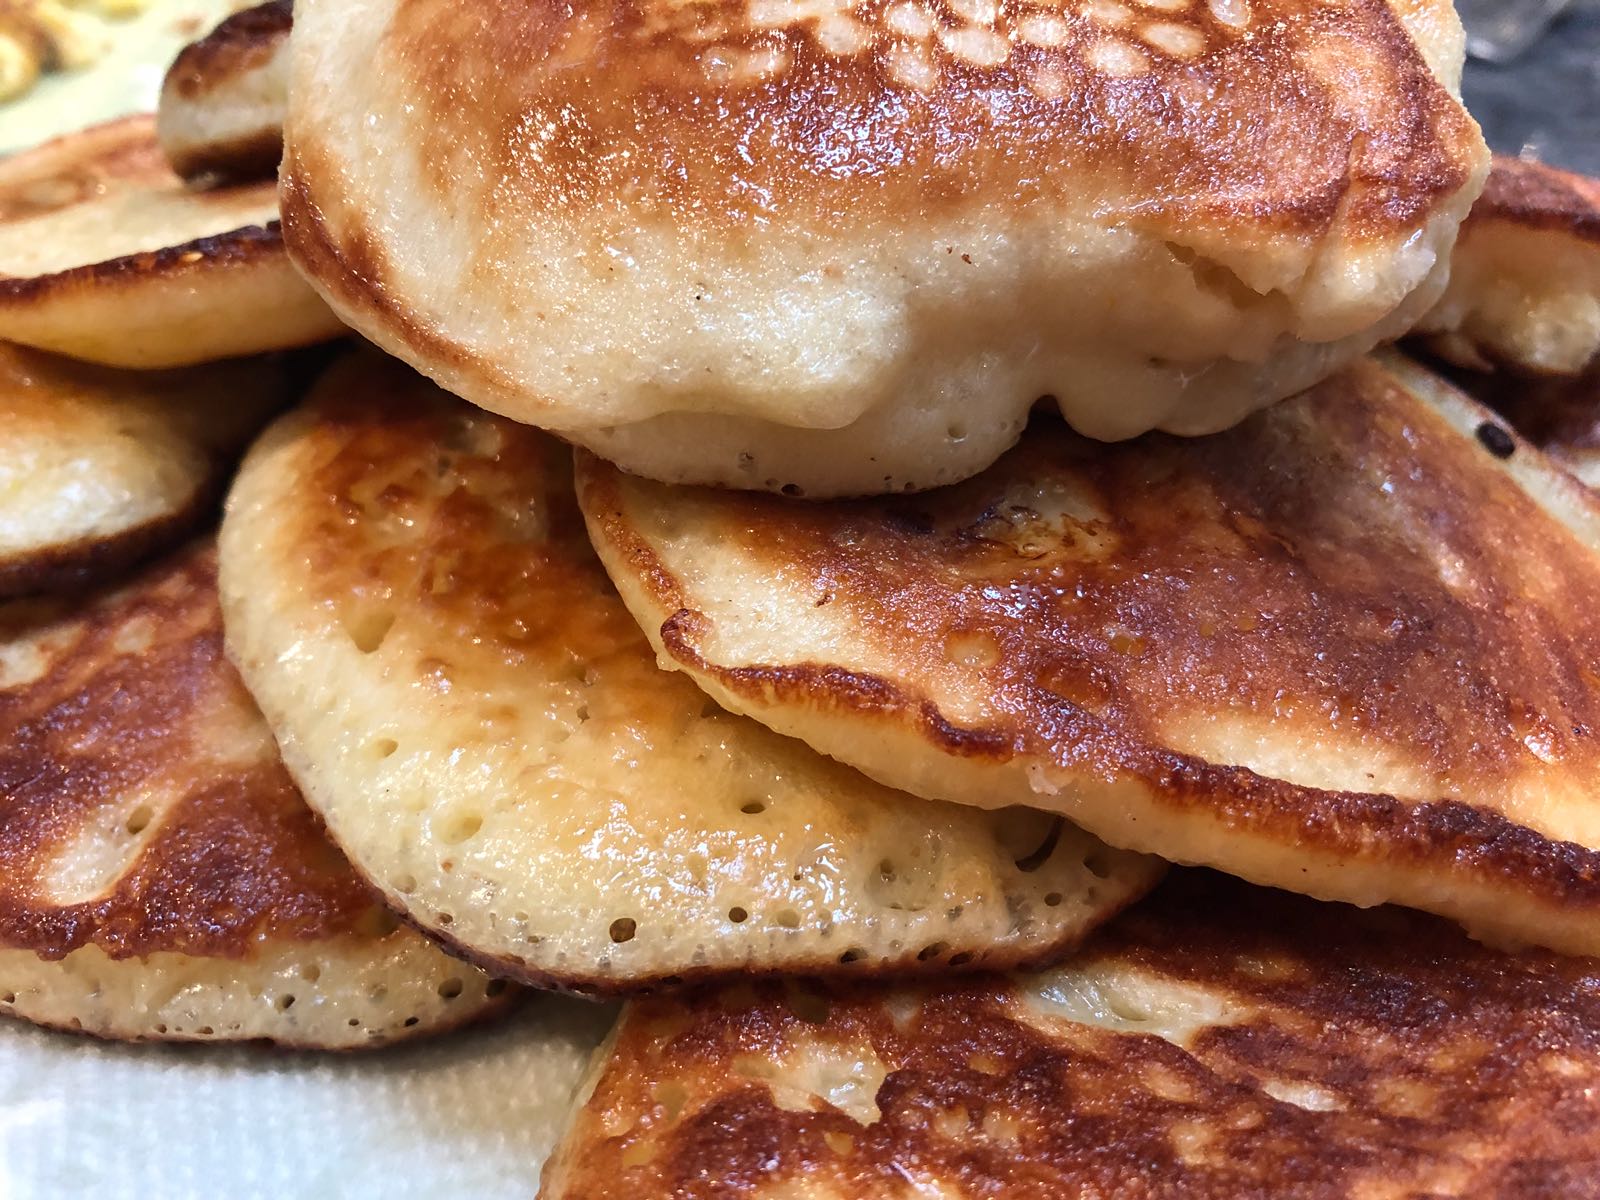
Place them onto a plate lined with paper towel to absorb excess oil. Enjoy your "Racuchy" with some powdered sugar, maple syrup, or honey.

Crepes may sound like a fancy French pastry, but in reality they are very simple to make. They are also very versatile, they can be savory or sweet, depending on the filling.
Many people shy away from making crepes because they get intimidated by some of the equipment they see being used at specialty restaurants and cafes to create these ultra slim crepes that fold as if they were delicate silk. But all you really need is a non-stick frying pan, some grease, and a good spatula.
My first encounter with this delicious stuff, or “nalesniki” was in Poland, where my grandmother would quickly whip them up for me as a snack after school. She would often fill them with fruit preserves and top them off with a generous spoon of sour cream.
My grandma loved butter. She refused to use margarine or substitute oils. And to make the taste even richer, she would melt some butter and add it to the crepe batter. She would also fry them on butter instead of oil, making them even more delicious, despite being a little thicker than most crepes I currently see today.
The bottom line, don’t worry about the thickness of your crepe. With a good frying pan and a little practice, your crepes will be just as delicious.
In this recipe I also added lemon juice, lemon zest, and vanilla extract for the extra flavor. You can also add an extra spoon of sugar, if you prefer your crepes to be on the sweeter side.
For this recipe, I either use wheat flour from Poland type 550 (Luksusowa) or type 500 (Poznanska).
Crepes
-
2
cups
flour
-
3
whole
eggs
-
1.5
cups
2% milk
-
1
tbsp
sugar
-
2
tbsp
butter
melted
-
1
pinch
salt
-
1
tbsp
fresh squeezed lemon juice
optional
-
1
tsp
vanilla extract
optional
-
1
pinch
lemon or orange zest
optional
-
In a medium bowl add all the ingredients together.
-
Mix well, until all the ingredients are combined into a smooth pouring batter.
-
Over a medium, heat up your frying pan and grease it with some butter. With a ladle take some of the batter and pour it over the pan as you gently tilt the pan so that the batter spreads over the surface evenly.
-
Fry it for about 20 seconds until you notice a golden rim around your crepe. Lift it gently with a generous spatula and turn the crepe over to the other side and fry it for another 20 seconds.
-
Repeat these steps to make more crepes.
-
You can serve your crepes with fruit preserves, chocolate hazelnut spread, or simply with honey, butter, and lemon.