Ola Rokita

Hi! I am Ola and I want to share with you my simple baking recipes that can change your life and how you feel.
[Read more >>>]

Dinner Rolls

Ola Rokita12 August 2018Comments (0)

dinner rolls

simple dinner rolls

When I need to make bread fast and don’t want to spend too much time fussing around in the kitchen, I bake these simple dinner rolls.

When they are fresh from the oven, they go perfect with butter or goat cheese.

I also enjoy cutting up a few slices of fresh mozzarella and tomatoes, and stacking them on top of these rolls for a simple yet delicious sandwich.

For this recipe, I use all-purpose wheat flour from Poland, type 550 [click here to buy].

But if you wish to make these even healthier, you can choose a mix of whole-wheat flour with all-purpose flour, or only use whole wheat flour instead.

Please note though that the whole-wheat flour will make the buns less airy and a little heavier, but they will be more nutritious.


Dinner Rolls

Ingredients

  • 1.5 cup spring water (lukewarm)
  • 4-5 cups all-purpose flour (Polish Luksusowa Flour)
  • 1 packet active dry yeast (0.75 oz) or (20 grams)
  • 1 tbsp sugar
  • 2 tsp salt
  • 1 tbsp olive oil

Instructions

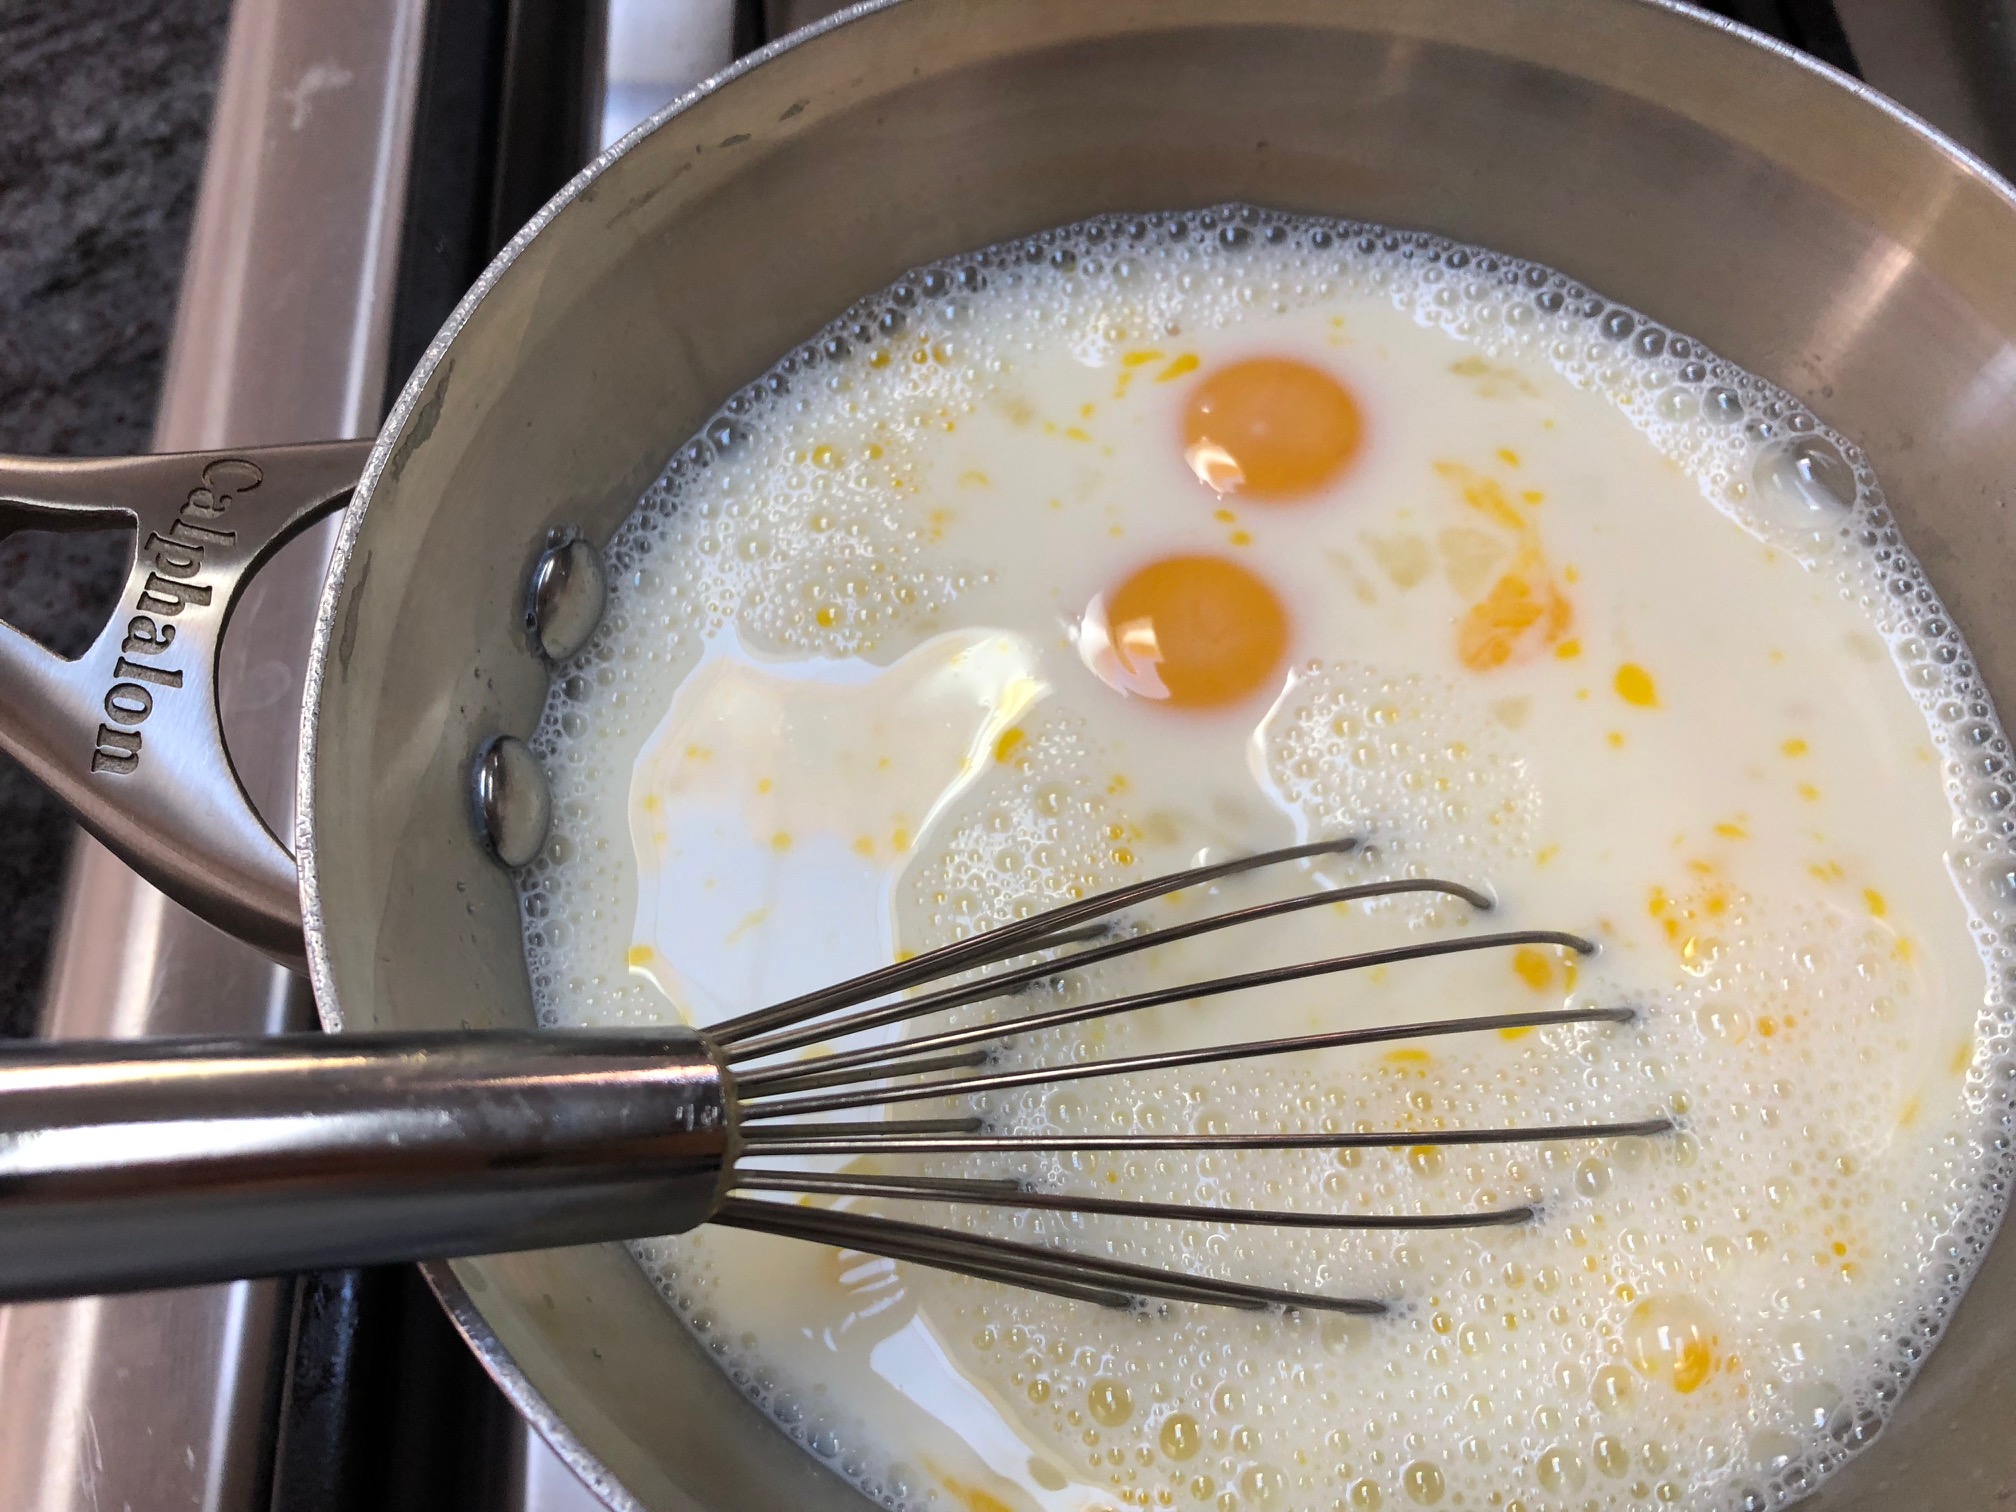
  1. In a saucepan, warm up a cup and a half of spring water until lukewarm. 

  2. Add sugar, and about 1 table spoon of flour to the water. Mix it with a whisk, and add the yeast.

  3. Mix it all together and let the mixture rest for about 10-15 minutes, until the yeast is activated.

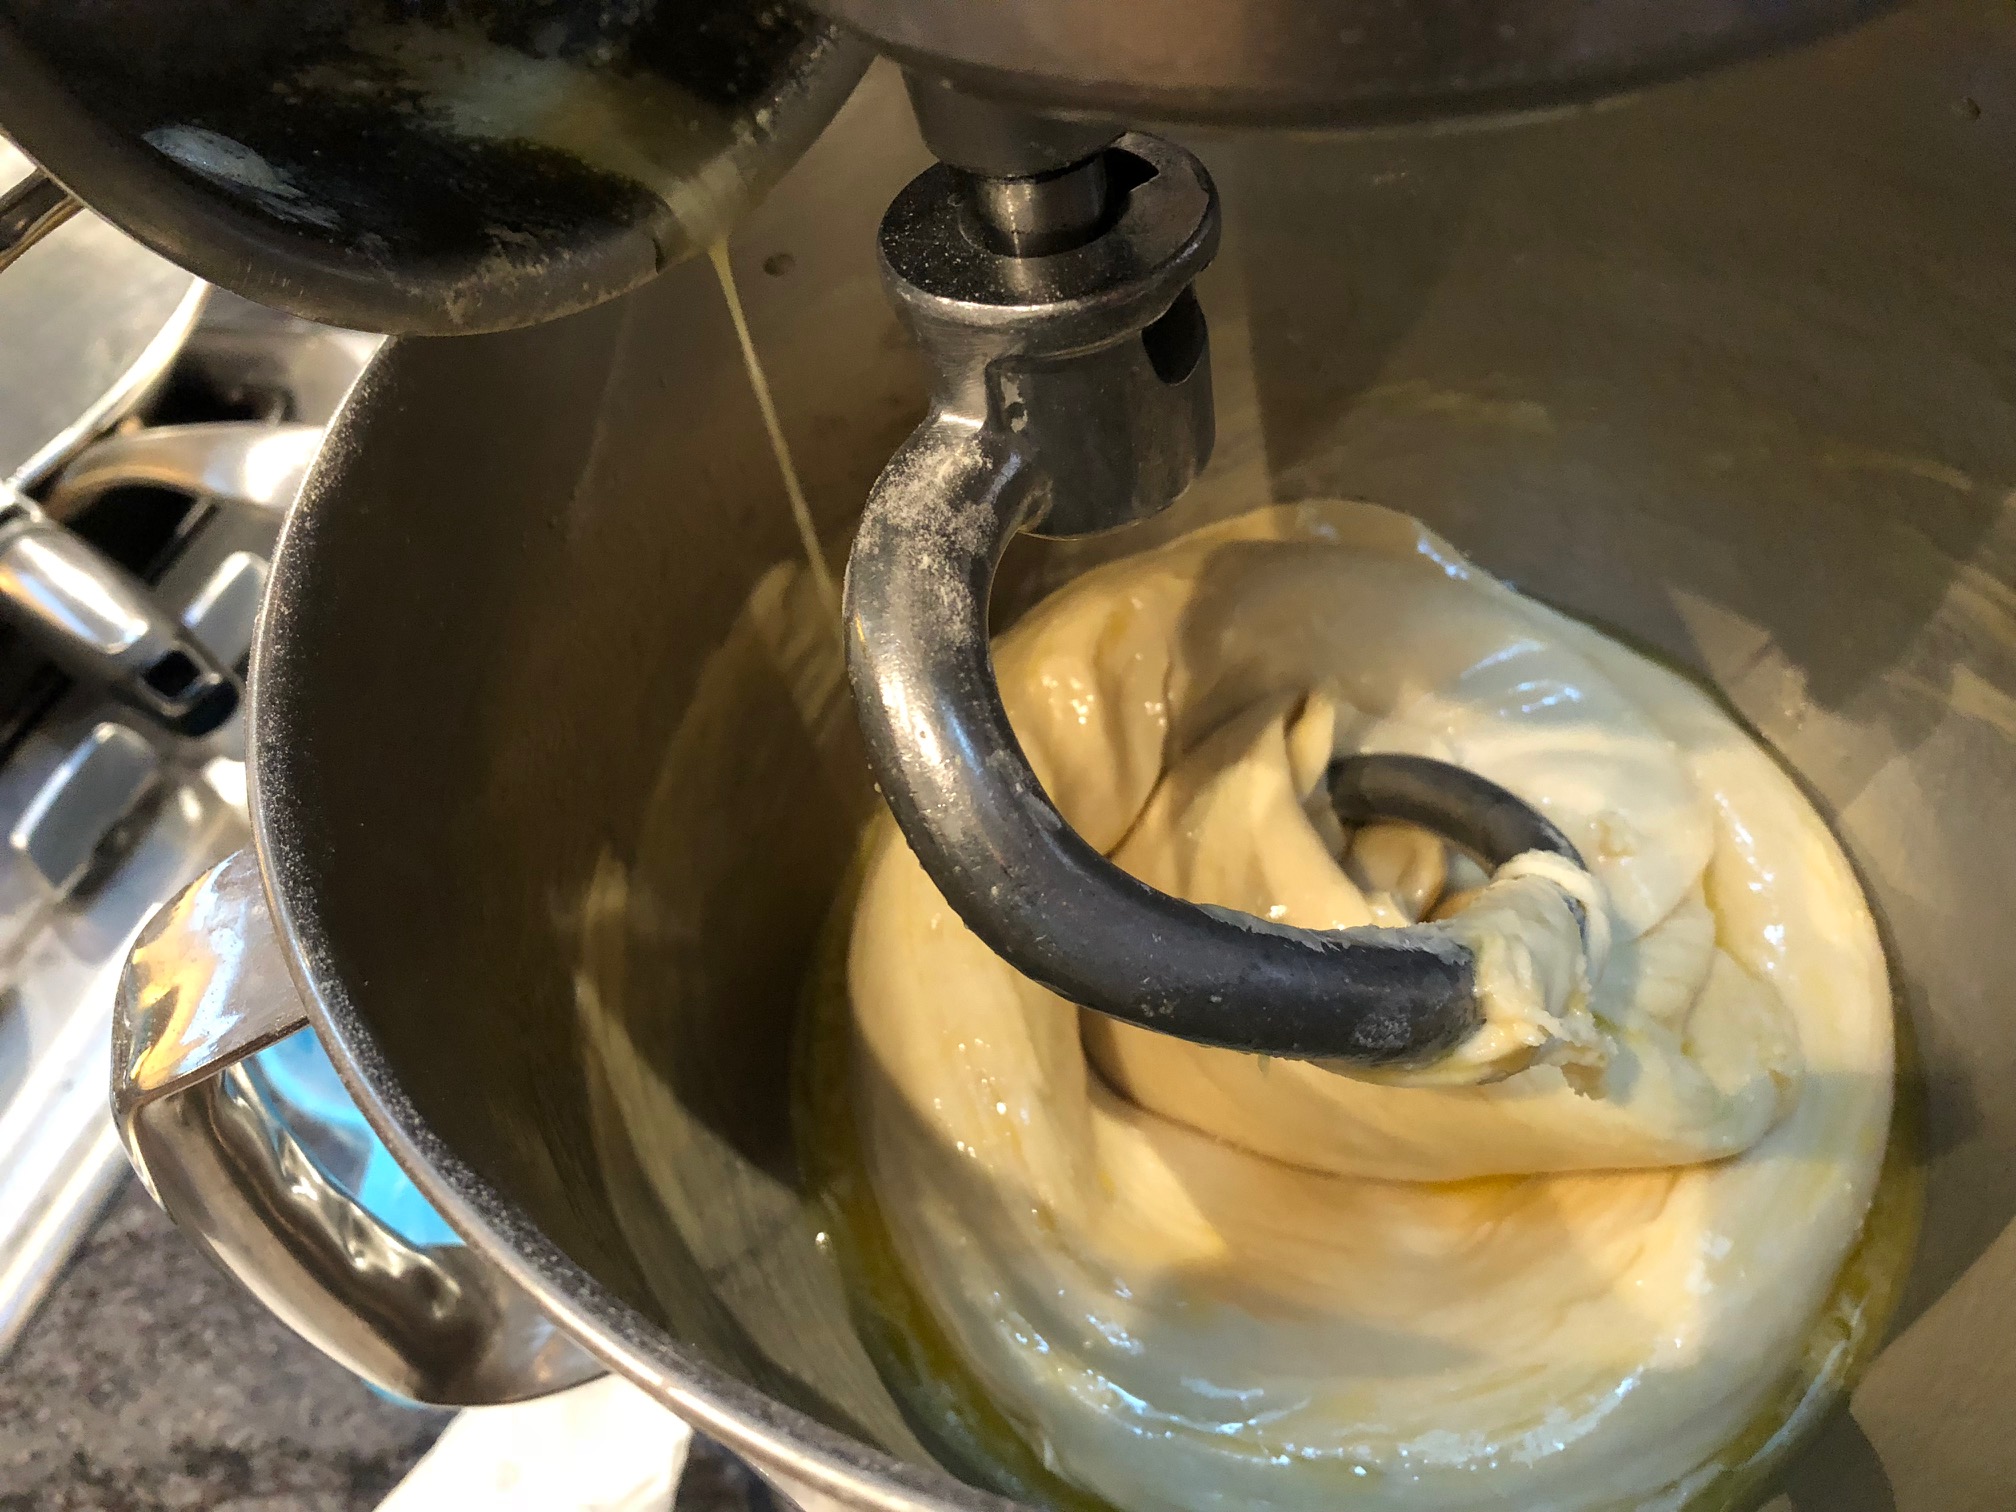
  4. Once the yeast starts working, pour the mixture into a stand mixer bowl and add 4-5 cups of flour and the salt. 

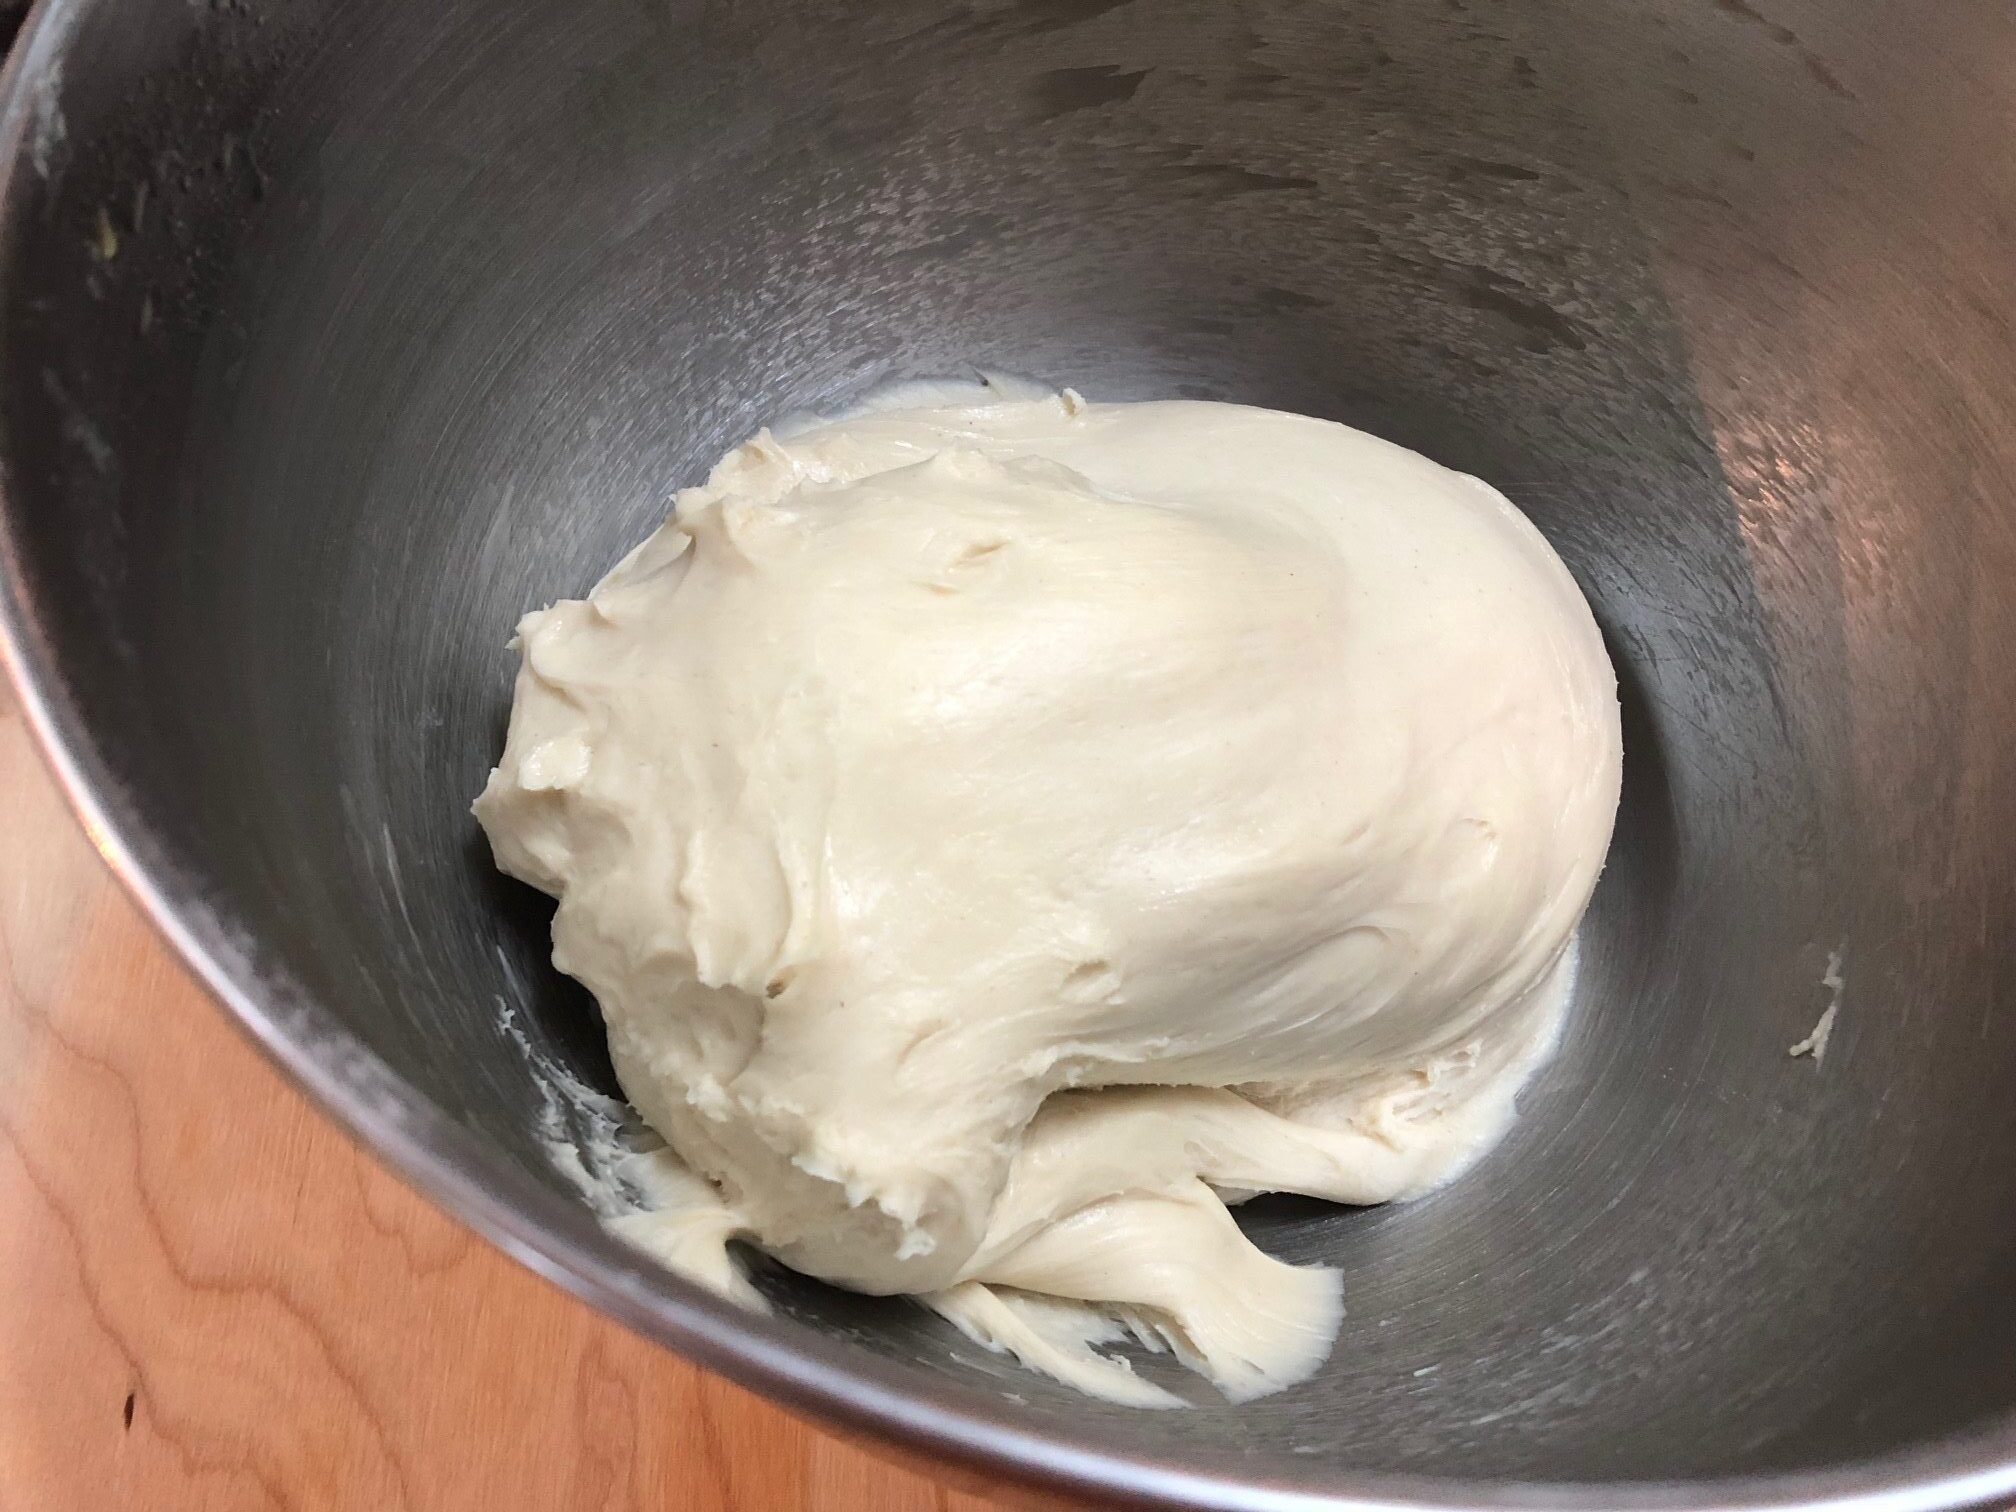
  5. With a dough hook, knead the dough for about 10 minutes, until a smooth ball starts to form and the walls of the bowl are clean.

  6. Add one tbsp of olive oil, and knead the dough for another 3 minutes until the olive oil is absorbed into the dough.

  7. Let the dough rest for about one hour or, when doubled in size.

  8. Take about 100 grams (3.5 oz) of the dough and form a small ball or a roll.

  9. As you shape your rolls, place them onto a baking sheet lined with parchment paper. You should be able to make about 12. Cover the leftover dough with a plastic wrap and put it in the refrigerator to use the next day, or make two dozen rolls all at once.

  10. Let the rolls rest on the counter, covered with a clean dish towel for about 45 minutes to an hour. 

  11. In the meantime preheat the oven to 400 degrees (200 Celsius). Bake the rolls for about 25 minutes. 

First reason:
hard versus soft wheat

I love using European flour! More than half of U.S. flour is made from the hard red variety. In Poland on the other hand, majority of wheat is the soft type.

The main difference between the two types is gluten. The hard red type of wheat popular in the U.S. contains more gluten than the soft European type.

Second reason:
Roundup use in the U.S.

In addition to the differences between European wheat versus the U.S. kind, is that in the U.S. wheat is grown and harvested differently too. In many cases wheat farmers soak their wheat fields in Roundup in order to kill off mold, speed up harvest, and produce a higher yield.

Roundup contains a very harmful active ingredient called glyphosate. In several European countries the use of Roundup is banned. However, this doesn’t mean all European flour is safe. Several European countries, like Italy import a lot of wheat from the U.S. and so the probability of traces of glyphosate in some Italian flour is very likely as well.

Cumulative effects of Roundup traces
in our foods

The herbicide industry claims that glyphosate is minimally toxic to humans. However, just because a small trace of glyphosate or Roundup might not harm you, the cumulative effect can have serious health effects in the long term.

If you think about it, wheat flour is in so many foods we eat every day. Such as breads, cereals, pasta, soups, sauces, puddings, even some yogurts and ice cream. Eating these foods on a daily basis means you’re probably systematically ingesting more glyphosate than you think.

The effects are slow to notice, and today you may not be aware of the impact this toxic wheat has on your health, but as your body is systematically exposed to this dangerous chemical, eventually you may start feeling the effects.

Glyphosate has damaging effects
on your digestion

Glyphosate found in Roundup disrupts the healthy flora and lining of your intestine by killing healthy bacteria in your gut. This bacterium is essential for healthy digestion and is the foundation of a healthy immune system.

When your immunity is weakened, you are prone to get sicker easily. Many doctors already recommend for patients to regularly take probiotics to help build healthy gut flora and immunity. But this might not be enough to fight off the effects of this harmful toxin in so many foods we eat every day.

The World Health Organization has declared Glyphosate to be carcinogenic. It has also been linked to autoimmune diseases, obesity, diabetes, and even Infertility.

Choose flour that’s not treated
with Roundup

The bottom line is that I would avoid eating wheat-based products made from bleached and enriched U.S. flour. Not to mention that in addition to ingesting traces of Roundup, the enriched and often bleached flour, causes even more harm to your health over time.

In order to continue enjoying bread in my diet, I now bake my own bread at home made only from European flour, especially one from Poland. And over time I noticed many positive effects on my health and how much happier my gut feels today.

That being said, if you already have celiac disease you probably already avoid gluten that’s found in wheat-based products. And, eating European flour in this case will not make a difference.

But if you’re feeling like something is off with your gut, I strongly recommend you try baking with European flour to see if after a few days of eating only your own bread made with this flour, and avoiding store-bought wheat products, you notice a difference in how you feel.

Give it a shot and follow some of my bread recipes to help you out!

***

You should also read: Baking Bread at Home and Why it’s Good for You

Challah

Ola Rokita04 August 2018Comments (0)

Challah

My grandmother inspired this Challah recipe. As a child I spent countless hours with her in the kitchen watching her bake and cook, while she told me stories from her childhood.

When it came to Challah, my job was to help her knead the dough. She would place this large galvanized bowl on my knees and ask me to knead the dough thoroughly, so that the dough would be nice and elastic, and would peal off the walls of the bowl.

My grandmother would rarely buy Challah at the store. Her believe was that the best Challah was made at home because it not only tasted the best, or that it would fill the house with the sweetest aroma, but it also brought people together. And that, my grandmother believed, is the magic of Challah, bringing people together.

I modified my grandmother’s recipe slightly to give it a richer taste. Basically by replacing sunflower seed oil for butter, and water for milk. But if you are a purist, you are welcome to stick to sunflower seed oil and water instead of butter and milk.

But however you choose to bake your Challah, nothing is as satisfying as sharing it with the people you love and watching them tear it peace by peace as they enjoy its sweetness. Challah should never be cut. It needs to be torn with your bare hands.

Enjoy!

Challah

Ingredients

  • 5-6 cups flour (I recommend you use Polish "Luksusowa" wheat flour type 550)
  • 1.5 cups milk
  • 2 whole eggs save one egg white for glazing
  • 5 tbsp sugar
  • 1 packet active yeast you can use 1 oz (30 g) of fresh yeast
  • 3 tbsp butter
  • 1 tsp salt

Instructions

  1. Pour milk into a small saucepan. Add one whole egg and egg yolk (leave the egg white for coating), and sugar, and with a whisk stir it all together over a medium heat until the mixture is lukewarm. Make sure you don’t overheat your mixture, otherwise it will kill the yeast.


  2. Next, add the yeast and gently whisk it all together. Let the mixture stand for approximately 10 minutes until you notice the yeast is activated.


  3. You’ll notice bubbles forming on the surface. Personally I prefer using fresh yeast, but if you can’t get fresh yeast from your local baker, use dry yeast. In the end the effect is the same.


  4. Take flour and pour it into the stand mixer bowl. Add salt and the mixture to the flour, and using the dough hook extension, knead the dough until it starts pealing off the walls of the bowl. As the dough is being kneaded, melt butter over low heat.


  5. Pay attention so that you don’t burn it. Cool it off slightly and then add the butter to the fully uniform dough. You can tell when the dough is well kneaded when the walls of the bowl are clean. With my stand mixer it takes about 15 minutes.


  6. Once the butter is fully mixed into the dough, find a dry warm place in your kitchen, cover the bowl with a clean dishcloth (my favorite is the linen kind), and let the dough rest for about one hour. During that time you should see your dough double in size.


    dough
  7. Once grown, take your dough and divide it into three equal portions. I like using a kitchen scale for making sure my Challah is perfectly proportioned. But if you don’t have one, an approximation is fine too.


  8. Divide further each portion into three equal parts. Roll each part into a thin long strand and braid the strands into a braid. Repeat these steps for each portion, until you have three braided Challahs. Let them rest for about 45 minutes to an hour.


  9. Preheat your oven to 350 degrees Fahrenheit (about 180 Celsius). In the meantime, take a brush and gently apply the egg white over the top of the Challah.


  10. Bake between 20 to 25 minutes, until your Challah is nice and golden. Each oven is different, so you’ll need to learn how long it takes for your oven to bake bread to your preferred darkness.  


Please note that this recipe is made with Polish wheat flour (type 550). This type of flour is ideal for yeast-based baking because it contains a minimum of 25% gluten. This minimum amount of gluten is necessary to ensure your dough is elastic and airy. Big features of Challah.

To learn why I choose to bake with Polish flour, click here.

Enriched Flour

Enriched Flour – The word enriched can be very misleading when it comes to flour. The term enriched flour can easily be interpreted that the flour is enhanced, and therefore better for you.

But in this case the word “enriched” is actually misleading. Because it leads you to think that you’re eating something better and healthier for you, when in fact you’re not.

Enriched means adding synthetic nutrients and elements to the flour

Essentially enriched flour is one where natural nutrients (bran and germ) are first stripped out of wheat. Then synthetic vitamins and nutrients are added to the flour. Hence, the flour is enriched by these synthetic vitamins.

Why strip the flour of its nutrients only to then add them back again?

Because it prolongs the shelf-life. And consequently bread made out of enriched flour also stays fresh longer. For example, bread made out of non-enriched Polish flour stays fresh for about two days. Bread made out of enriched flour can stay fresh between two weeks to about a month, and in some cases even longer if other preservatives are added.

Enriched flour means longer shelf life, but potential weight gain for you

When wheat is stripped of it’s natural minerals and nutrients, such as germ and bran, your body no longer absorbs flour the way it would absorb flour made from the wheat left in its entirety.

Enriched flour is absorbed as sugar and stored as fat. Whereas whole wheat flour takes longer to be absorbed, giving you a steady level of blood sugar and energy.

Be a discerning label reader!

Most breads you’ll find in grocery stores are made with enriched flour. Just look at the label and read the very first ingredient. You’ll quickly discover that in the U.S. it’s very difficult to find breads that are not made with enriched flour.

Therefore, the first step to eating healthier, not just flour-based foods, but other foods too, is to read labels and avoid breads, cakes, or cereals made with enriched flour.

*****

If you want to bake simple rye bread read this post >>

Babka with Sweet Cheese

Ola Rokita28 June 2018Comments (2)

Babka Dough - Ola's Bakery
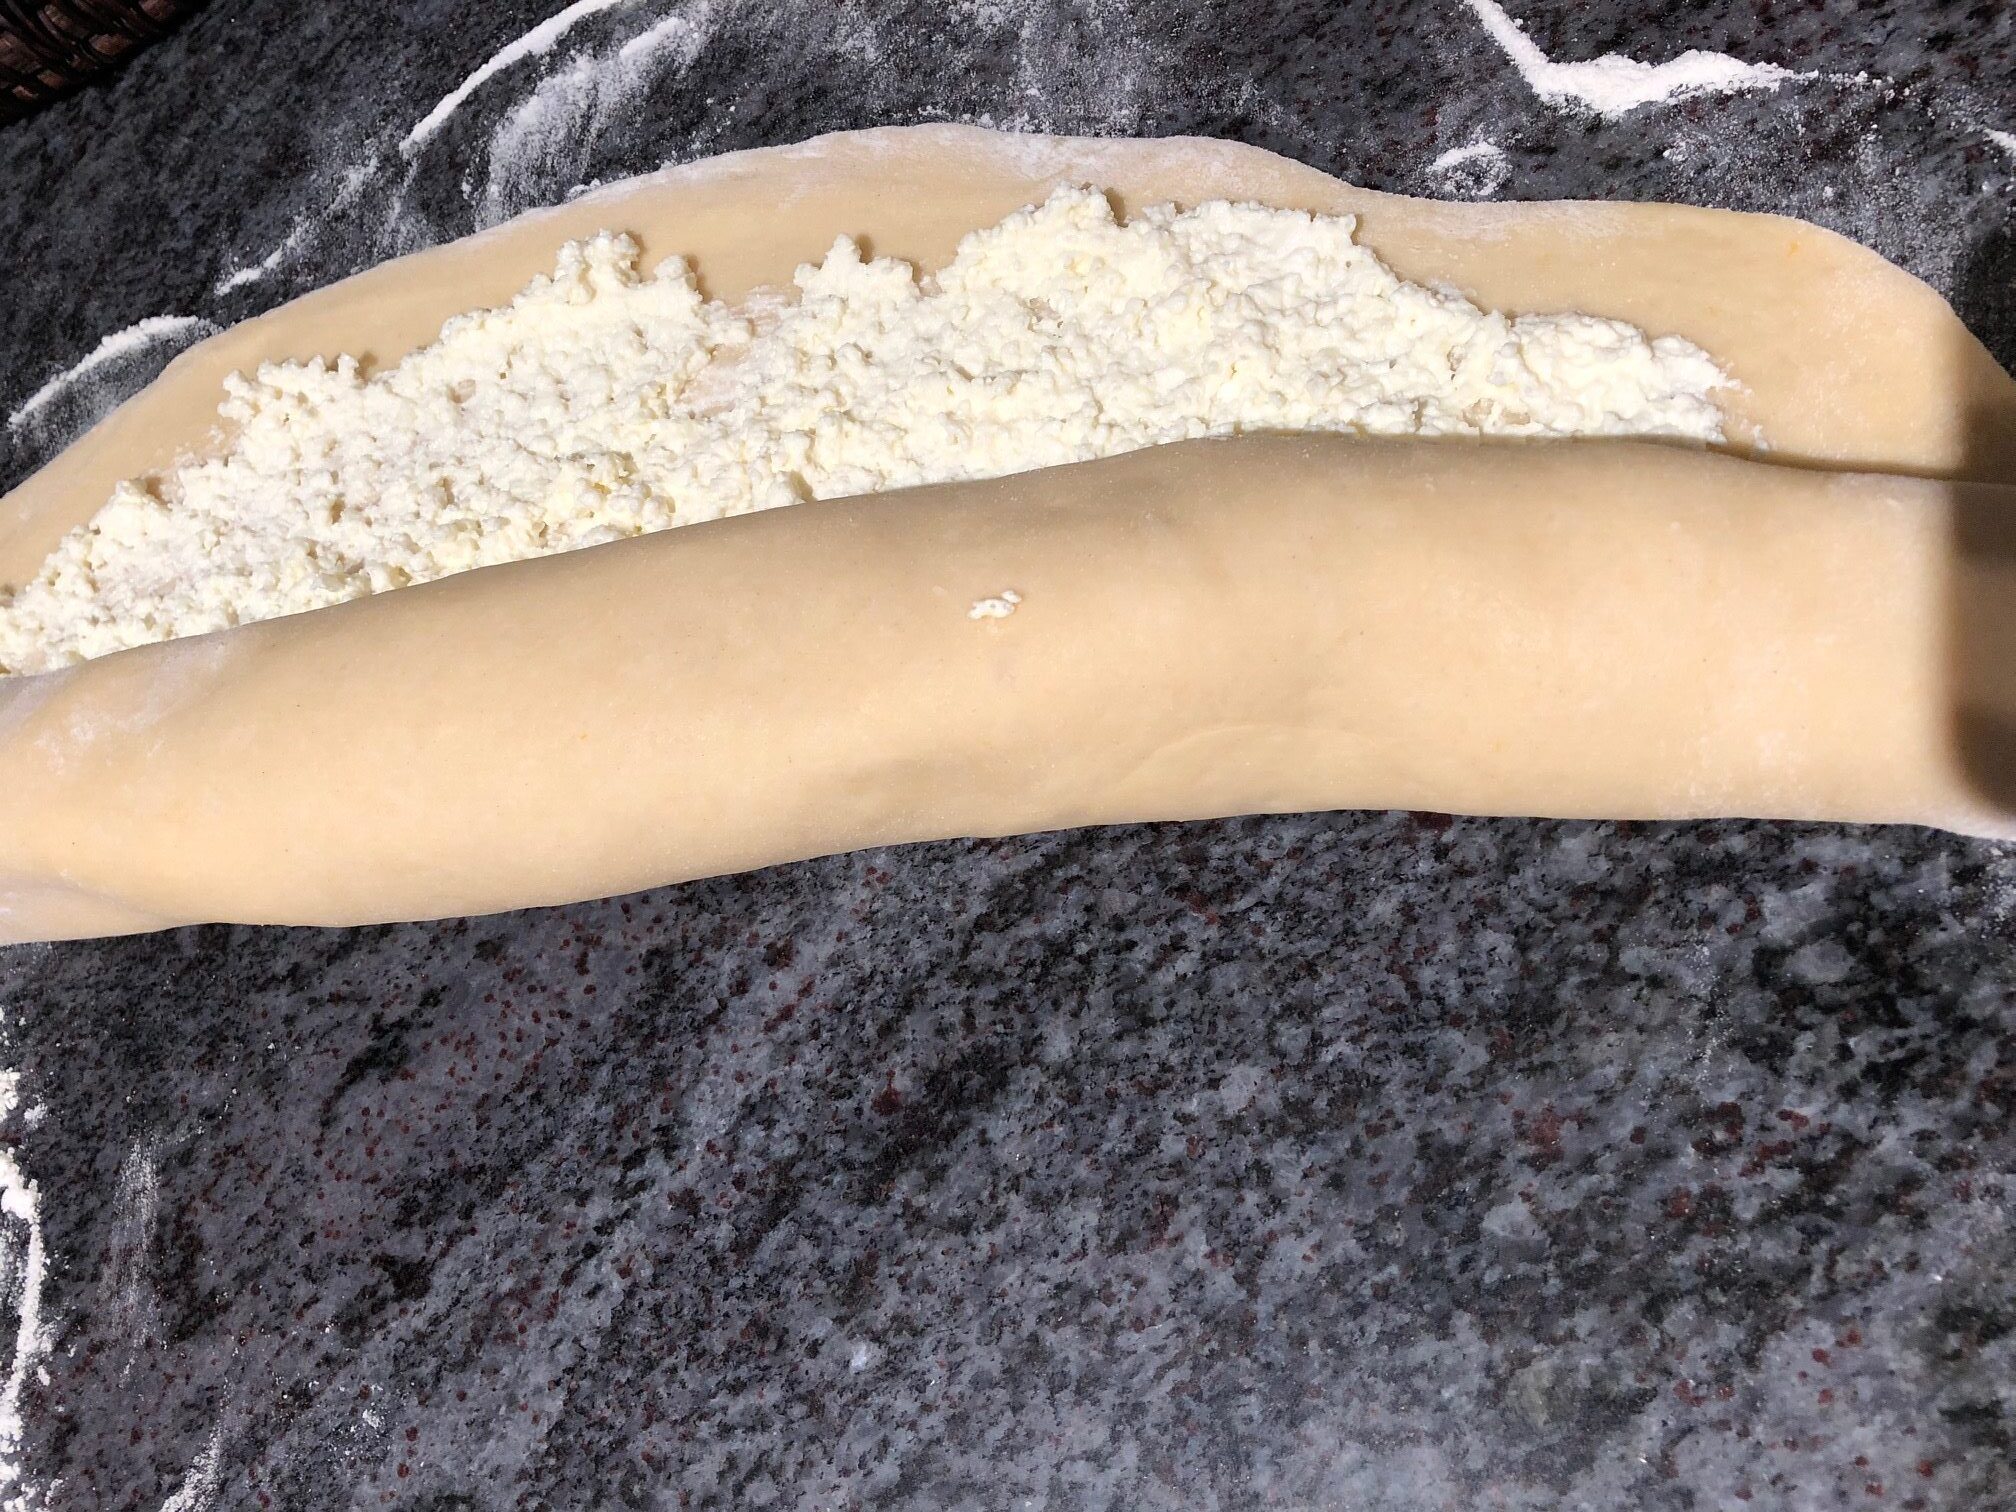
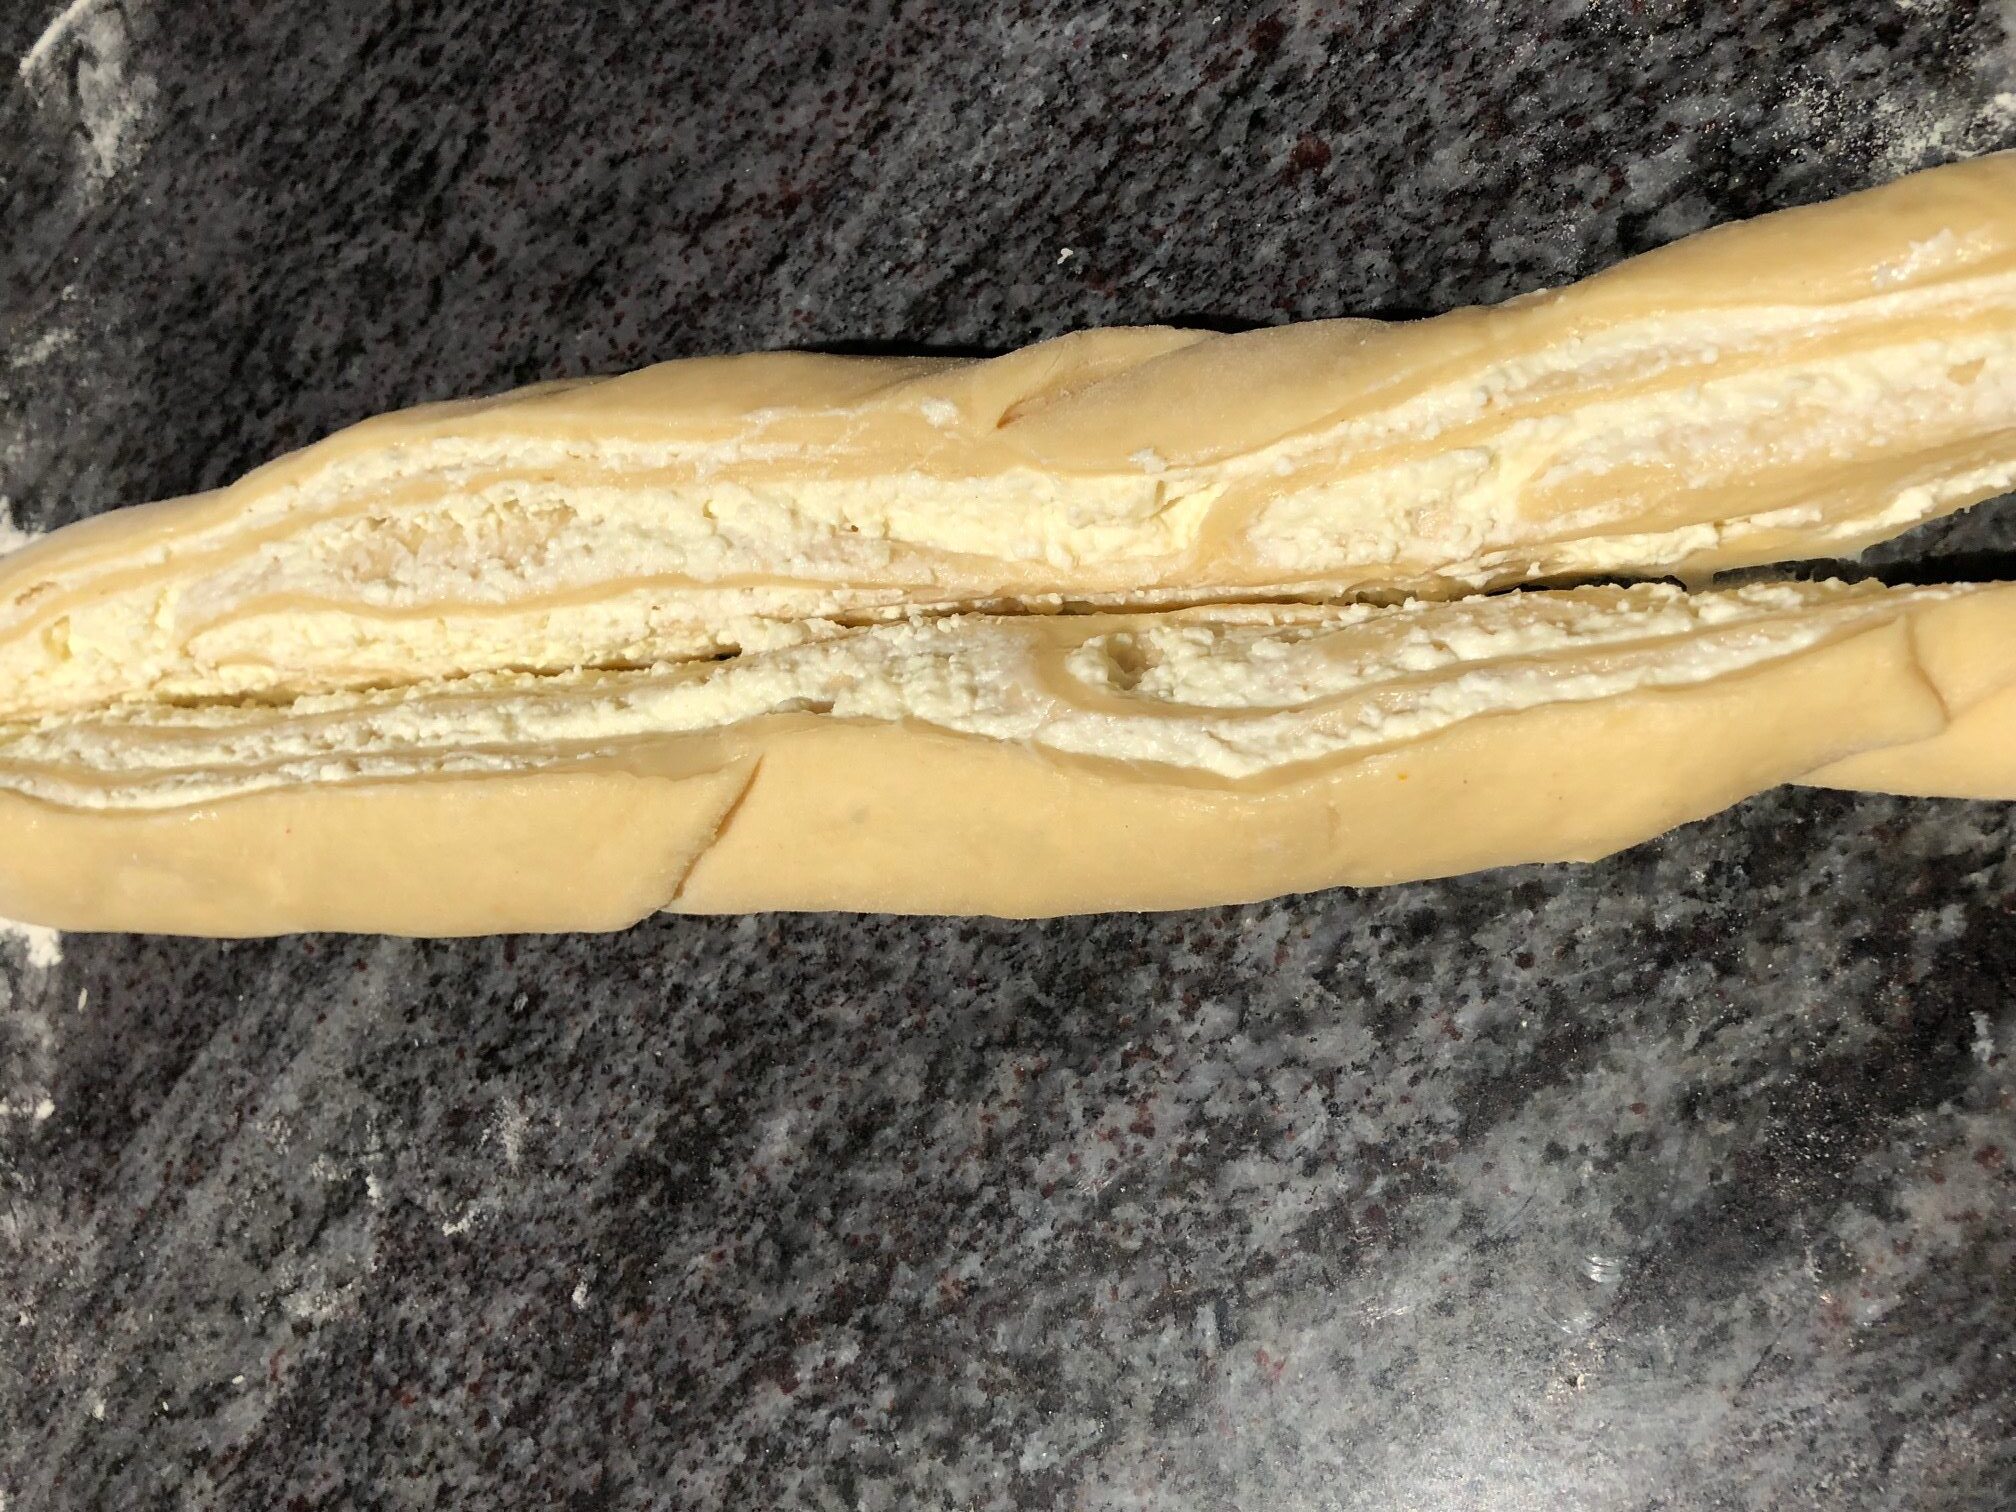
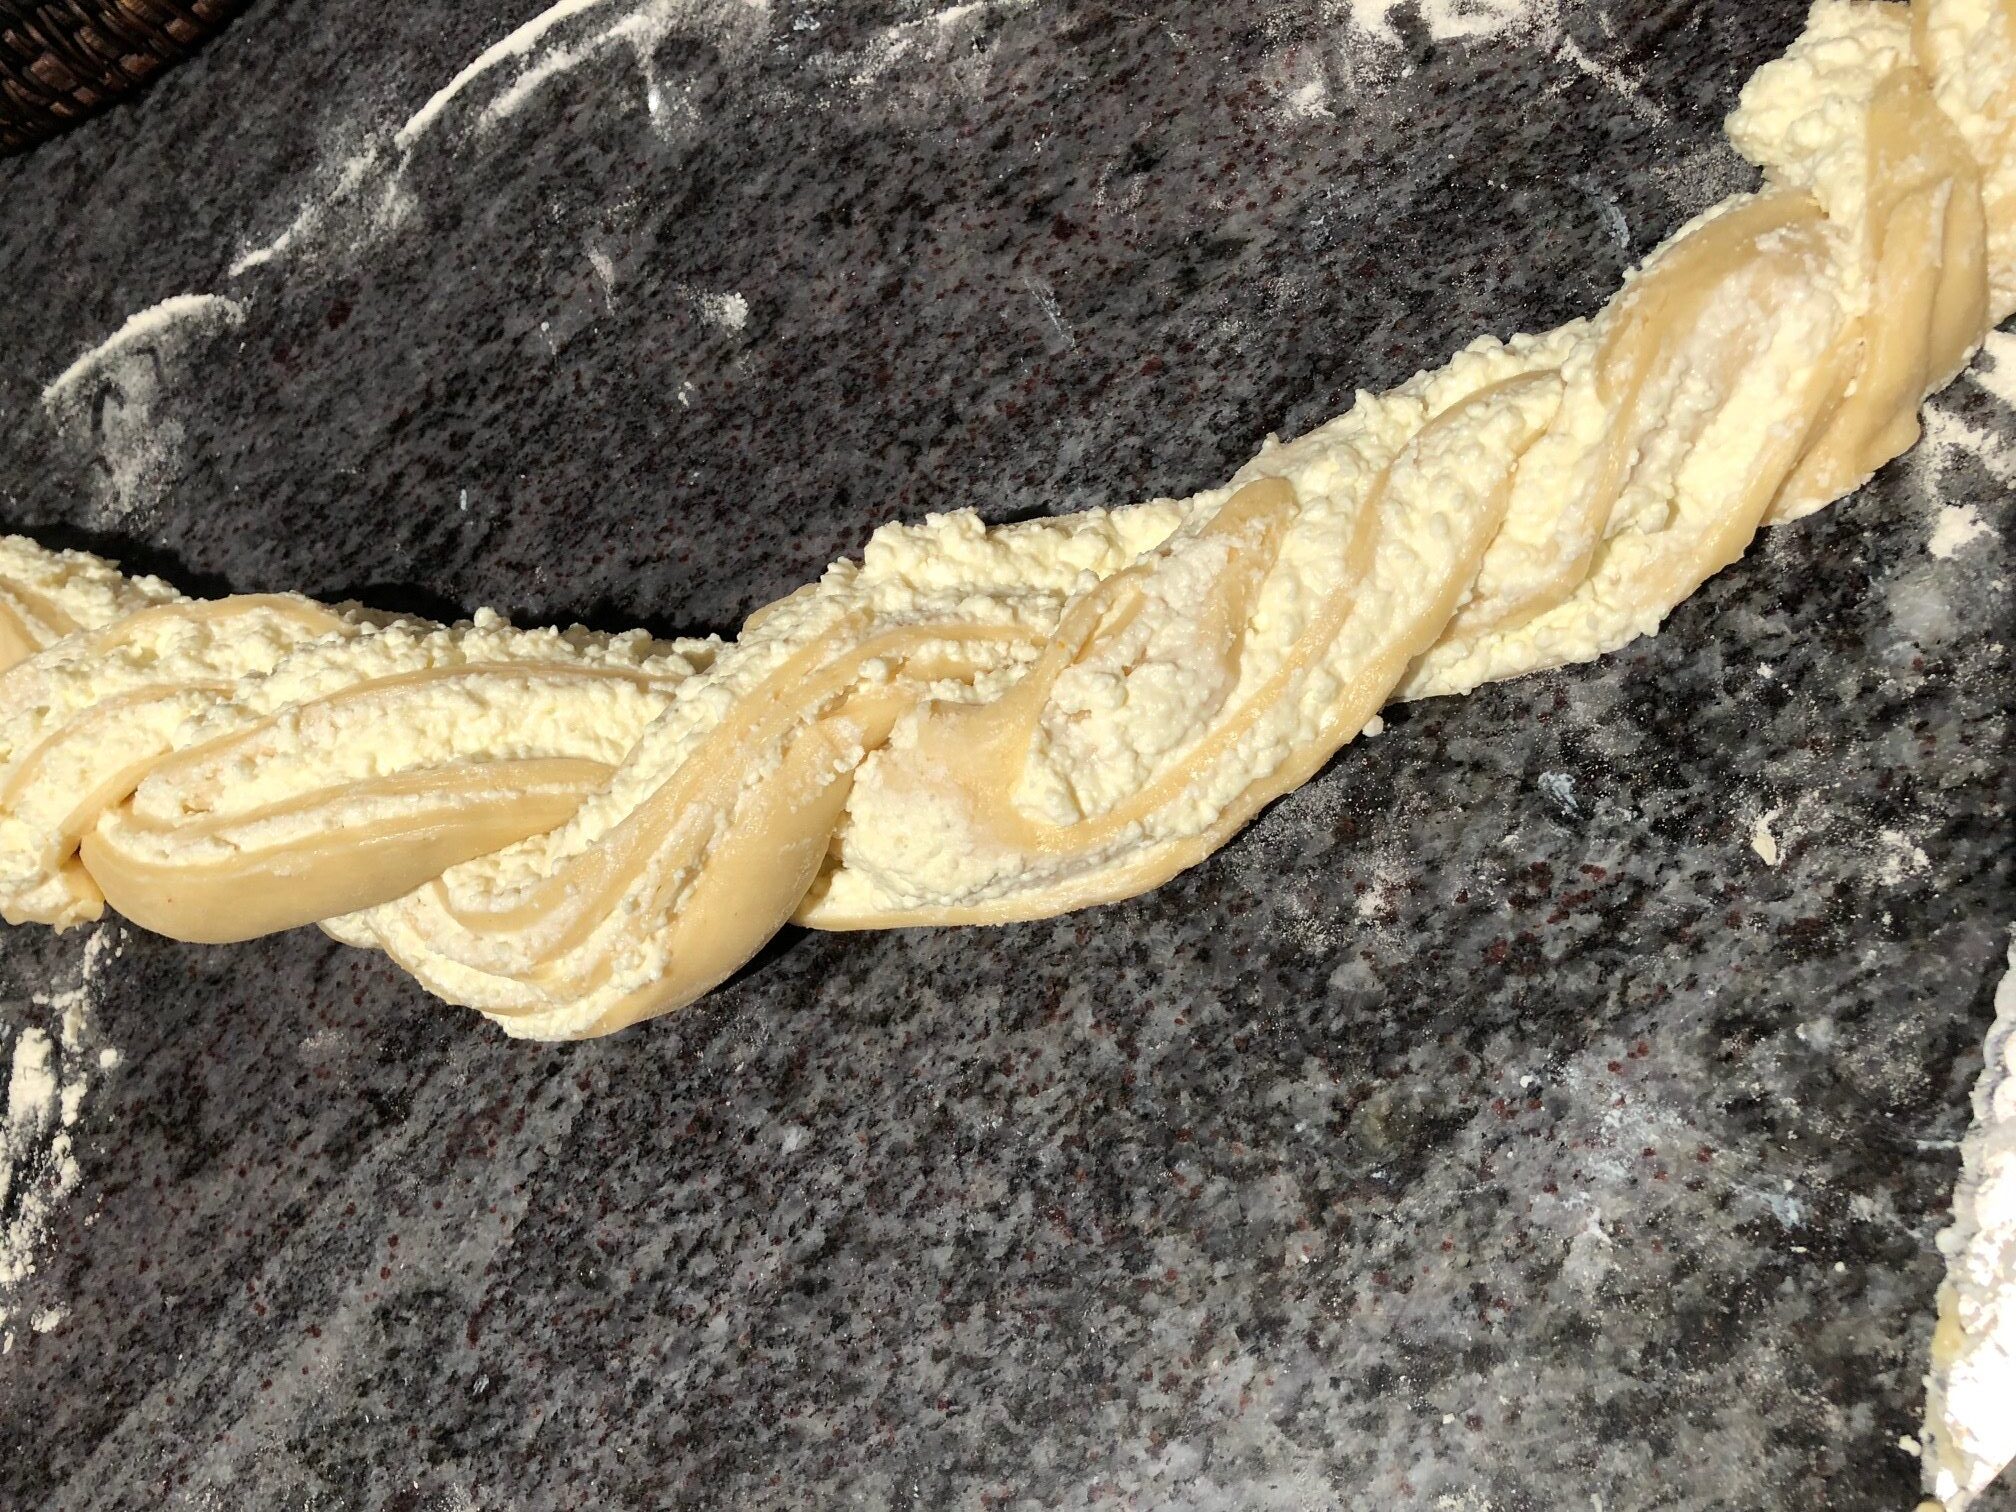
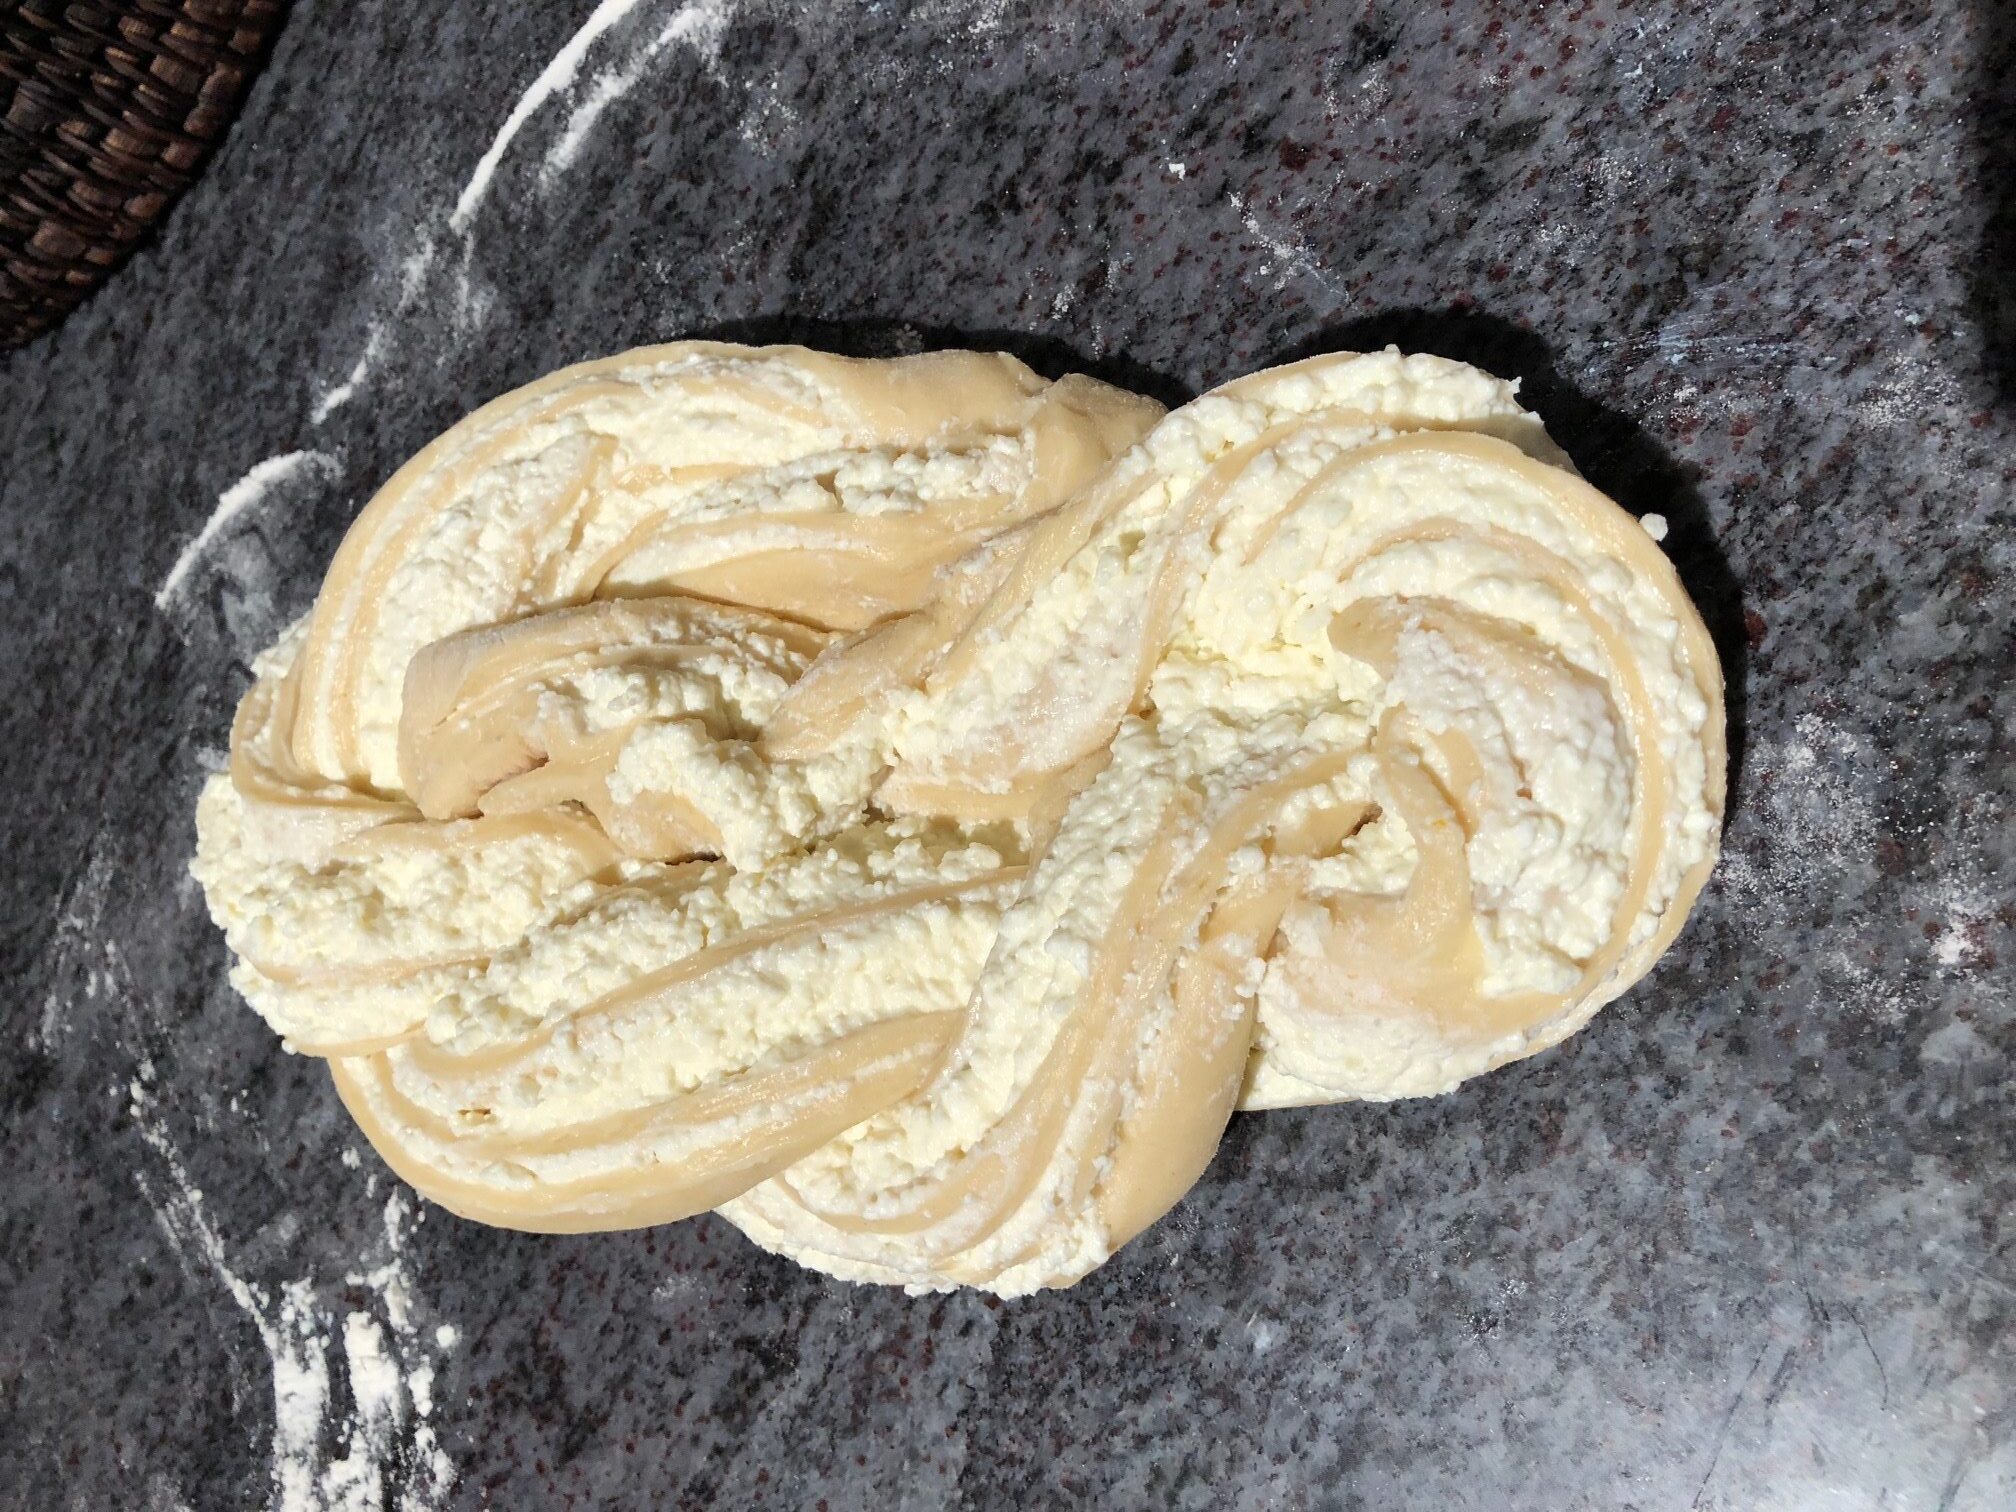
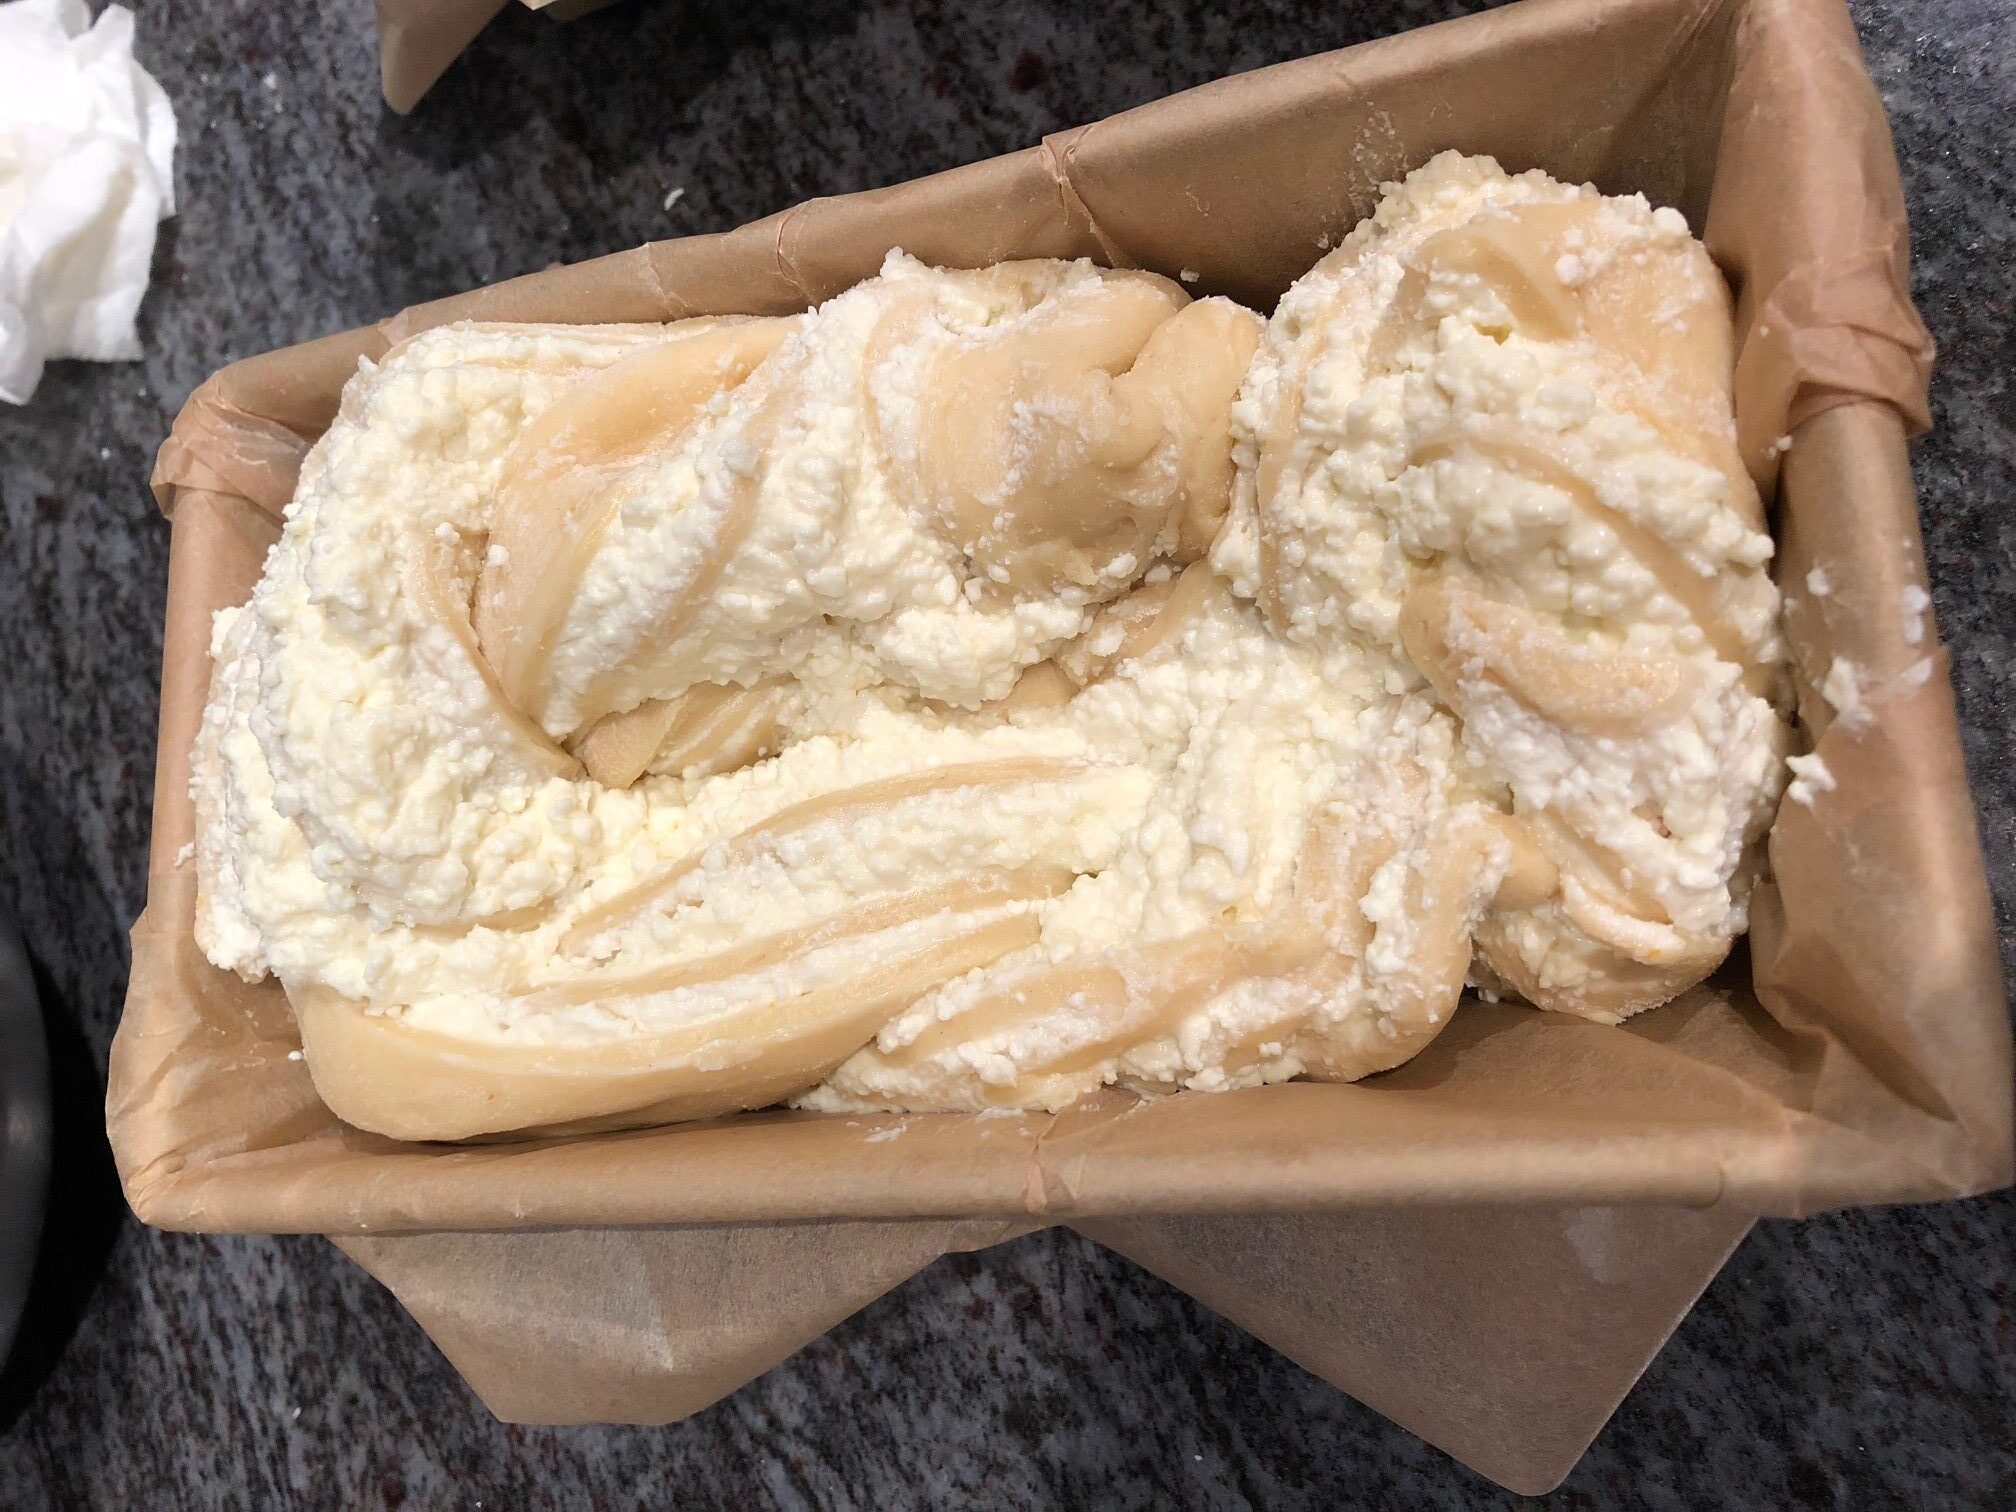
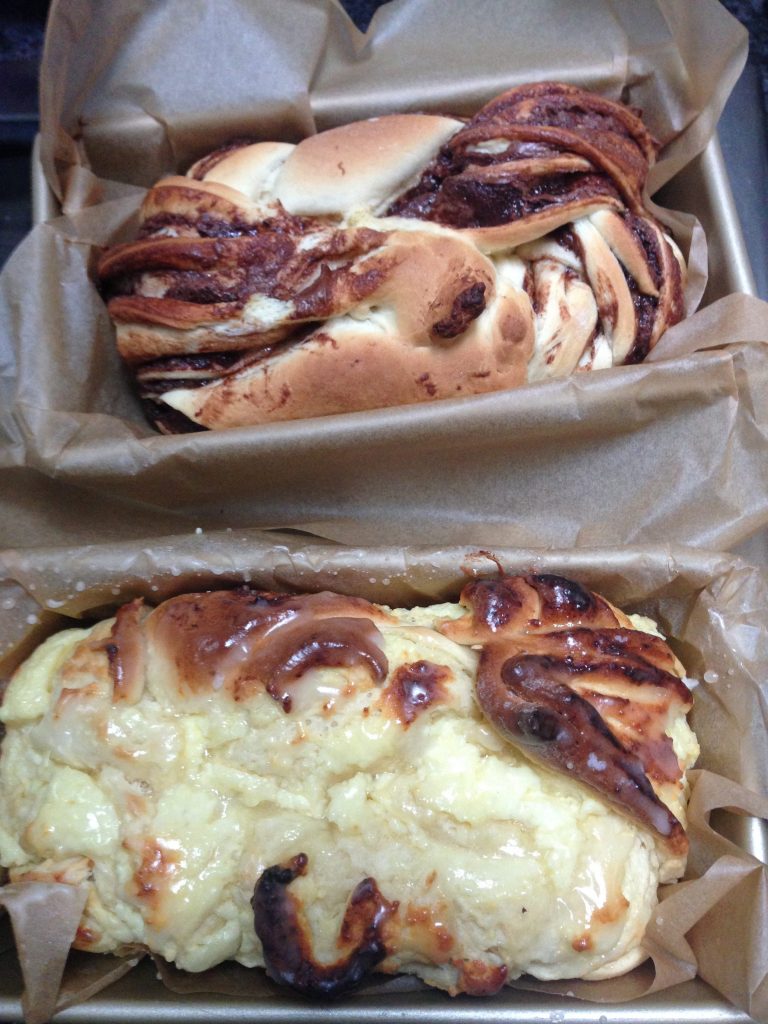
Delicious and fluffy Babka is one of my favorite, lightly sweet breakfast or desert breads my grandmother used to make. This yeast-based sweet bread can be made with all sorts of fillings, such as chocolate, cheese, poppy seeds, plum preserves, and so on.

It takes a bit of time to make, but it’s worth it.

You’ll need a generous working surface to work with your dough.

The trick is rolling your dough into a rectangle, and then twisting the dough so that the filling stays in tact. To help with that, I use a loaf pan and some parchment paper.

See the images below on how to twist and form the babka.

To make my babka, I also use wheat flour from Poland wheat flour type 550 [click here to buy].

To learn more why I choose unbleached and avoid enriched flour, read my entry about Polish versus U.S. flour.

[Enriched flour – Why to avoid it>>]

Babka Dough

Ingredients

  • 5-6 cups all-purpose flour start with 5 cups and add sixth only if the dough is too moist
  • 3/4 cups sugar
  • 3 whole eggs
  • 2 egg yolks save one egg white for a final wash
  • 1 cup milk
  • 3 tbsp unsalted butter
  • 1 packet dry active yeast (1/4 oz)
  • 1 tsp Vanilla extract
  • 1/4 tbsp orange zest

Farmer's Cheese Filling

  • 1 lb Farmer's Cheese
  • 1 whole egg
  • 5 tbsp sugar
  • 1/2 tsp vanilla extract

Instructions

  1. In a sauce pan using a whisk, combine milk, a table spoon of flour, a table spoon of sugar, eggs, egg yolks, and the dry active yeast.


  2. Let it rest for about 10 minutes to activate the yeast. Pour remaining flour, remaining sugar, orange zest and vanilla into a bowl of a stand mixer. Add the activated yeast mixture to the flour mixture, and using a dough hook mix all the ingredients together on low to medium speed for 2-3 minutes and then increase the speed to medium and mix the dough for another 4-5 minutes.


  3. In the meantime, melt the butter on low heat. Once the dough comes off the walls of the bowl, reduce the speed to low and slowly pour in the melted butter. Mix on low speed for additional 4-5 minutes.


  4. Remove the bowl from the mixer, cover it with a clean dish towel, and let the dough rest for about 45 minutes to one hour, until it doubles in size.


  5. While the dough rises, preheat the oven to 350 degrees. Proceed to making the filling.

Farmer's Cheese Filling

  1. In a mixing bowl add the framer's cheese, sugar, egg, and vanilla. Mix it using a fork until evenly combined.

Filling the Babka

  1. On a flat and sprinkled with flour surface, roll out about a pound of the Babka dough.

  2. Try to make roll it into a large rectangular shape.

  3. Using a large spoon, take the cheese filling and evenly spread it to the edges of the dough.

  4. Roll up the dough into a large long roll.

  5. Using a sharp knife, cut the roll in half.

  6. Twist the dough and then fold it again. 

  7. Place it into a large loaf pan lined with parchment paper.

  8. Preheat your oven to 350 Fahrenheit or 180 Celsius. Let your Babka rest for 30-45 minutes.

  9. Right before baking, take a glazing brush and brush some egg white on the surface of your Babka.

  10. Bake your Babka for 30-35 minutes. Or until the surface is golden brown.

  11. Once your Babka is baked, you can top it with a sugar glaze. To make a sugar glaze, take a 3/4 cup of powdered sugar and add 1 tbsp of water or lemon juice. Mix it over low heat until the sugar turns into a syrup-like mixture. Using a brush, brush it over the surface of your baked Babka once it has cooled.