Ola Rokita

Hi! I am Ola and I want to share with you my simple baking recipes that can change your life and how you feel.
[Read more >>>]

Marble Bundt Cake

Ola Rokita01 September 2020Comments (0)

Marble Bundt Cake


I have tried several Bundt cake recipes, but my favorite is my grandmother’s marble Bundt cake recipe because it’s very fluffy, moist, and the hint of chocolate makes the Bundt cake taste very rich.

In Poland, Bundt cake, or “babka piaskowa” is a staple at most holiday meals.  It’s a relatively simple cake to prepare that appeals to most tastes.

There are many ways to enhance the flavor of your Bundt cake. Glaze it with some sugar or chocolate. Sprinkle it with powdered sugar, coconut flakes or, add fruit and nuts.


Fluffy Bundt Cake

You can tell how well you made your Marble Bund cake by its texture

A well made marble Bundt cake should melt in your mouth and finish with with a light crumble. The texture should feel as if small grains of sand were melting in your mouth.

Very similar to spongecakes, Bund cakes require a bit more fat to ensure moisture, more thorough mixing, and more precise measurements. If you want a very moist Bundt cake, add a couple of tablespoons of sour cream or yoghurt.

Bundt cakes are typically baked in round Bundt pans, but you can bake your Bundt cake in a rectangular loaf pan as well, especially if you add fruit.

If you do decide to add fruit or nuts to your recipe, make sure you increase the portion of baking powder from one teaspoon to one and a half, or even two.

Bund Cakes have a longer shelf life

The other advantage of Bundt cakes is that they are delicious right after baking and stay delicious two or three days later too. In fact, I prefer eating my marble Bundt cake the following day, accompanied by a fresh couple of coffee.

Pay attention to the temperature of your ingredients

The ingredients should be at room temperature, so take out the eggs one hour before planning on baking. Some recipes require that you cream the butter with the sugar first. This is only needed if you don’t separate the egg yolks from the egg whites and add them whole.

I prefer the option of beating the egg yolks and egg whites separately. I found that this helps the Bundt cake turn out extra airy. Instead of creaming the butter and sugar together, I melt the butter and pour it in at the end.

Best flour for your marble Bundt cake

To make my Bundt Cake extra fluffy and airy, I add a couple of tablespoons of potato flour. I also recommend to use pastry flour and avoid heavy-in-protein flours. My favorite for this recipe, and most authentic, is wheat flour from Poland type 450, also known as the “Tortowa” flour.


Marble Bundt Cake

Ingredients

  • 1 cup pastry flour (Polish flour type 450 "Tortowa")
  • tbsp potato flour
  • 5 whole eggs
  • 1 cup unsalted butter (about 8 oz or 220 grams)
  • ¾ cup powdered sugar
  • 2 tbsp brown sugar
  • 3 tbsp cocoa powder
  • 1 tsp vanilla extract
  • tsp baking powder
  • ½ tsp salt

Instructions

  1. Preheat the oven to 350° Fahrenheit or 180° Celsius.

  2. Grease the Bundt Pan with a thin coat of butter.

  3. Using a saucepan, melt the butter over a low heat.

    butter
  4. Gently swirl the butter in the saucepan as it melts to make sure it doesn't burn.
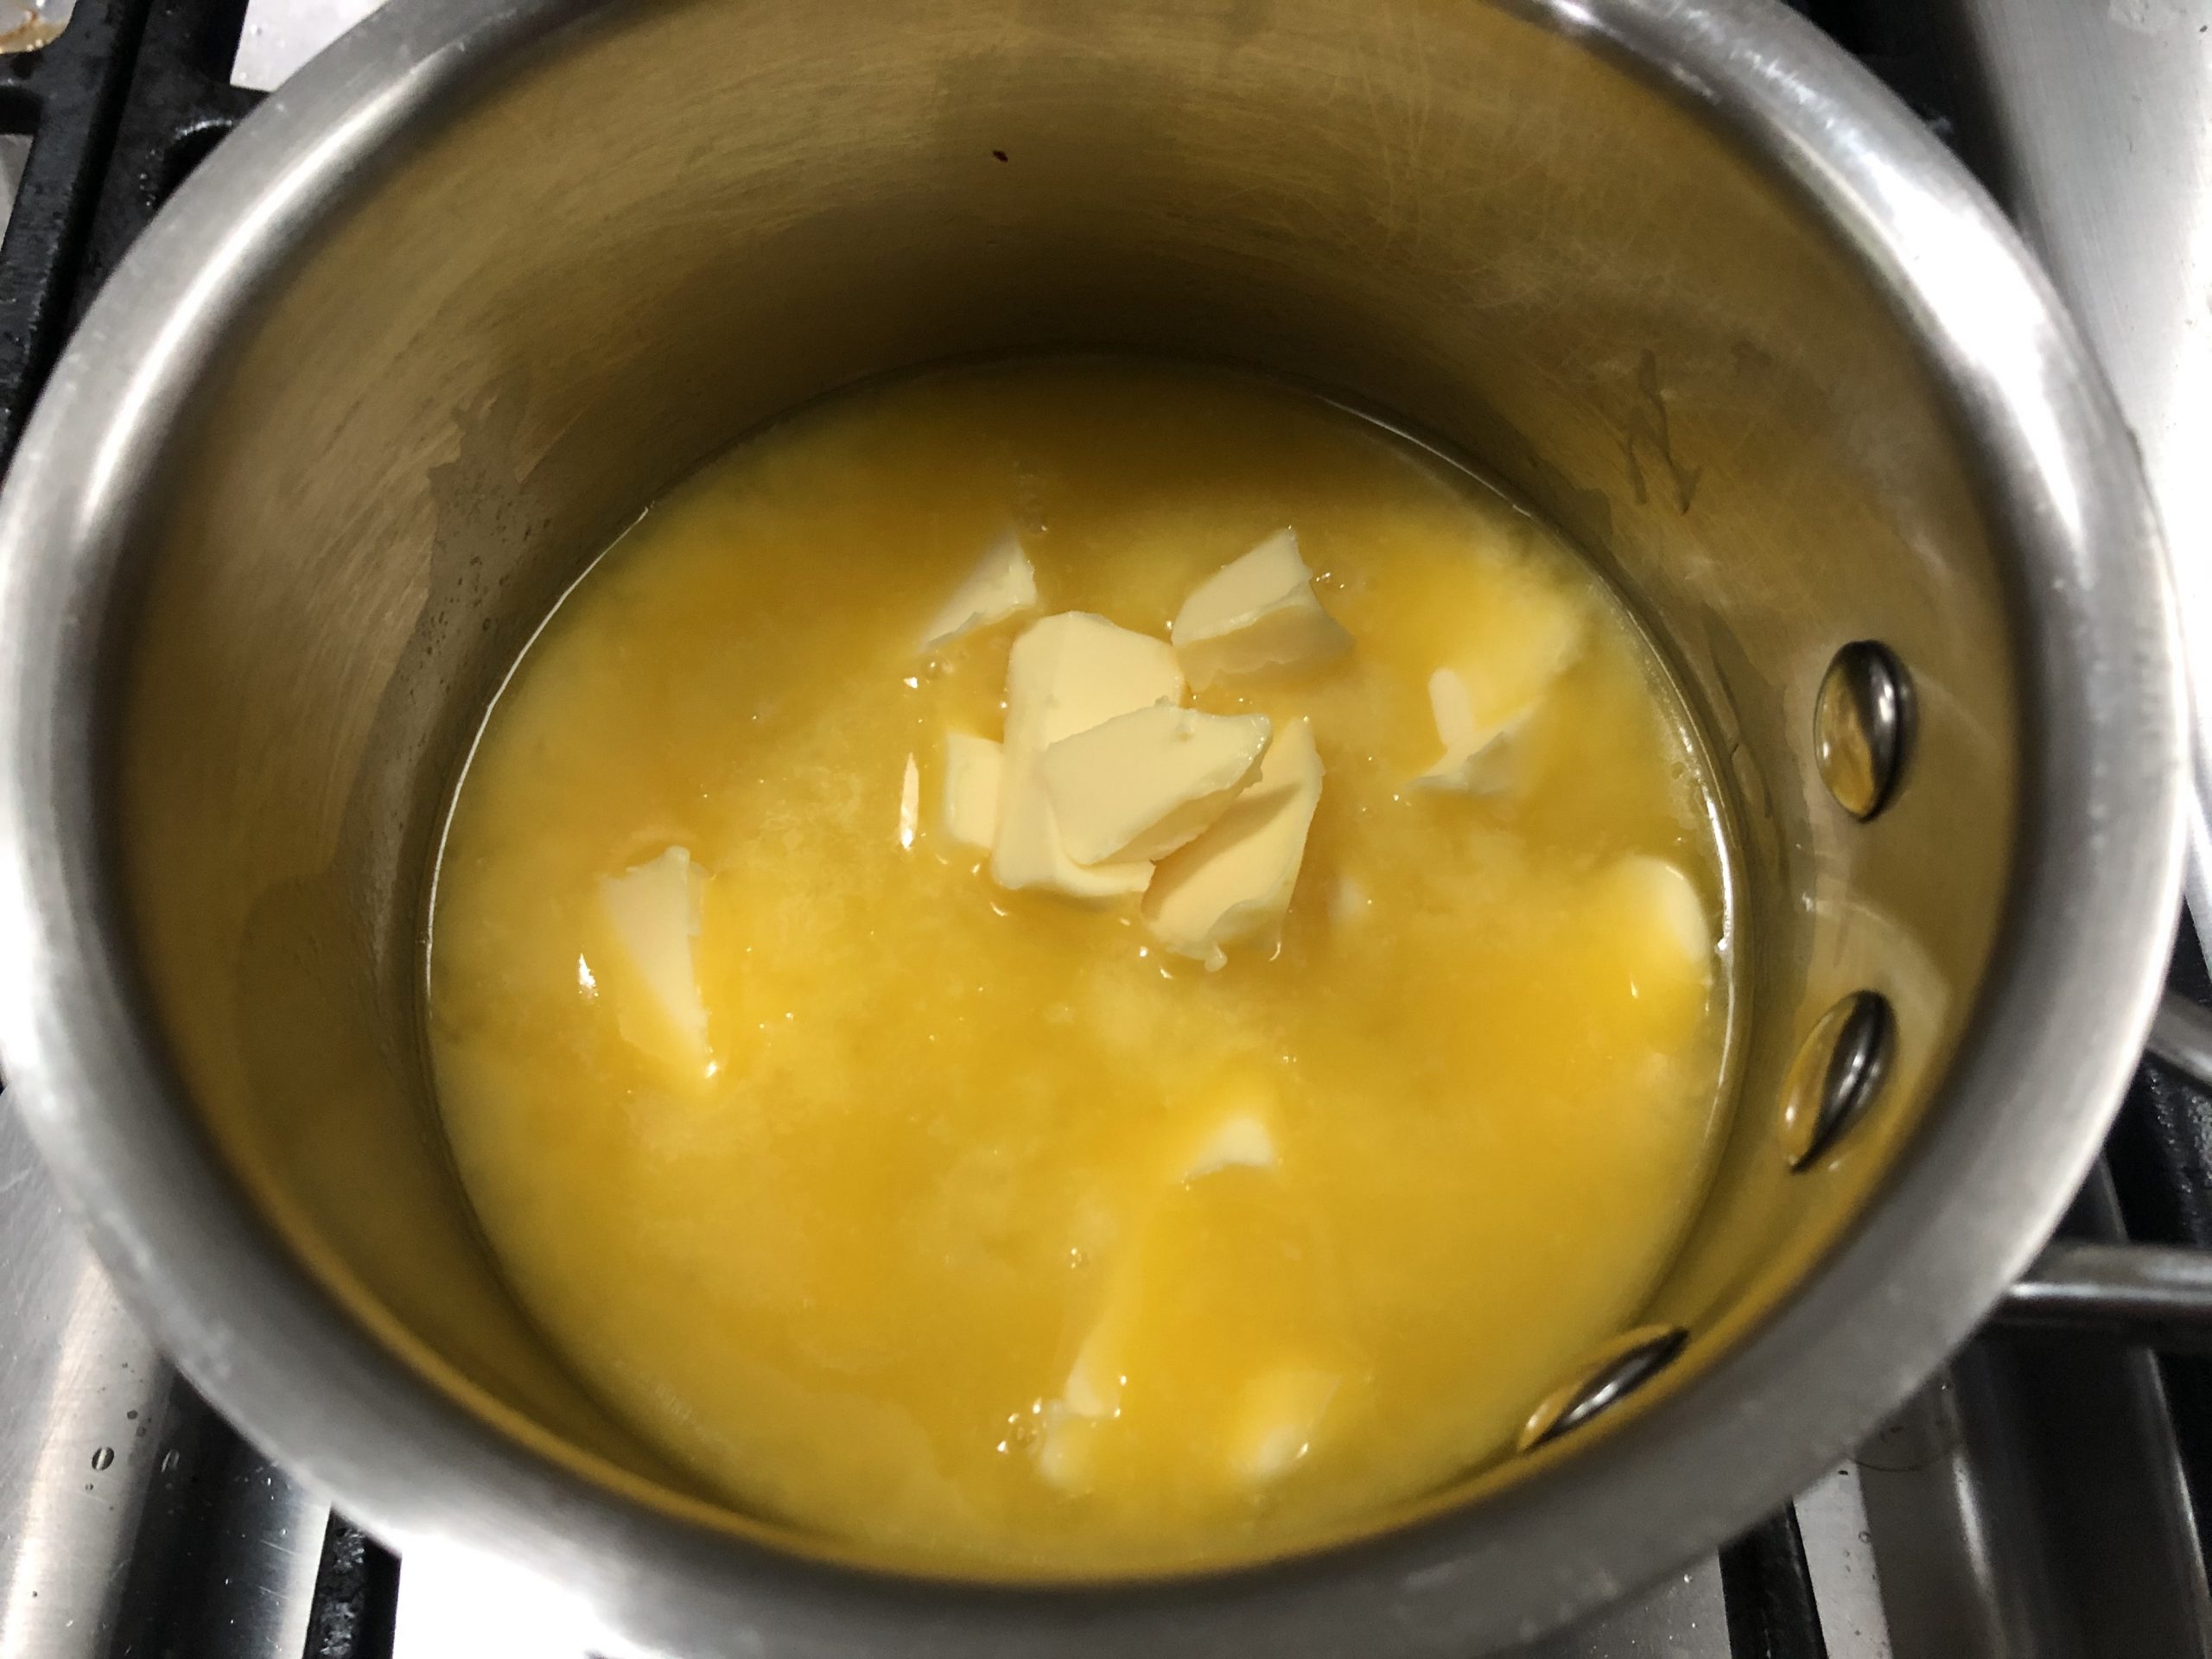
    melting butter
  5. Set the melted butter aside to cool off.

  6. Using two mixing bowls, separate the egg yolks and egg whites.
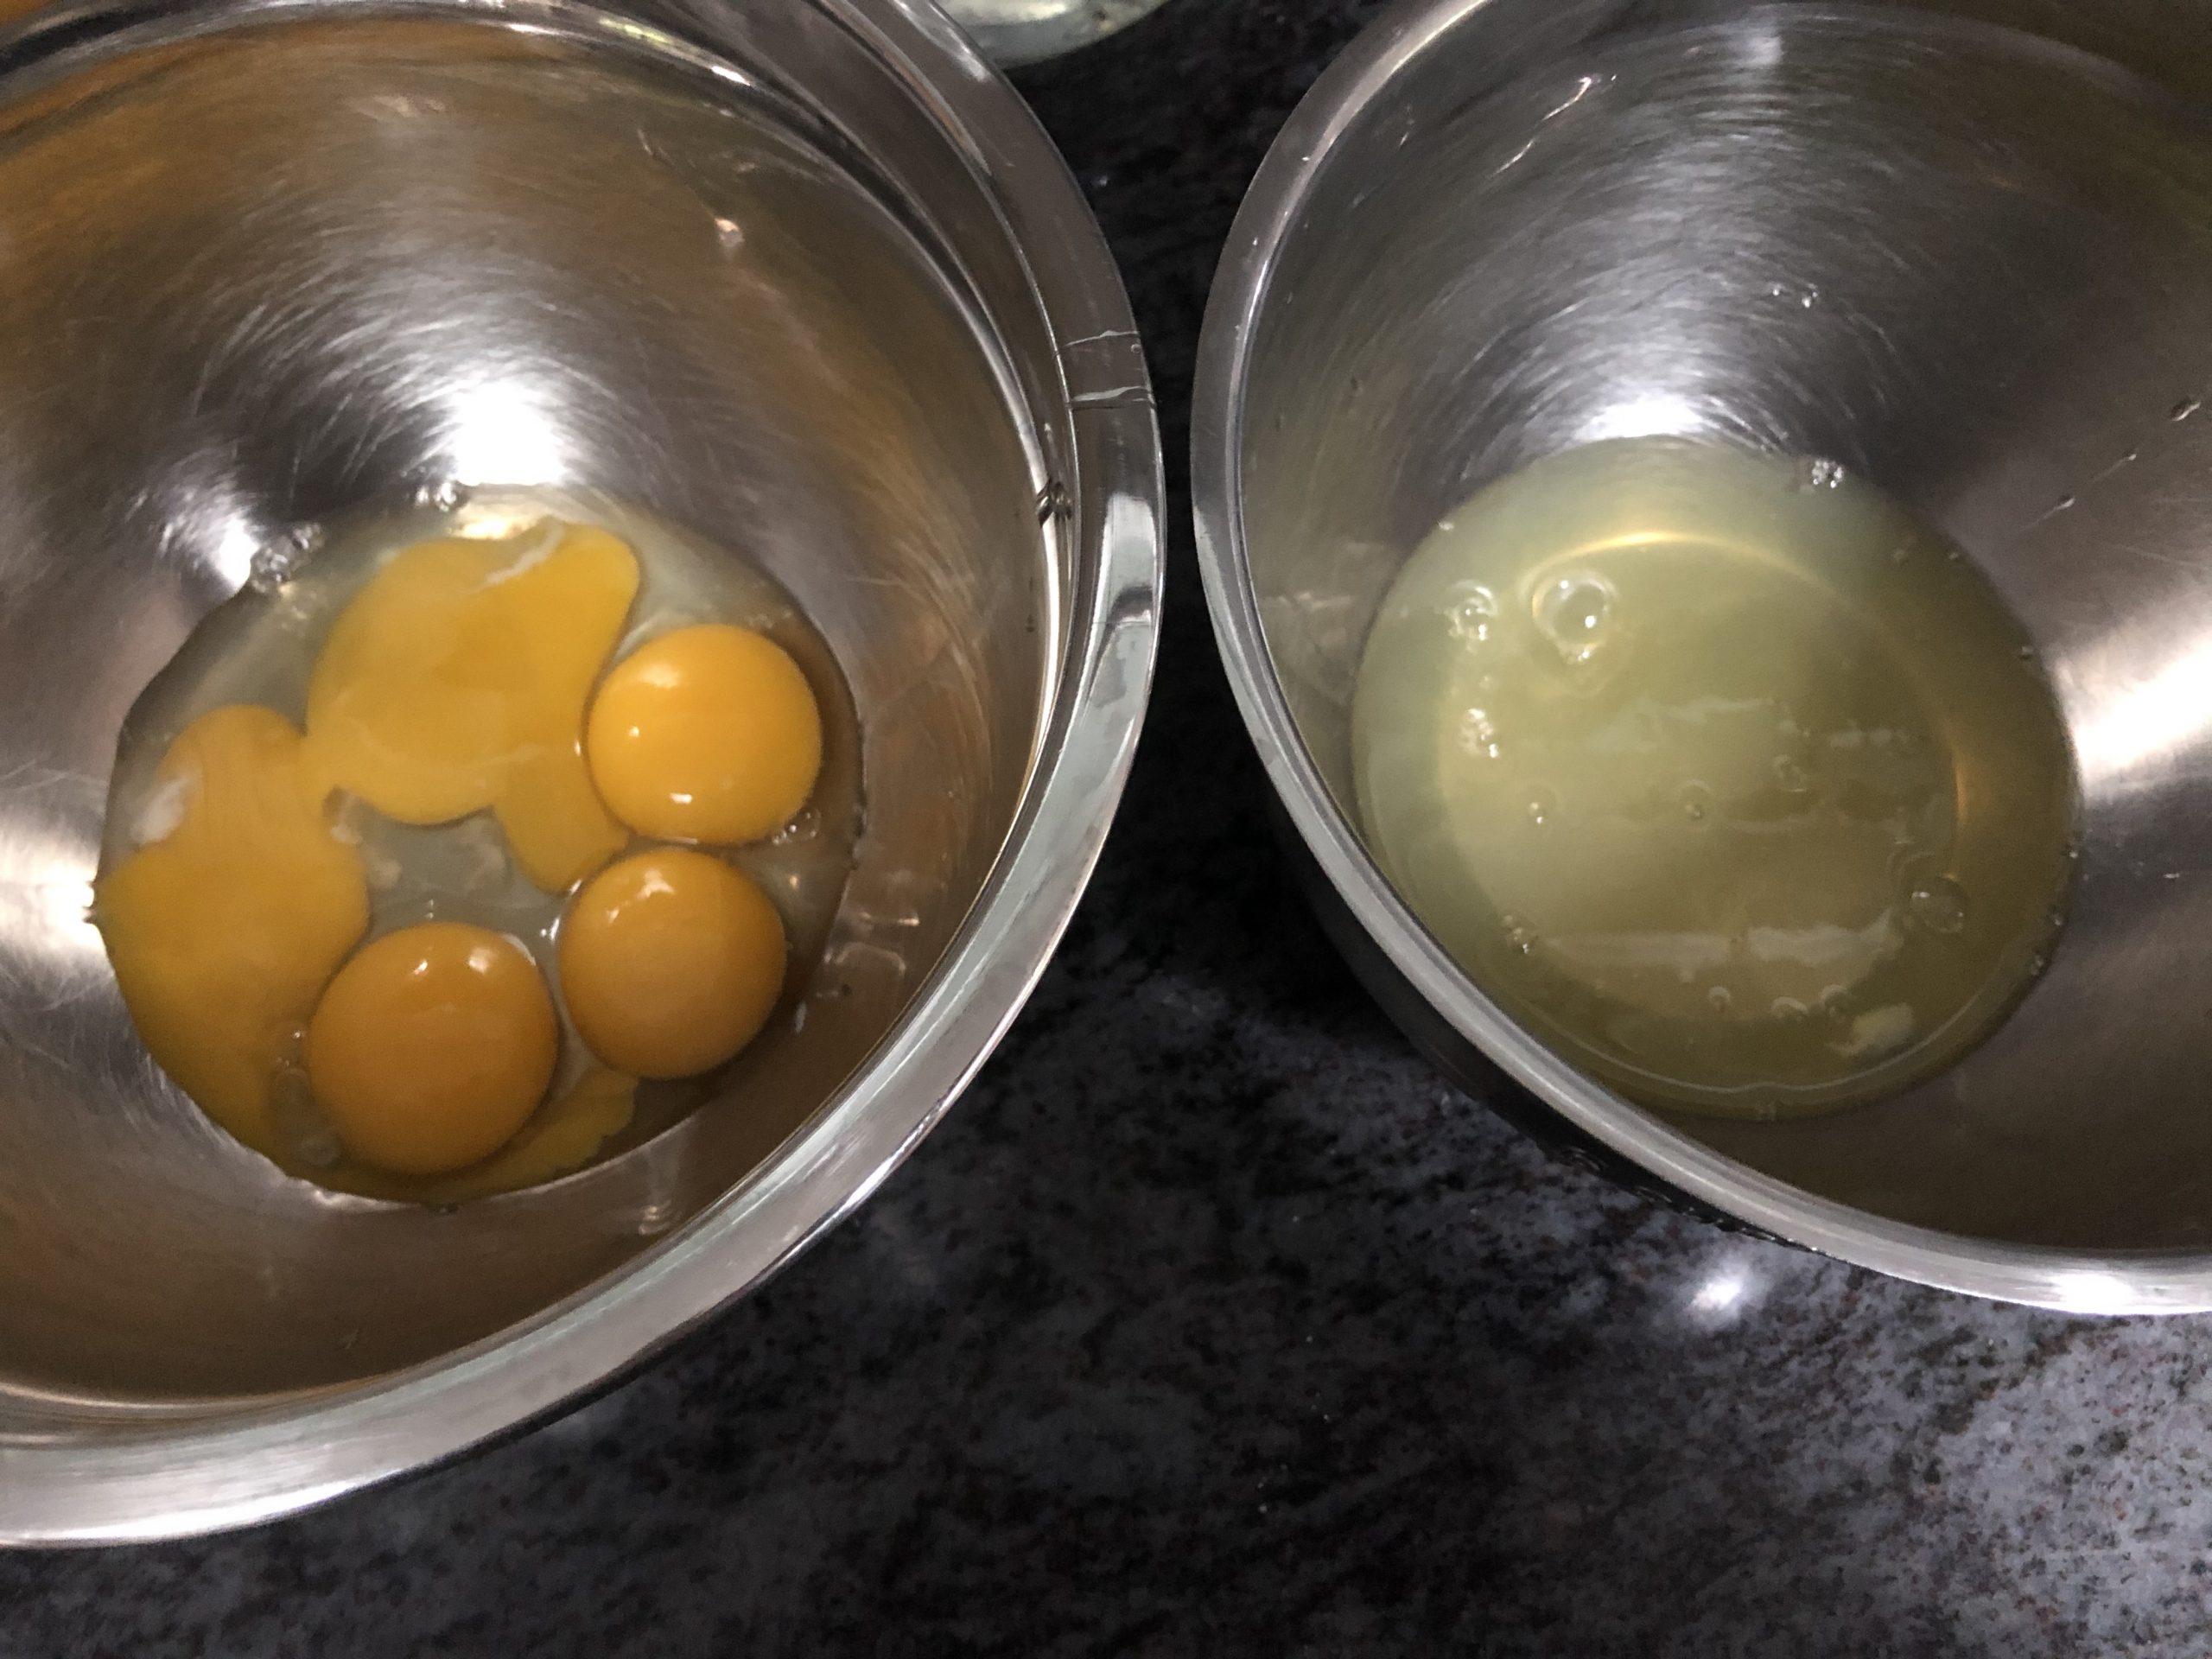
    separate egg yolks
  7. Beat the egg whites with a hand mixer until stiff and fluffy.

    beating egg whites
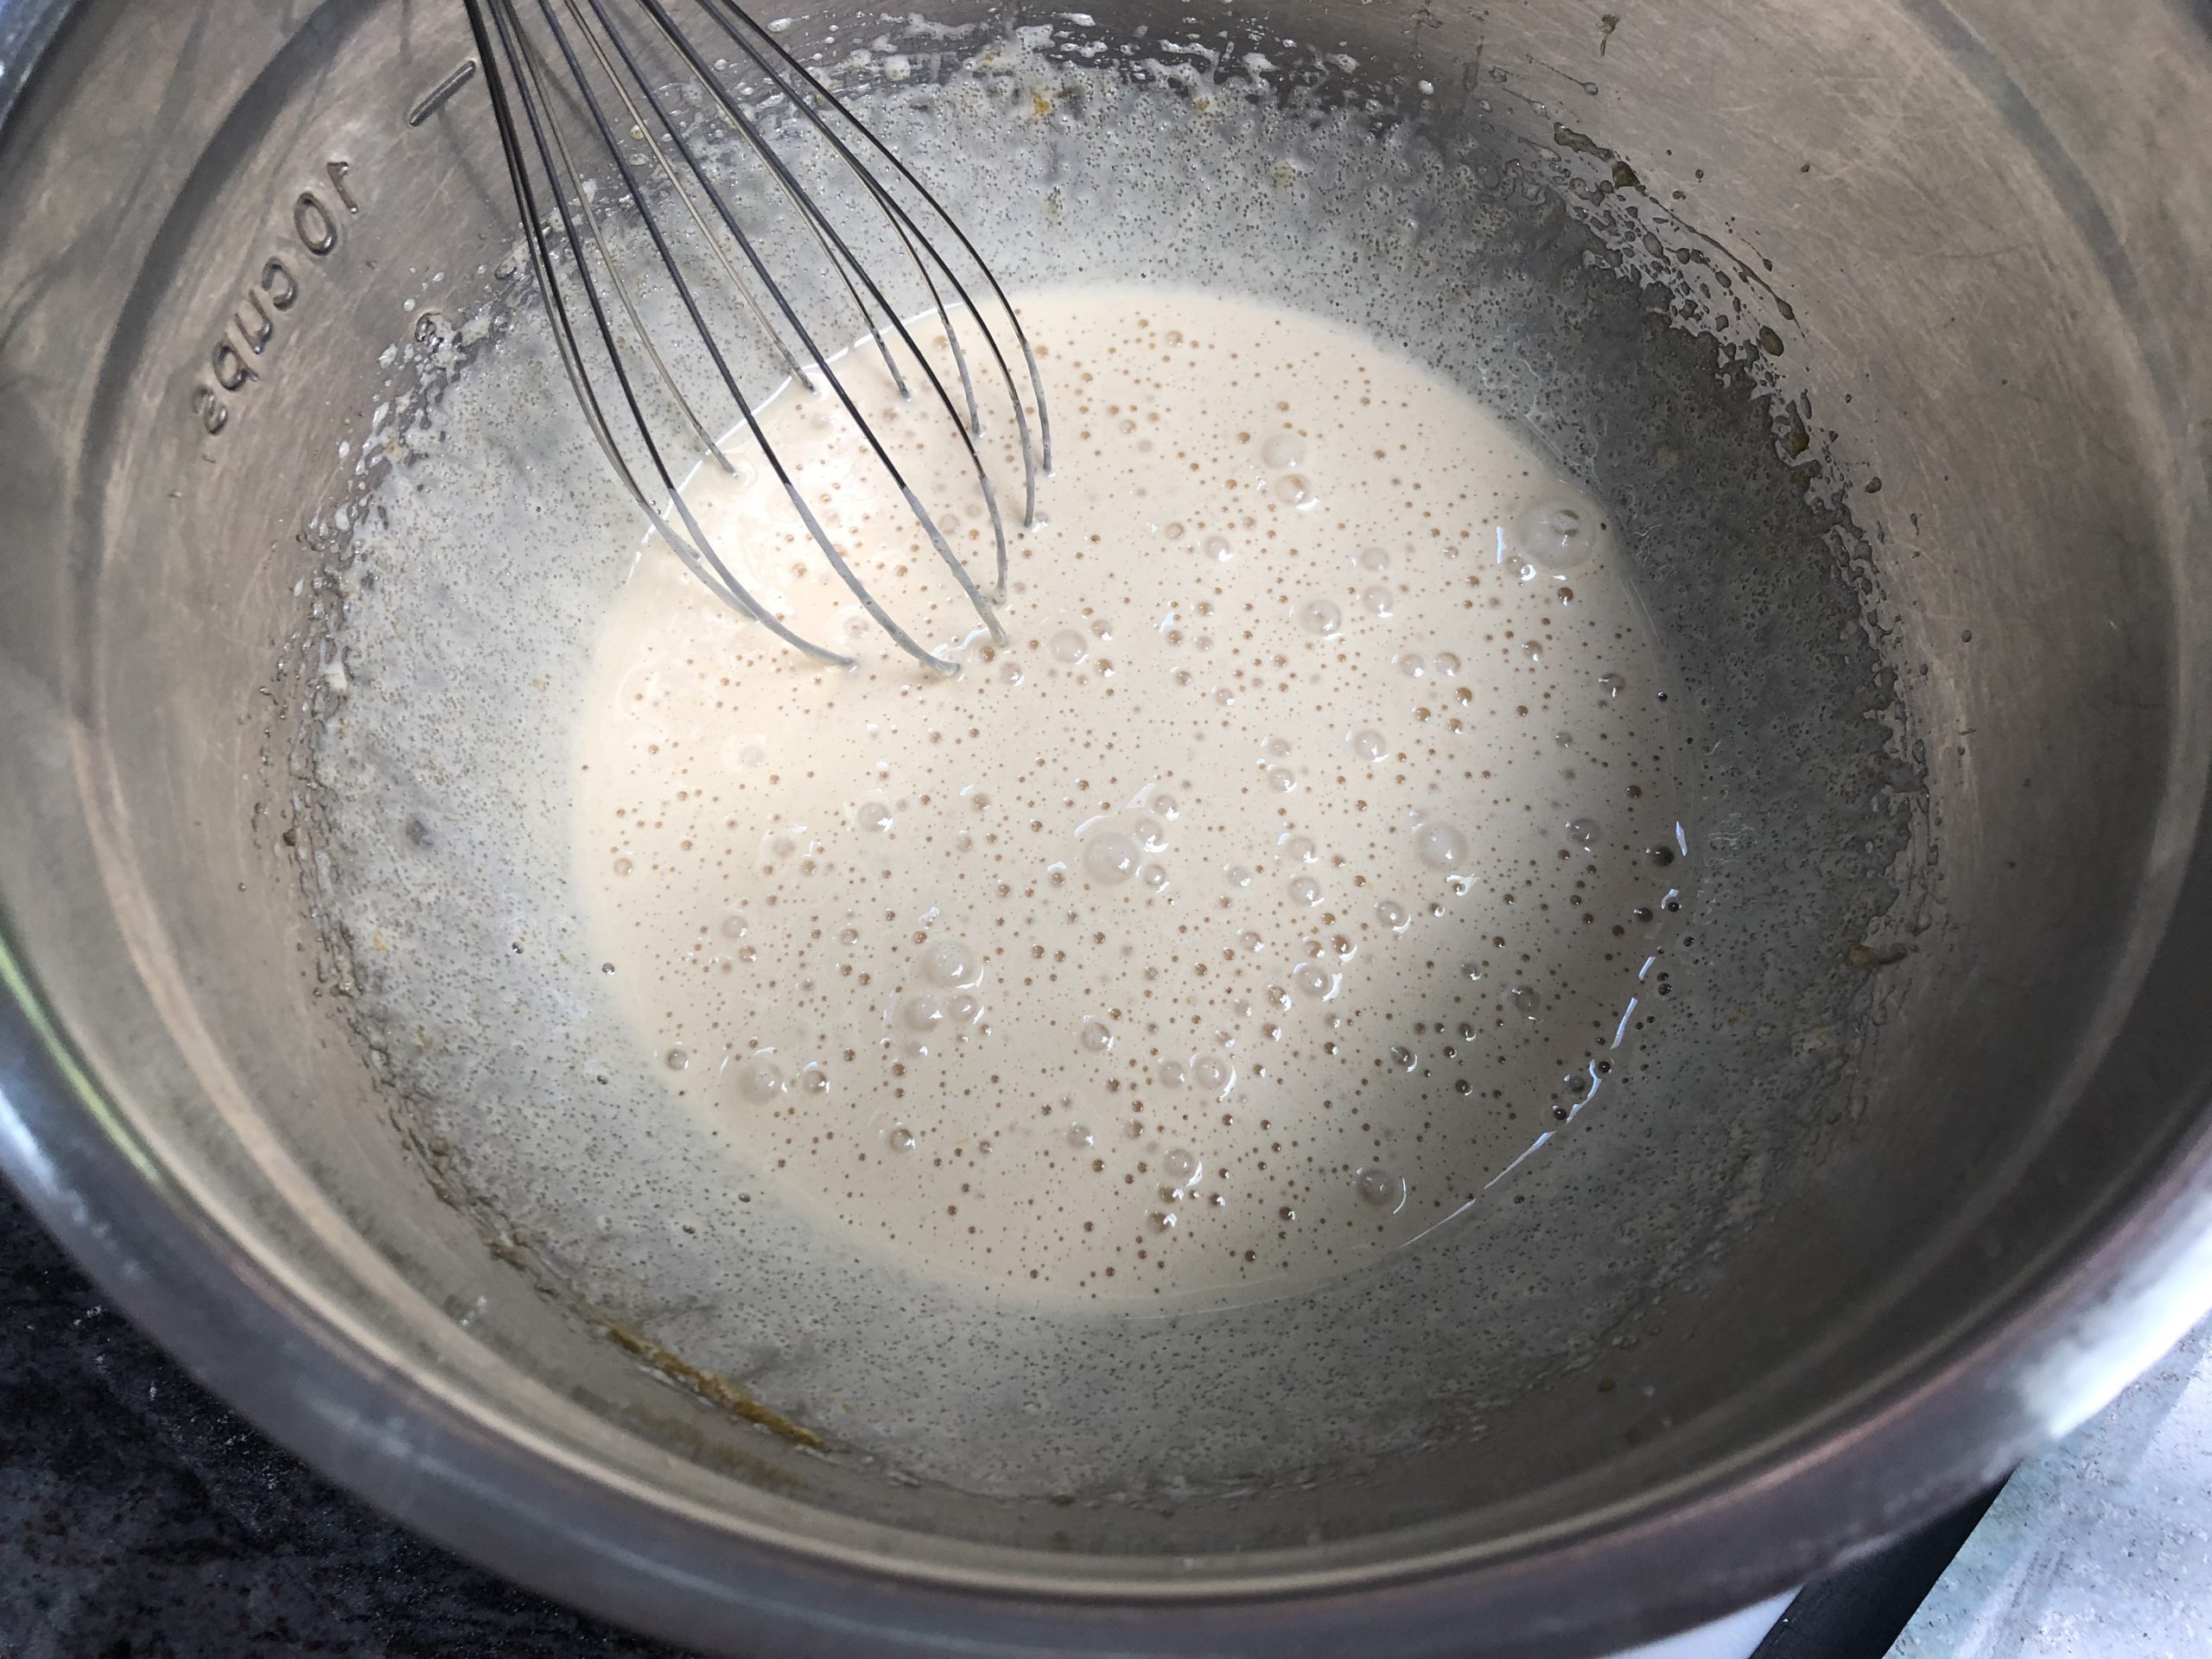
  8. In a separate bowl, combine the egg yolks with powdered sugar, brown sugar, vanilla, and salt, and using a hand mixer equipped with a whisk, beat them thoroughly until the mixture obtains a creamy and fluffy texture.
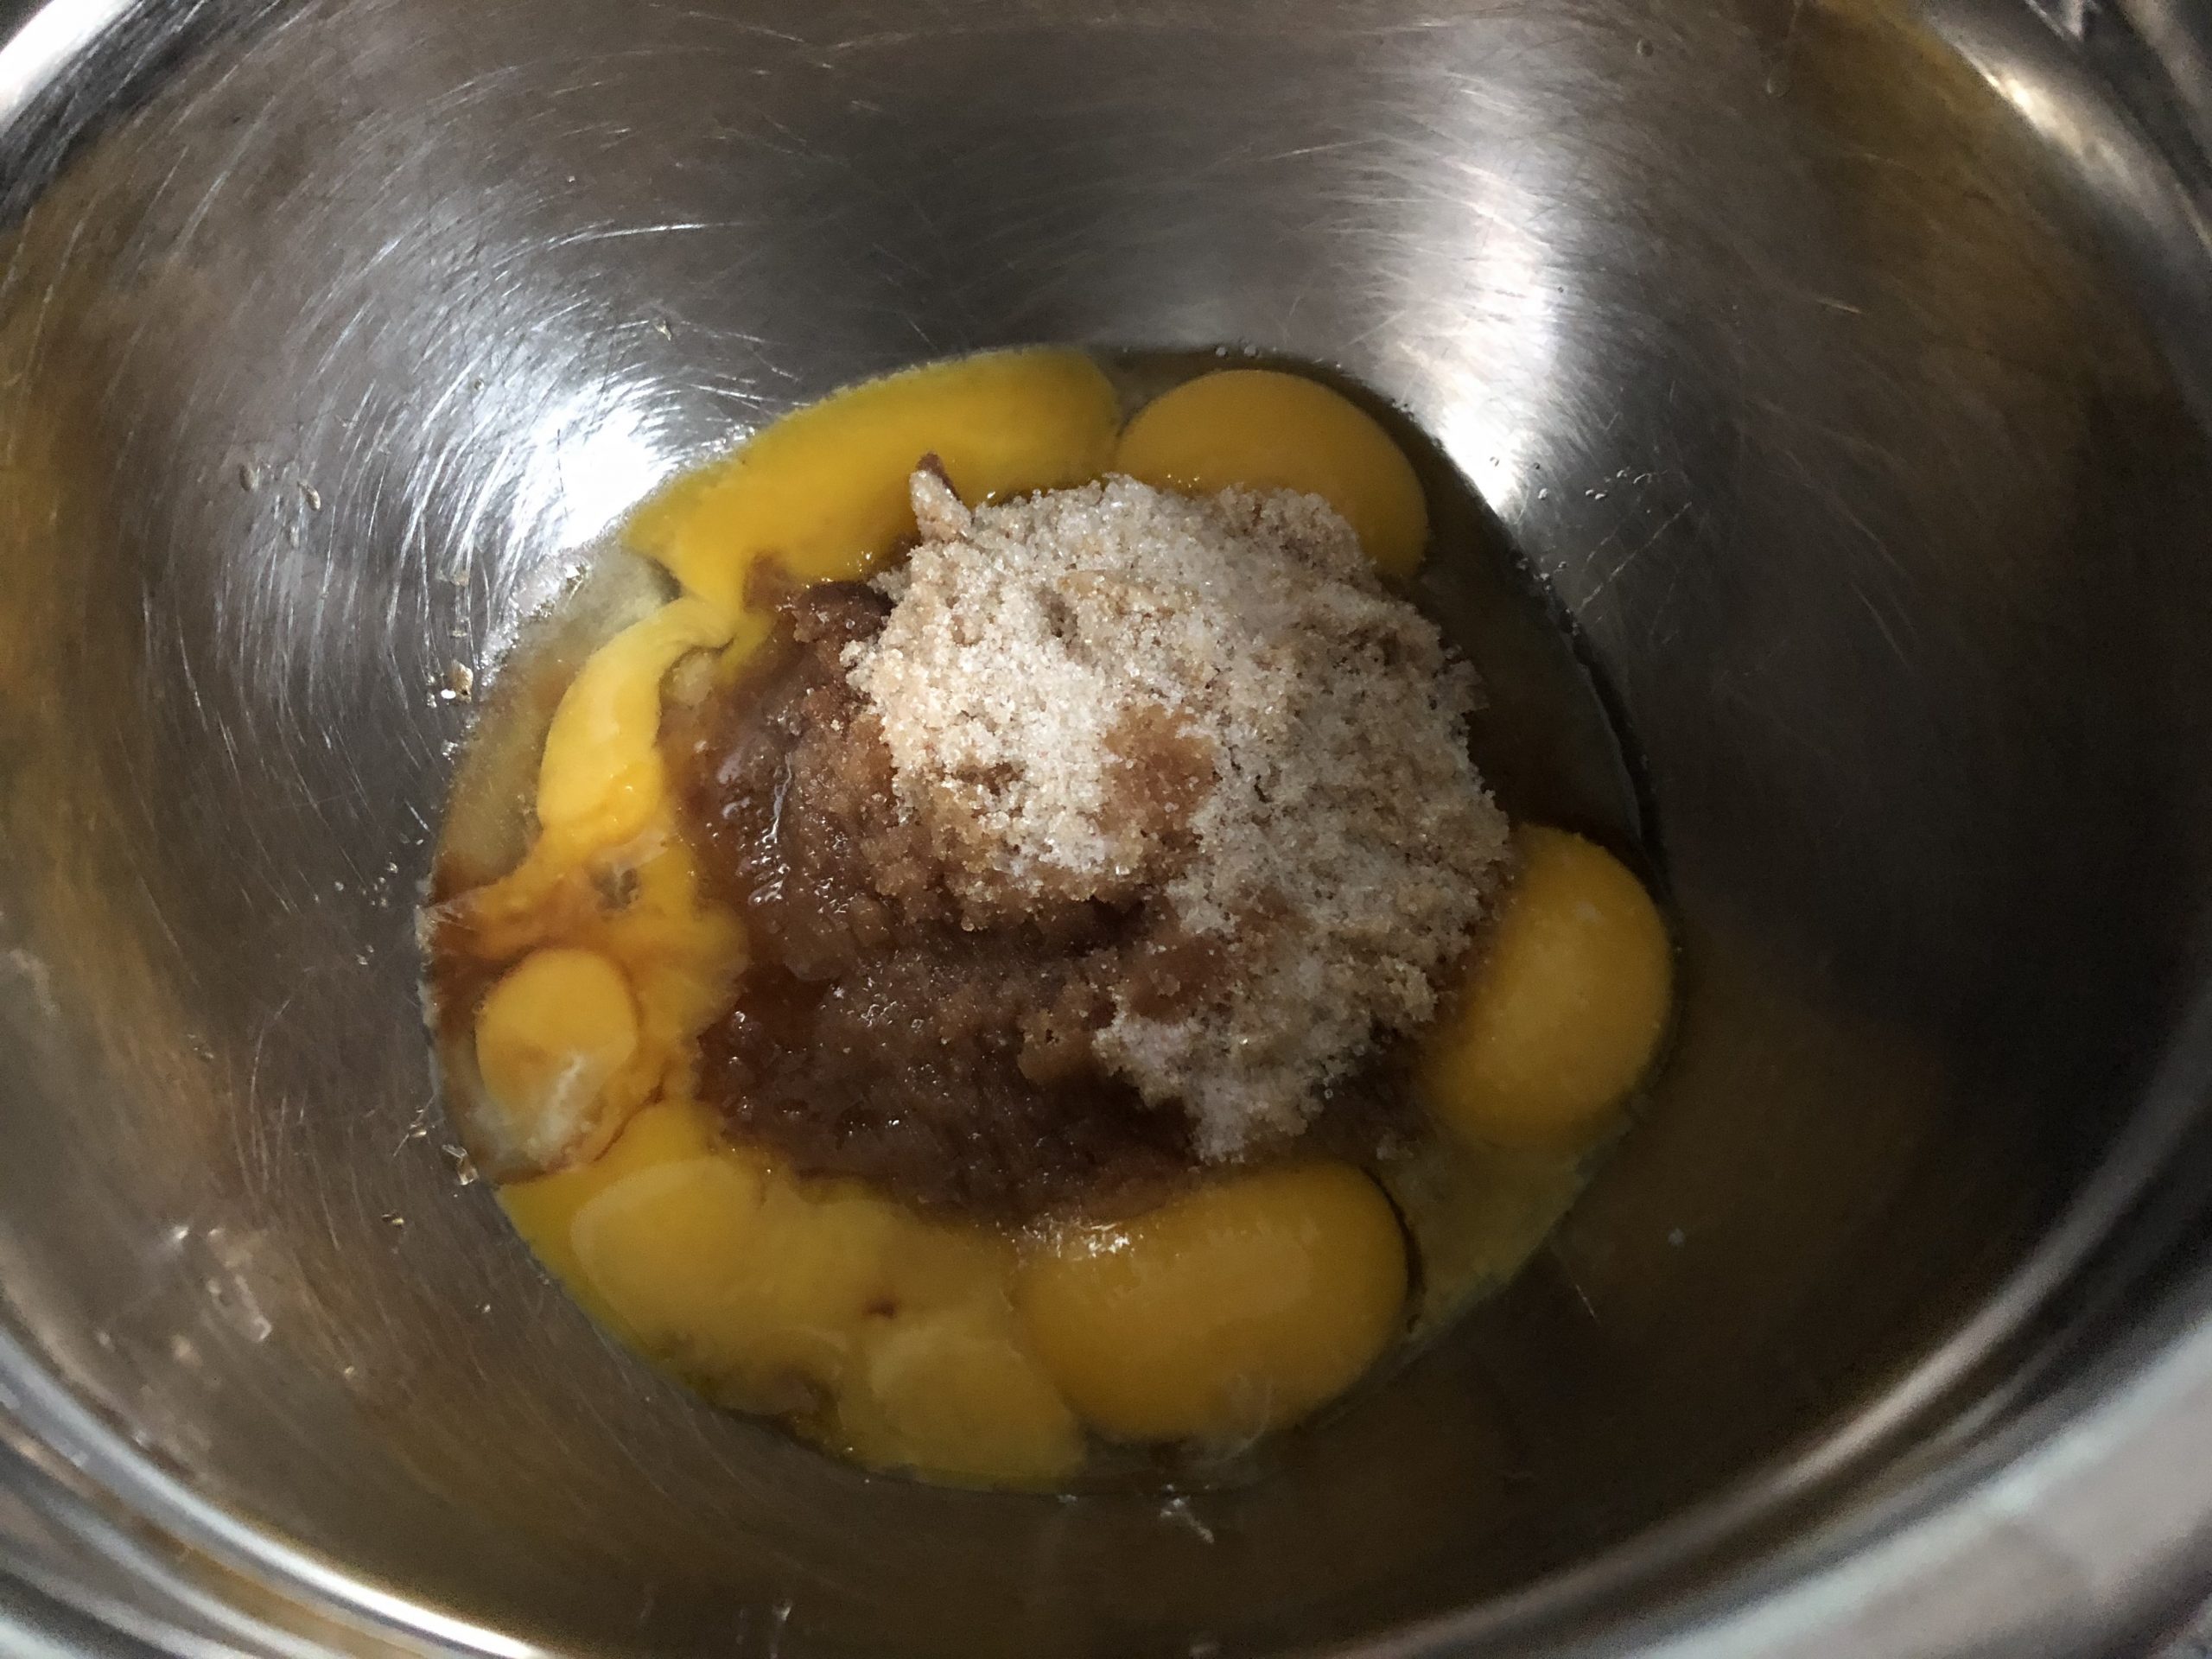
    eggs with sugar
  9. Add the egg whites to the mixed egg yolks and gently stir them together.
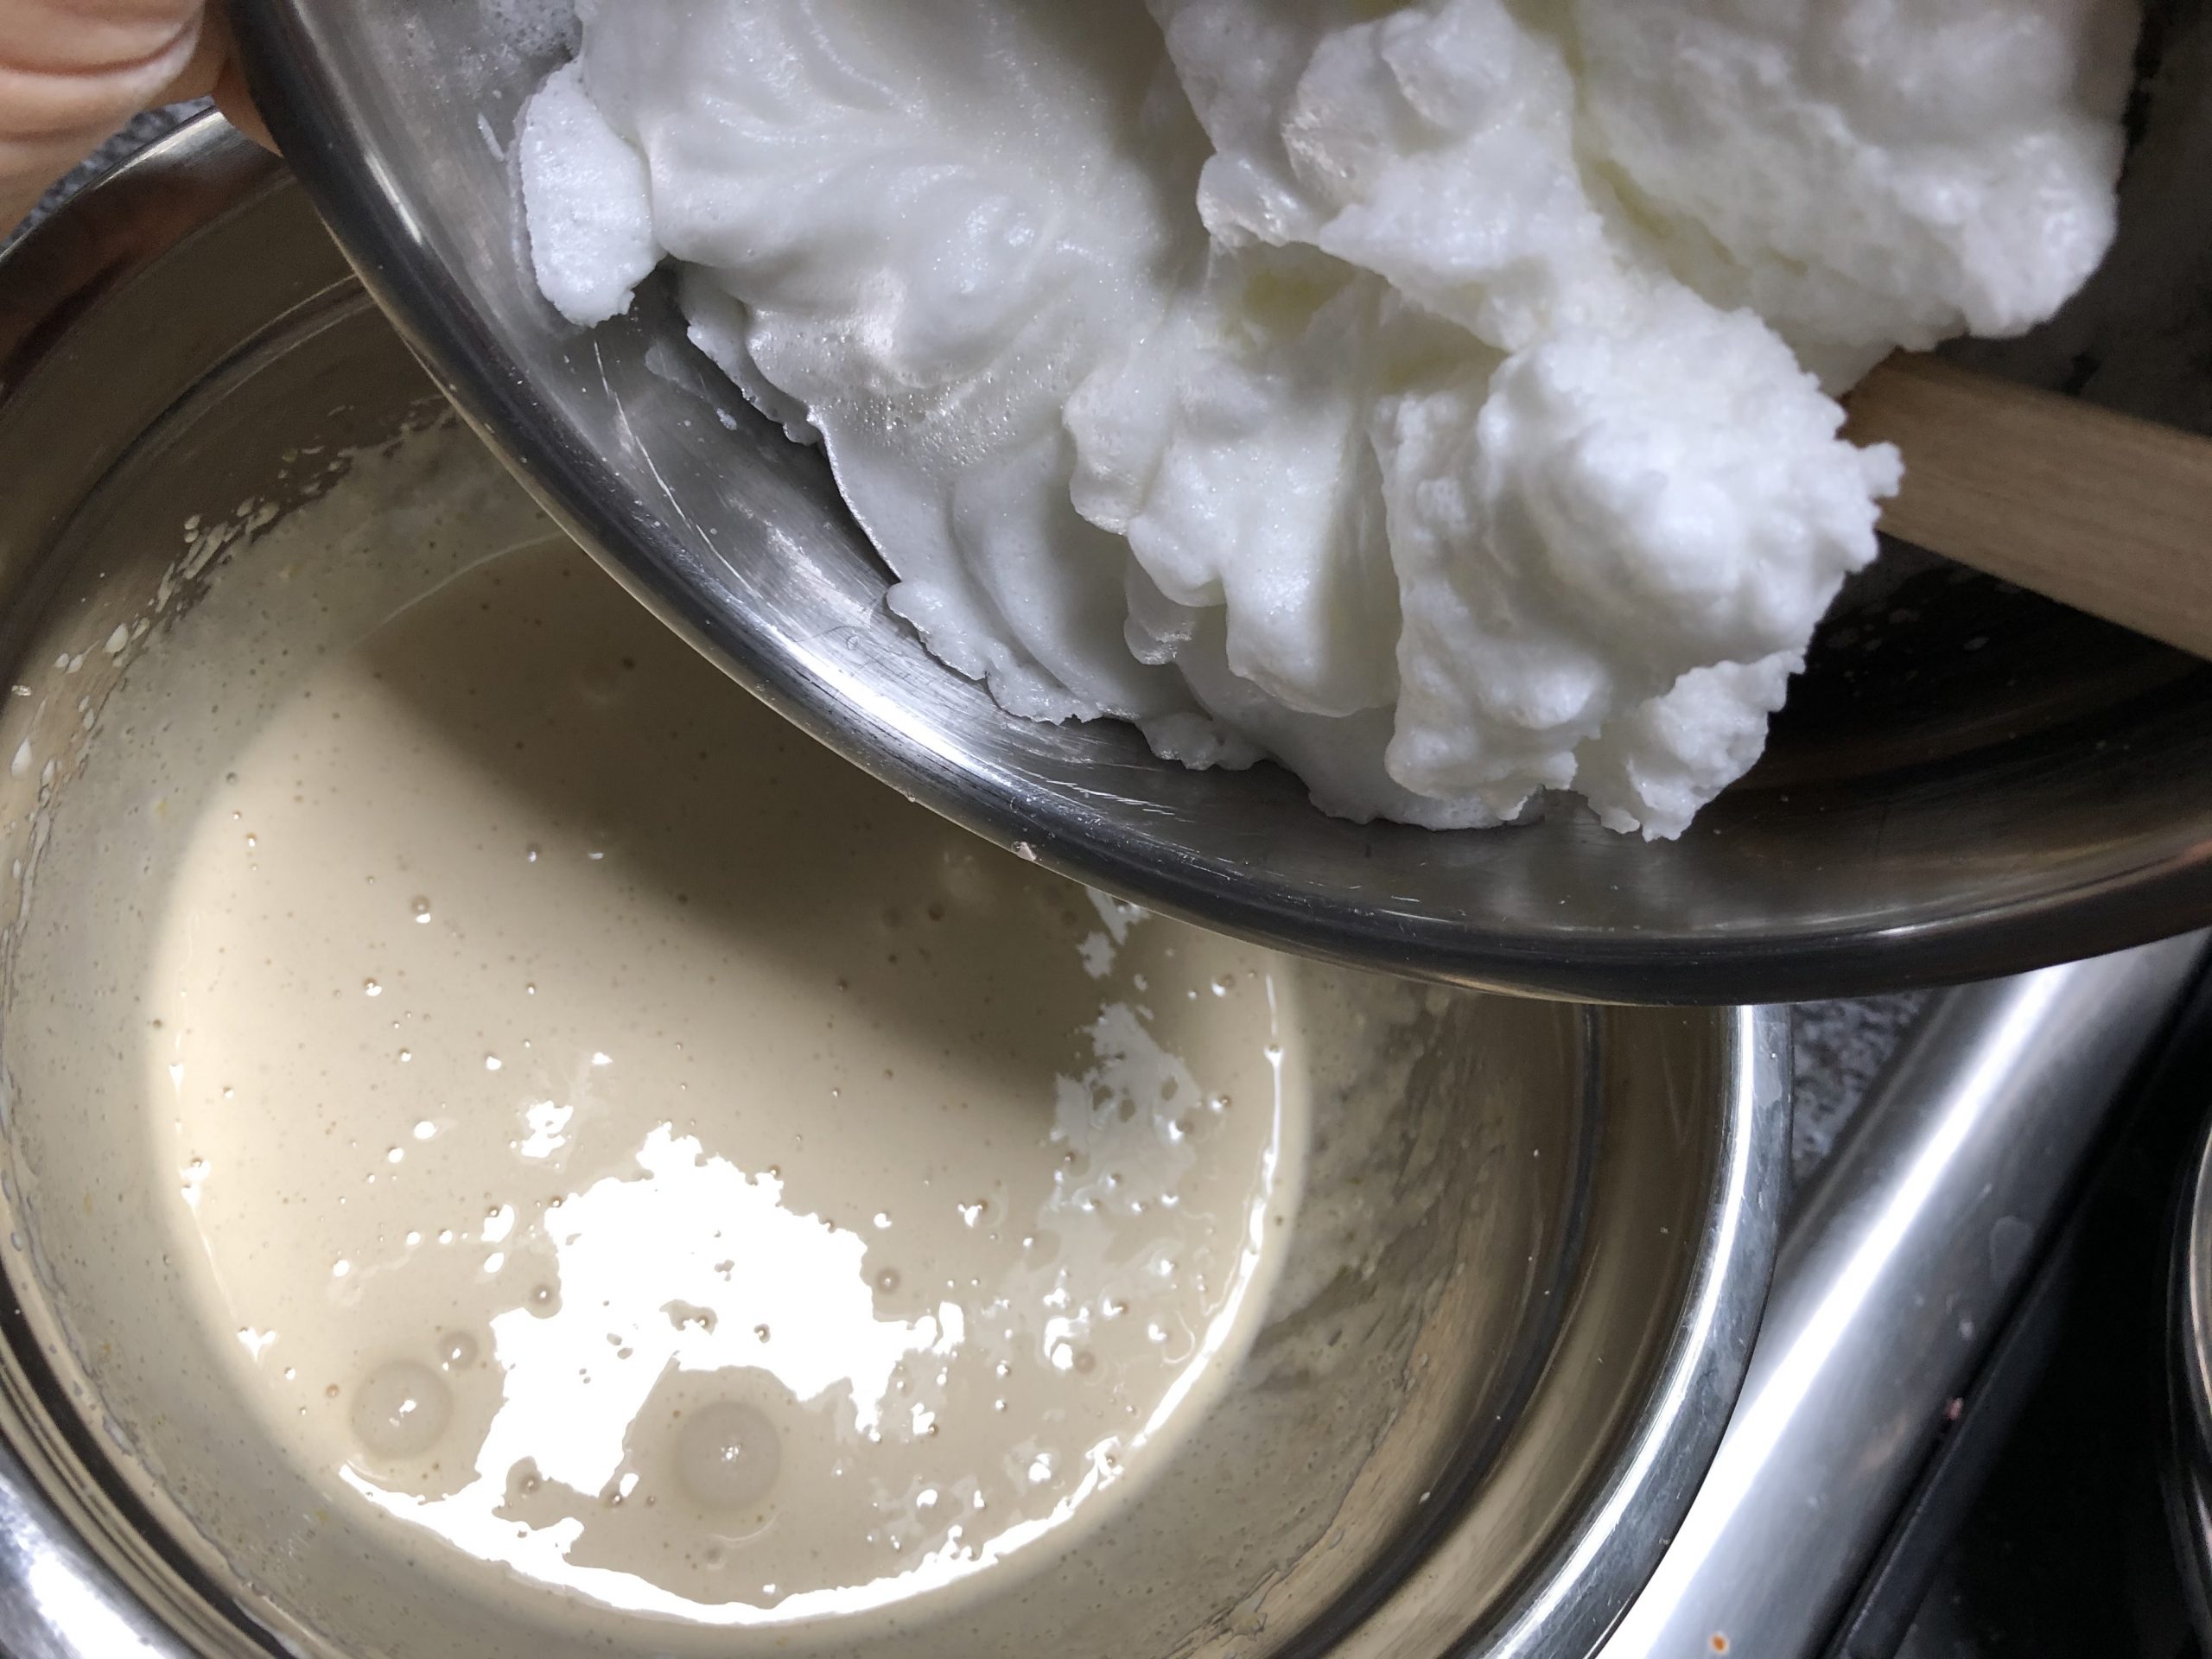
    add egg whites
  10. In a large measuring cup, combine pastry flour, potato flour, and baking powder, and mix them thoroughly together with a spoon.

    combine flours with powdered sugar
  11. Slowly add the flour to the combined eggs, and mix them gently together.
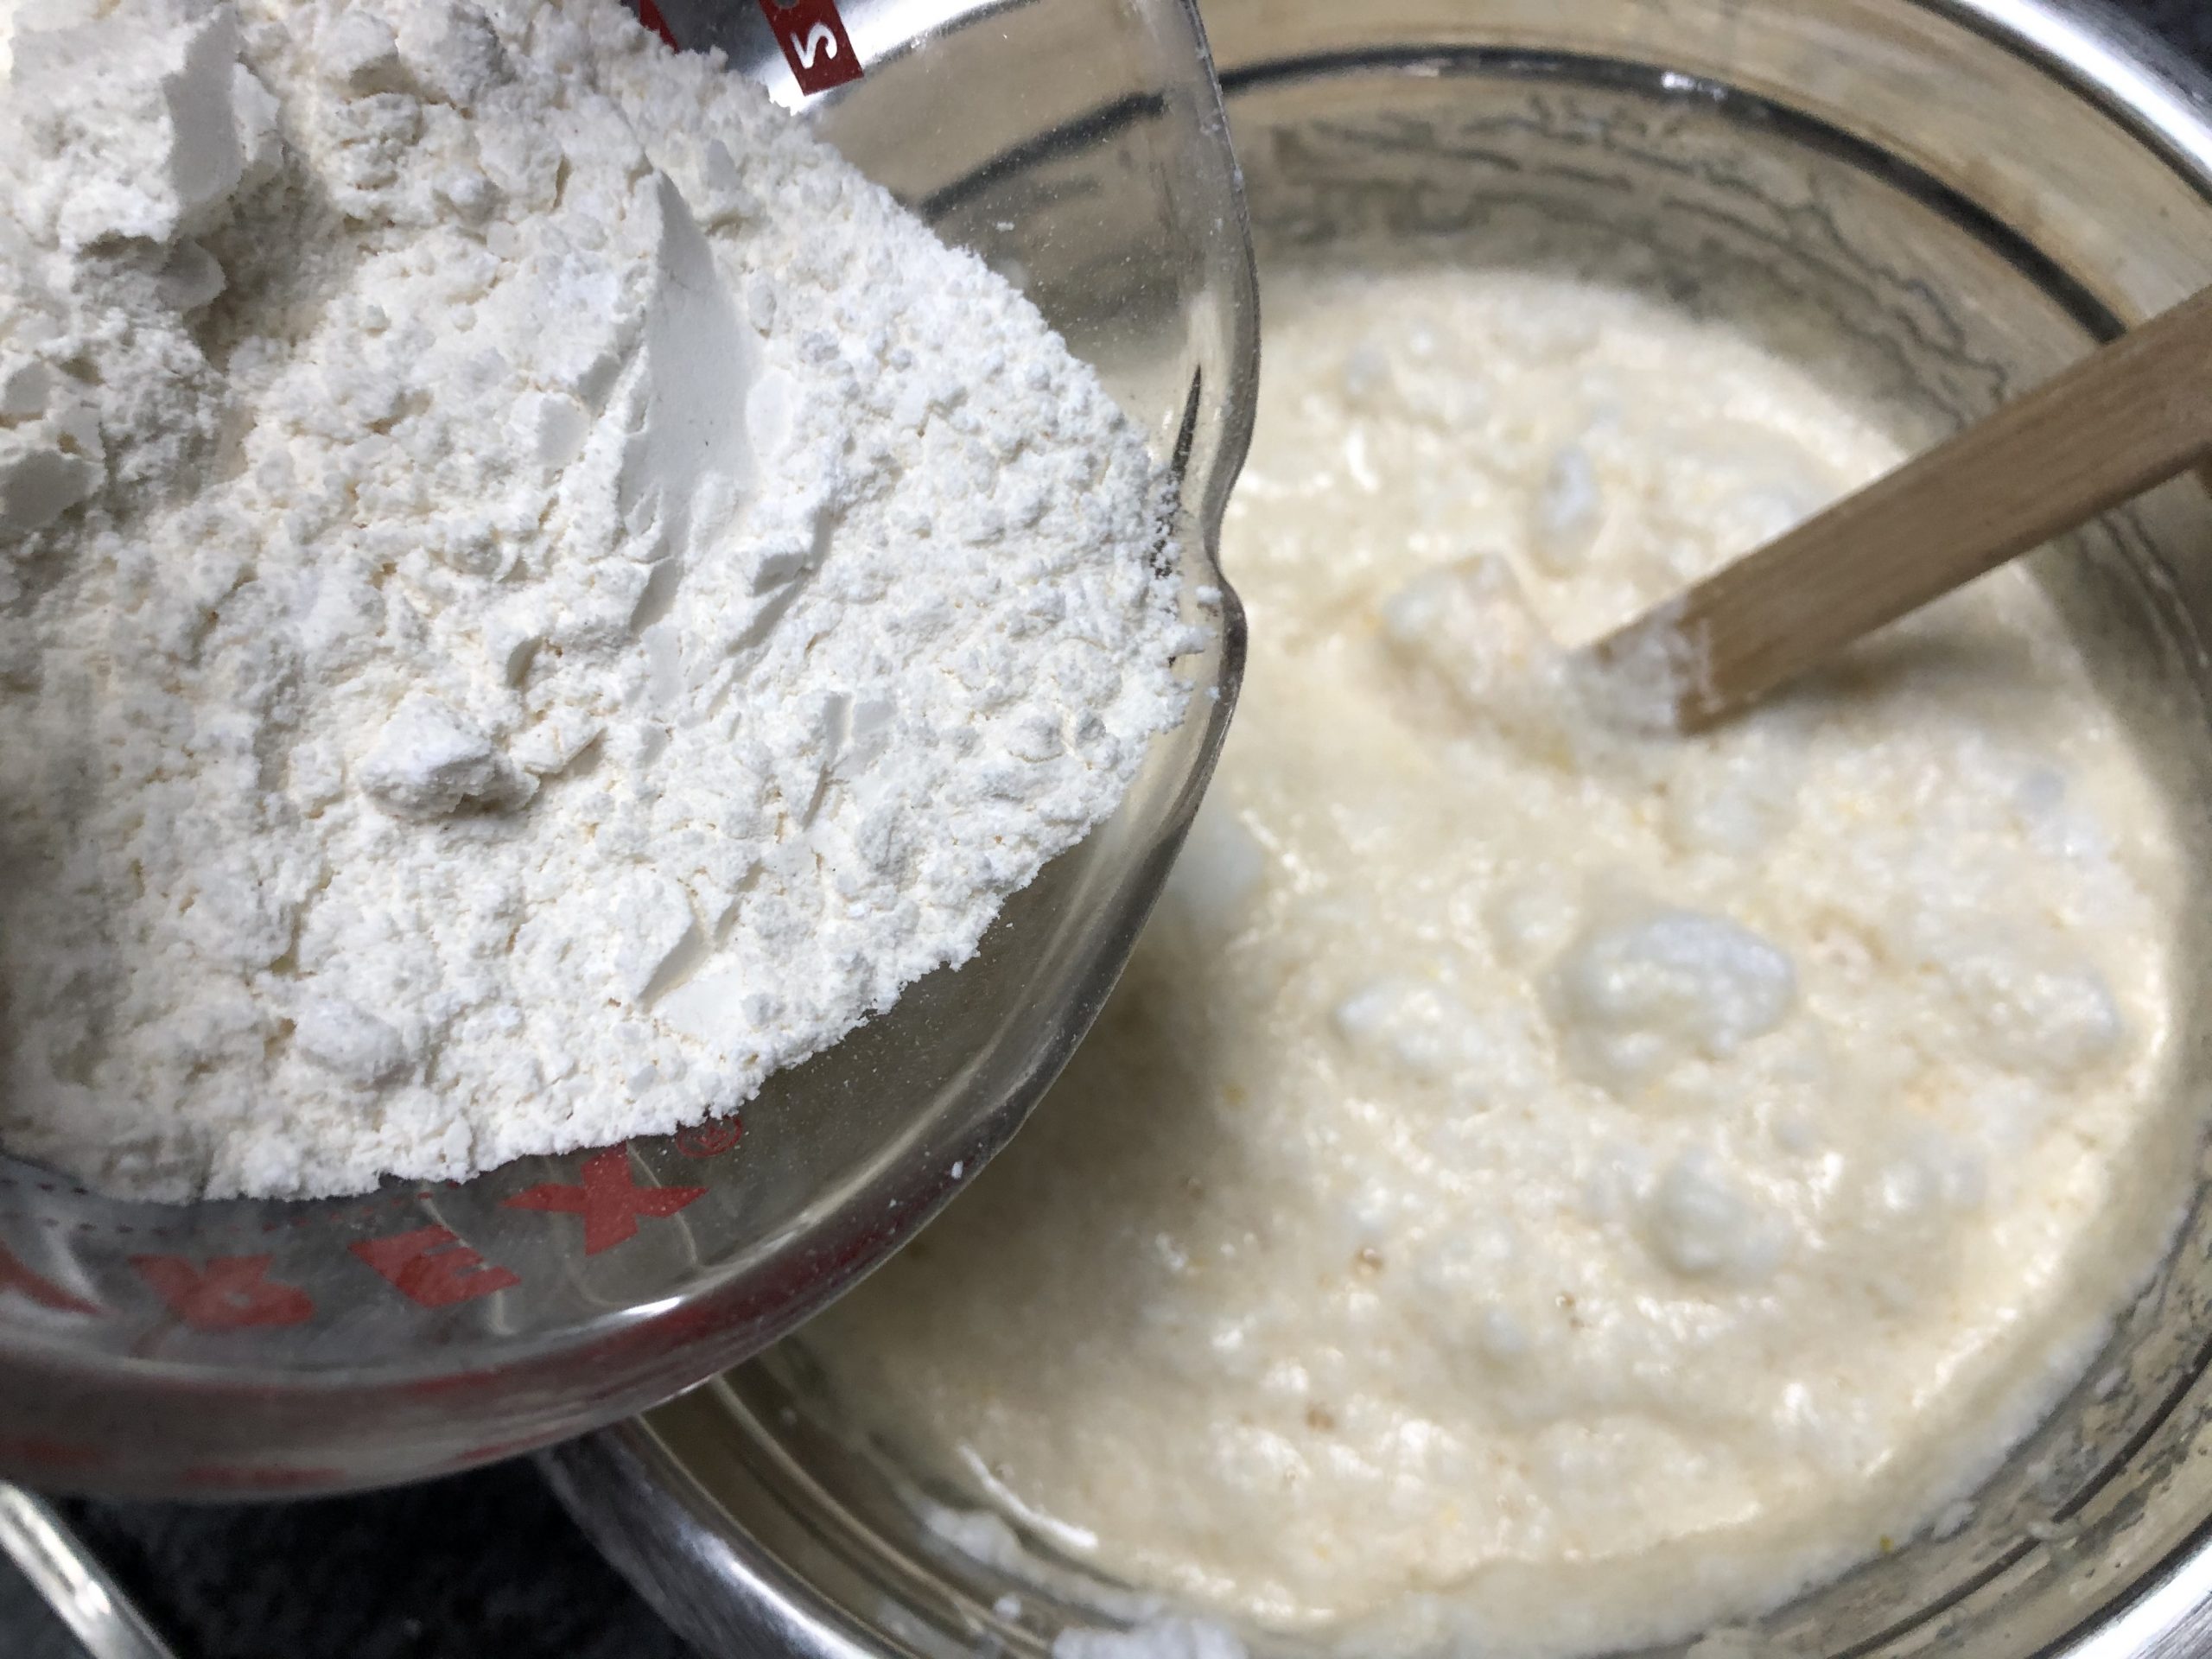
    mix wet and dry ingredients
  12. Continue mixing gently as you slowly pour the butter. Continue mixing all the ingredients together until combined into a batter that's uniform in texture.
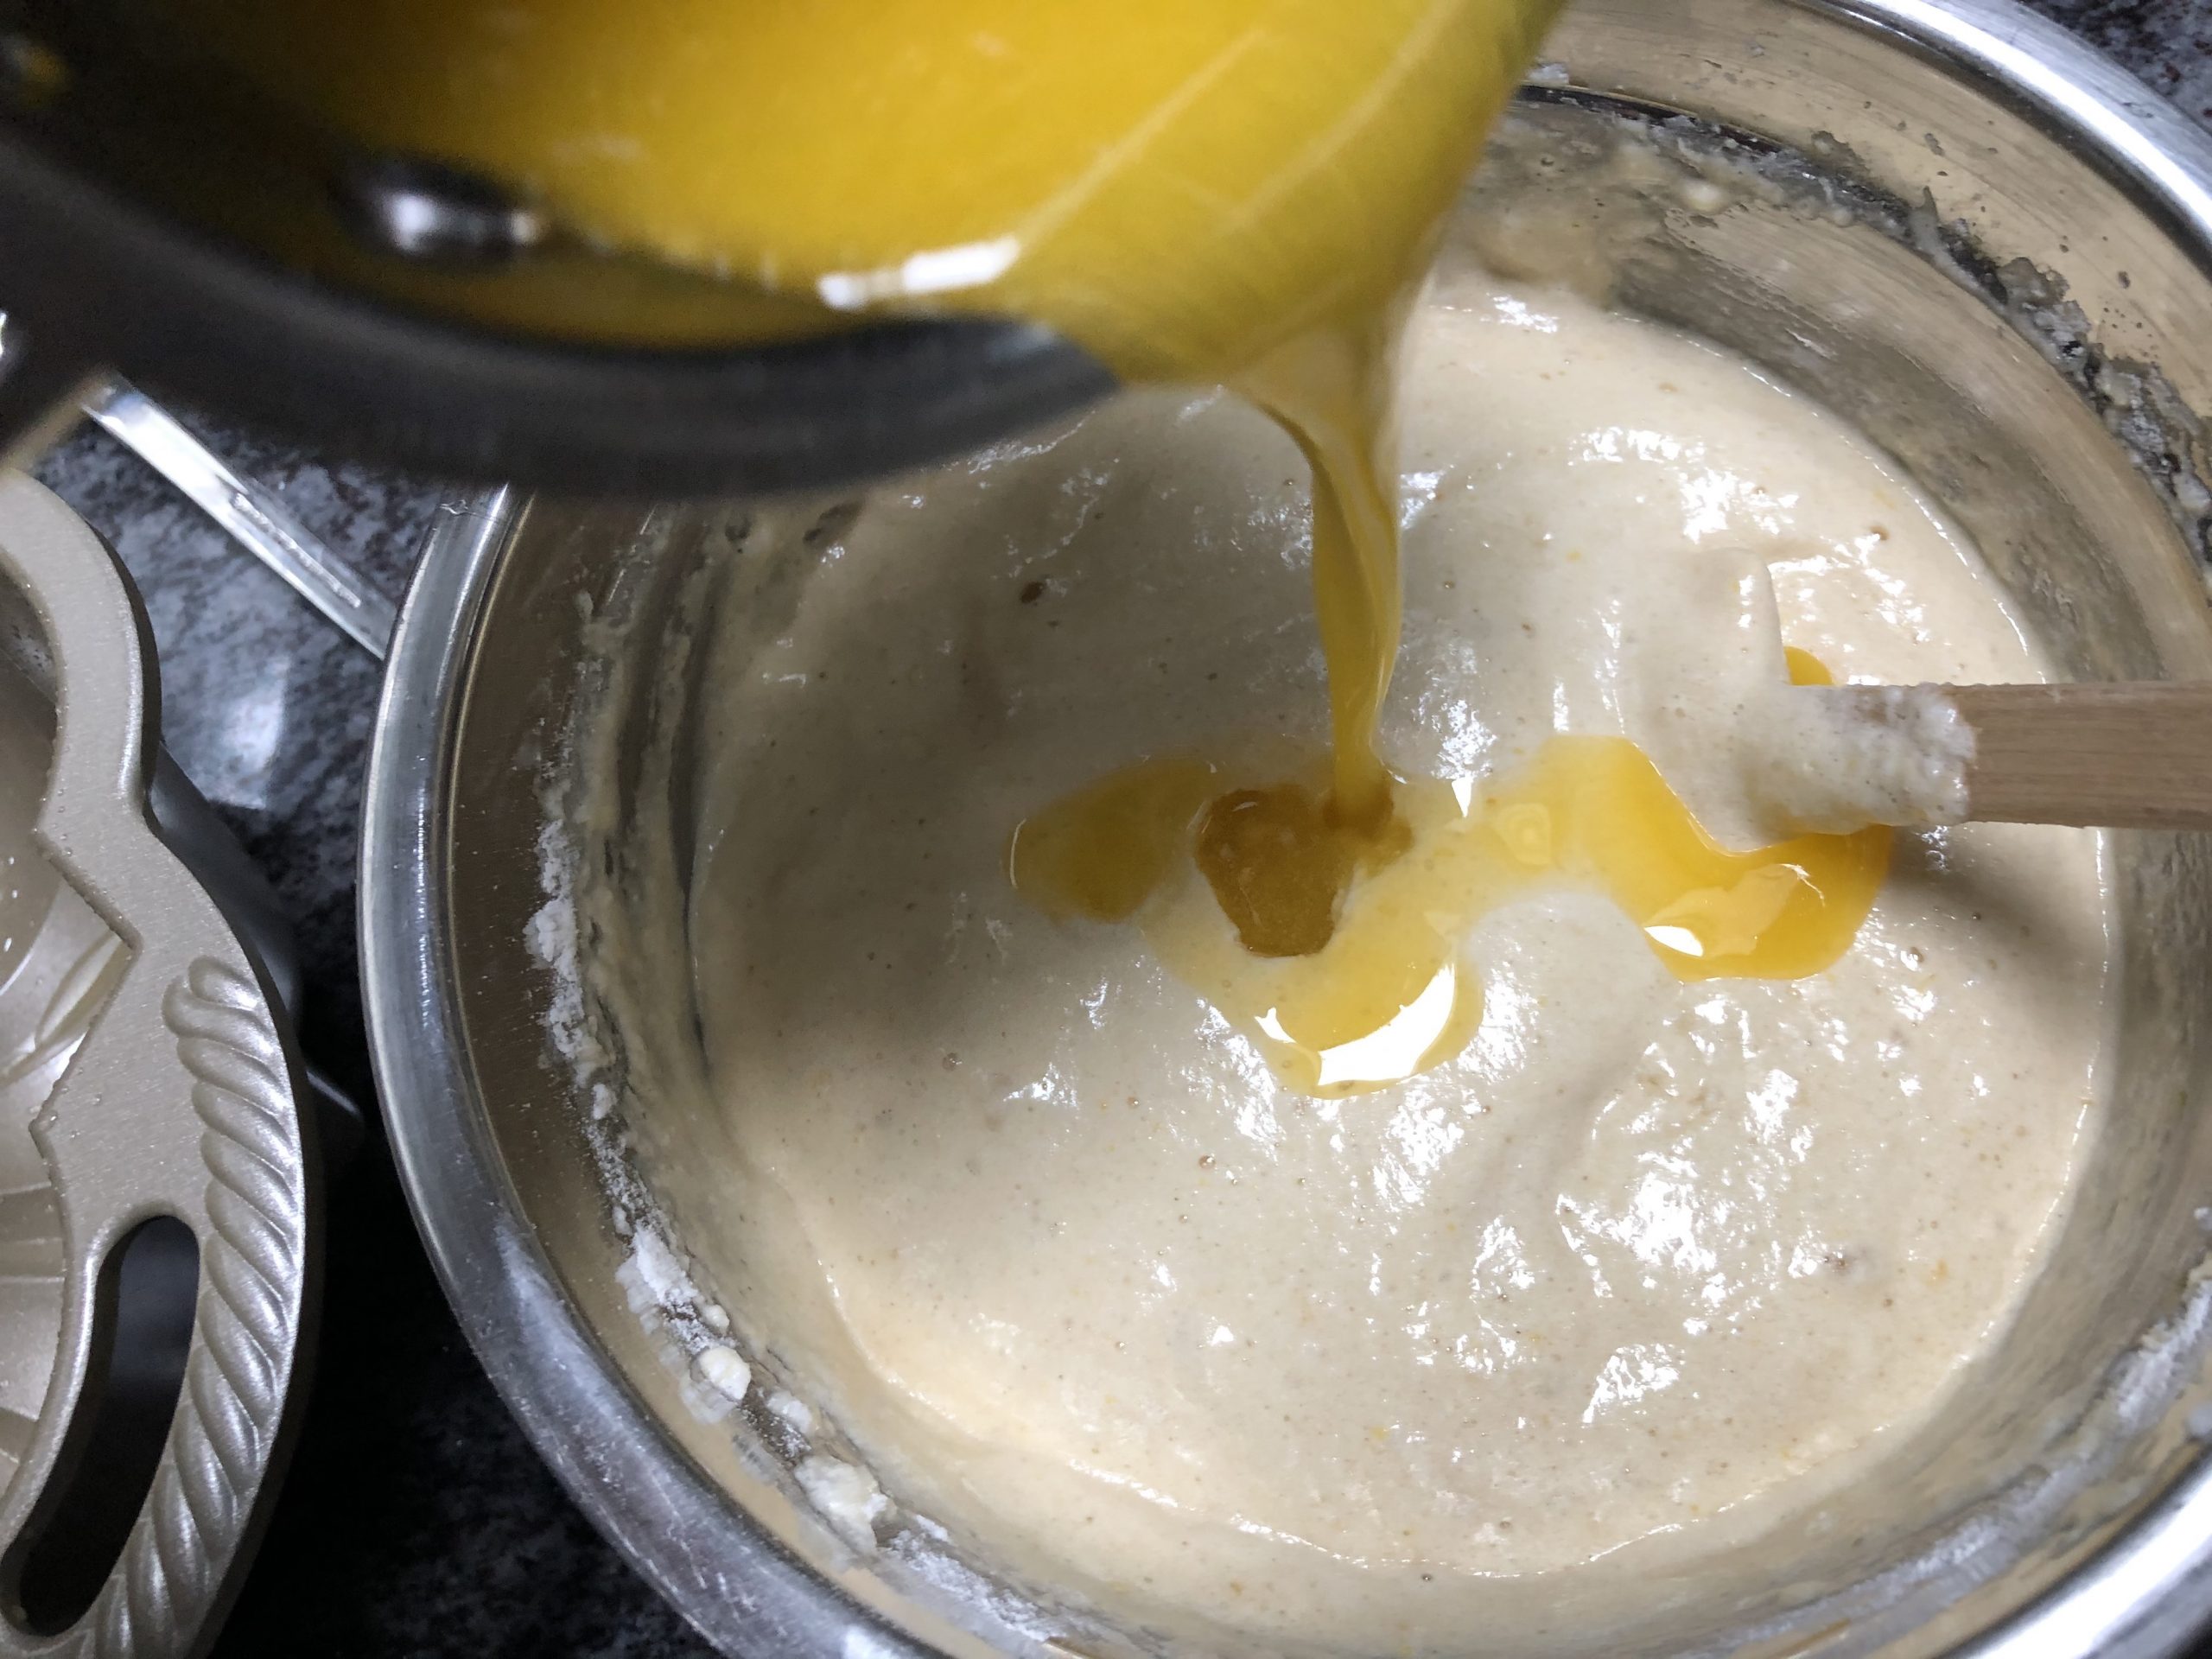
    pour in butter
  13. Pour ¾ of the mixed batter into the greased Bundt cake pan.

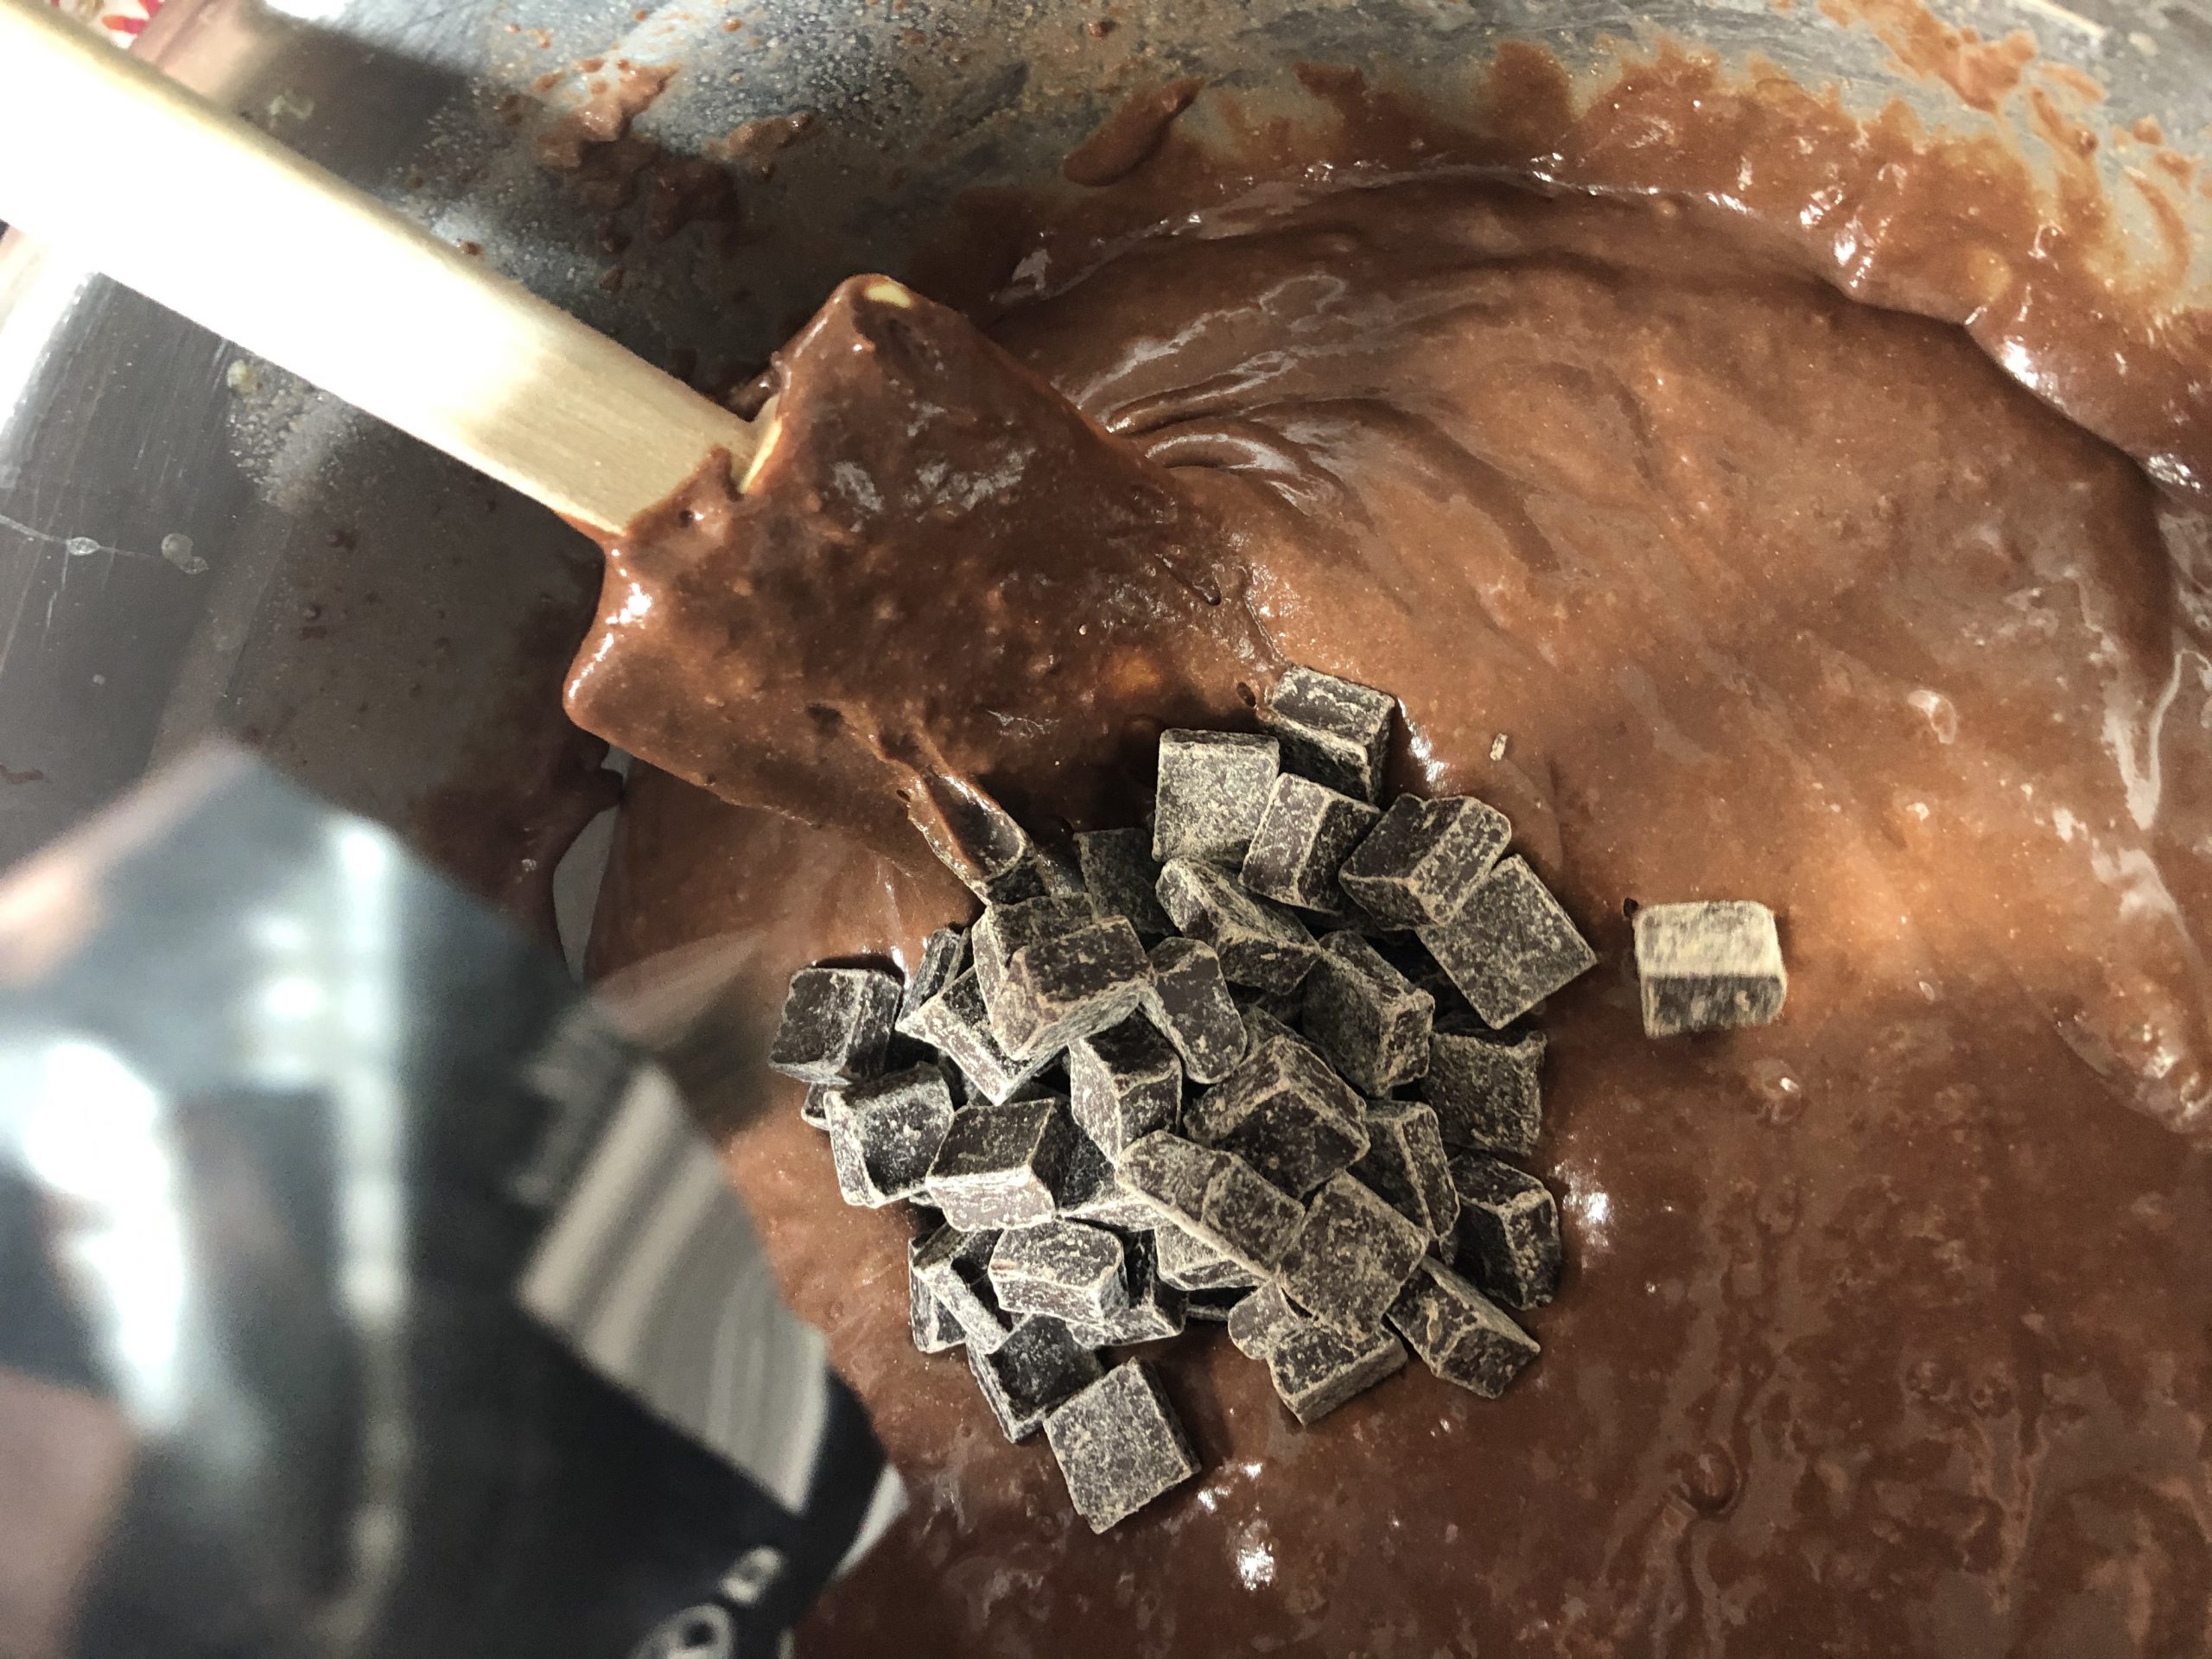
  14. Add cocoa powder to the remaining batter and mix it well together with a spatula.
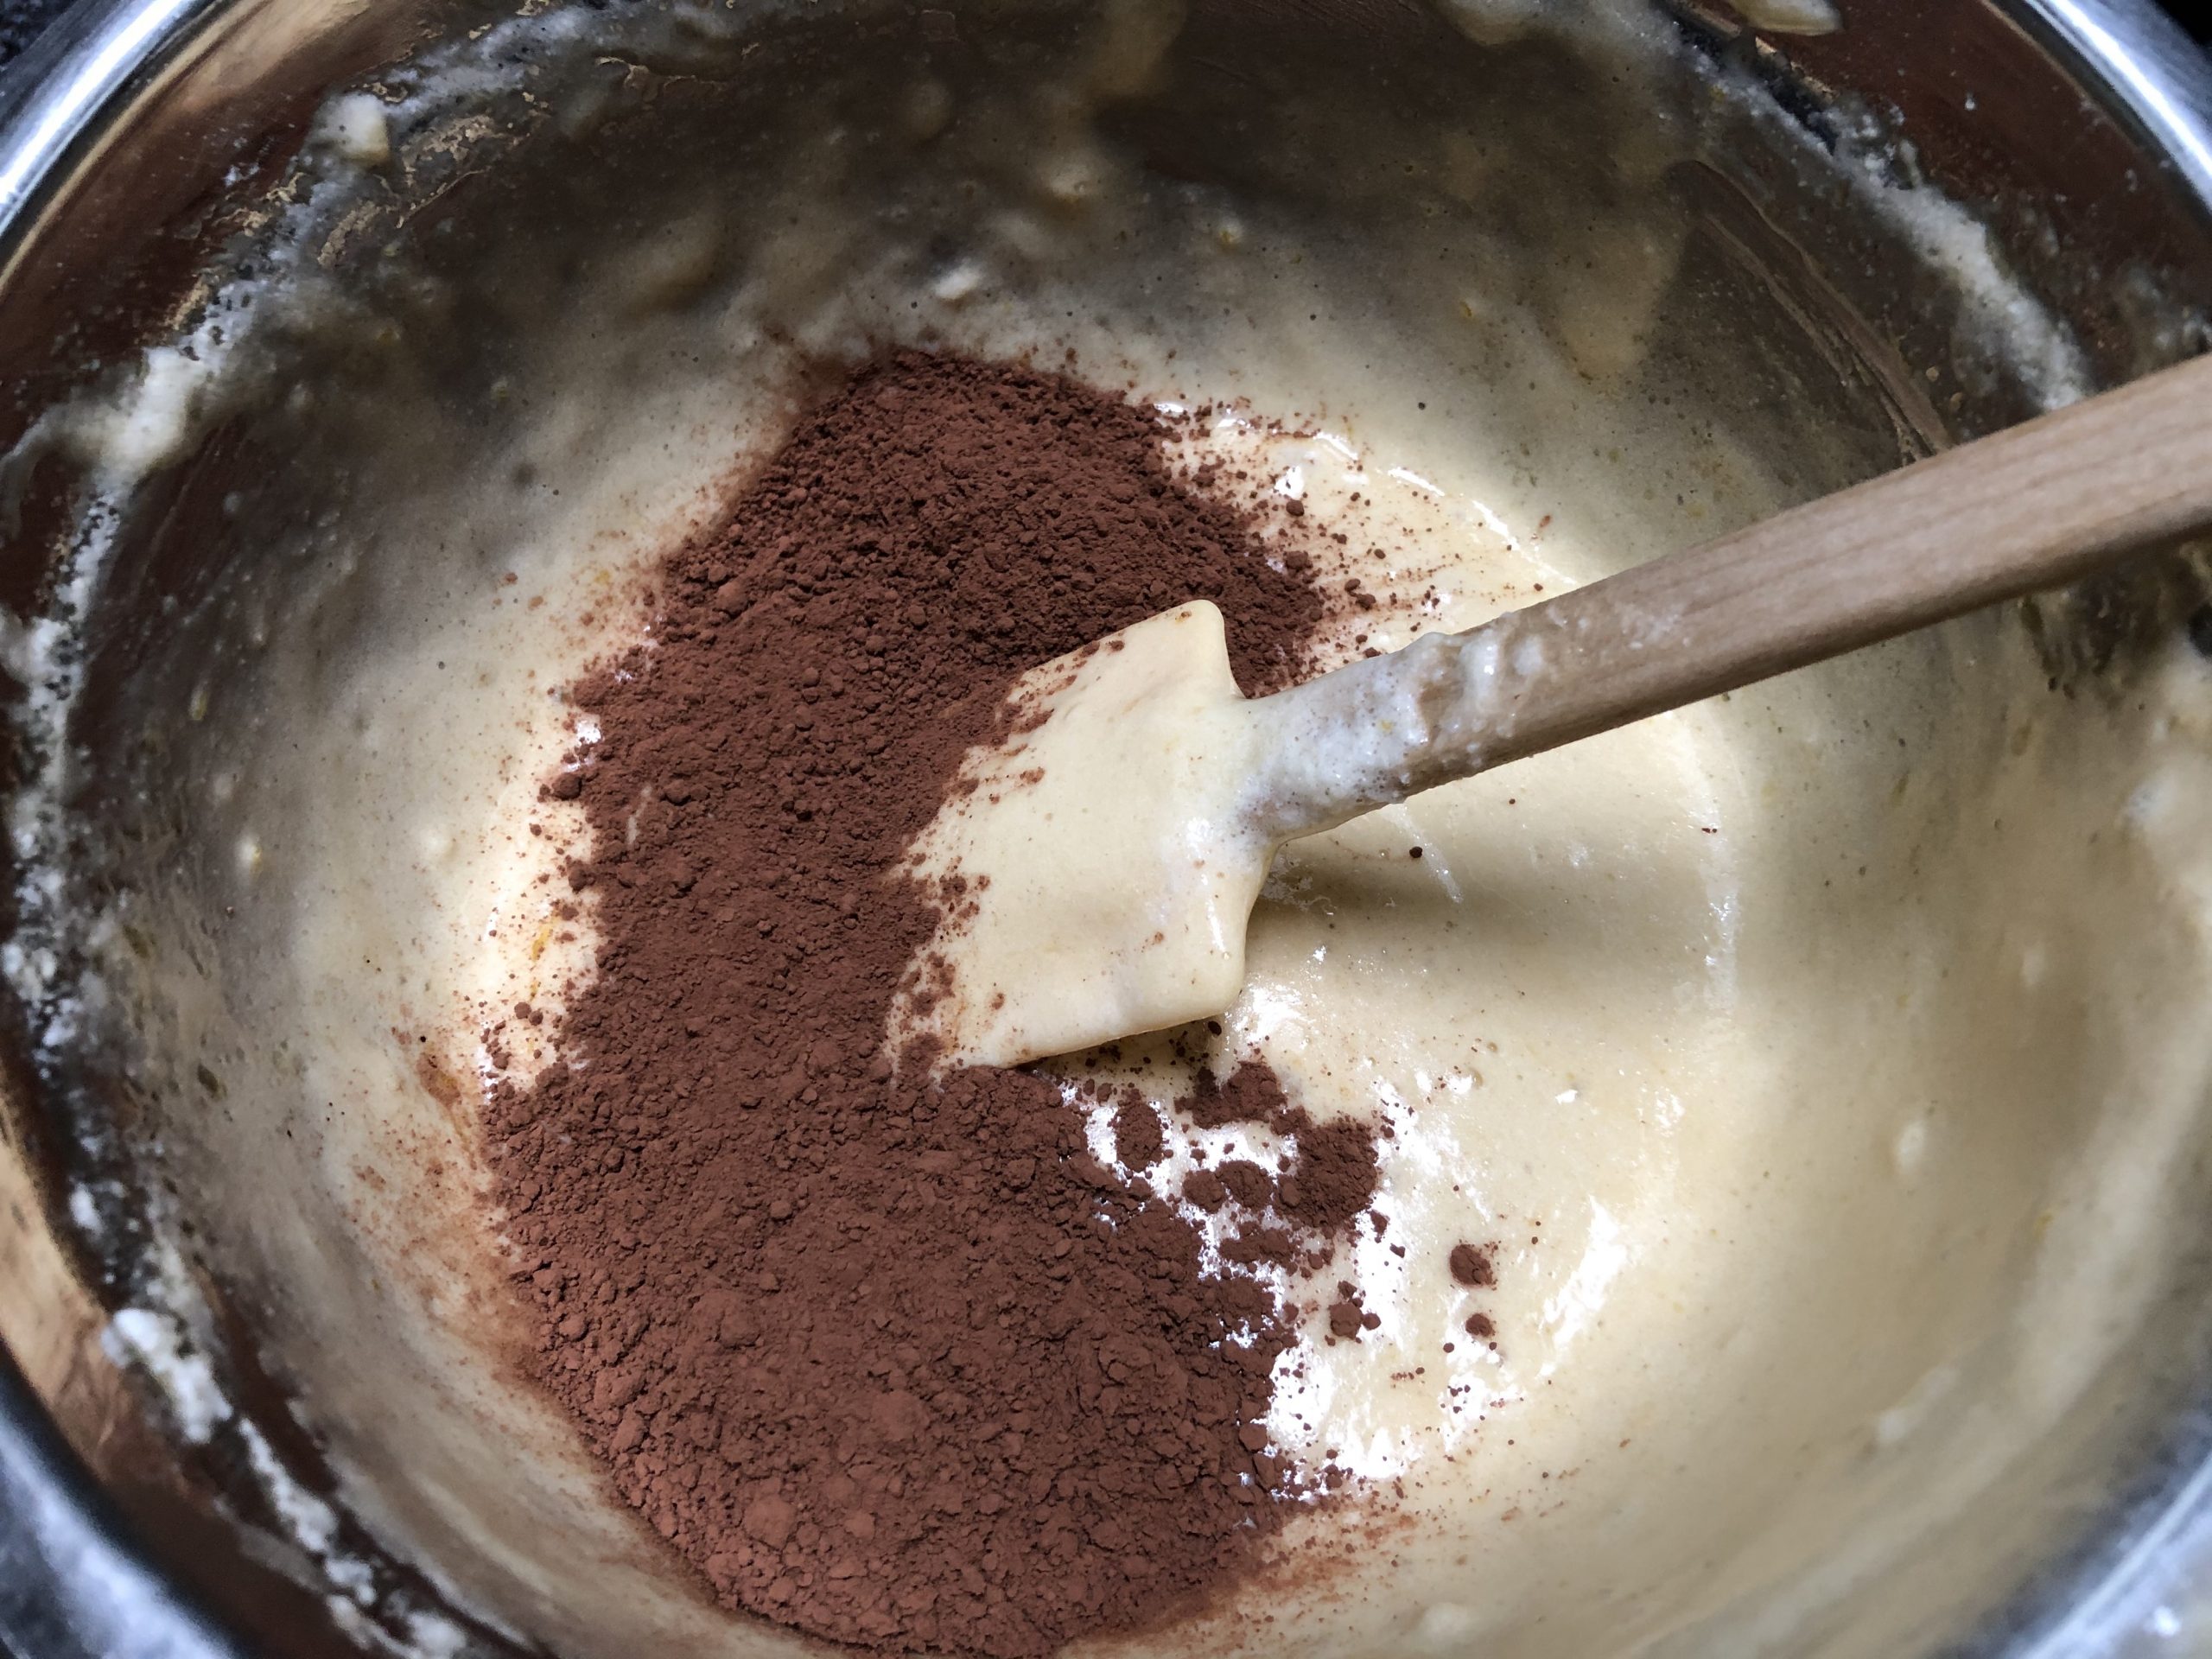
    cocoa powder
  15. Pour the cocoa batter evenly on top of the vanilla batter.
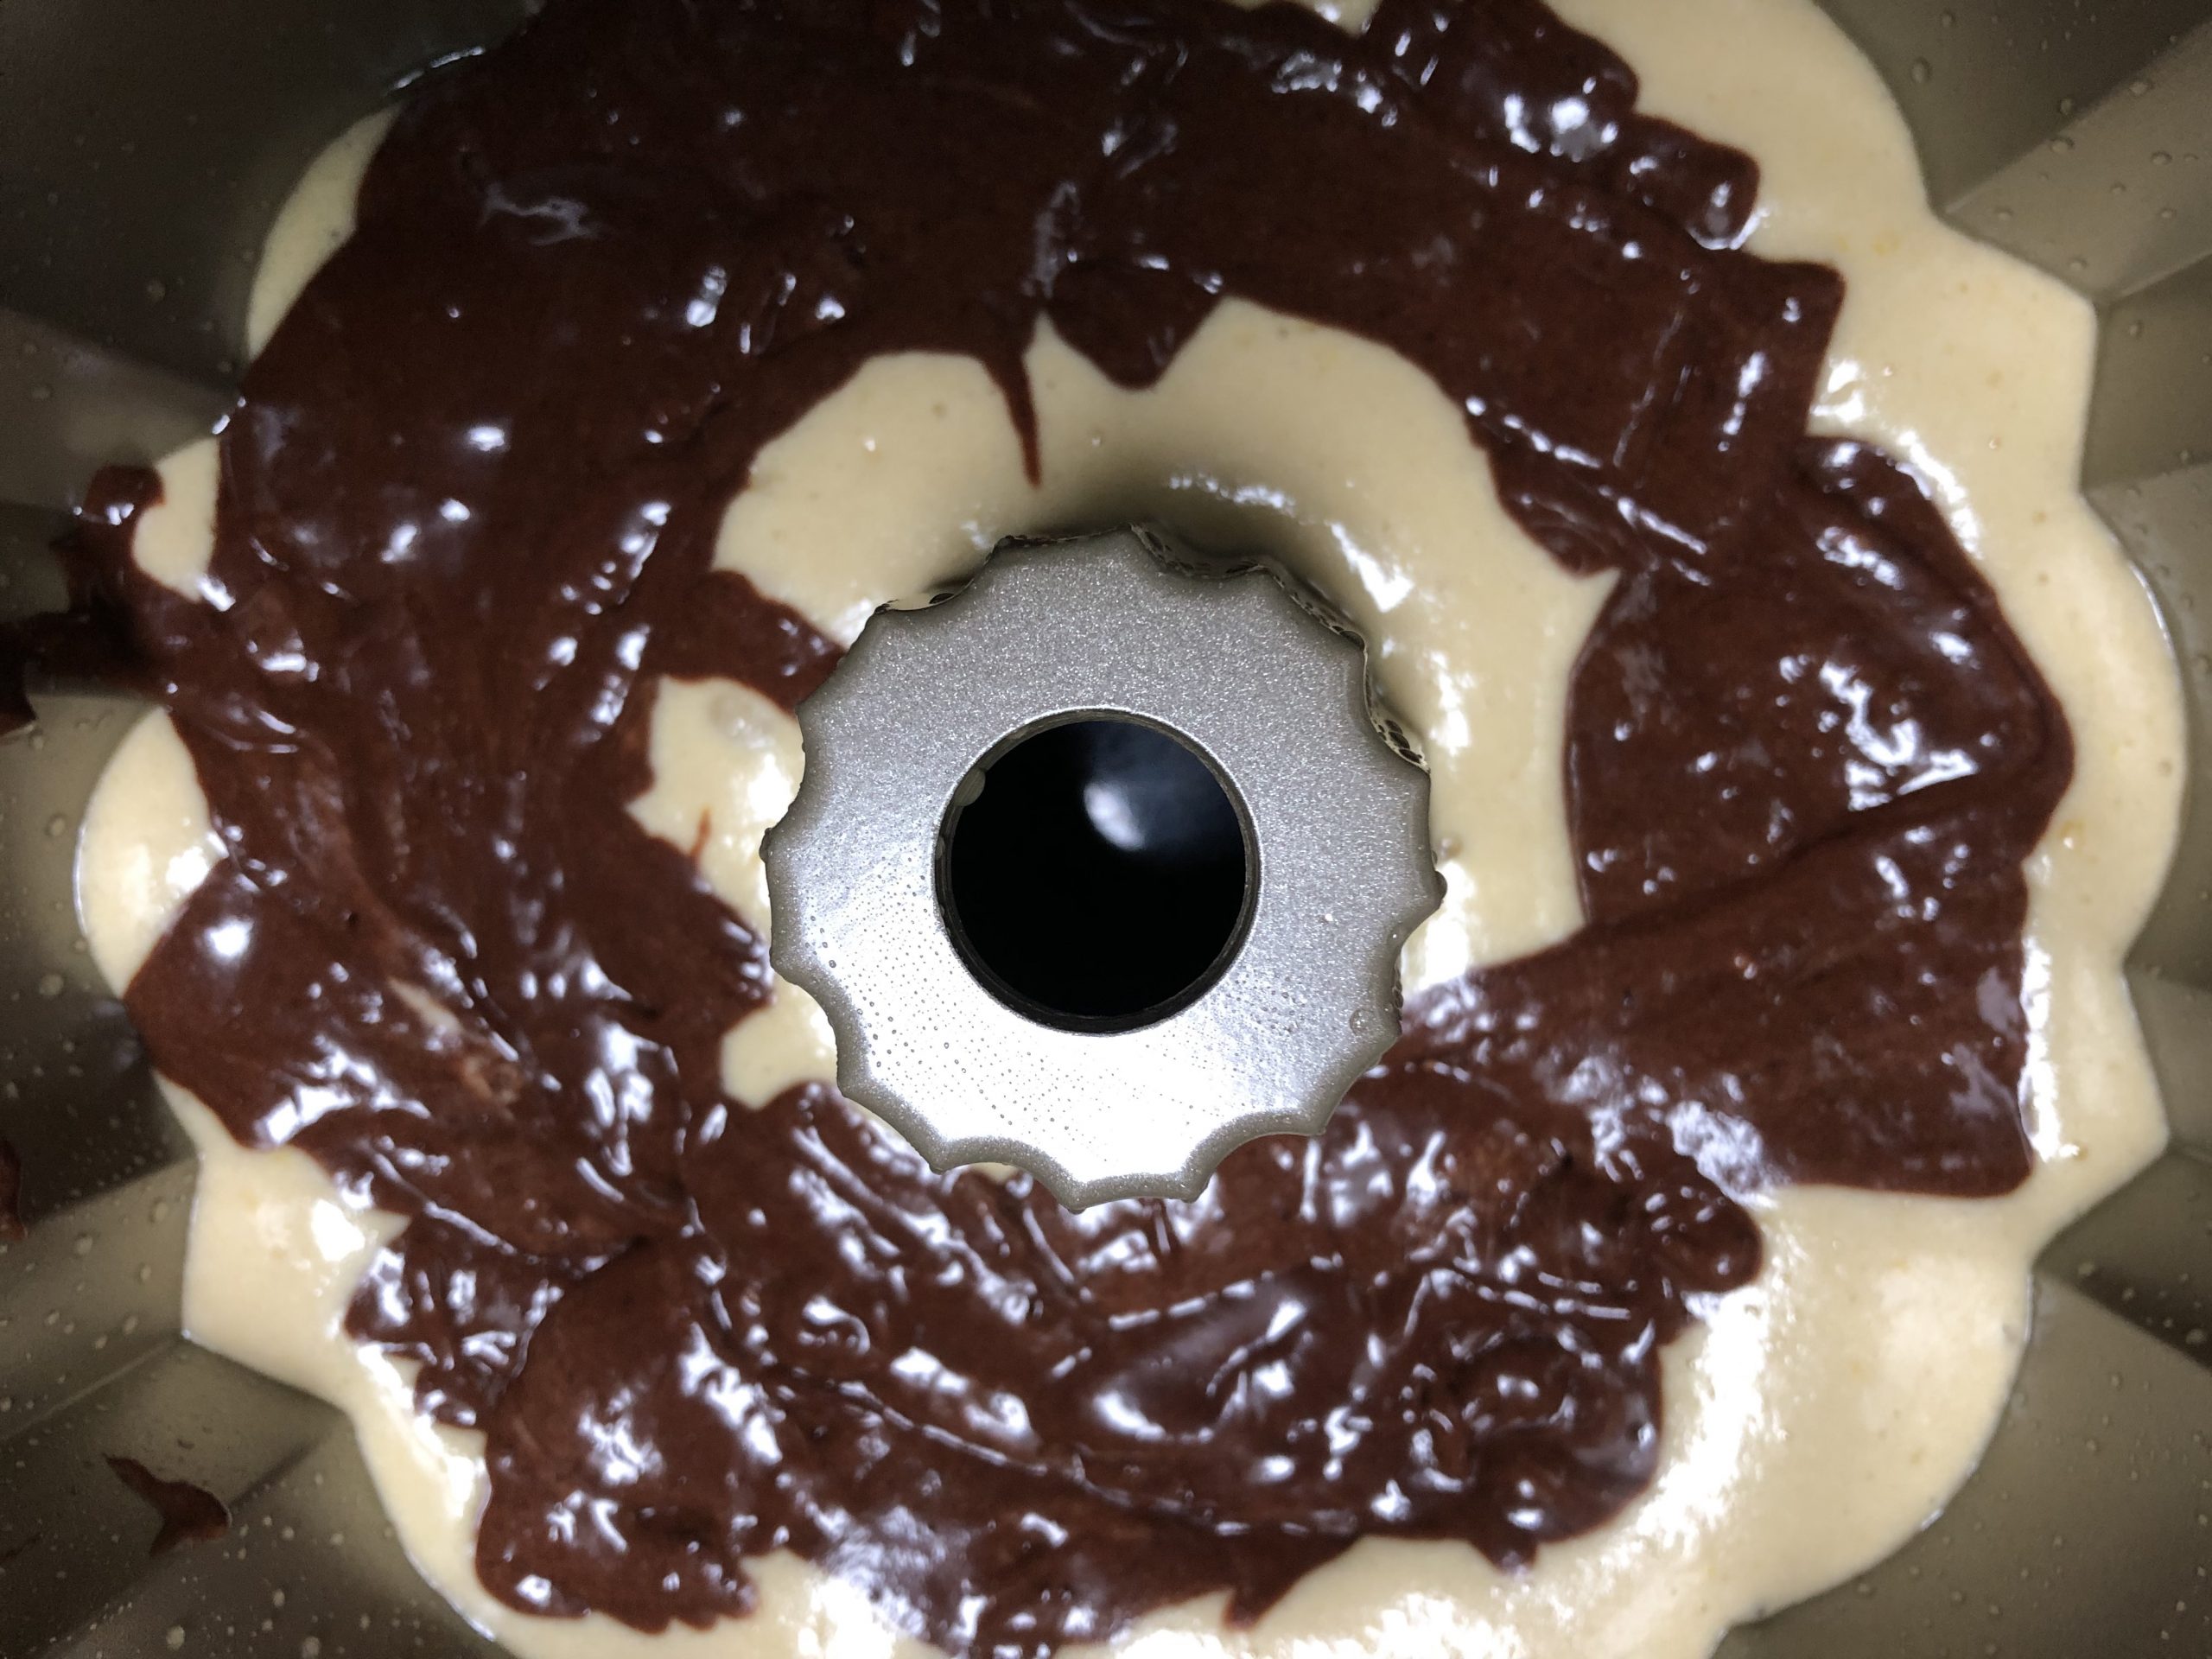
    pour in batter into cake pan
  16. Put it in the oven and bake the Bundt cake for 40 - 45 minutes.

  17. Remove your Bundt cake from the oven and let it cool for 10 - 15 minutes.
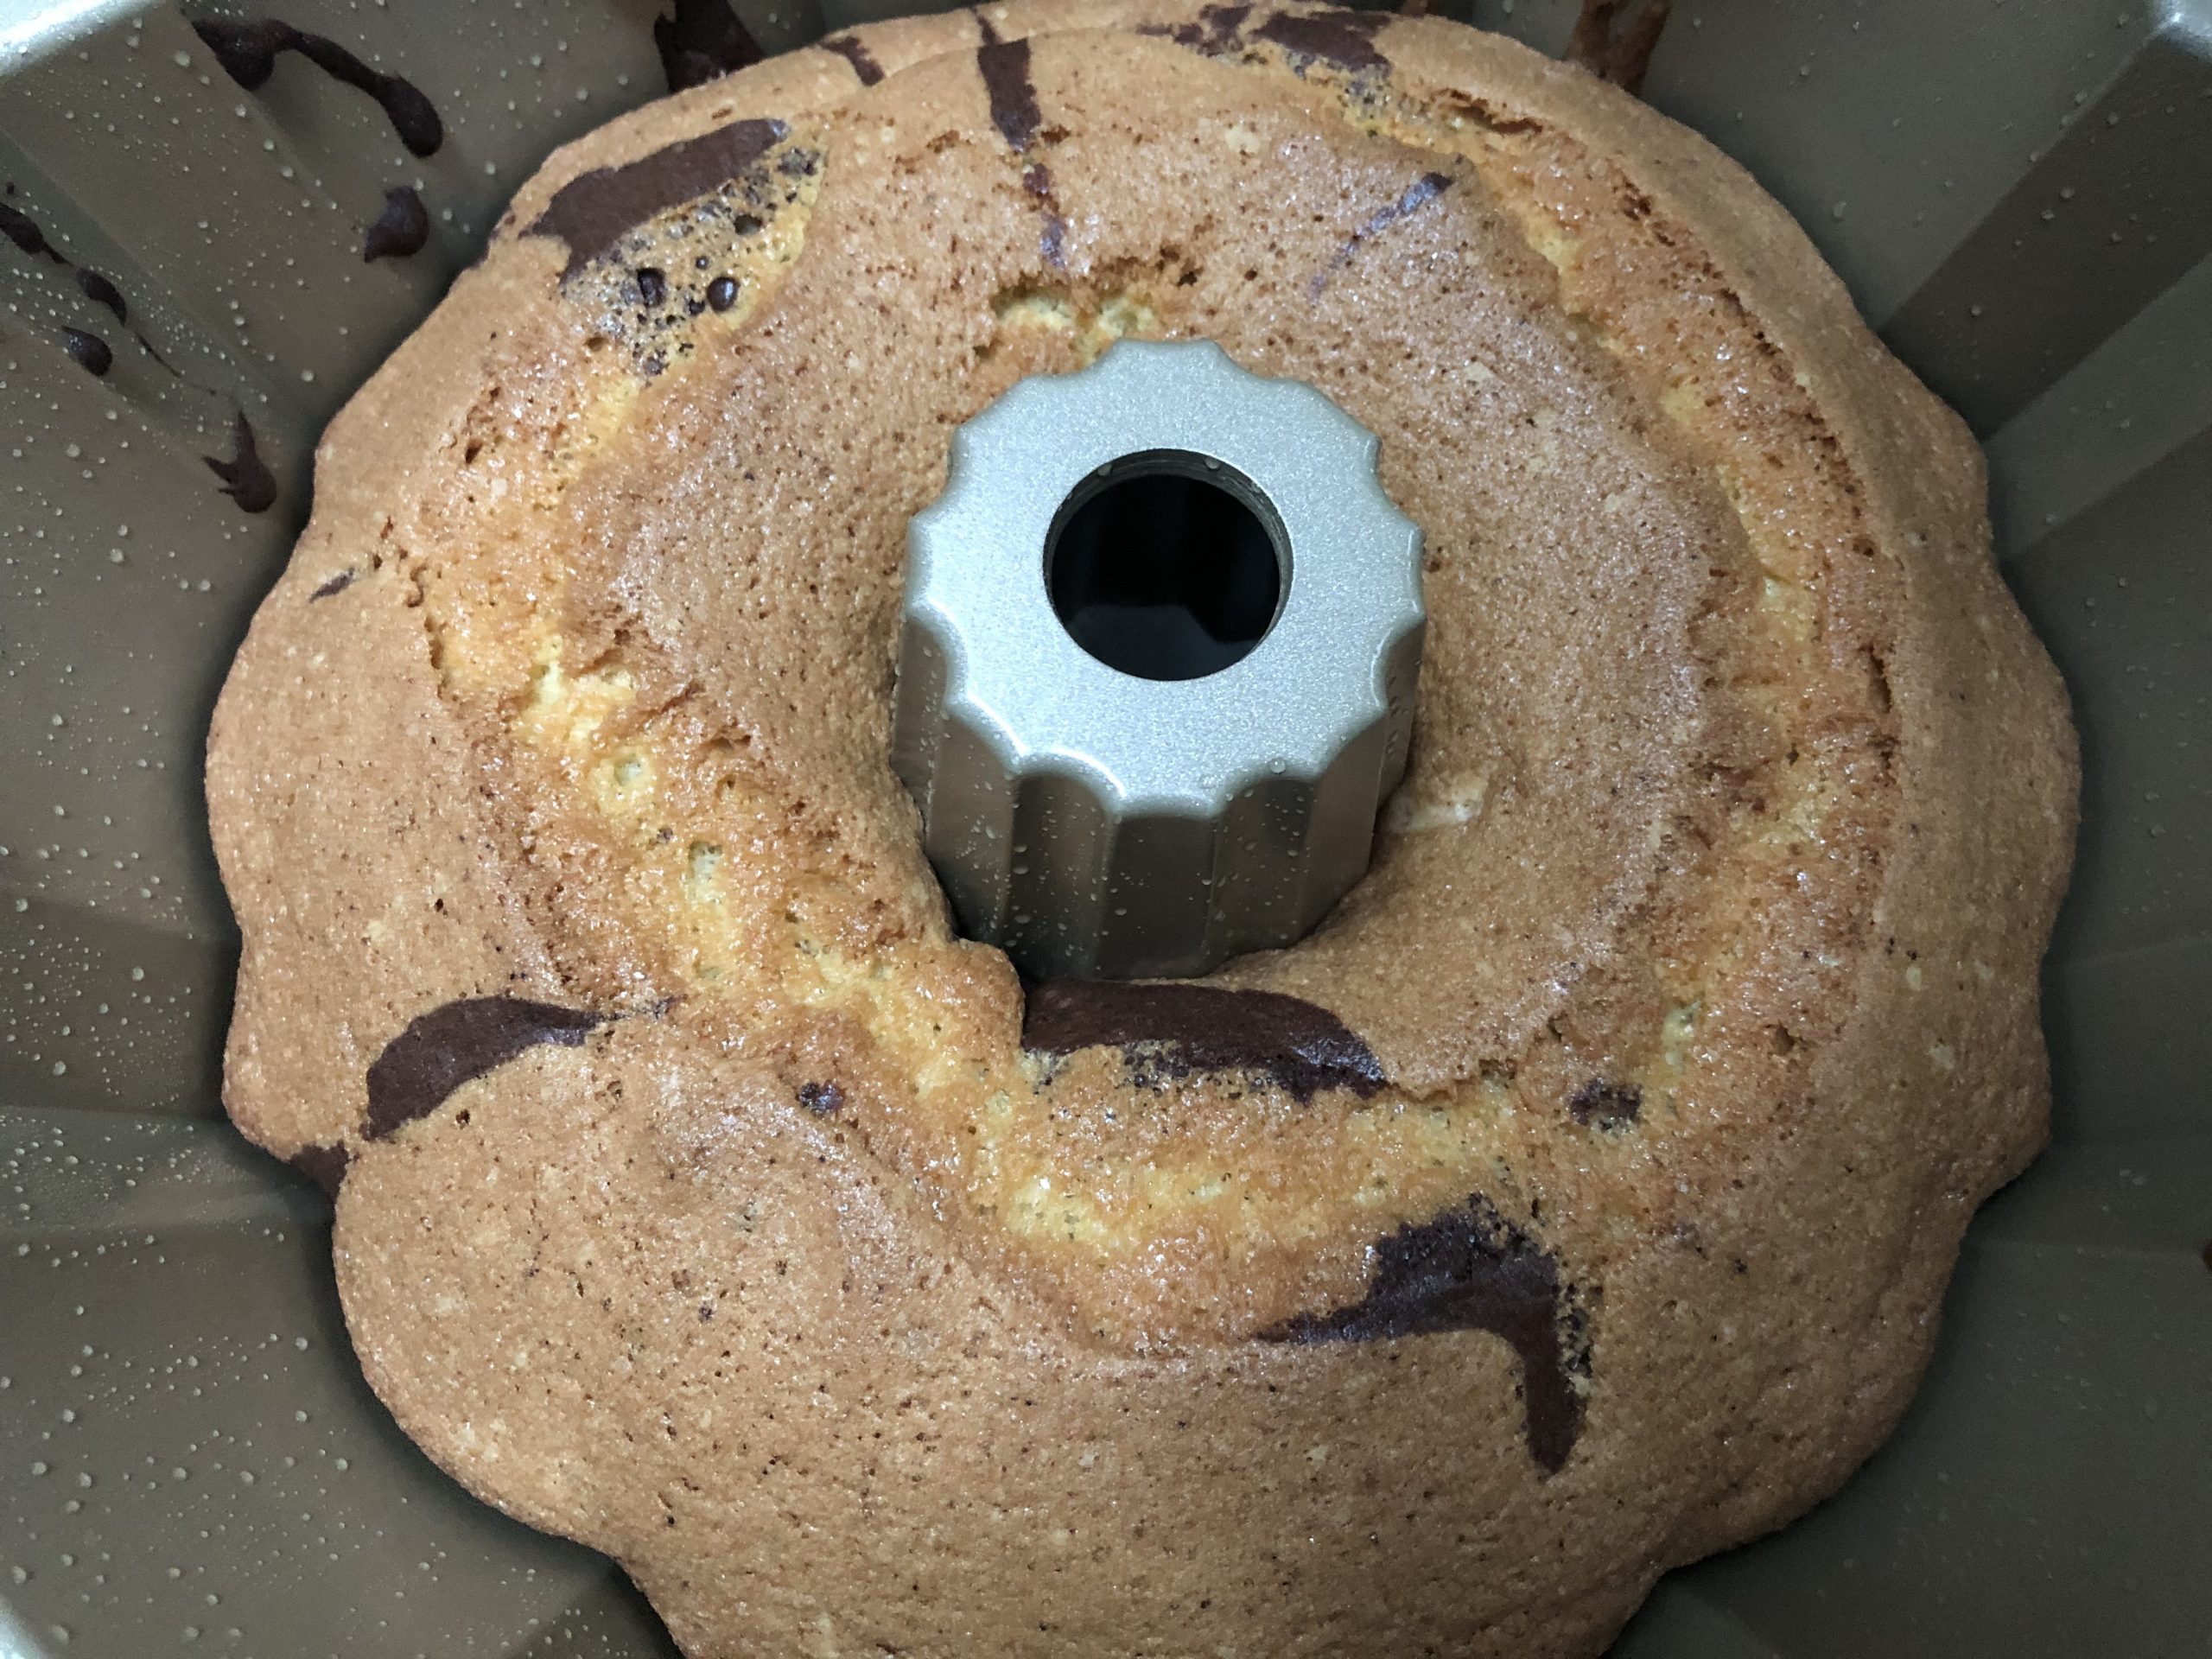
    baked bundt cake
  18. Slowly turn the Bundt pan with the cake onto a large plate, and lift the form as you rest the Bundt Cake on the plate.
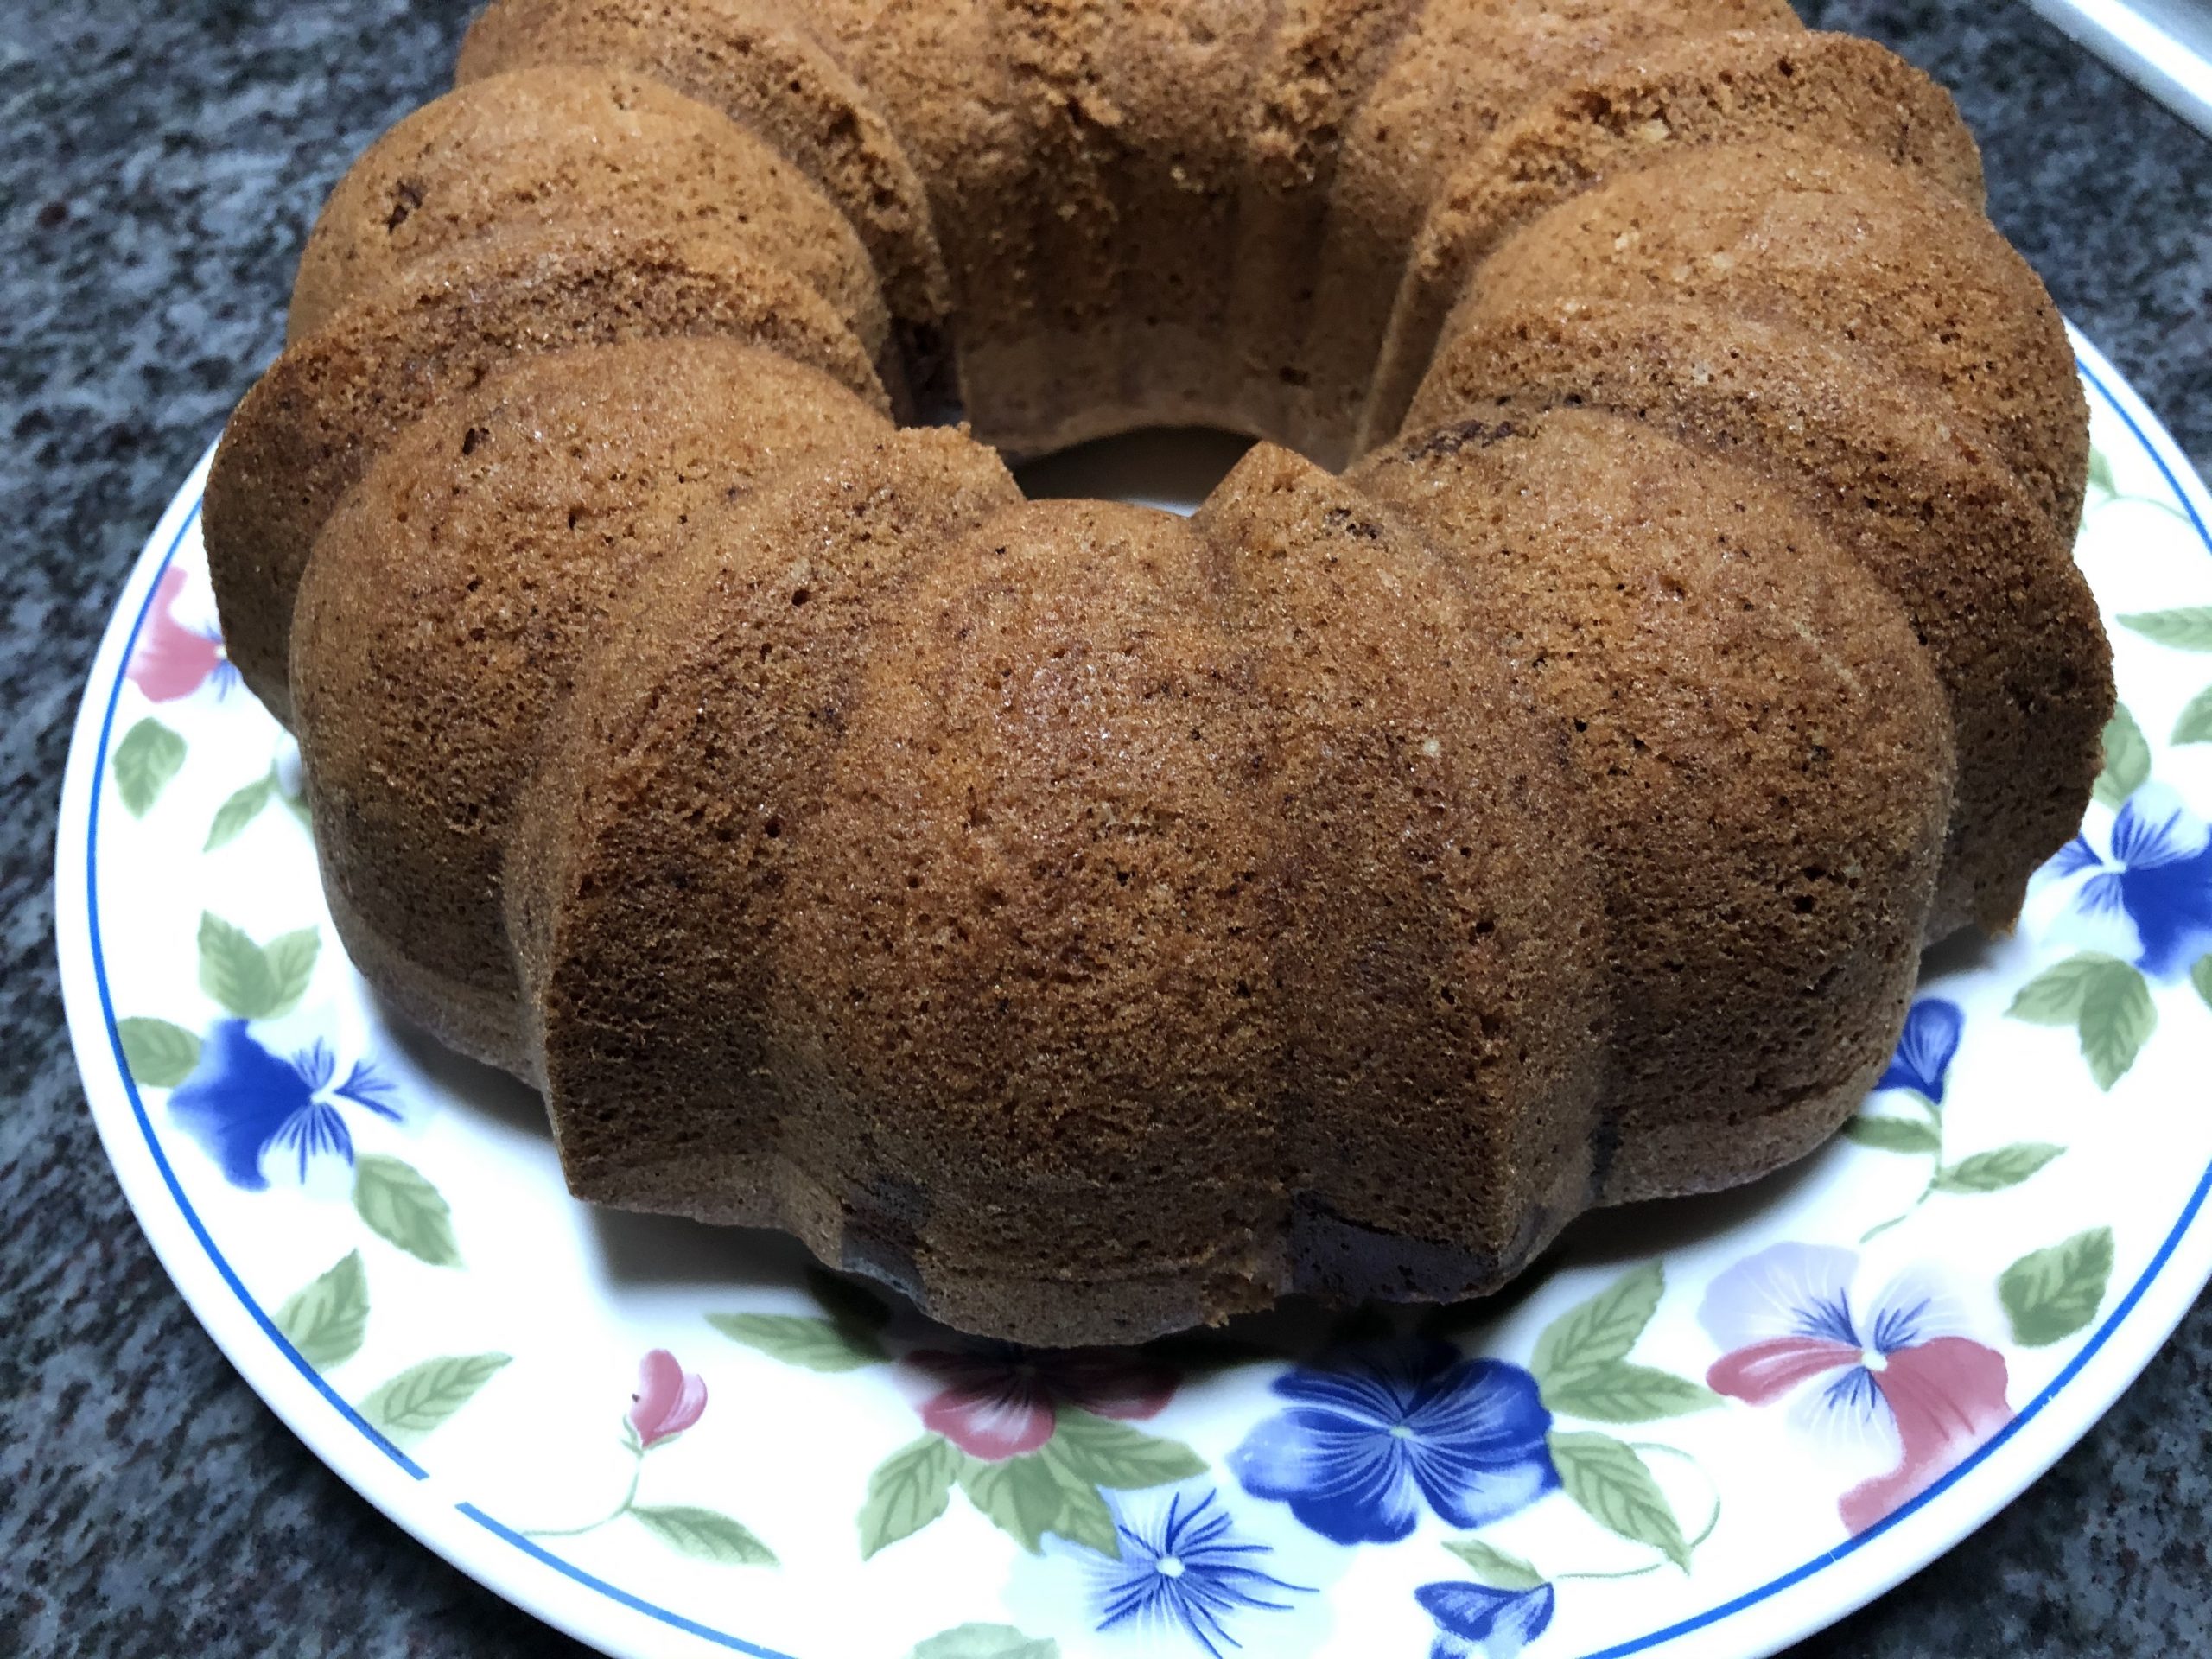
    turned bundt cake
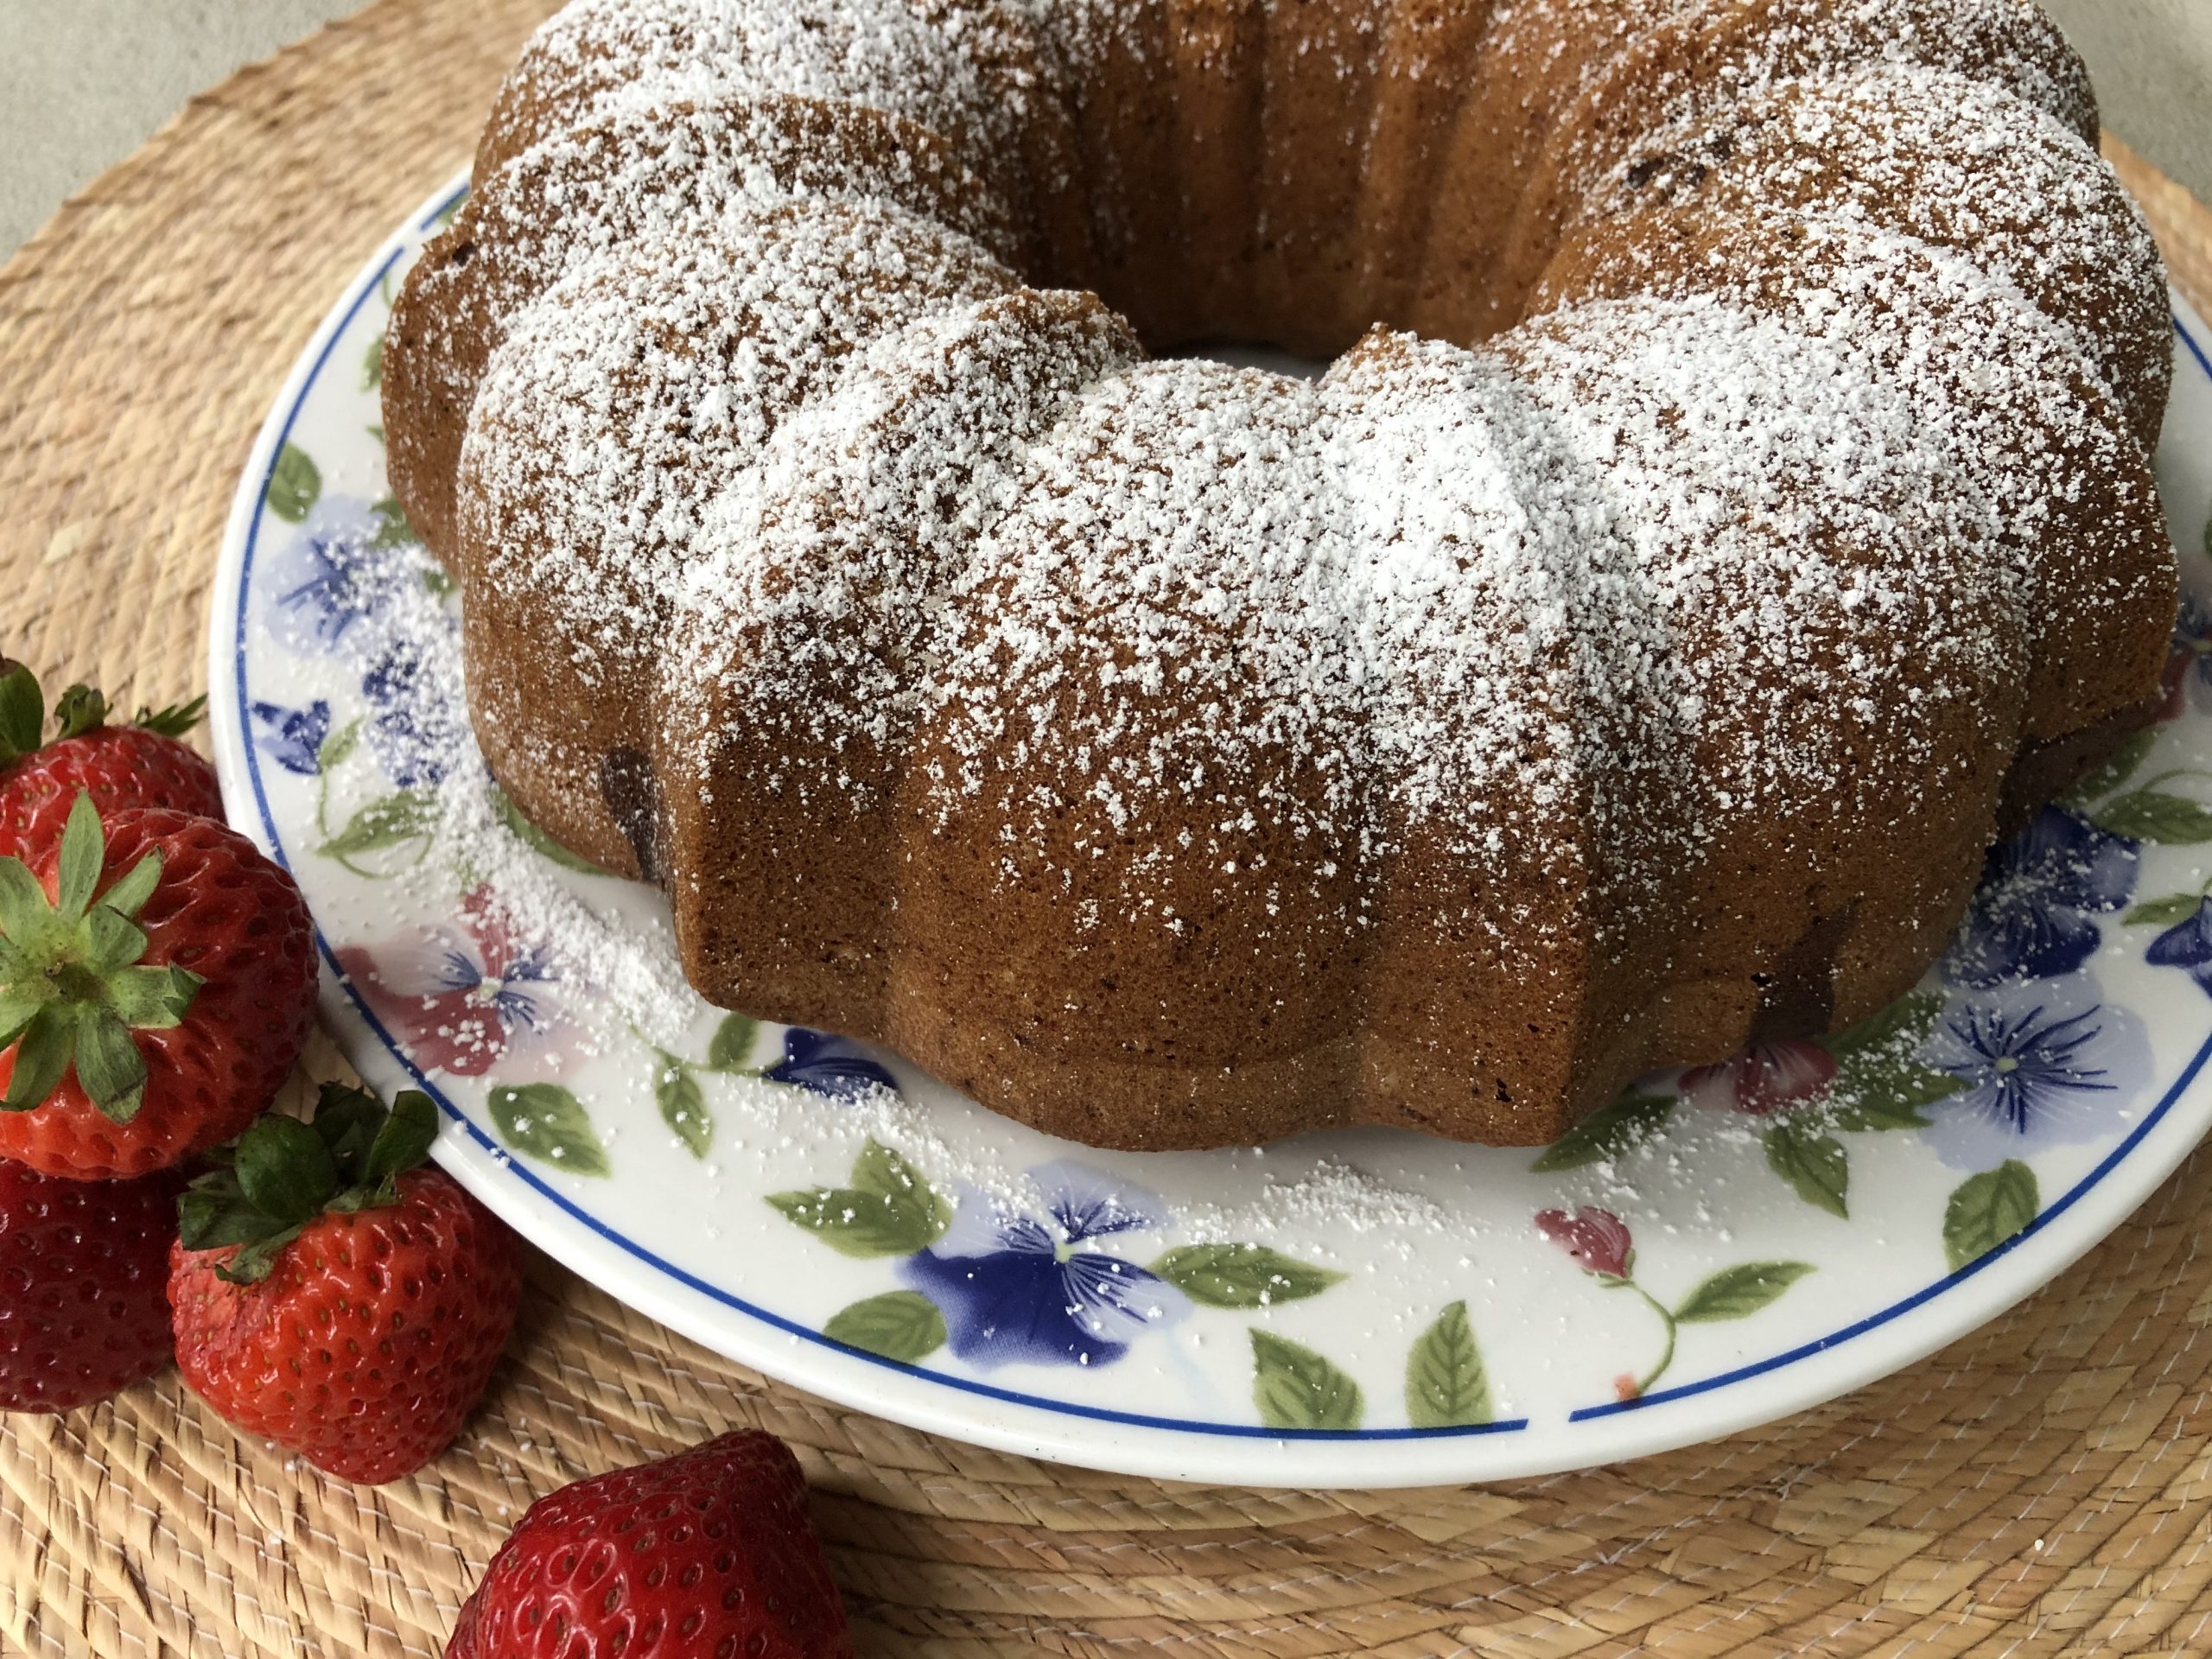
  19. Sprinkle some powdered sugar on top and enjoy!
    Marble Bundt Cake

Fruit Yeast Cake

Ola Rokita22 August 2020Comments (6)

Fruit yeast cake


Making a fruit yeast cake can be an excellent way to use up your leftover fruit or berries before they go bad. Simply cut up some strawberries and mix them with blueberries or raspberries.

The sweet and slightly sour taste of berries, mixed with a fluffy and delicate yeast cake, makes this a perfect combination.

Fruit yeast cake means summer to me

This fruit yeast cake recipe makes me think of summer. As a child, I would often devour it with a warm cup of milk after a swim in the Mazurian lakes on summer evenings.

Even today, when I eat fruit yeast cake, I pour myself a cup of milk or make a “bawarka”, which is warm tea with a hint of milk, to accompany my indulgence.

Top it with a crunch!

I enjoy making this recipe with an extra crunch. The perfect way to combine the juicy fruit and soft texture of the cake is to top it off with a lightly sweet crumble.

I like to make mine with brown sugar because it adds a hint of caramel and compliments the sour taste of berries perfectly.

Sweet or not too sweet

Some people also like to coat their fruit yeast cakes with a sugar glaze on top of the crumble, but I find that the glaze adds too much sweetness. I prefer desserts that are not overwhelmingly sweet. By adding too much sugar, many of the other delicate flavors disappear.

I like giving presence to all the different flavors in my recipes rather than a single one. Retaining balance in baking is important to allow for a symphony of flavors to compliment each other and produce a pleasing taste for your taste buds. Plus, why add the extra calories when a small quantity of sugar goes a long way.

My favorite flour for making Fruit Yeast Cakes

For yeast cakes, I always use wheat flour from Poland, type 550 [click HERE to BUY] It has a good amount of protein and enough gluten to make the cake extra fluffy.
Also, since this is a traditional Polish recipe, I like using the same type of flour my grandmother used, and make it as authentic as possible. If you don’t have access to Polish flour, all-purpose wheat flour will work as well.


Fruit Yeast Cake - Dough

Ingredients

  • cups wheat flour Polish Type 550
  • 3 whole eggs
  • 1 egg yolk
  • 6 tbsp cane or white sugar
  • 1 cup whole or 2% milk
  • tsp active dry yeast
  • 4 tbsp unsalted butter
  • 1 tsp vanilla extract
  • tsp salt

Instructions

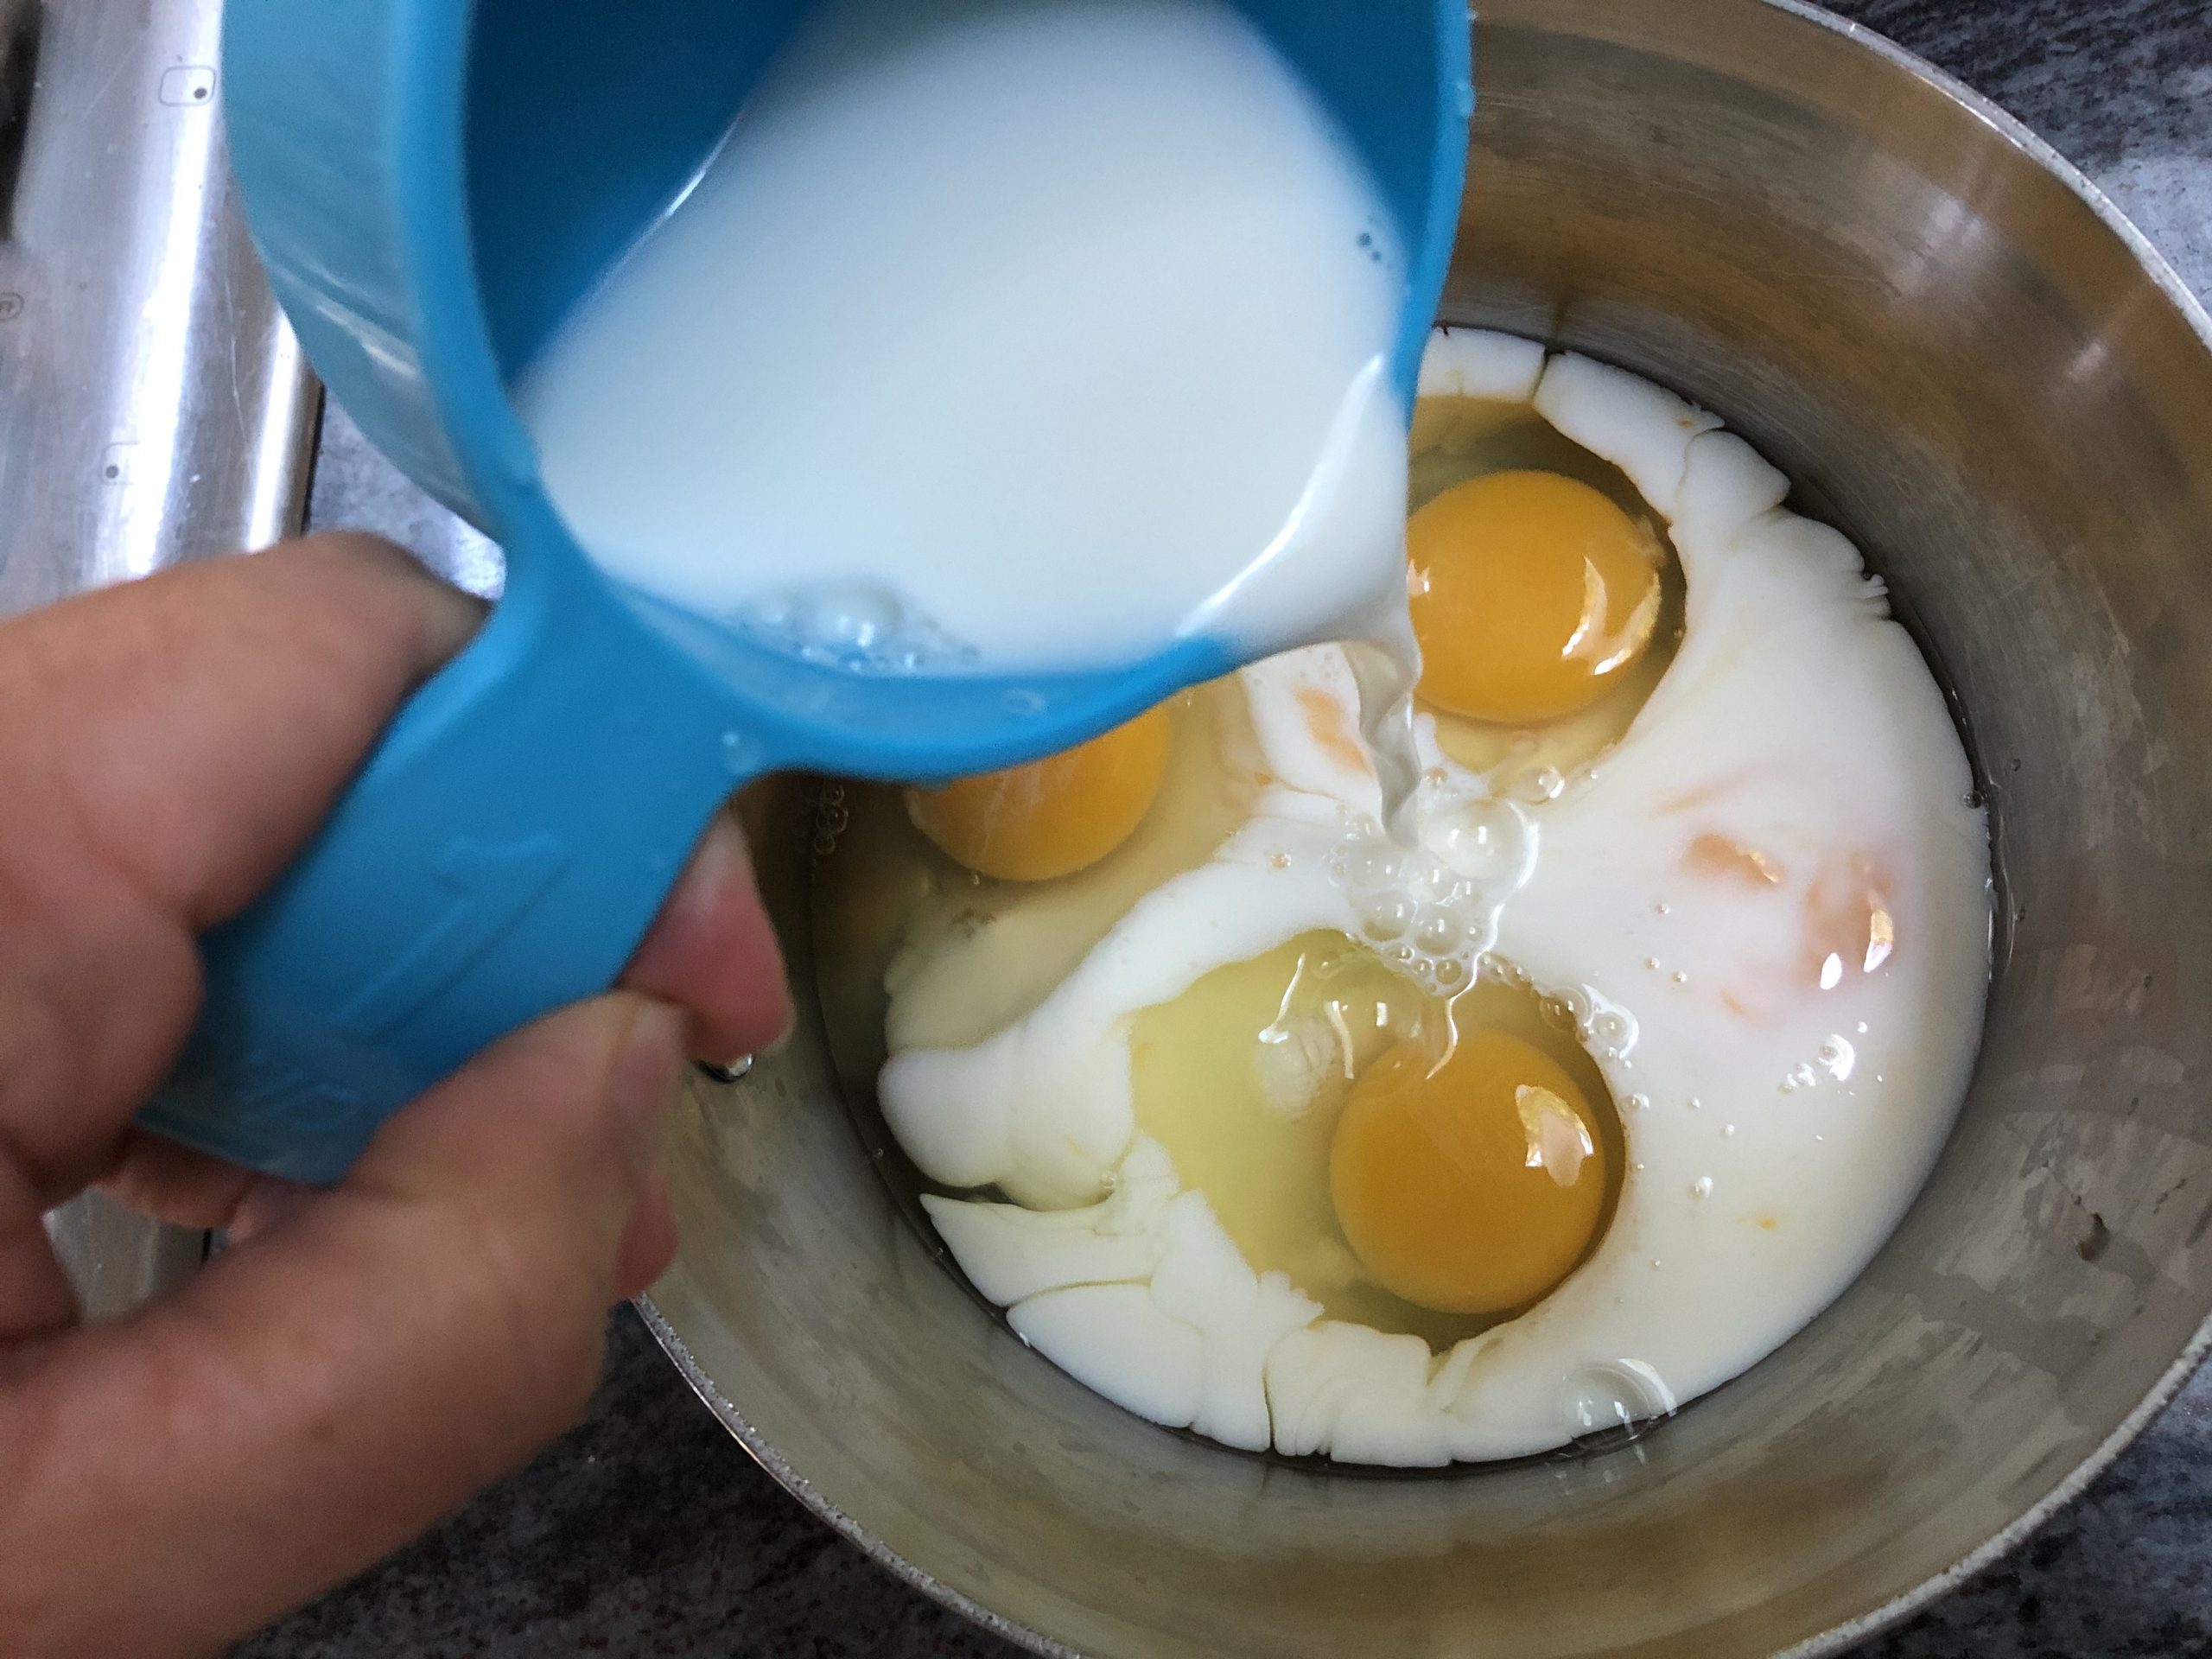
  1. In a pot, combine milk, eggs, egg yolk, and sugar using a whisk while warming the contents over a low heat until the ingredients reach lukewarm temperature.

    mix eggs with milk and sugar
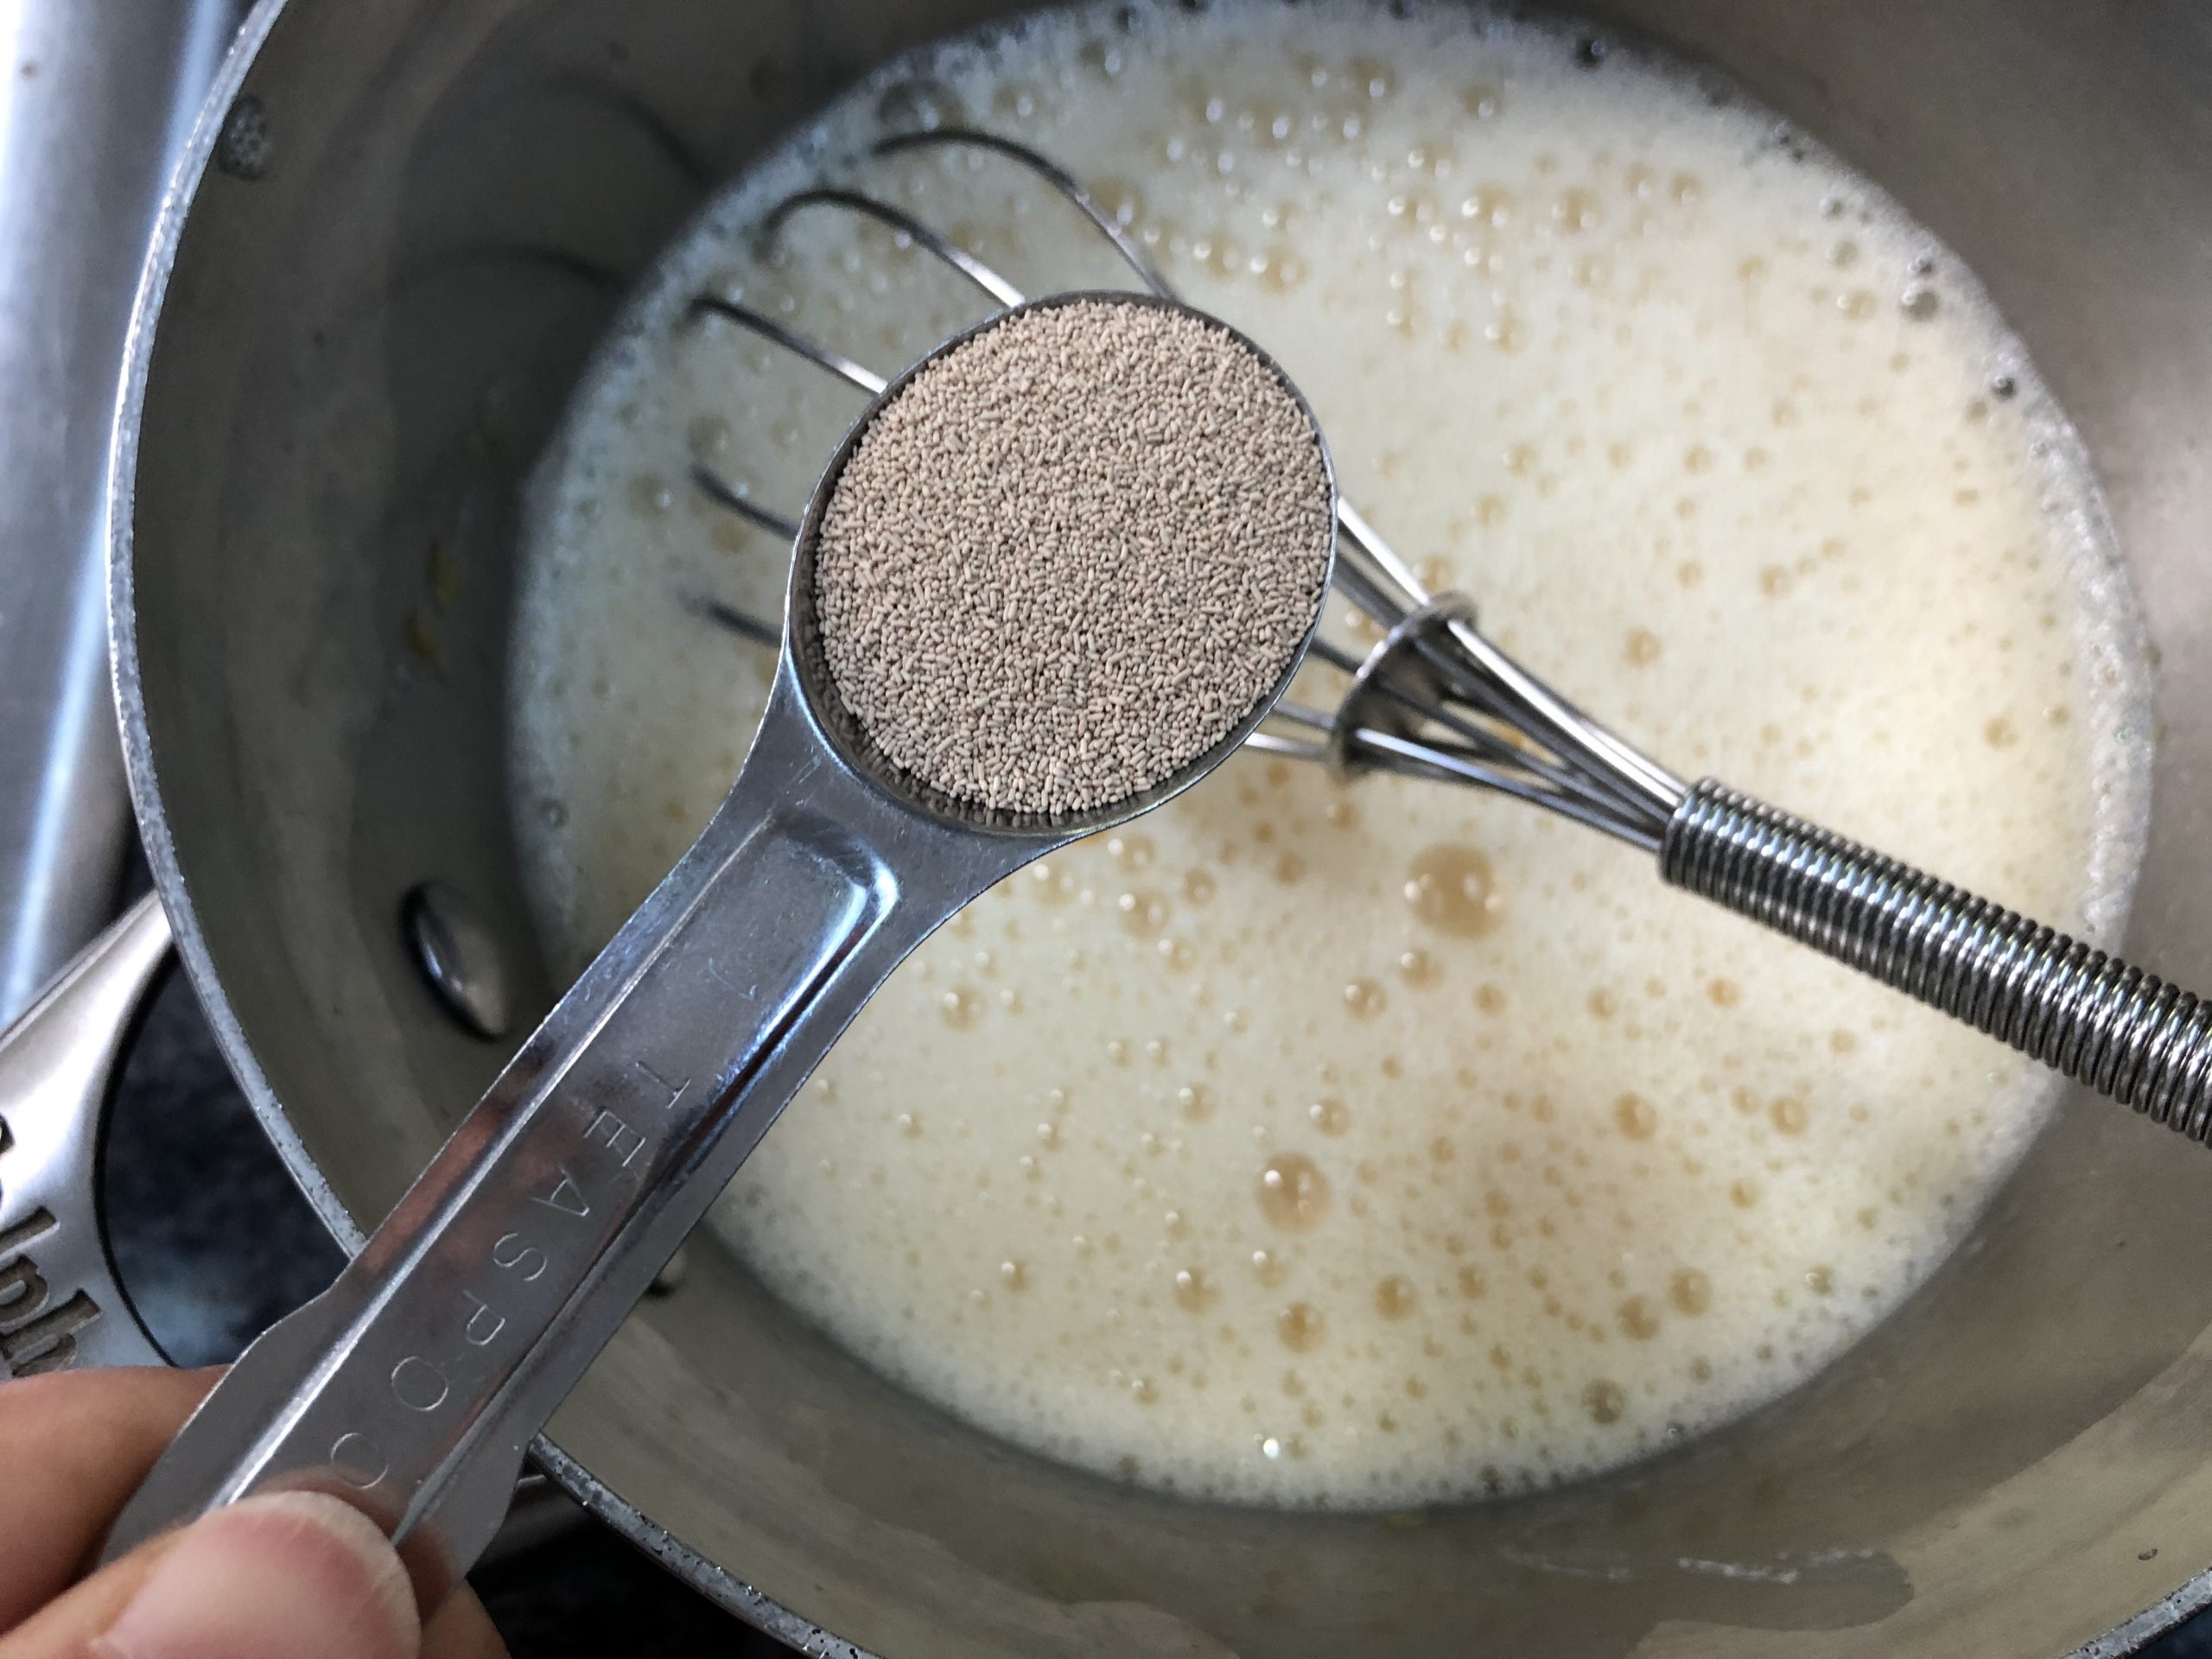
  2. Remove from the stove top, make sure the mixture is not too hot, and add the yeast. Whisk it all together and let it rest for about 10 minutes.

    add yeast
  3. In the meantime, using a bowl from a stand mixer, combine the flour, vanilla, and salt. Mix the ingredients with a spoon.

  4. Pour the combined liquid ingredients into the bowl with the flour, and mix all the ingredients together with a spoon.

    add flour
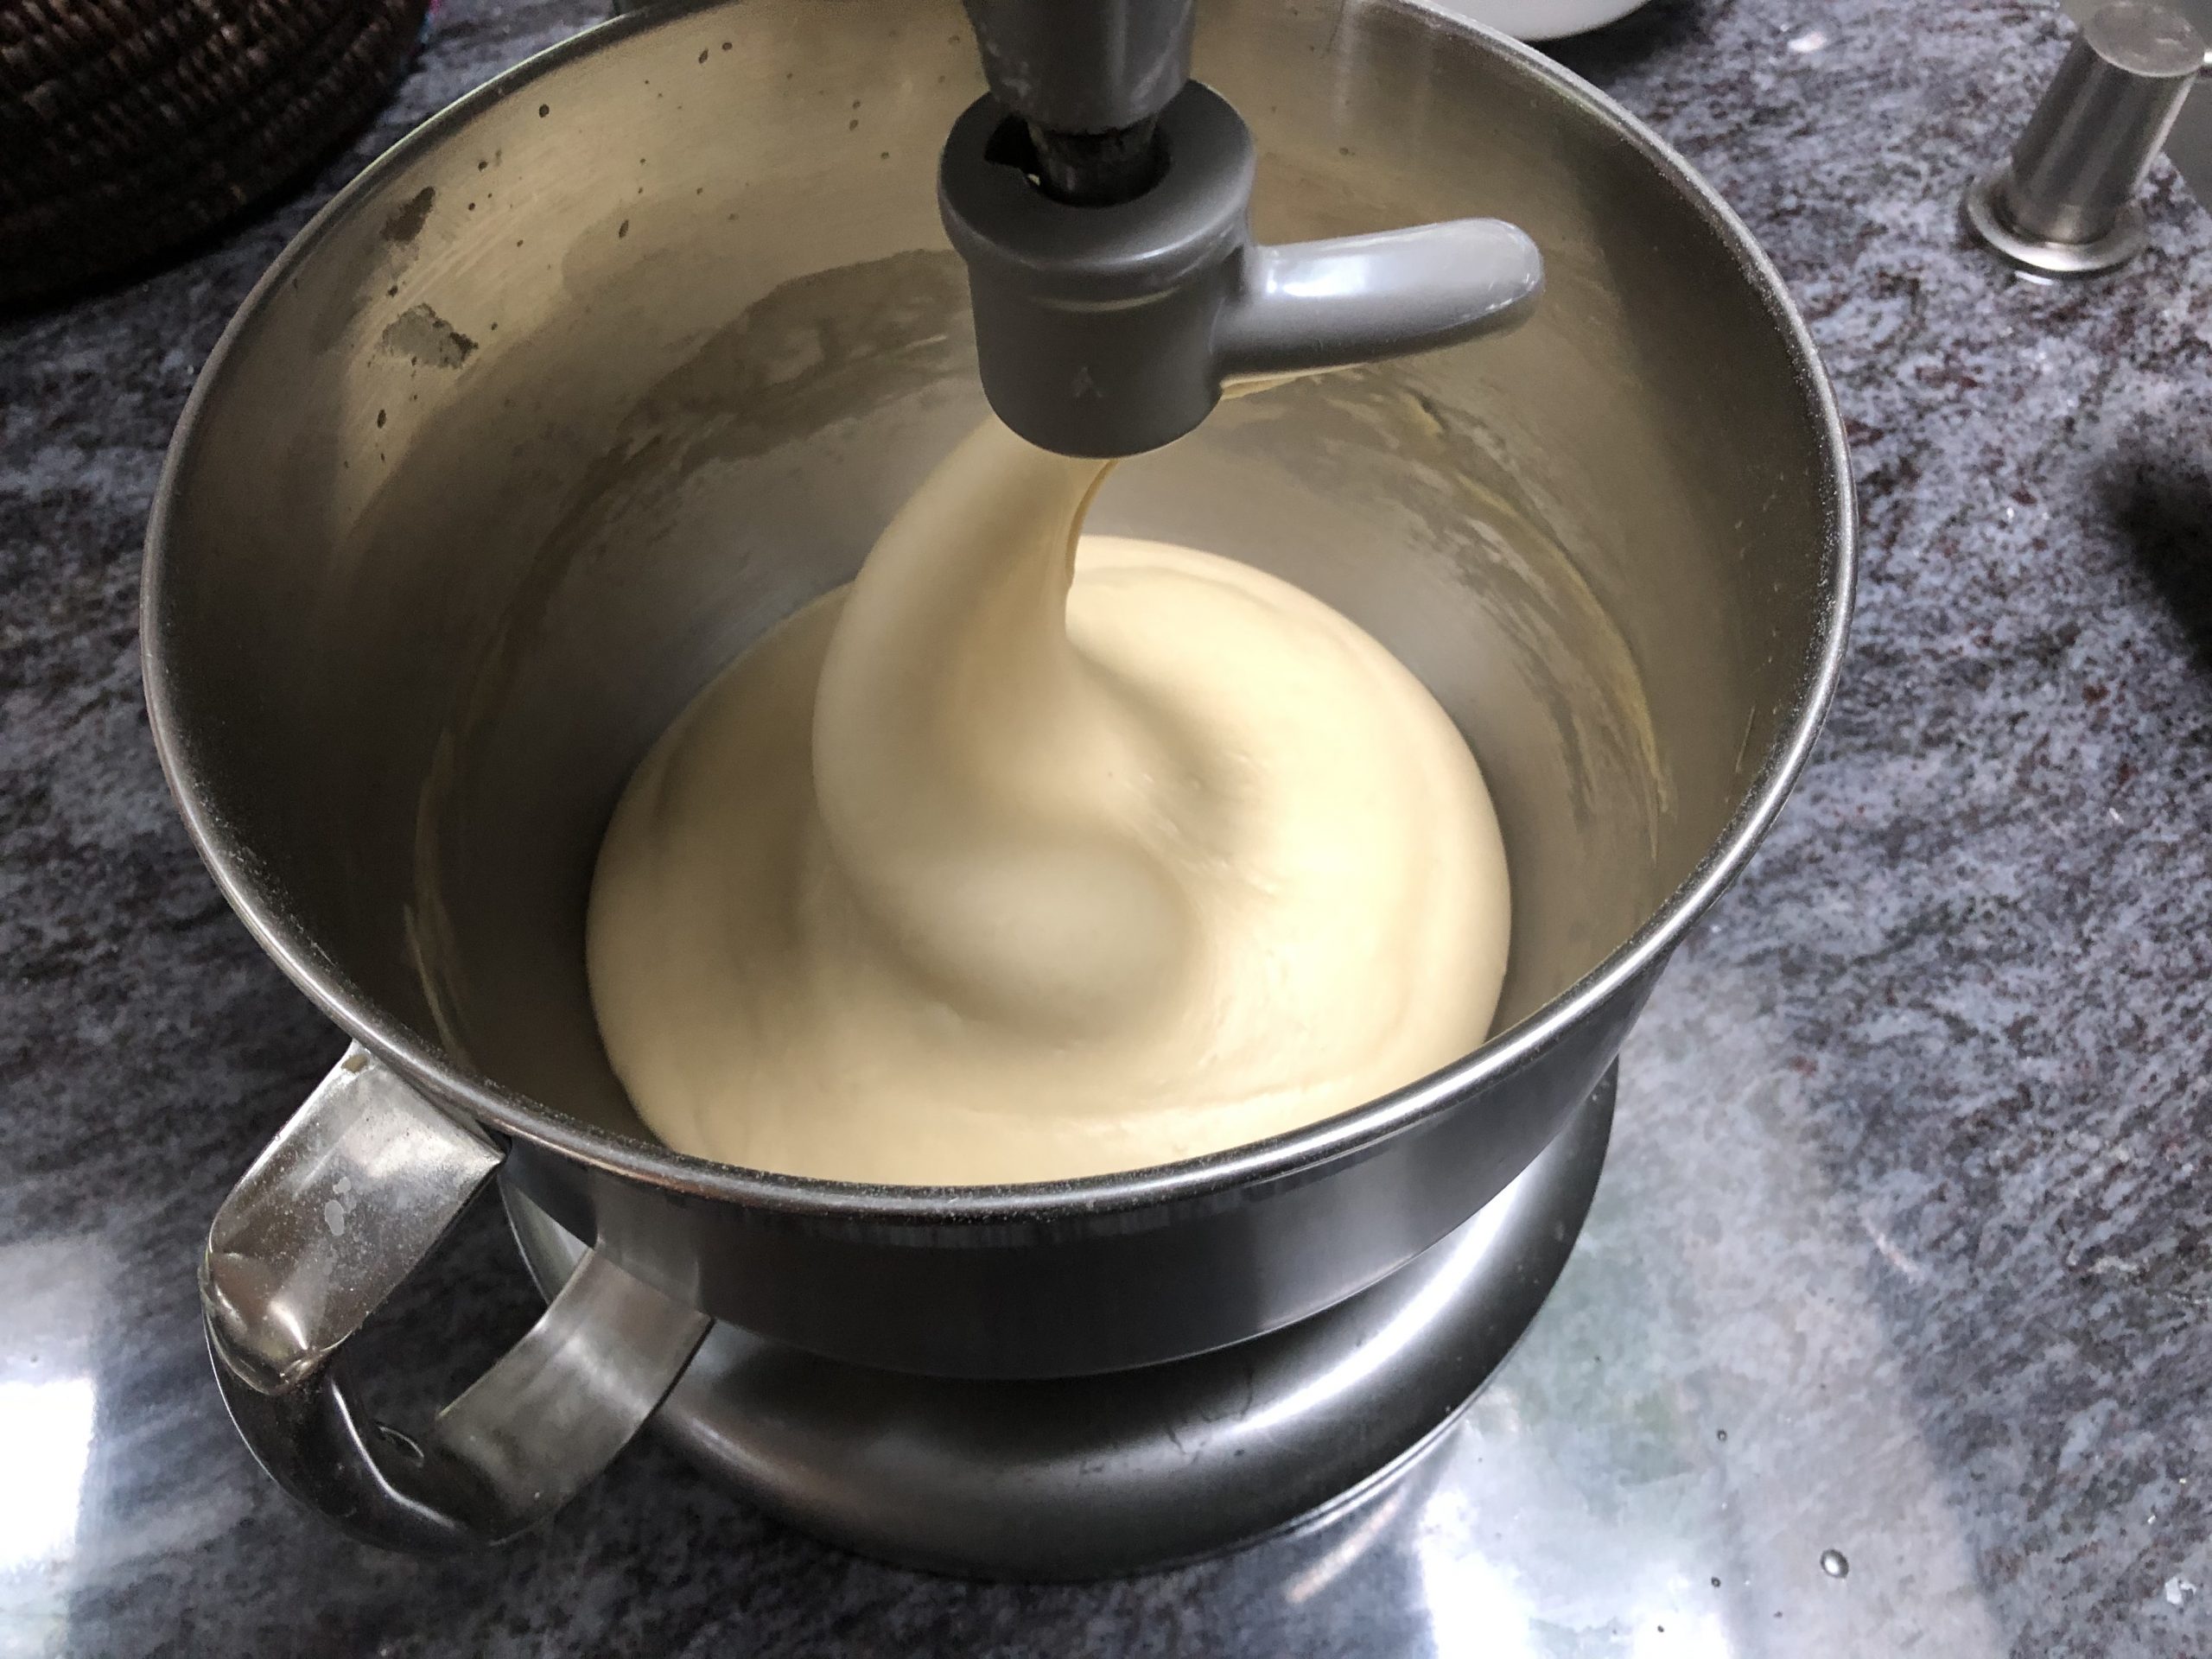
  5. Using a dough hook, knead the dough for about 5 - 8 minutes, or until the dough starts pealing off the walls of the bowl.

    kneading dough
  6. When the dough is being kneaded, in a small pot, melt the butter over a low heat. Make sure not to burn it. Let the melted butter cool off for a few minutes.

    melted butter
  7. While the dough continues to knead, slowly pour in the melted butter.

  8. Continue kneading until the butter is absorbed into the dough.

  9. Once the dough is well kneaded, the consistency is elastic, and the outside has a slight sheen, cover the dough with a clean dish towel and let it rest for 45 - 60 minutes.

    dough ready to rest
  10. As the dough is resting, prepare the fruit and the crumble (see recipes below on how to prepare the fruit and the crumble.)

  11. Once the dough has rested enough, and doubled in size, take it out of the bowl, pour it into a baking pan (size 9" x 13" inches or 23 x 33 cm) lined with parchment paper, and spread it evenly, using your hands.

    spread the dough
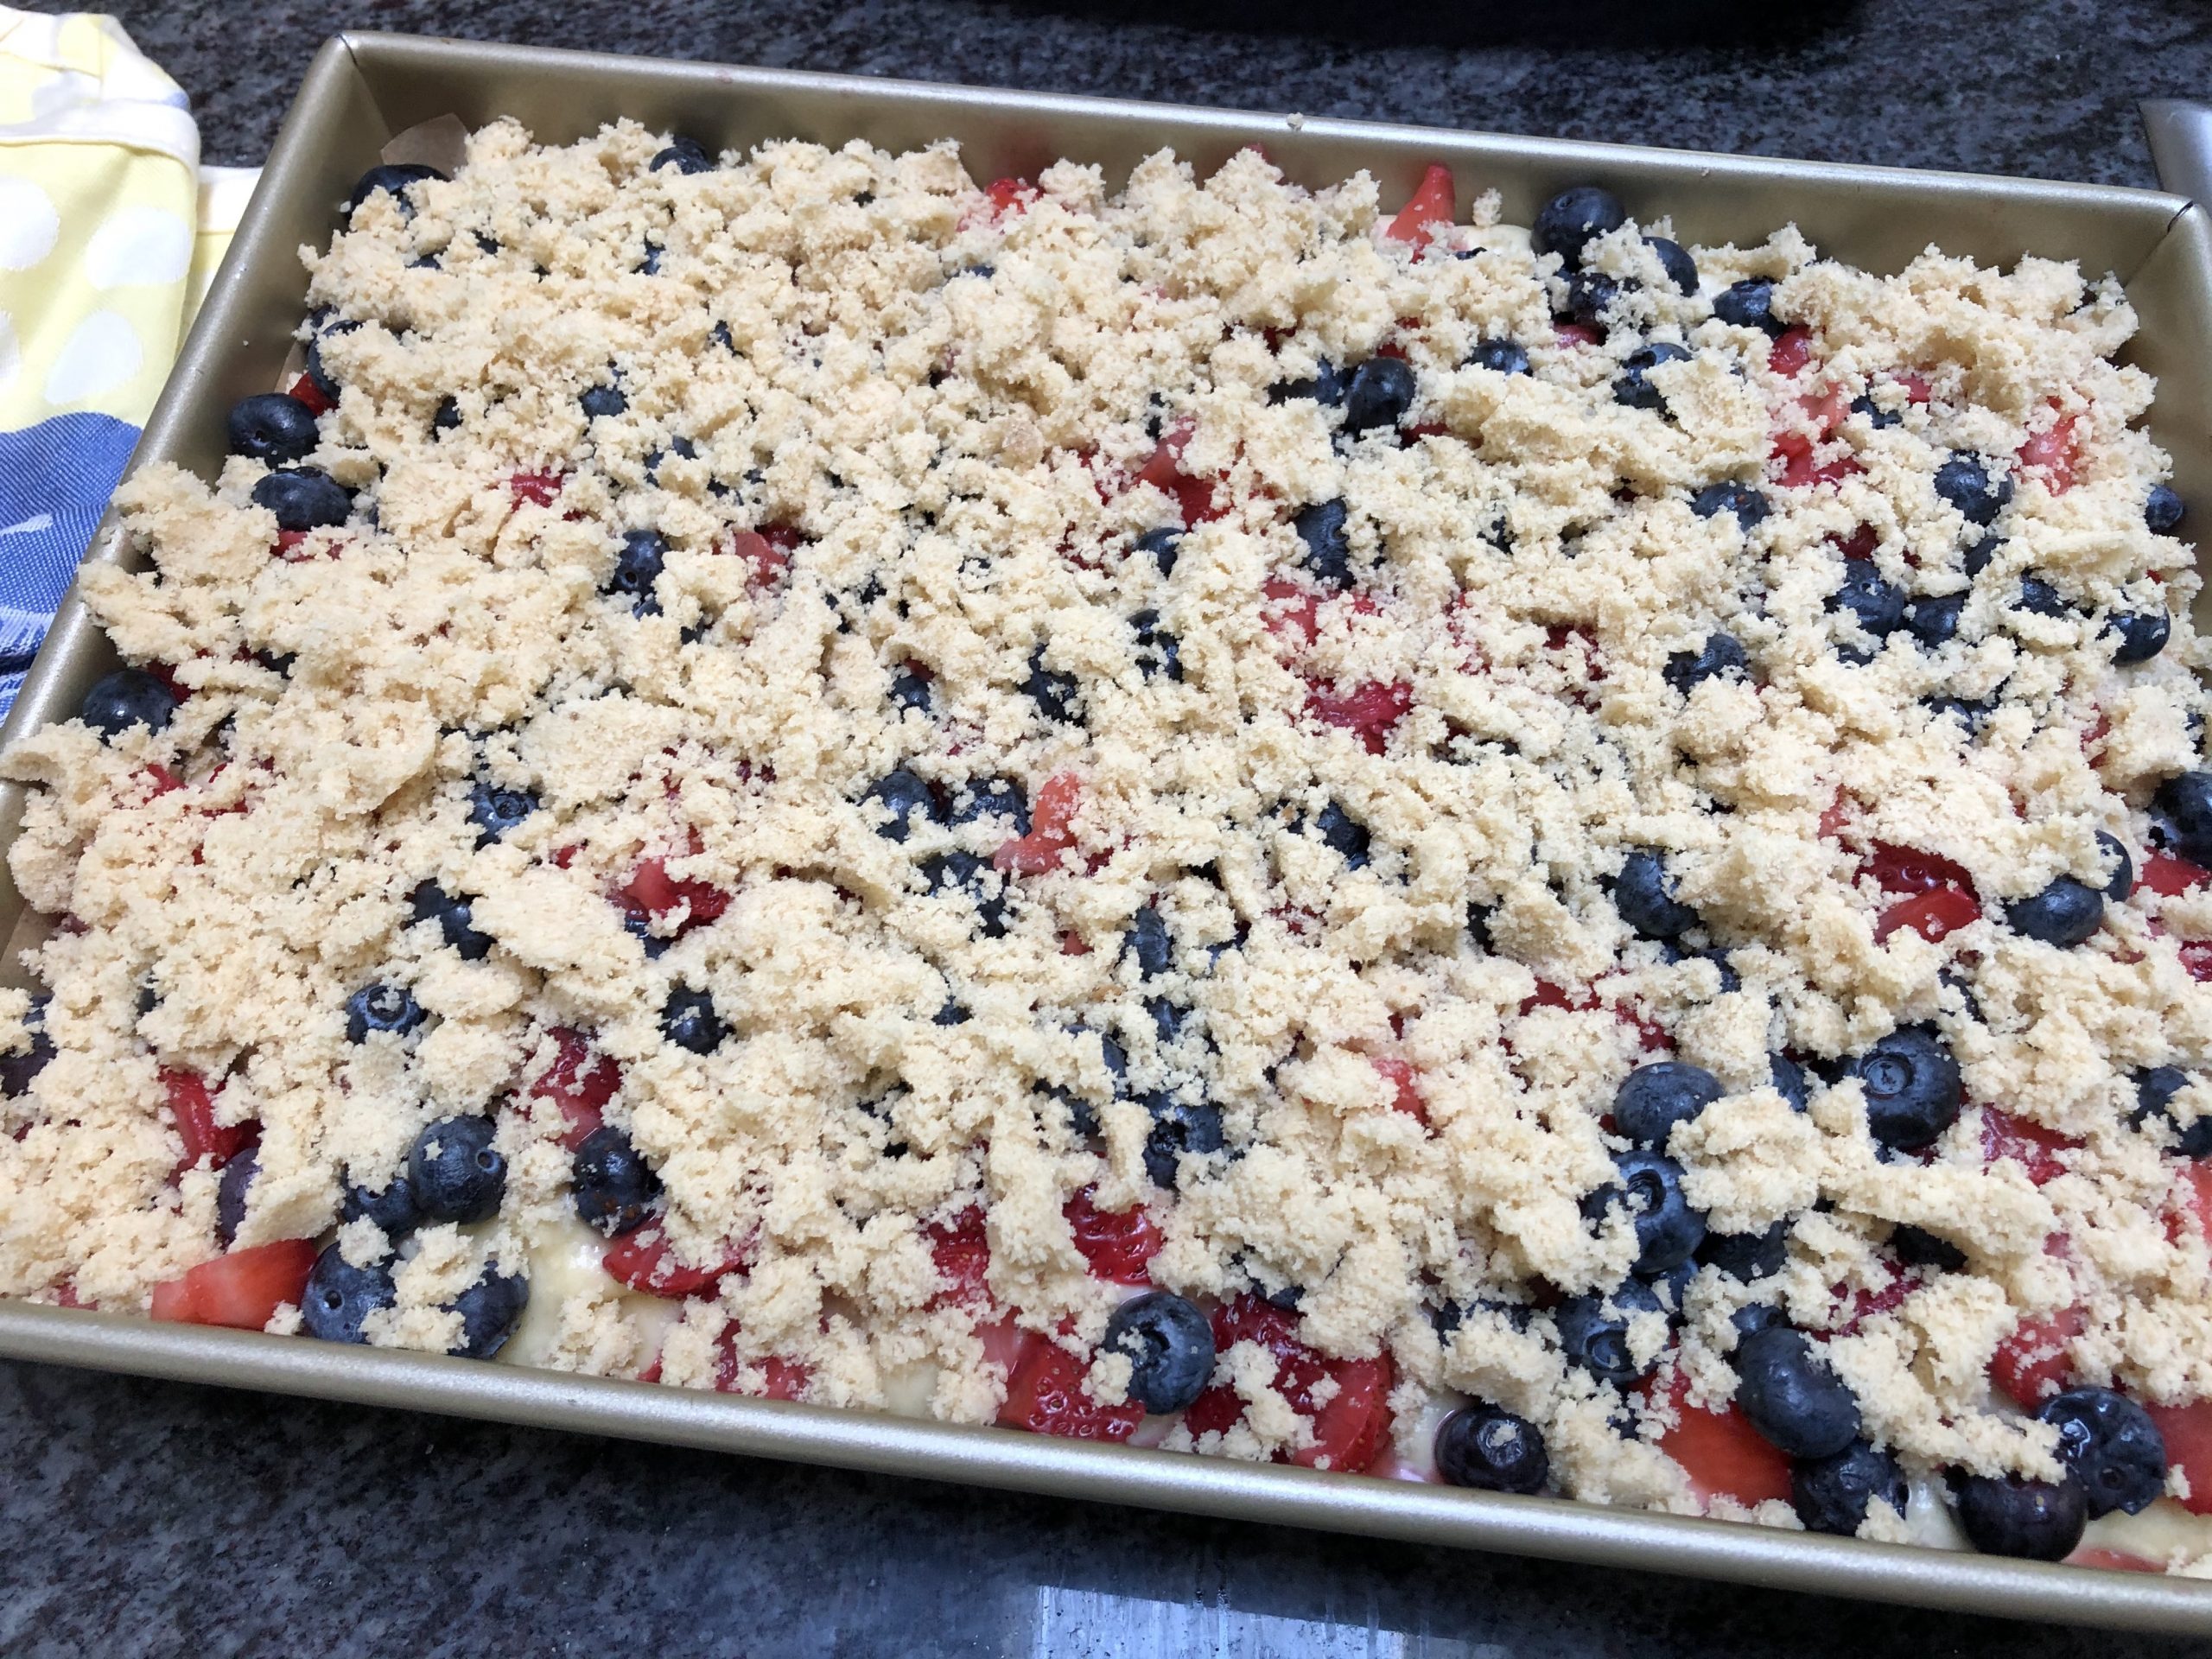
  12. Cover the surface of the dough with the prepared berries.

    cover the cake with berries
  13. Using your hands, sprinkle the crumble on top of the fruit evenly.

    cover the cake with crumble
  14. Cover the yeast cake with a clean dish cloth and let it rest for at least an hour.

  15. Preheat the oven to 330° - 350° Fahrenheit, or 165° - 180° Celsius maximum.

    let the cake rest
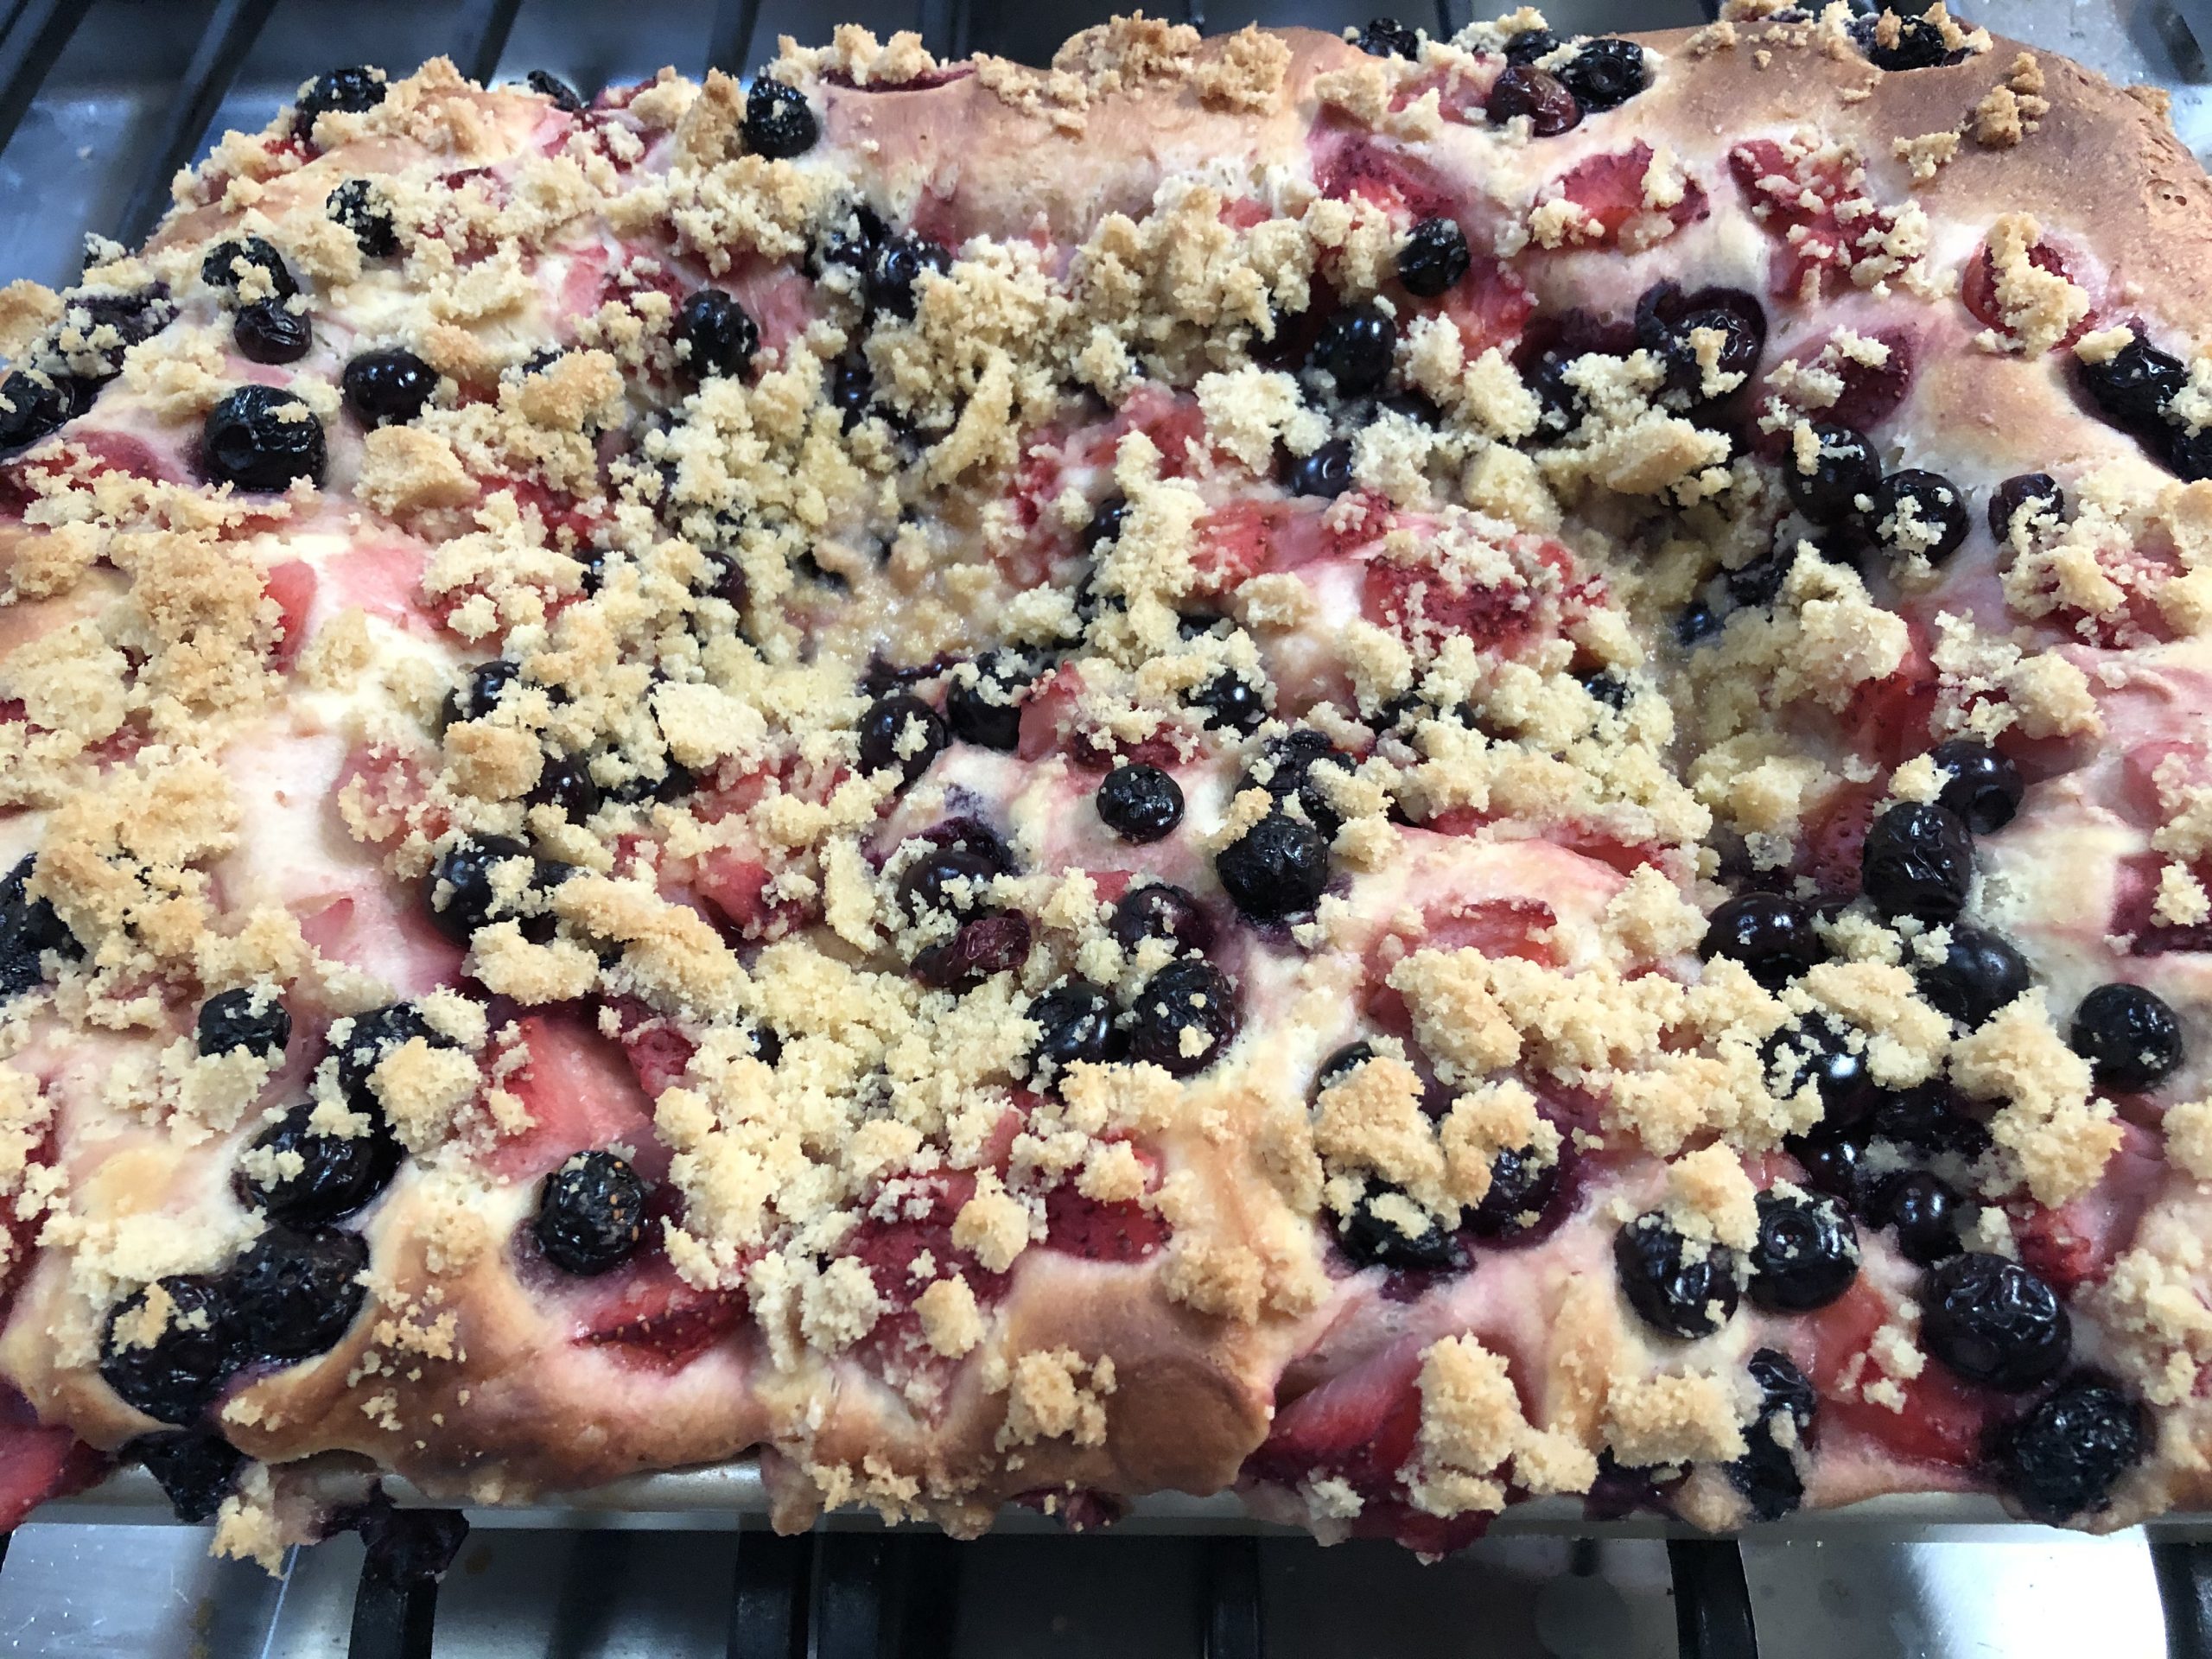
  16. Bake the cake for 35 - 45 minutes, depending on your oven's temperature.

    baked fruit yeast cake
  17. Check if your cake is browning enough. If after 35 minutes the edges still look pale, bake it for additional 10 minutes or until the juice of the fruit stsrts bubbling on the surface.


Fruit for Yeast Cake

Ingredients

  • 2 cups fresh strawberries
  • 2 cups blueberries

Instructions

  1. Wash and dry the strawberries and blueberries.

  2. Using a sharp knife, cut up the strawberries in small chunks and combine them with the blueberries.

  3. You can add a tablespoon of brown sugar and a teaspoon of lemon juice to the fruit if the strawberries and the blueberries are a bit tart or not very sweet.


Berries and yeast cake


Crumble

Ingredients

  • 3 tbsp brown sugar
  • 3 tbsp wheat flour Polish type 500 "Krupczatka"
  • 4 tbsp unsalted butter

Instructions

  1. In a cup or bowl, combine sugar, flour, and butter.

    butter flour and sugar
  2. Using your hands, firmly press the ingredients together, until the texture becomes flaky.

    crumble
  3. Pressing the tips of your fingers, spread the crumble on top of the fruit covered yeast cake.


cover the cake with crumble


Pita Bread

Ola Rokita17 August 2020Comments (0)

Pita Bread


Pita bread has many applications. You can pair it with dips, make a sandwich out of it, or eat it with a cup of soup. I like to toast my pita and munch on it with salads. The possibilities are endless.

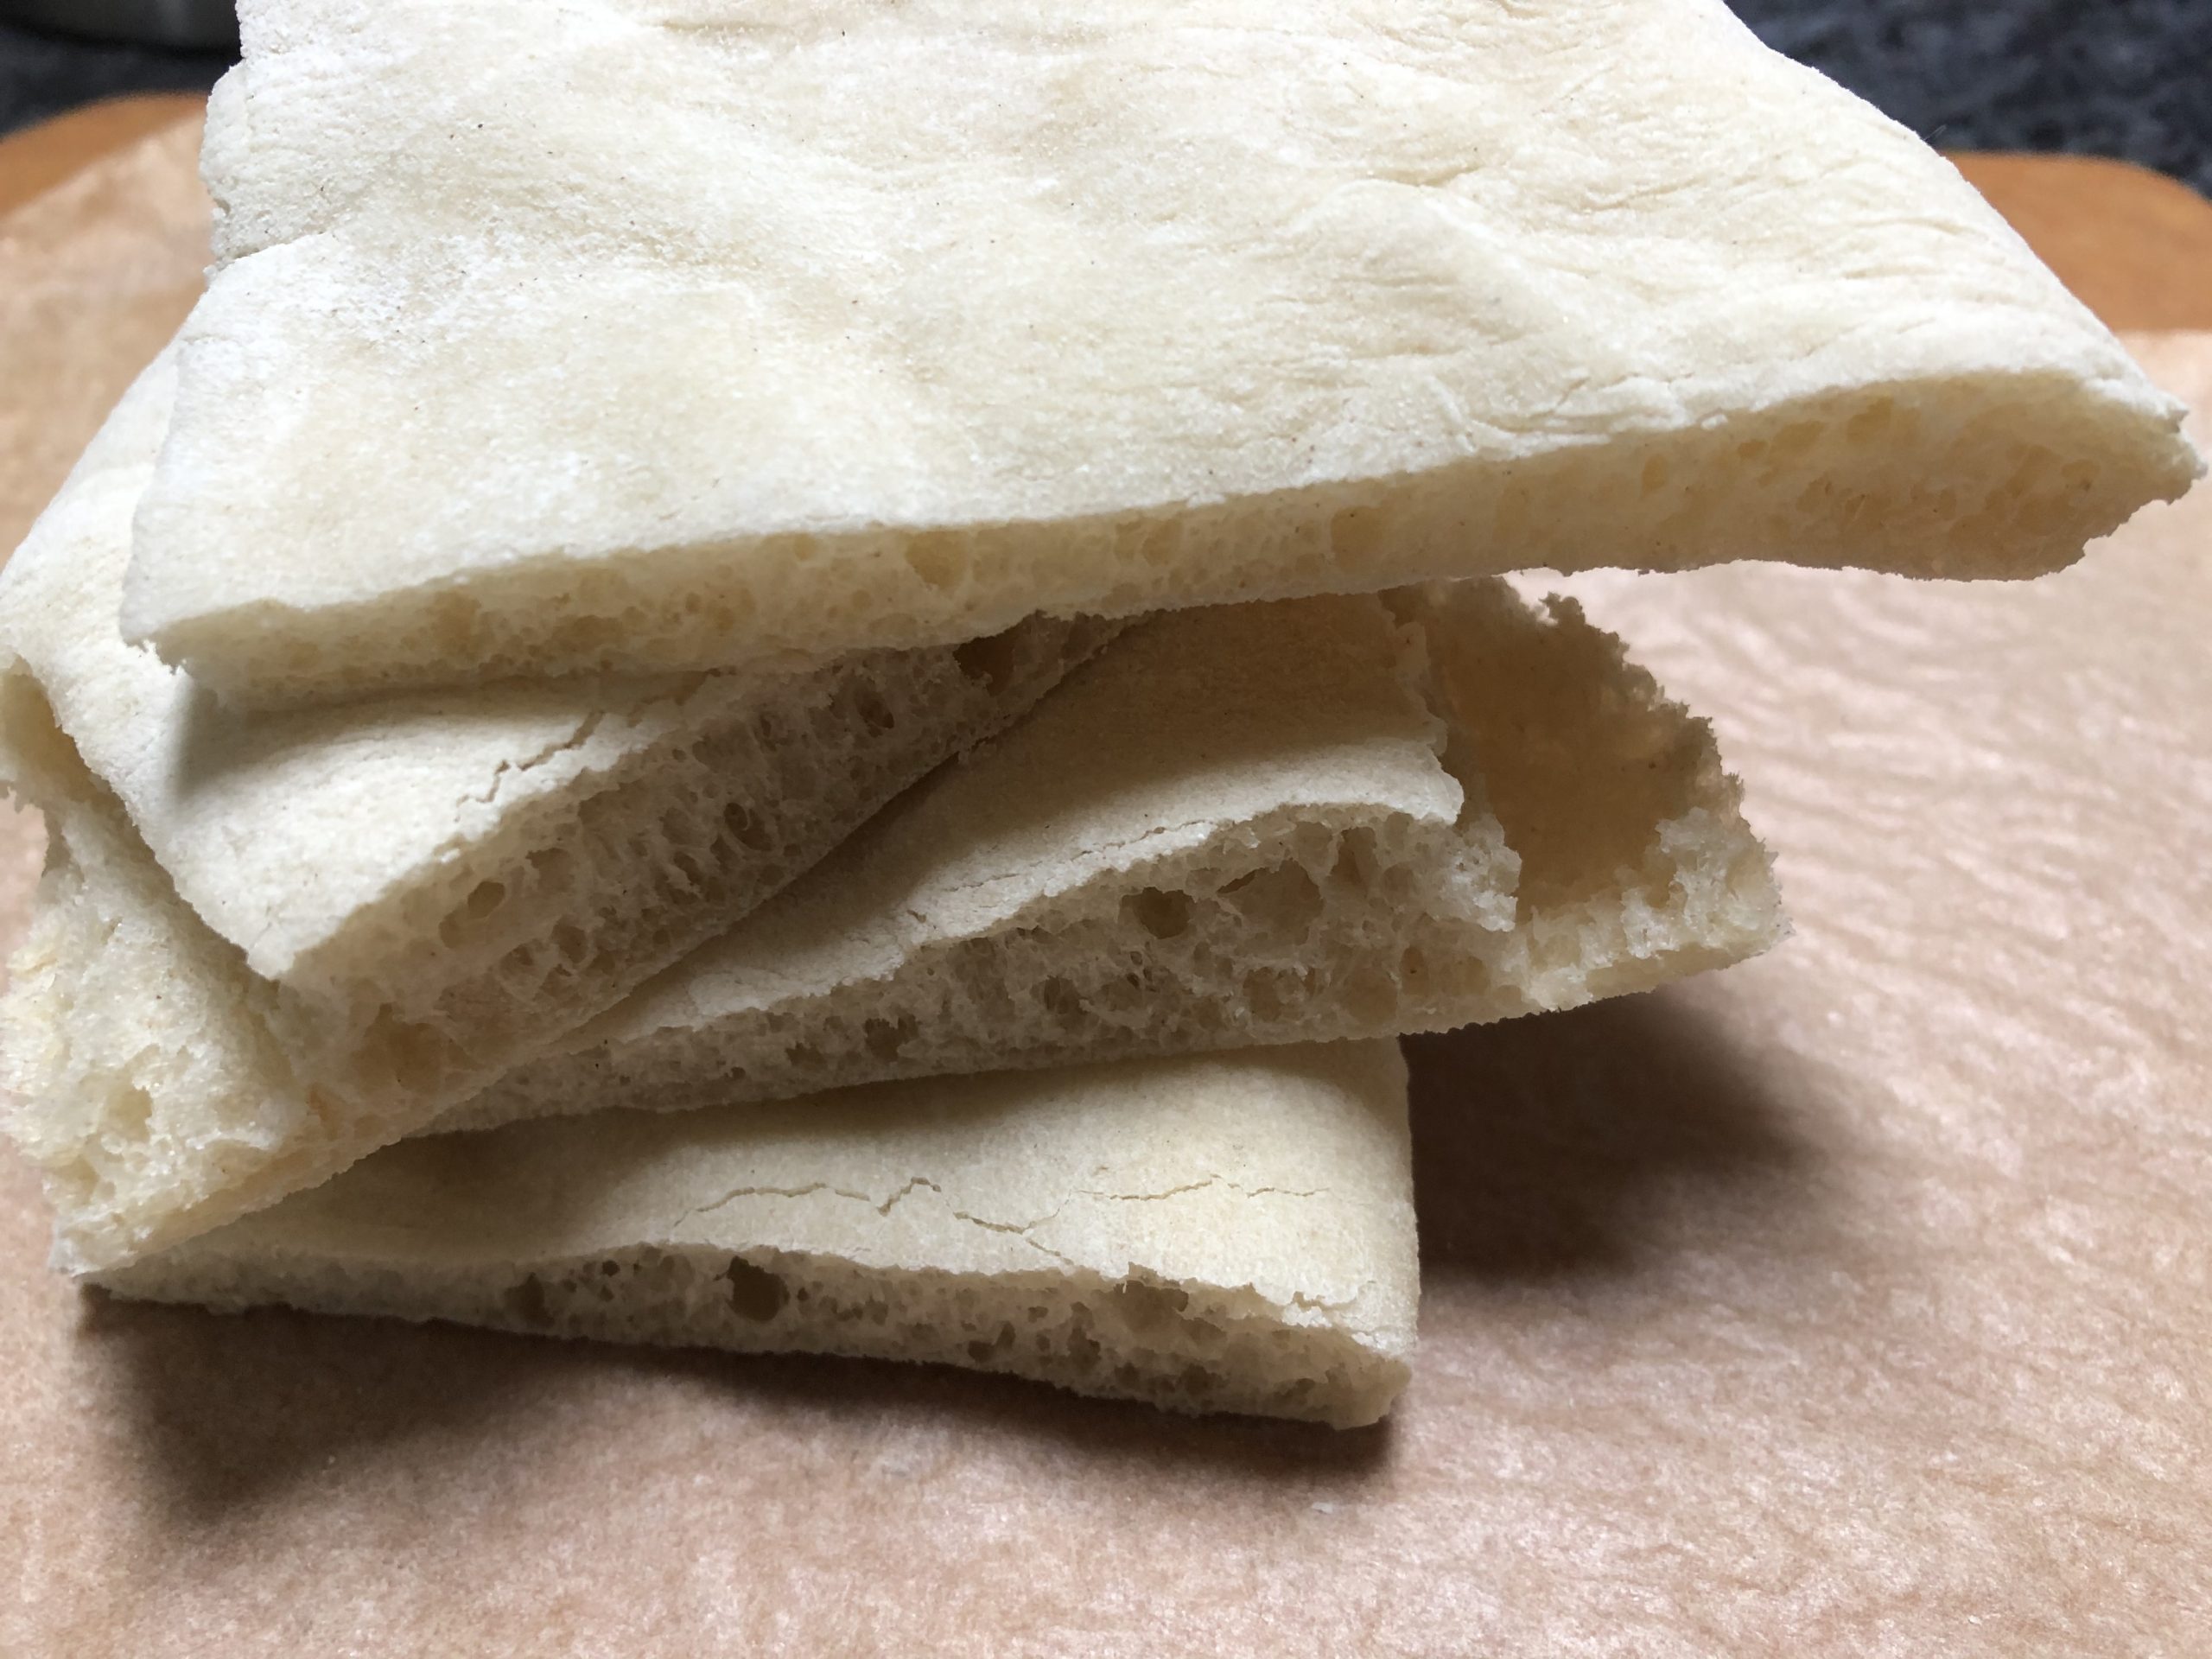
Cut Pita

Simple and popular snack with the kids

The other advantage of pita bread is that it’s easy to make. You don’t need any fancy ingredients, and you can bake it in a flash.

It only takes about 3-5 minutes to bake pita at high heat once the dough is ready.

Many delicious ways to enjoy pita bread

My kids can’t get enough of this type of bread either. They love snacking on pita and dipping it in hummus or Lebneh cheese. A type of kefir cream cheese that has a slightly tart taste.

Toasting pita and then spreading some avocado on top, makes it a perfect avocado toast and a healthy snack.

Bring the flavor of the Mediterranean home

If you have friends coming over, you can make this simple pita recipe and serve it with a side of olive oil mixed with garlic and herbs.

Or, mix quarter of a cup of olive oil, with a quarter teaspoon of salt, and half a teaspoon of fresh rosemary. You’ll think you’re sitting by the Mediterranean sea as you enjoy your pita dipped in this flavor-infused olive oil.

Adding some Greek feta cheese to go with your pita makes this a delicious appetizer that’s hard to resist.

Start with the right type of flour

To make my pita bread, I use wheat flour from Poland, type 550. From time to time I also use wheat flour from Italy, type “00”. Both flours work perfectly fine. If you can’t get your hands on European flour, all-purpose will work as well.

You can also substitute half the portion of flour with whole wheat flour to make your pita bread healthier and more nutritious.
 

Pita Bread

Ingredients

  • 5 cups wheat flour (Polish type 550)
  • 2 cups lukewarm water
  • 2 tsp active dry yeast
  • 1 tsp sugar
  • tsp salt
  • 1 tbsp olive oil

Instructions

  1. In a medium bowl, or a stand mixer bowl, using a whisk mix water, two tablespoons of flour, sugar, and yeast together.

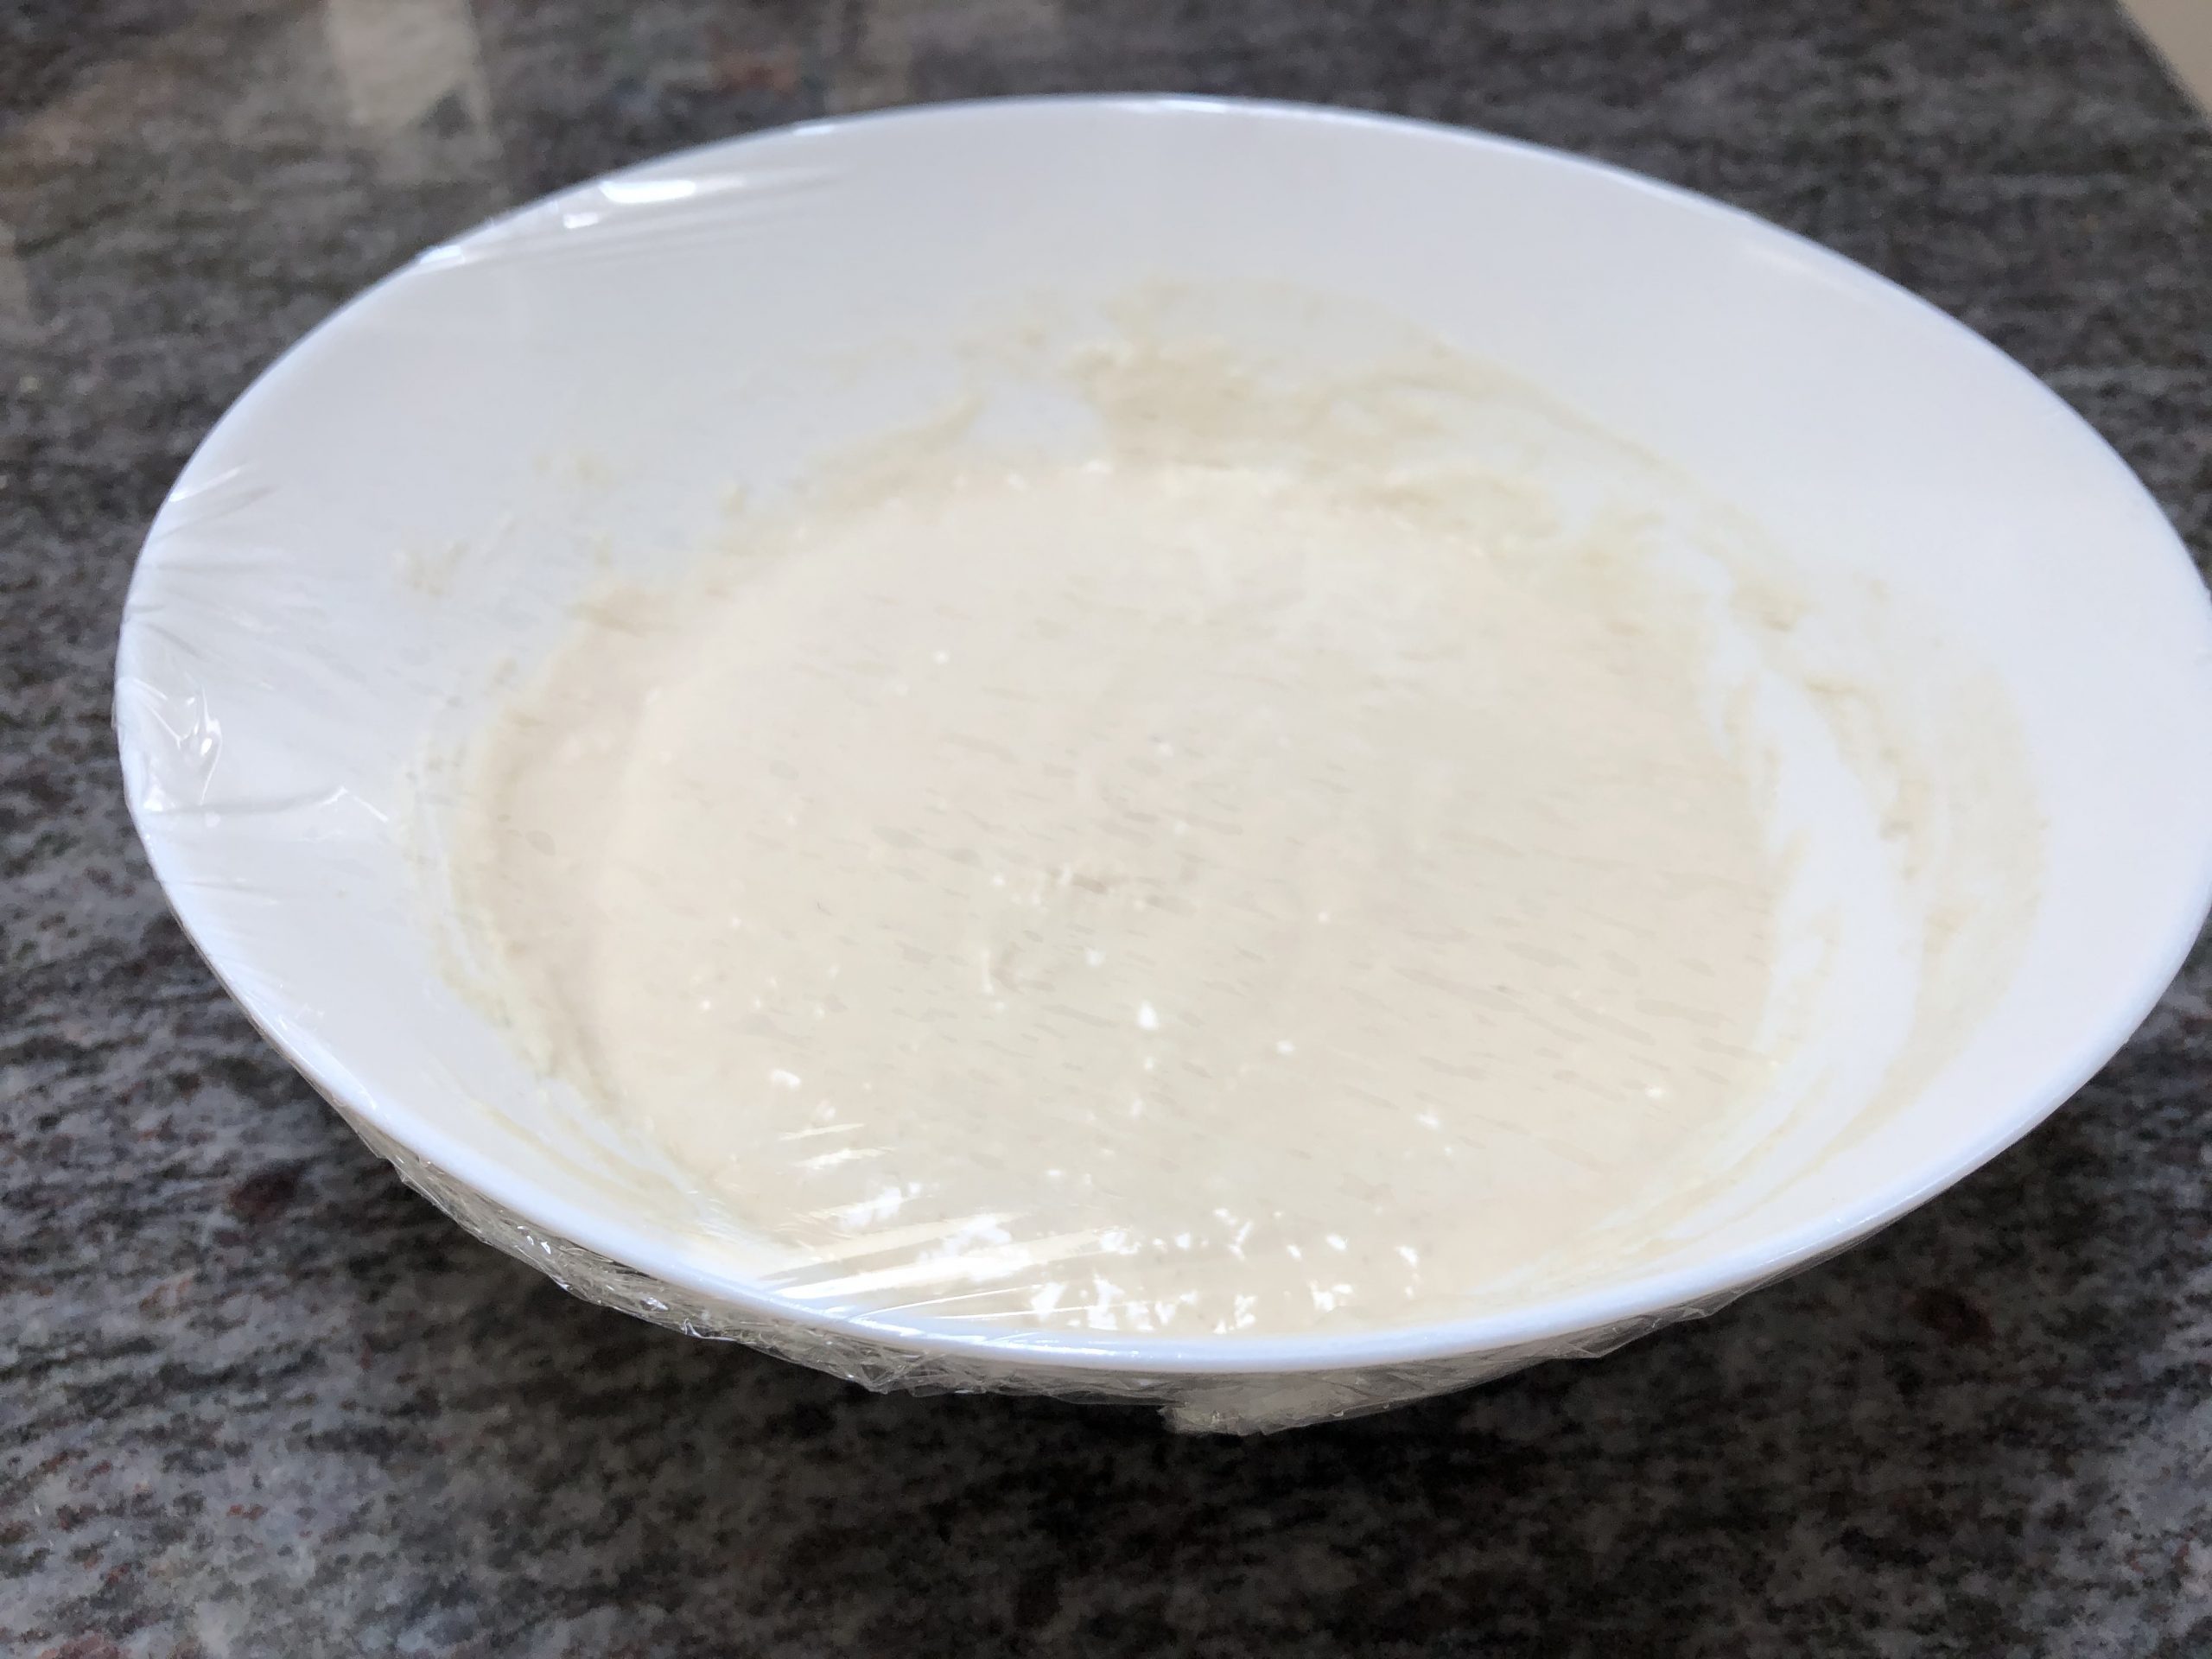
  2. Cover the bowl with a plastic wrap and let it sit on the kitchen counter for 20-25 minutes.

    sponge
  3. After the starting mixture rests, add the remaining flour and salt.

    add flour to the dough
  4. Knead the dough using your hands or a stand mixer equipped with a hook until the dough starts pealing off the walls of the bowl.

    dough
  5. Once the dough starts becoming elastic and peals off the walls of the bowl, add olive oil.

  6. Continue kneading the dough for about 5 - 7 minutes, or until the oil is well absorbed into the dough.

  7. Let the dough rest on the kitchen counter for about one hour and a half, covered with a plastic wrap.

    Expanded
  8. Once rested, divide the dough into 6 or 8 smaller balls.

    dough balls
  9. If you have pizza stone for your oven, prepare two or three sheets of parchment paper, about 18" x 12" (46 cm x 30 cm) in size, and place them on your kitchen counter, or a flat surface.

    This is for placing your rolled out pita breads. If you don't have pizza stone, use baking sheets lined with parchment paper.

  10. Using a pin roller, roll each ball into a flat and thin circle and then lay each one on the parchment paper sheet.

    roll out the dough
  11. Preheat the oven to 450° - 475° Fahrenheit or 235° - 250° Celsius.

  12. Let your pitas rest for 30 - 45 minutes, covered with a clean dish cloth.

    pita dough
  13. Once the pitas had a chance to rest and "puff out", using a pizza peel, gently transfer them to the preheated oven. Place them directly on the pizza stone along with the parchment paper. If you don't have a pizza stone, use baking sheets instead.

    rested dough on pizza peel
  14. Bake for 3-4 minutes. Then, using tongs, flip the pita breads to the other side, and bake for additional 2 minutes.

  15. Remove the baked pita breads from the oven, wrap them in a clean dish cloth and place them in a bread basket to cool off for 10 - 15 minutes. By covering them and trapping the heat, the pita bread will remain soft and easy to tear. If you don't cover your freshly baked pitas, they might become a bit crunchy. Either way, they're delicious!

    pita bread